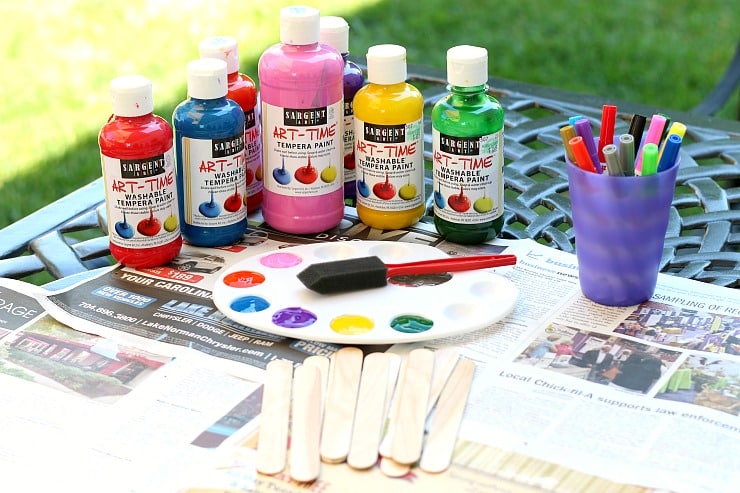
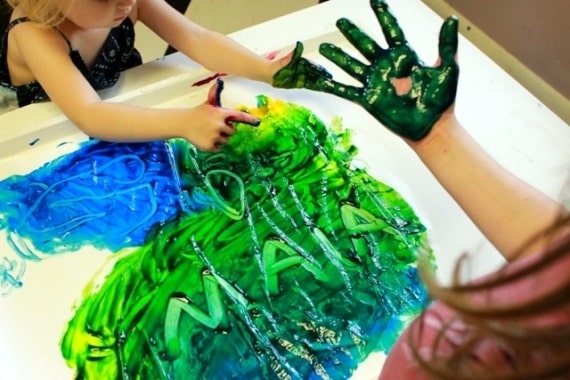
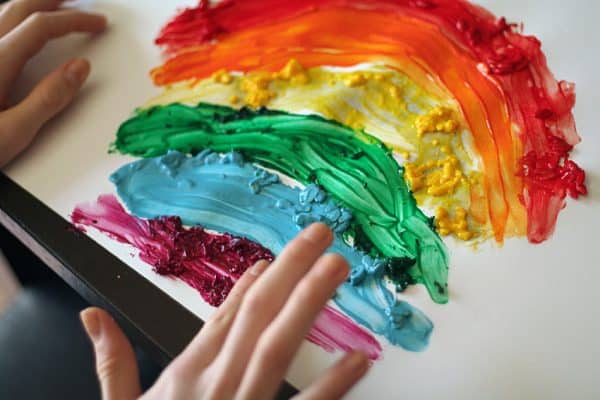
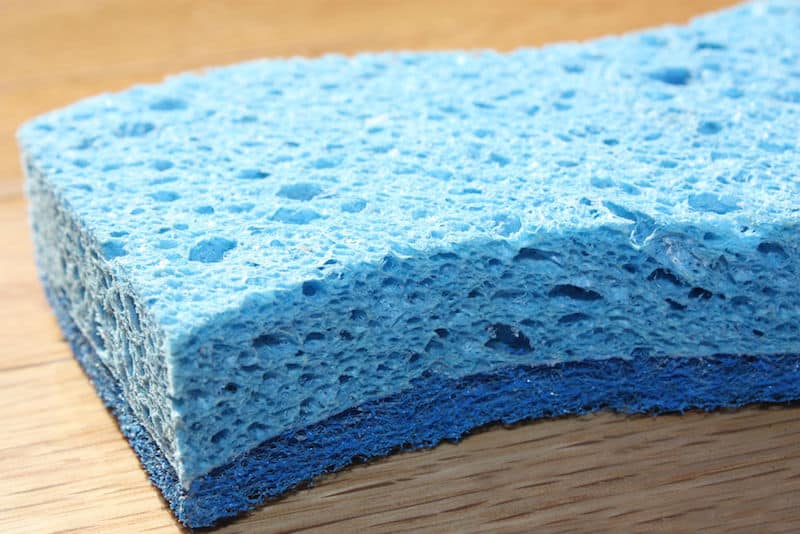
Sponge painting is an expressive technique that has gained popularity as a means of adding dimension and character to any surface.
One common challenge that arises for artists and people who love to paint by themselves is the waiting time that comes around when the paint dries.
This guide will help you understand the factors that affect the drying times of sponge-painted surfaces. You will also get a few ways you can use to speed up the process of drying your unique sponge painting ideas.
We explore the various places you can paint on and enhance the beauty of the piece and its surroundings.
Factors Affecting Drying Times
Various factors can affect the drying times of your sponge paintings. The drying time can be altered depending on more than just the surface. Understanding these factors is an important part of an artist’s life.
1. Paint Type
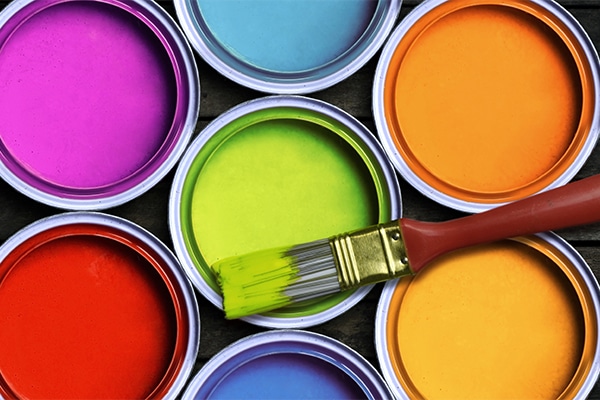
The type of paint chosen is one of the most important parts that affects the drying times of your sponge painting. Water-based paintings tend to dry faster than oil-based paintings.
The composition of water paints makes sure that the evaporation is quicker thus speeding up the drying process of your painting.
2. Porosity of Surface
The porous nature of the surface also affects the drying time of the painting. Surfaces with a highly porous nature tend to dry quickly as they absorb paints quickly, such as wood and drywall, which results in quicker drying times.
However, surfaces like metals and other surfaces with a glossy finish take time to dry as they are less porous.
3. Humidity
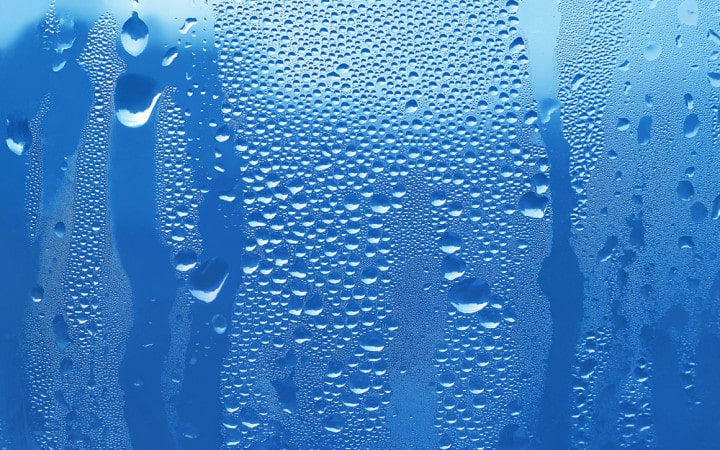
Humidity of the environment highly affects the drying time of the paint. High humidity can slow the drying process as a high amount of moisture present in the area can alter the drying rate of the paint.
This is also true for quicker drying as areas with low humidity can speed up the drying process for the sponge painting as the water evaporates faster.
4. Thickness of Surface and Layers
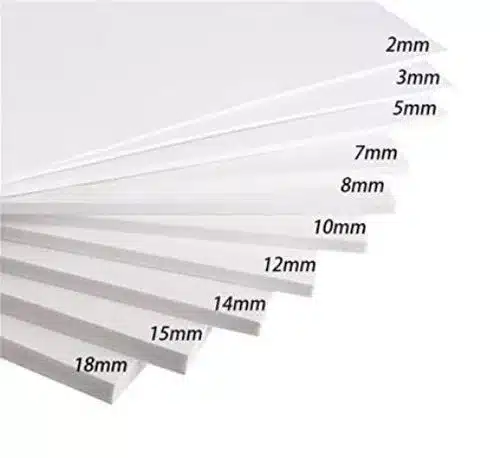
The thickness of the surface you are painting directly affects its porosity, however, it should be noted that if the layer applied on the surface is thin, the drying time is greatly reduced than thick layers.
It is also true for multiple thin layers as they tend to merge and create a thick layer, so if you want quicker drying, try with multiple thin layers (only after one layer dries up).
5. Temperature
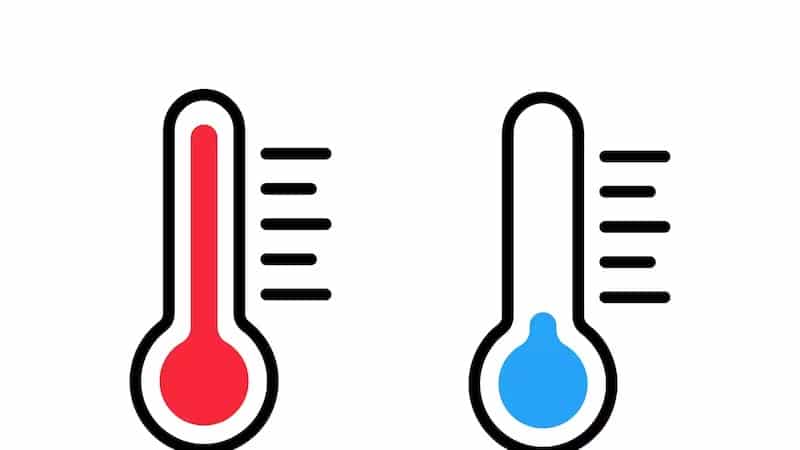
The temperature plays a crucial role in drying times for a painting. When the environment is warm, the paint will dry faster as moisture evaporates faster.
Colder temperatures affect the drying times as well since lower temperature reduces the evaporation rate of the moisture present in the paint.
Tips to Speed up the Drying Process
You can use various hacks to expedite the drying process of your sponge painting to get quicker results. Here are a few tips.
1. Choose Fast-Drying Paints
One of the best options to speed up the drying process is to choose water-based paints instead of oil-based paints since water-based paints are quicker to dry up making them better suited for projects with a short timeline.
2. Improve Ventilation
One of the most crucial factors in quick-drying paintings is to enhance the ventilation around the painting area.
You can use fans and open windows or even increase the air circulation for the paints to dry quickly since this will help in evaporation of the paint moisture.
3. Control Humidity
Humidity can directly affect the drying time for your paintings. Areas with high humidity tend to make the paint dry slower.
It is recommended that you use a dehumidifier around the painting area to increase the evaporation rate and make the paint dry quickly.
4. Thin Coats of Paints
As mentioned above, thin coats tend to dry faster. It is recommended that while painting, you use thin coats so that they dry faster.
If you want, you can use multiple coats to enhance the look of the painting, but this process will help in quicker drying of your painting.
5. Quick-Dry Additives
You can either use paints that have pre-added additives which enhances the drying time for the painting, or you can find various additives that you can add to the paints to make them dry quickly after application. This is an easy and practical solution for time-bound projects.
6. Using a Hair Dryer or Heat Gun
For painting a comparatively smaller area, you can even use a heat gun or hair dryer to make sure that the paint dries quickly.
It is important to keep the temperature under control as higher temperatures can burn or scorch the paint and area if it is heat-sensitive.
Conclusion
To improve and enhance the process of sponge painting, it is important to understand that it is more than just a creative expression while also trying to learn about the factors that affect drying times.
You can quickly navigate around the drying times if you recognize the impact caused by paint types, surfaces, humidity, temperature, and other mentioned factors.
One should know about experimentation and adapt to the changes that each project may need. Each combination of solutions may not work with each project you undertake.
Apply the tips that we have mentioned and move on to your journey to create more sponge painting masterpieces.