What better way to relax young minds and their senses than colorful crafts? Keeping your little ones busy and entertained is indeed a mammoth task. Parents already know how easily their little munchkins get bored with new toys. But the boredom hardly gets any better as they grow older.
Kids are always curious about exploring new things in their growing years. Hence, parents are always on their toes to feed their little ones’ minds with fun-filled activities. If you are a young parent looking for new engaging activities to make your kids sit still and stay out of trouble, you are in the right place.
Let us introduce you to sponge painting. Sponge painting is a fun-filled and creative painting process.
It is perfect for toddlers and older kids alike, as it allows them freedom of creativity and imagination.
How to Start Painting with Sponges?
One does not need much to start a crafty sponge painting. Most of the required items for this activity are often lying around at home in the kitchen or cabinets.
Here are the things you will need to begin with
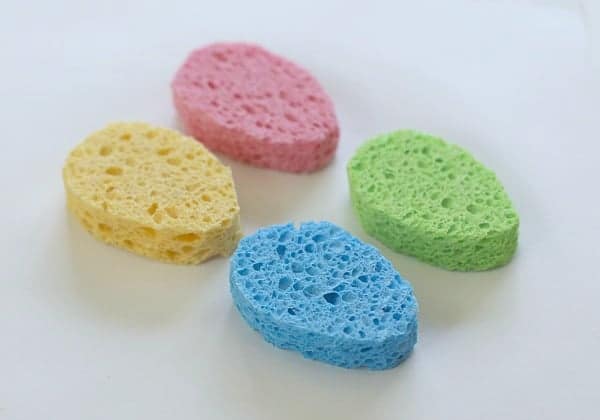
You can also look for the sponges at online or offline hardware stores. If you have some unused sponges at home, try reusing them for sponge painting. Once you have the sponge, use a marker to draw the shapes you want on the sponge.
Now, cut the sponge into the desired shape with a scissor. Once the shapes are ready, put different paint colors on a tray. Arrange the sheets of art paper, the sponge shapes, and the paint tray on a flat surface. Voilà! Your activity setup for sponge painting is complete.
If your child is involved in the setup process, be more cautious. Do not let kids handle the scissors to avoid accidents. Toddlers and young kids tend to put everything in their mouths. So, we recommend using paints that are safe for children.
Simple Geometric Sponge Painting Shapes for Kids
If your toddler is still learning about shapes and colors, sponge painting can be a great activity to help them. Teach them about geometric shapes like circles, triangles, and squares. Do not forget other nature-inspired shapes like the sun, stars, clouds, and the moon.
Here are some sponge shape ideas to help you figure out what one can do with sponges.
1. Simple Geometric Shapes
Simple geometric shapes are the best choice for toddlers while sponge painting. As they are still learning about basic shapes, making them complex may confuse them. Circle, triangle, and square are the three most common and easiest shapes. Let your toddler dip these sponge shapes in various colors and stamp them on a big sheet of paper.
It will be a good choice to pick natural, eco-friendly paints to help your kids have more fun. The texture of the sponge in its dry and soaked states, as well as the feel of the paint, would make them learn about different sensations. Once they get bored with these shapes, you can introduce them to other shapes like rectangles, rhombuses, and hexagons.
2. Heart Shape
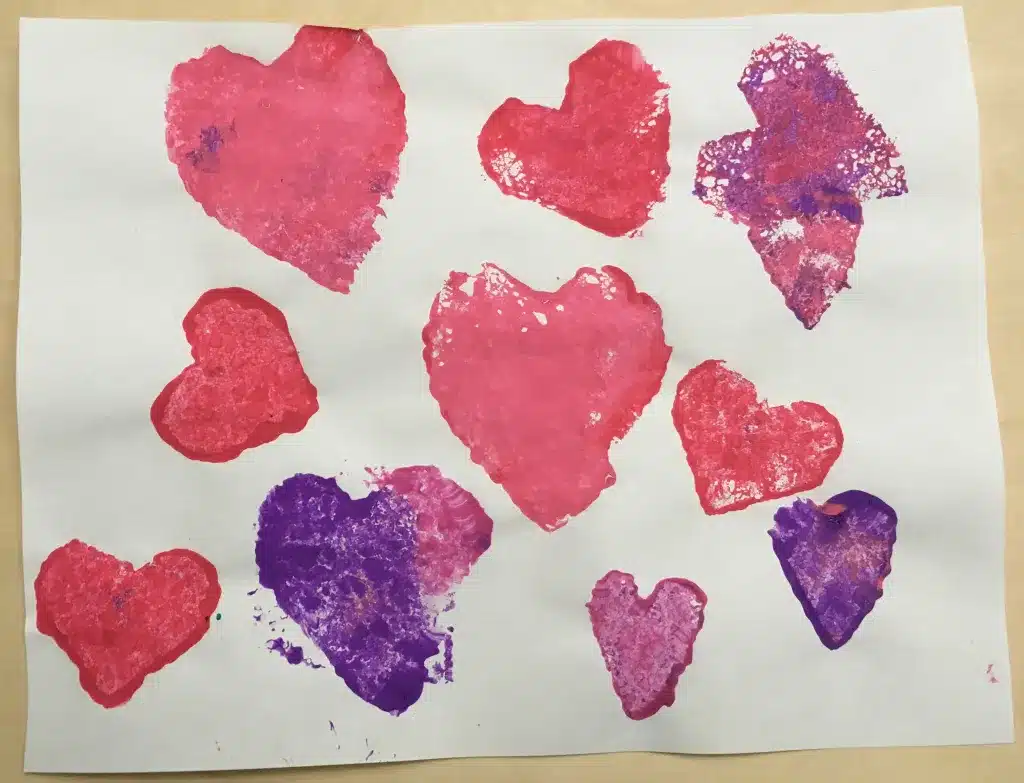
There is probably no one in this world unfamiliar with the heart shape. It is everywhere and is the most common symbol we use to express love. Cut a sponge in the shape of a heart and let your child make a cute painting using the shape.
A sponge painting using heart-shaped sponges would make a beautiful handmade gift for Mother’s or Father’s Day. If you are planning to gift something special to the child’s grandparents, a painting like this would undoubtedly make them happy.
3. Star Shape
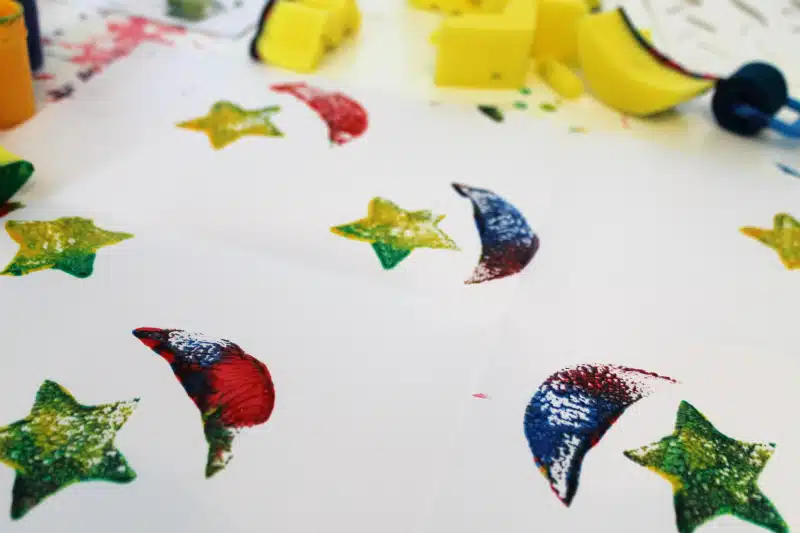
The five-pointed star shape is another nature-inspired figure. You will find a star in children’s storybooks, drawing books, and cartoons. Children are also often curious about the night sky and the twinkling stars.
A star-shaped sponge for sponge painting can be a good idea for kids of all ages. Make a few star-shaped sponges and add any desired colors to the tray. Let your little one use their imagination to cover the drawing sheet in stars of different colors.
4. Phases of the Moon

We often see children fascinated by the mysteries of the night sky. The moon is dreamy and mysterious to them. It is something that always disappears when they wake up the next morning. If your kid also loves the moon, you can create a set of sponge shapes resembling various phases of the moon.
Alternatively, you can encourage your little ones to learn more about the moon by involving them in this fun painting activity. This experience will raise further curiosity in them. One way to enhance this sponge painting would be to use black art paper and let the child use lighter-colored paints.
5. Different Sizes of the Same Shape
Another way to make a sponge painting amusing is by using different sizes of the same shape. If you use a circle, cut out circle-shaped sponges in different sizes. Or, if you want to make a painting full of hearts, use different sizes of hearts with different colors.
Even though the technique is simple, this will add a layer of complexity to the painting. The best shapes to use for this are stars, circles, and hearts.
Paper Cutout Spong Painting Shapes
If your child has already gotten bored with simple shapes, using paper cutouts for sponge painting may help. For this method, you would need a printer and some paper. The first step is to download an outline of your desired shape and print it out. Alternatively, you may draw the shape by hand. Then, gently cut out the shape, leaving a hole in the paper that looks like the desired shape. This shape would act as a stencil.
Once you have the stencil ready, take some art paper and attach it under the stencil. Then, let your kid use sponges to paint all over it. Once they have completed coloring, remove the stencil. It will reveal a beautiful and precise painting in the shape of a cutout.
1. An Umbrella

If you are trying sponge painting for the first time, try an umbrella cutout. All you need to do is get a printout of a basic umbrella and cut out the shape. Then attach it to the top of a drawing sheet and let your little one paint. The shape of the sponge doesn’t matter in this case. Let your little munchkins use desired colors and paint it. Once the painting is complete, remove the cutout from the top of the drawing sheet. You will find a beautiful umbrella sponge painting underneath.
2. A Fruit
Fruit is another easy shape for sponge painting. Some fruit shapes that would look good are apple, banana, pineapple, mango, and cherry. You may add a few leaves to the cutout to make the painting more beautiful. Alternatively, arrange five or six different fruit outlines on a sheet of paper and get it printed. Cut out the shapes, and then use the stencil to paint. Use colors like bright red, pink, lemon yellow, orange, green, and purple to color these delicious fruits. Now, all you have to do is remove the stencil. Tada! You have a drawing sheet full of colorful fruit shapes.
3. A House
A house would be a good choice for a paper cutout sponge painting. One can find outlines for different types of houses. Select an outline that has borders or gaps between different parts of the house and cut it out precisely. When this is used as a stencil, the painting won’t get messy as the house will retain white borders.
Alternatively, one can arrange different house outlines horizontally to create a skyline. Using this cutout, you will get a colorful skyline that will look beautiful. Older kids can use this idea for their art projects as well.
4. Clouds
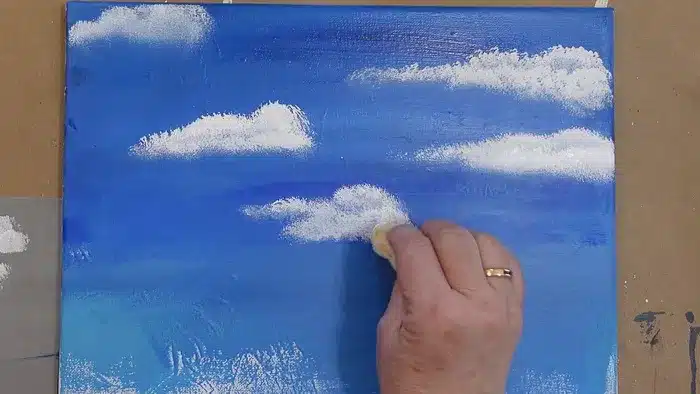
Nothing is more magnificent than a blue sky full of white, fluffy clouds. Use blue art paper as a base and attach a paper stencil of a cloud to it. Now, use a sponge to stamp white paint onto the paper to create beautiful clouds. You will have the liberty to move the stencil around to create multiple clouds.
Alternatively, arrange the outline of the clouds aesthetically and print them out to create a cutout stencil. In this method, kids wouldn’t have to move the stencil around and could stamp the paper as it is. It will leave you with a beautiful sponge painting of a blue sky and white clouds. Another way to make painting even more fun would be to let the kids first sponge paint an art piece blue instead of using blue paper. Once the paper dries, you can move forward with the cloud cutouts.
5. A Beautiful Scenery
If you think that these shapes would be too basic for your kid and want something more complex, don’t worry. We have something for you. One can use paper cutouts and sponges to paint complex scenery. The first step is to decide what you would like to draw. For example, let’s say you decide to paint a house with trees around it. Print out individual components of the drawing and cut them out so they can be used as stencils.
Now, let your child sponge paint the paper blue on top and brown at the bottom. This color scheme will represent the sky and the ground. Once the first layer is dry, use the stencil of the trees to paint some trees. Then use the stencil of the house. In the end, you will have a beautiful and complex sponge painting.
Sponge Painting Ideas for Kids
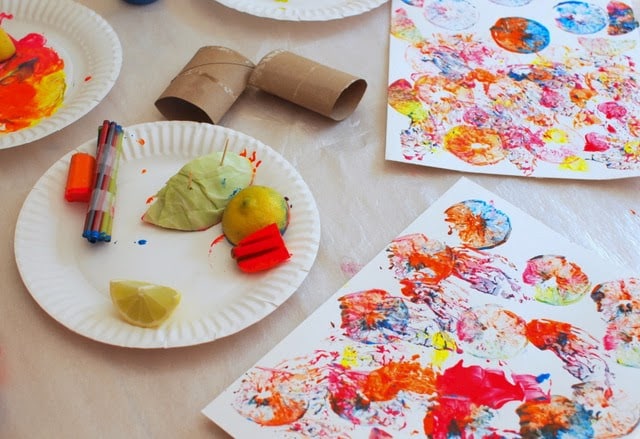
Now that we are all set with the different geometric and paper cut-out shapes, it is time to get our hands colorful! It is finally time to put all our creativity into painting.
Here are some cool sponge painting ideas that kids will love:
1. The Summer Sun
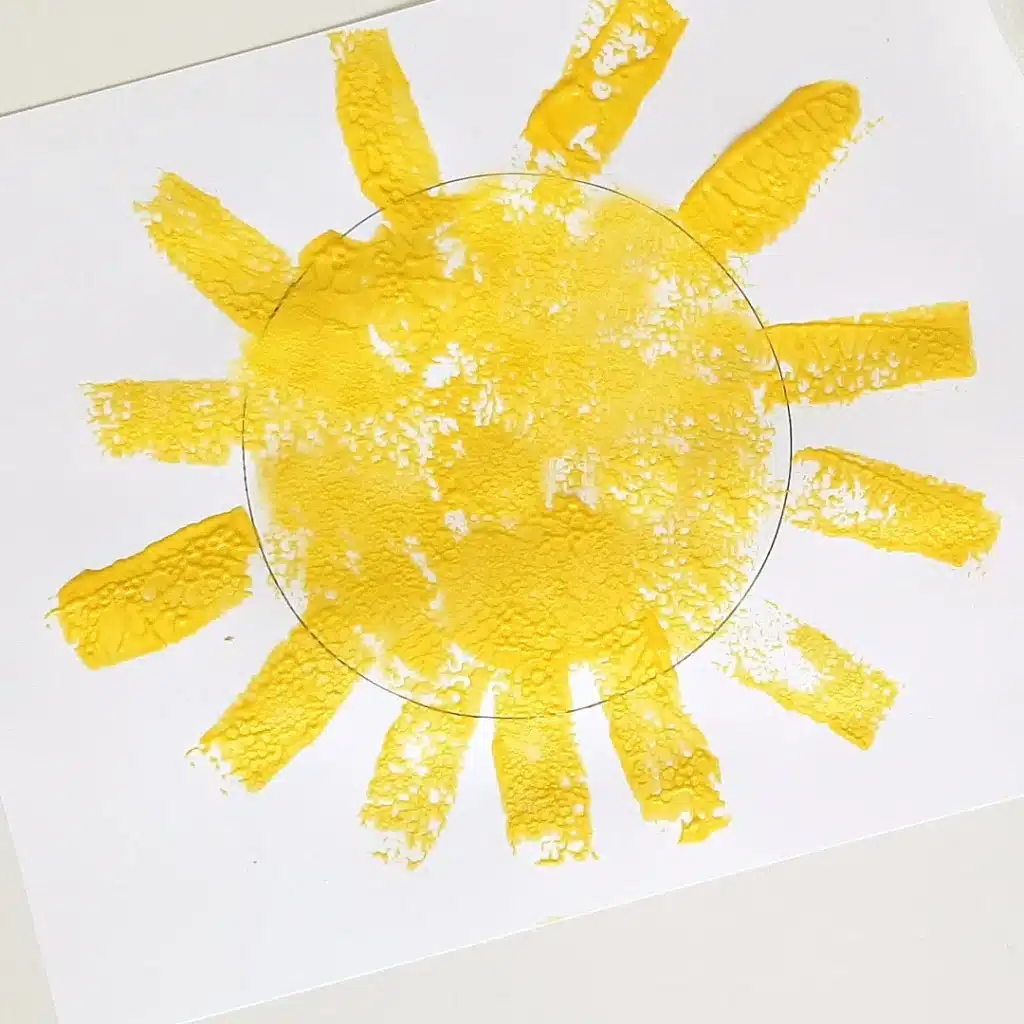
Plan a fun activity for the upcoming summer season. Here is an easy sponge painting idea that is most suitable for kids in kindergarten. All you would need to prepare are sponges in the shape of a circle and a thin rectangle, yellow paint, and a white drawing sheet. Ask your little one to use the circular sponge and stamp the yellow color onto the middle of the sheet. Once satisfied, they can start using the rectangular sponge to stamp the rays of the sun to their heart’s content.
2. Beautiful Butterflies

Who doesn’t love butterflies? They are so colorful and pretty. To make this butterfly sponge painting, you would need to cut out a sponge in the shape of a triangle. We will use this cutout to stamp the wings of the butterflies. Pick a range of bright colors and pour them out on a tray. Guide your kiddo to dip the sponge in paint and stamp a wing.
Then turn over the sponge and use it to stamp the other wing. Let your little ones use their imaginations and create as many butterflies as they want. Once the sponge painting is dry, let them add the bodies and antennae of the butterflies using a black marker. Allow them to get creative and decorate the butterflies as they want.
3. Do You Like Watermelons?
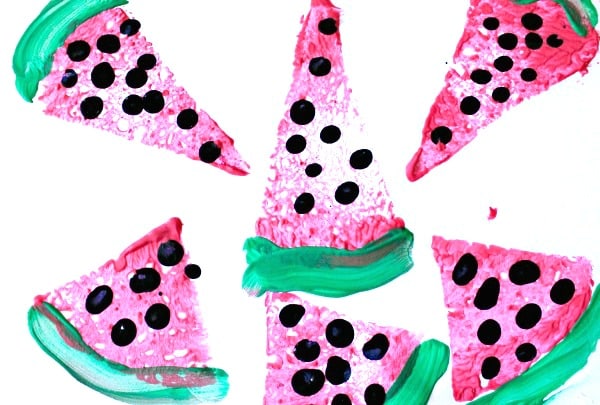
Here is another beautiful idea suitable for the summer season. If your kid loves watermelons, they would love this. All you need to do is cut a sponge in a triangular shape. Pour red, green, and black paints onto a tray. Guide your kiddo to dip the triangle sponge into the red paint and stamp a few triangles onto a piece of paper. Then let them take the green paint and draw the watermelon rind using their fingers. Paint the seeds by dipping a finger in the black paint and adding dots to the red triangles. A delicious sponge painting is now ready!
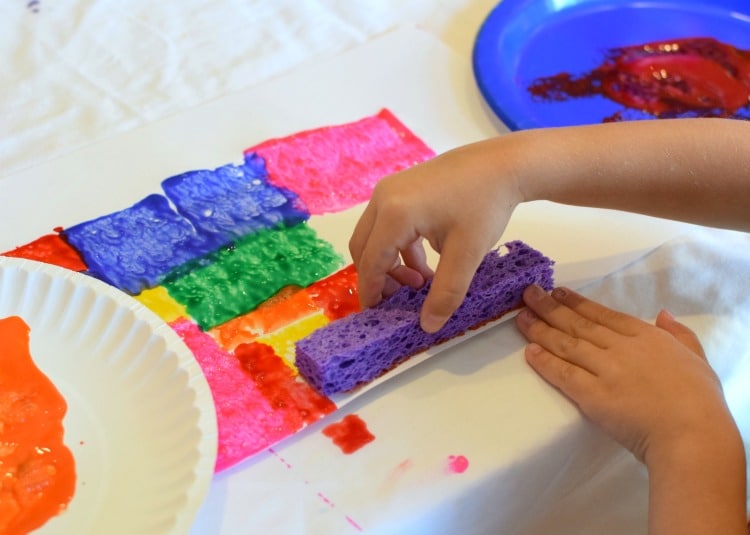
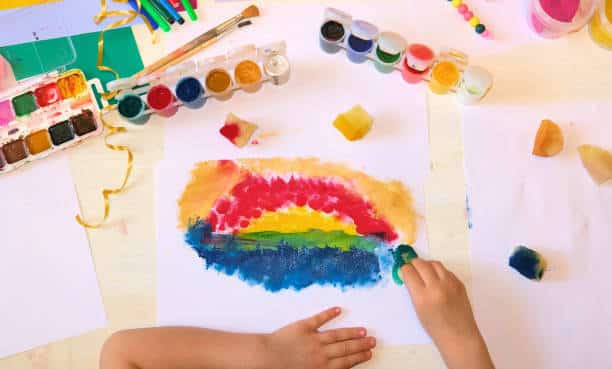
4. A Rainbow
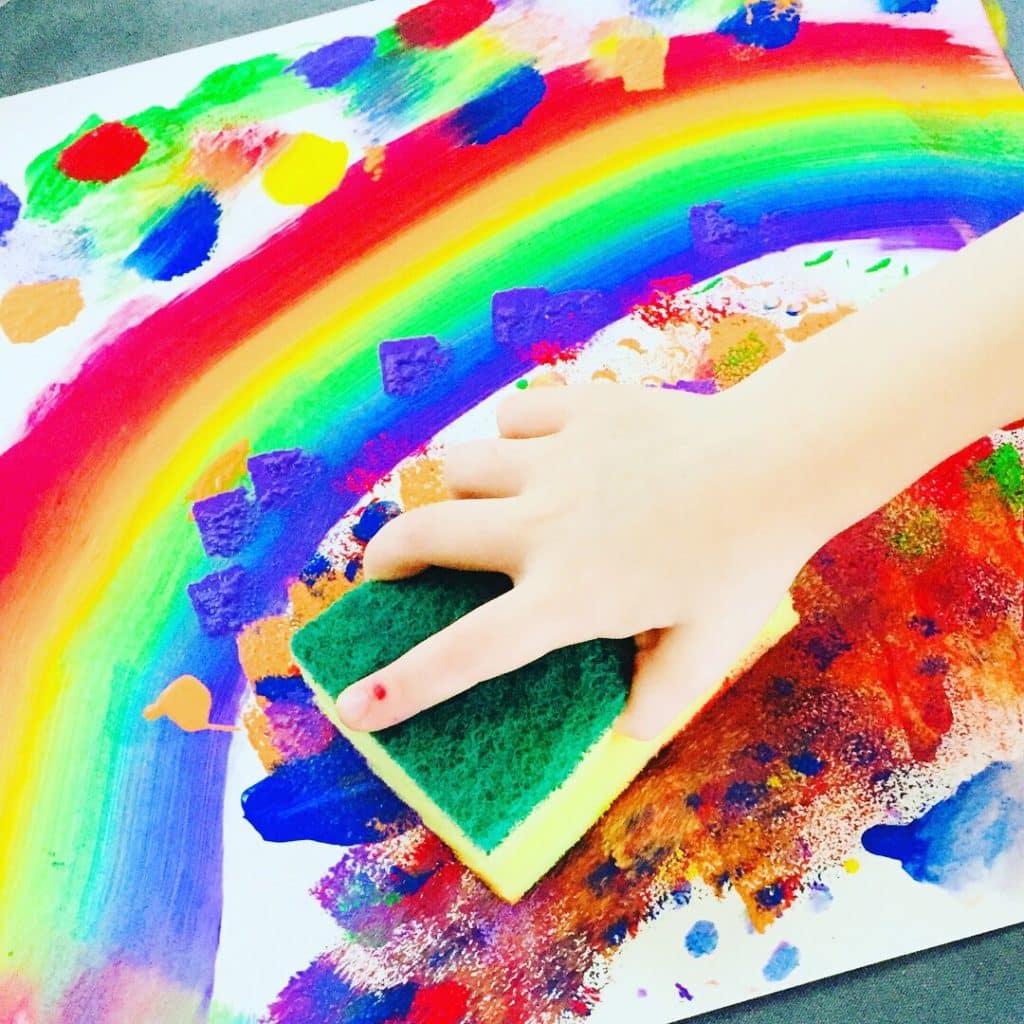
A rainbow would be one of the most colorful sponge painting ideas for kids. There is no need to cut the sponges into a specific shape. Any small sponge would do the job. All you need are the seven colors of the rainbow. Let your little one start from the bottom of the paper and stamp a sponge dipped in violet paint to create a thick line. Then get them to use indigo above the violet to create another line. Repeat the process until the rainbow is complete.
Alternatively, you can also take a bigger sponge and, using your fingers, apply the seven colors of the rainbow to the sponge. Next, swipe the sponge across the drawing sheet to create a flawless rainbow.
5. A Flower Garden
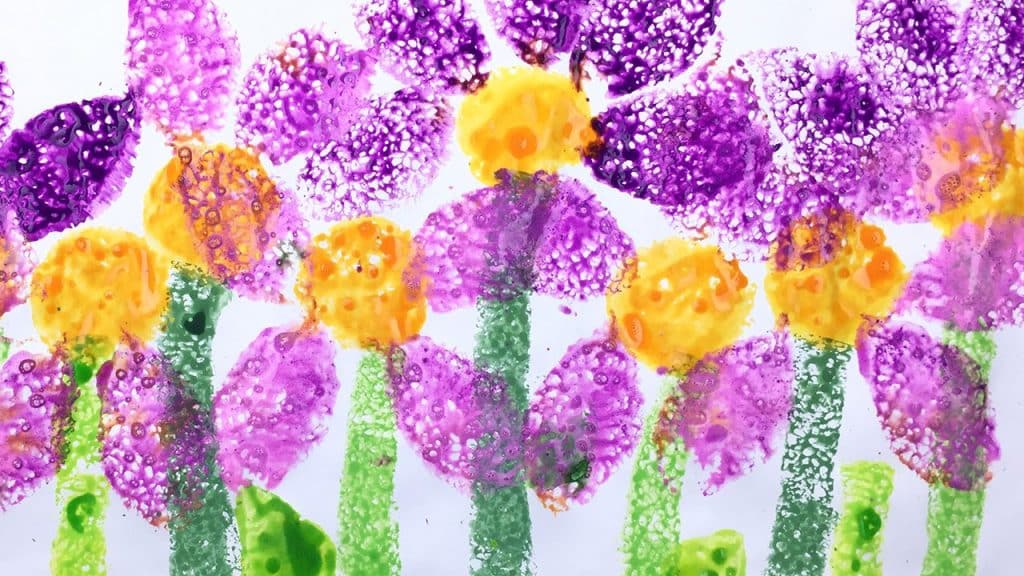
Another easy yet beautiful idea for a sponge painting would be a flower garden. Cut out some sponges in the shape of flowers. Pick red, pink, yellow, orange, blue, and purple colors to paint these flowers. Let your little one dip the flower sponges in the colors and stamp them on the paper.
Let them play with it and stamp it all over the sheet. It is okay if the colors overlap. It will result in a beautiful and colorful painting. Alternatively, you can cut the sponge into the shape of small circles and let your kiddo use the circles to create flowers and petals in different colors.
6. Autumn
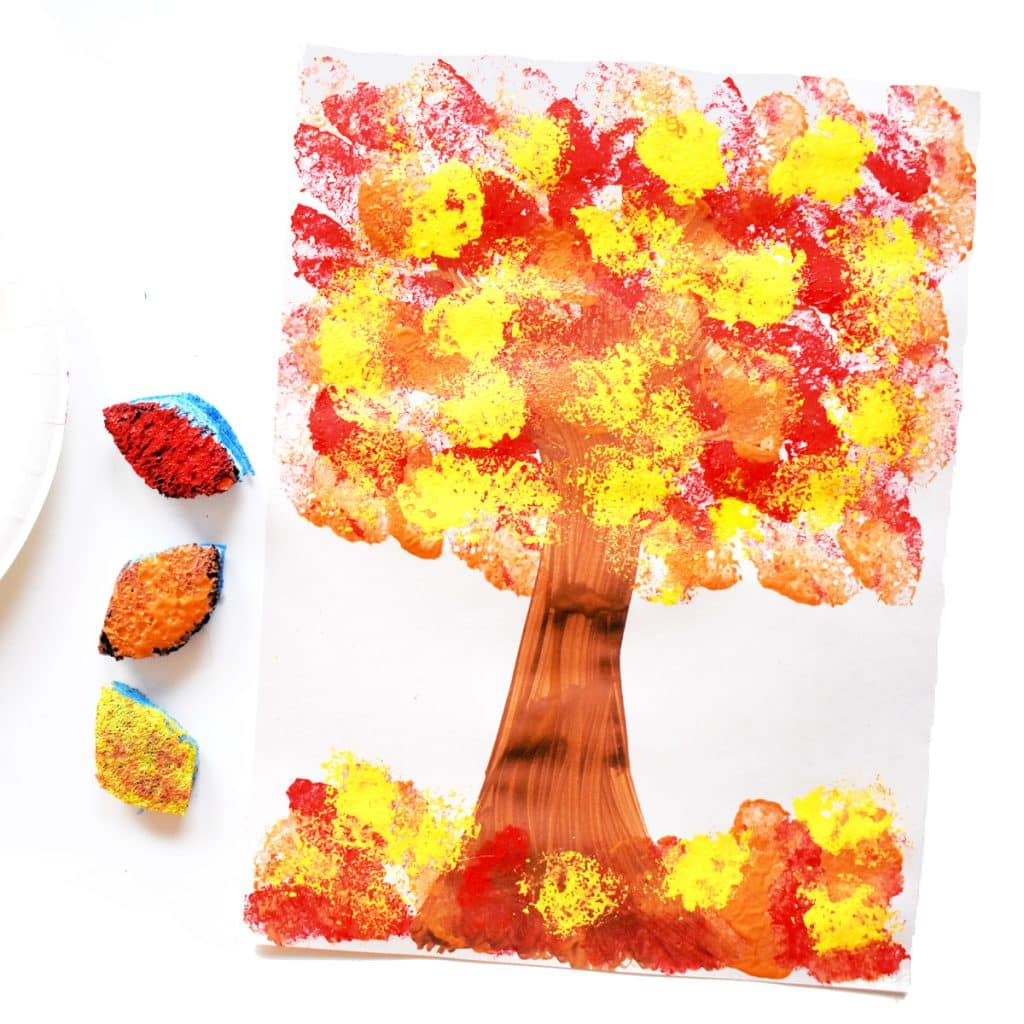
Since we talked about some summer designs, here is one for the autumn season. To make this sponge painting, you will need sponge cutouts in the shape of small leaves. Pour out paint in fall colors like maroon, orange, yellow, and brown. Guide your kiddo to use their fingers and paint a thick vertical line with brown paint to represent a tree trunk. Then let them use the leaf-shaped sponge to stamp on leaves in yellow, orange, and maroon. They can stamp the leaves on the tree or on the ground to paint a perfect picture of the autumn season.
Summing Up
All in all, sponge painting is a fun activity for young kids. It captures their attention and imagination by letting them paint different shapes in bright colors. If you have young kids and want to keep them happily occupied, sponge painting would be a good choice.
Get them some safe paints in bright colors, a big sheet of drawing paper, and a set of sponges in different shapes, and your kids will happily play with them for hours. These paintings would also make loving, memorable gifts for parents, grandparents, and other close relatives.
In this blog, we shared how to cut sponges into different shapes and use them to make sponge paintings. We also shared many creative ideas for sponge painting.
Do let us know which ones were your favorites. Happy painting!