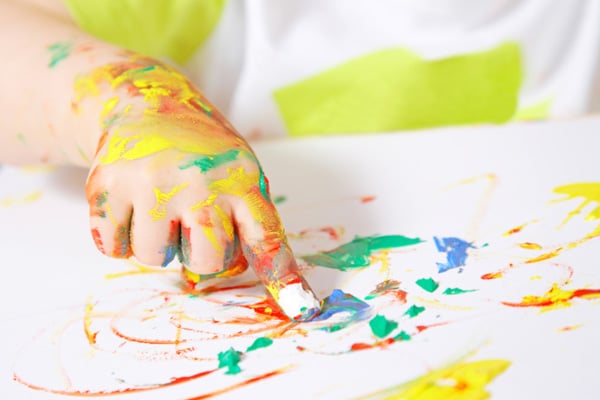
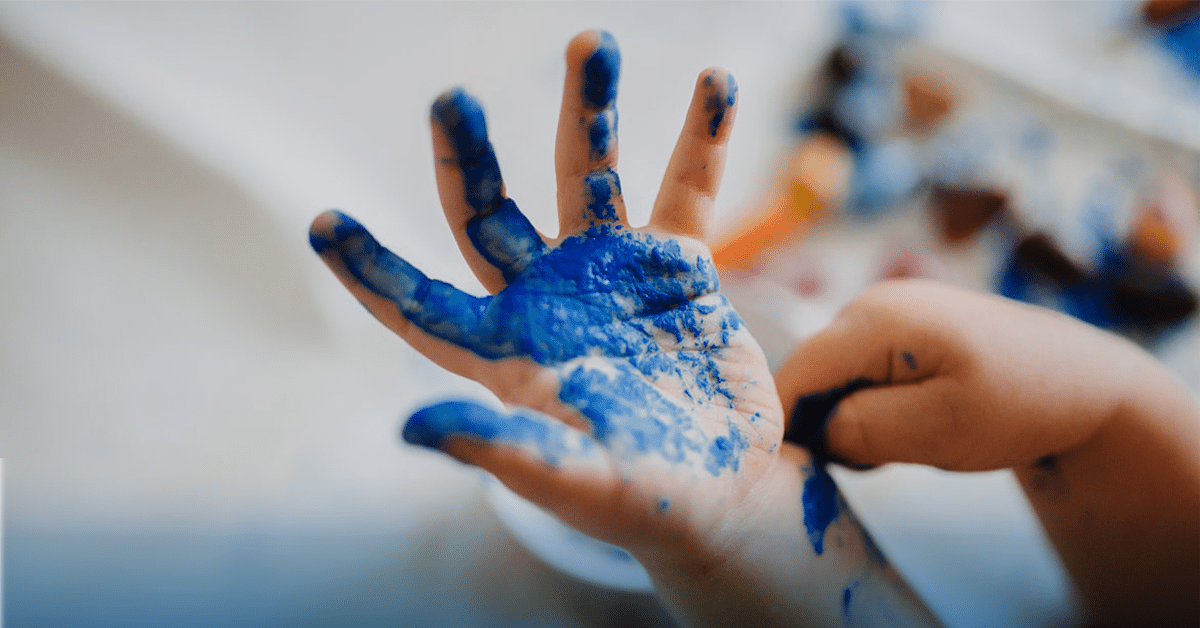
Kids love paint as much as they love making a mess. Surprisingly, research confirms that messy play is, in fact, good for them!
It promotes physical and mental development, develops digestive and immune systems, and enhances problem-solving abilities.
But of course, as a parent, it is natural for you to get all worked up over the matter since you have to clean up after them, which takes up much more time than you would have expected.
But here’s the catch – even with some of the messiest and most creative finger-painting ideas for your toddlers, we can help you with tips that will keep your space spick and span.
If you’re wondering how, you must go through this entire article to know.
Easy Finger Painting that is Mess-Free
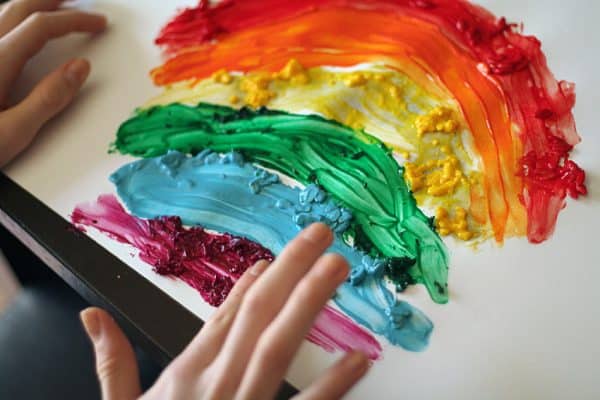
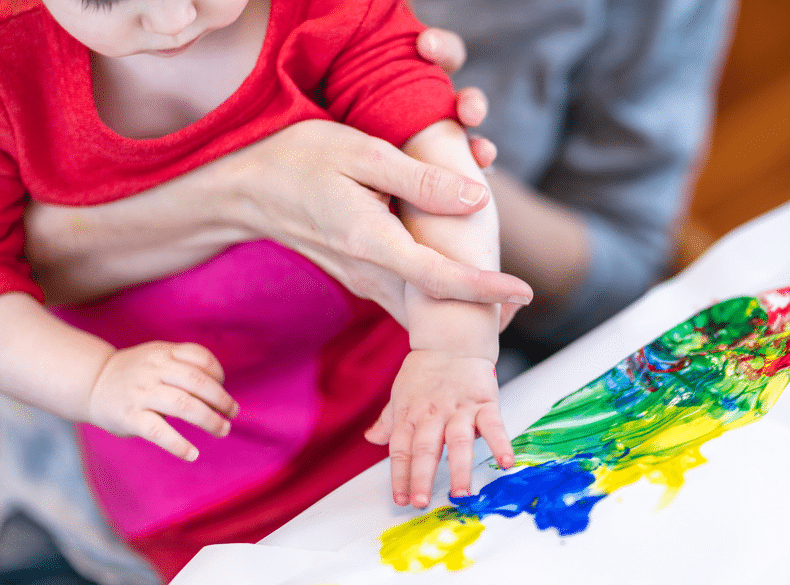
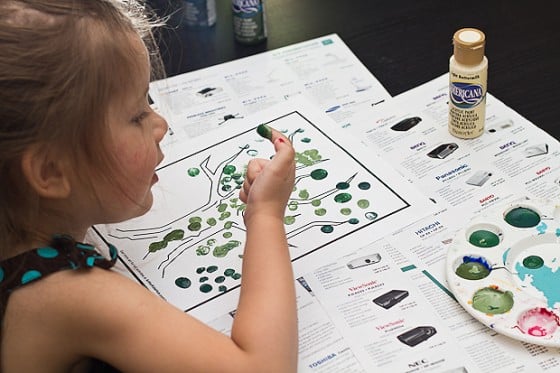
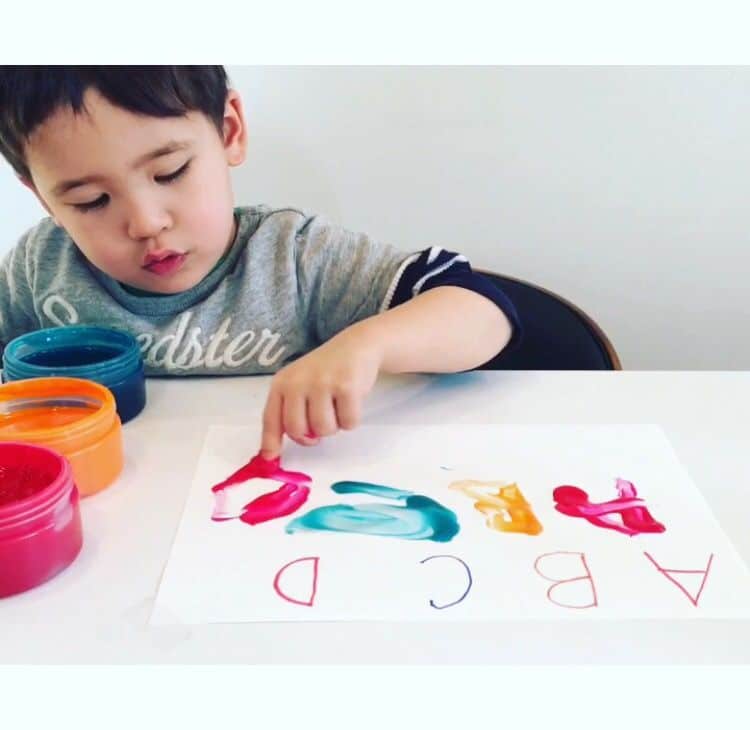
Finger painting is a unique and interesting play for kids who look forward to doing some fun activities.
It helps them engage in an entertaining learning pursuit that unleashes the artist inside them so they don’t feel bored and cause a stir.
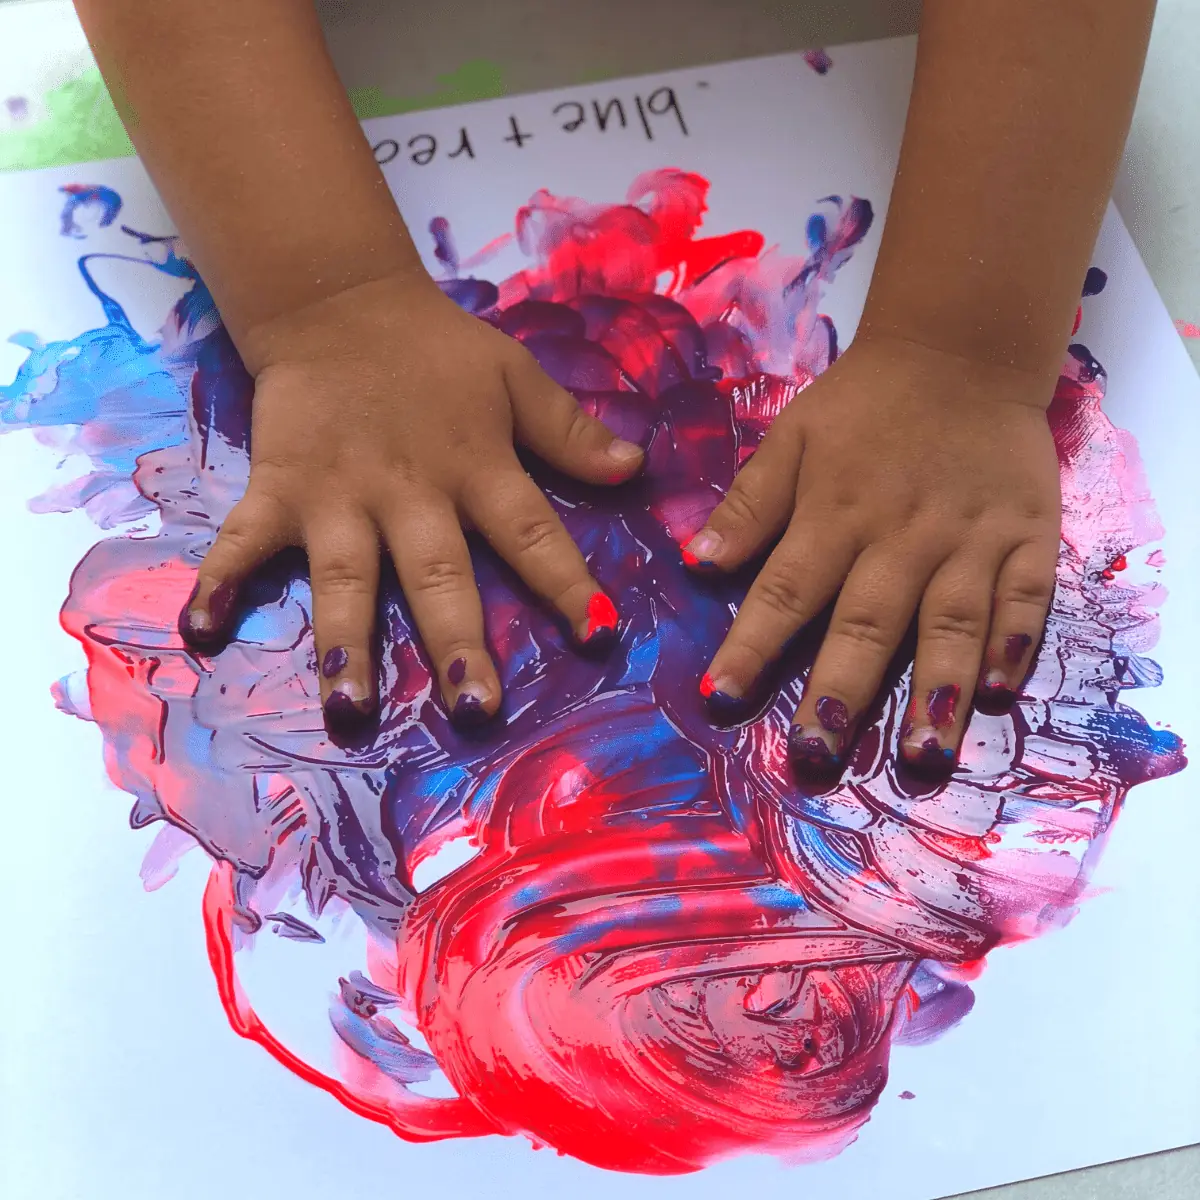
While some children prefer easy finger-paint ideas over challenging ones, and others prefer the latter, the common thing remains the mess.
But the trick we will teach you will help you thoroughly enjoy mess-free finger paint craft ideas with your child! Don’t worry; their project will only lose out on the mess and not even an inch of liveliness, we promise.
How to Do:
We know you and your little ones know how to finger-paint, but here’s a guideline for making mess-free finger-paint design.
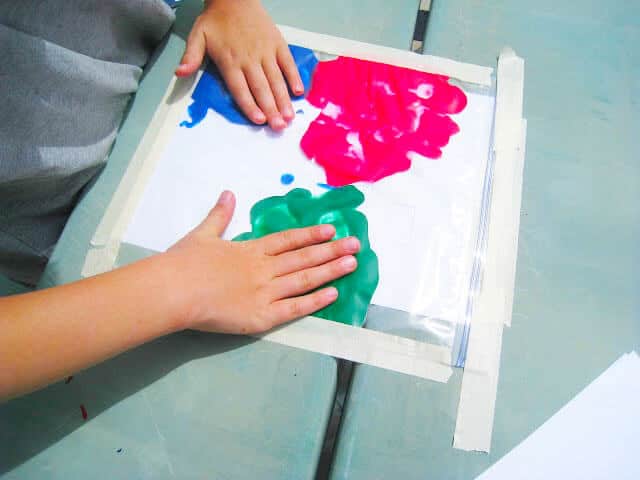
Step 1: Draw and Choose Your Colors
Draw any design that you want or ask your child to do so. Then, choose the colors you would want to finger-paint with and put dollops of the same in the required amounts in the selected areas.
Don’t put too much or too little paint because either way will be inconvenient.
Step 2: Seal in The Ziploc Bag
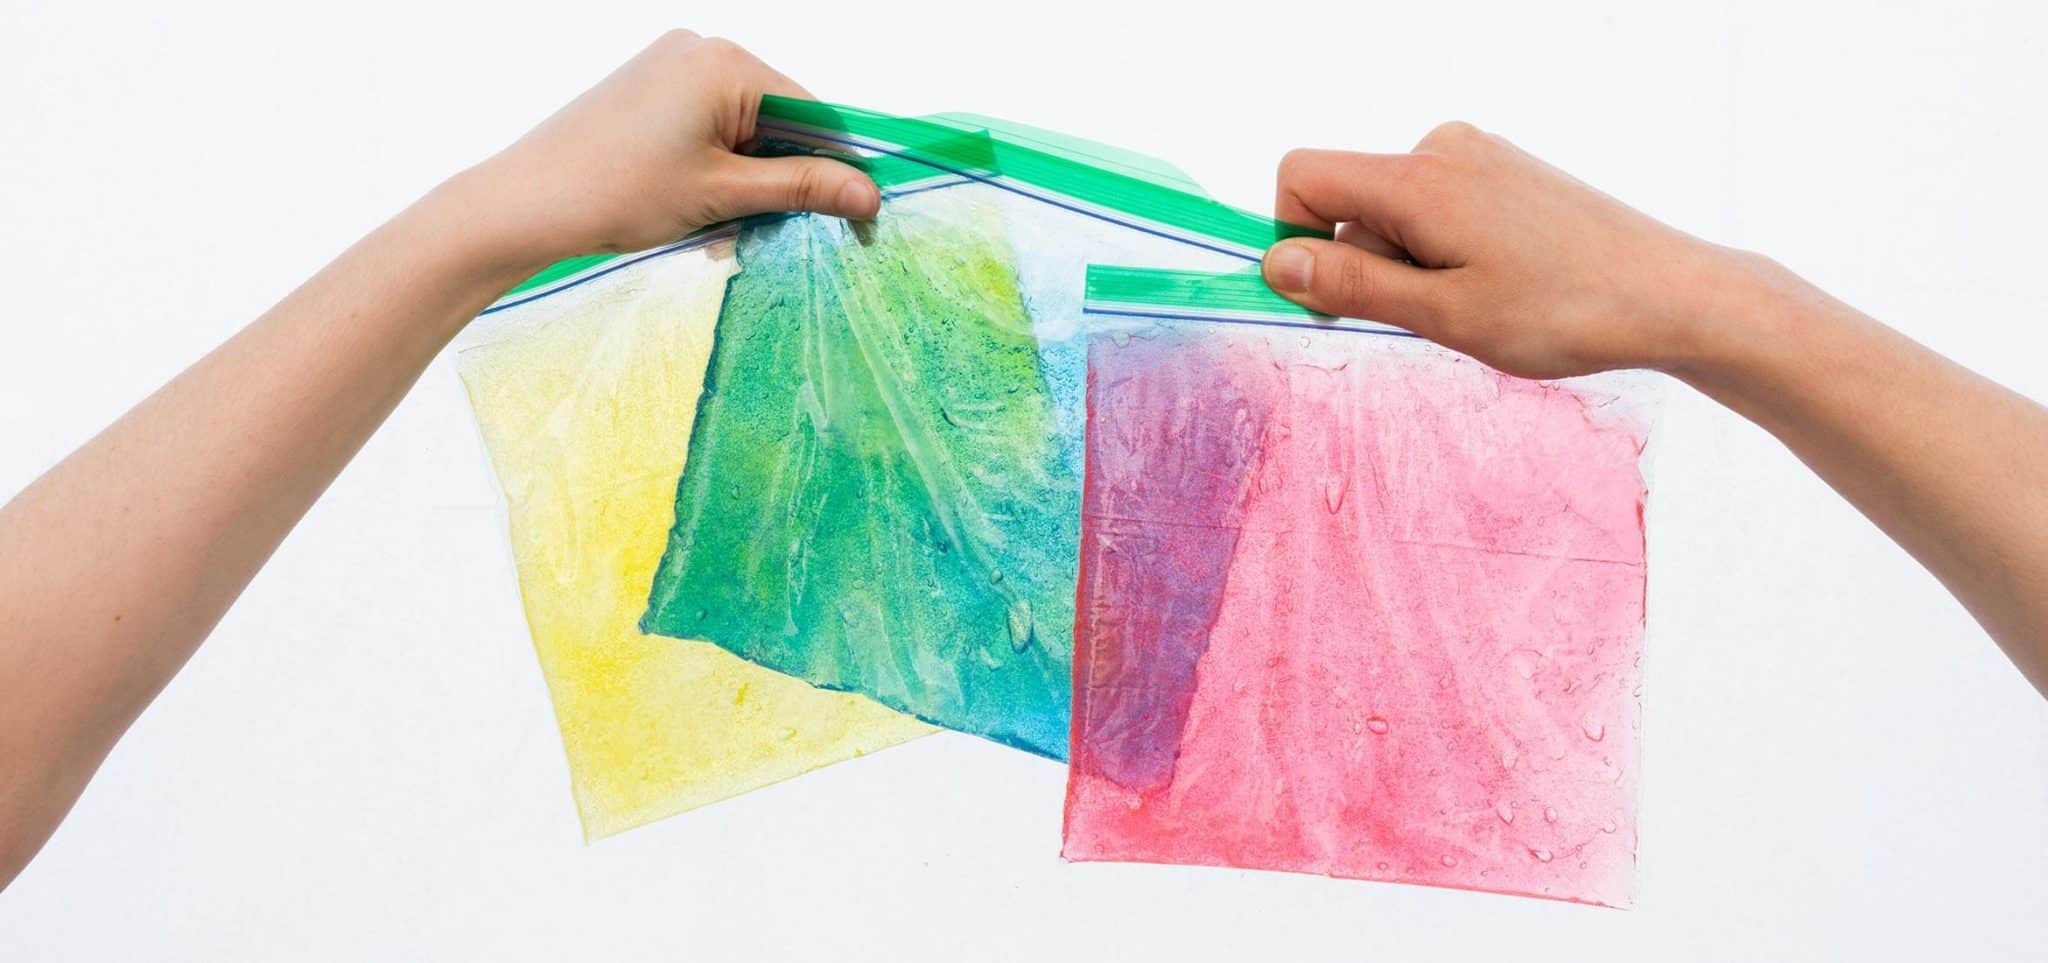
Once you’re done setting the required colors on the sheet of paper, transfer it into the Ziploc pouch and seal it well. Secure the sheet well by adhering duct tape to the pouch on all four sides.
This prevents slipping away of the paper from the pouch during finger painting.
Step 3: Finger Paint
Of course, what else? Get to work with your children, and finger-paint your way to creating the next toolless art masterpiece for your home!
To create any design, scratch the area above with your nails; voila, you’ve got your scratch art, too! Once done, take out the paper and hand it out to dry.
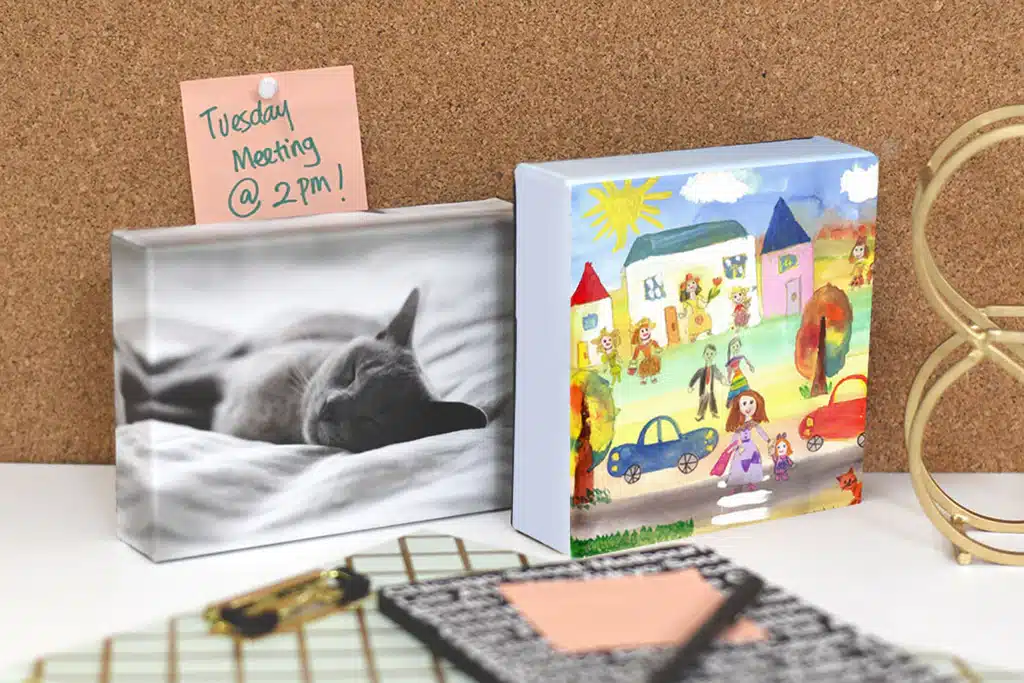
Setting Up a Mess-Free Finger-Painting Space at Home
Here are simple tricks to help you set up a mess-free finger-painting space at home!
1. Use Large Picnic Mats
Your child has a designated indoor play area, right? Right in the storage section where you store their toys and supplies, keep aside a used picnic blanket that you can use solely for their activity purposes so that it is easily accessible.
Teach your toddlers to spread out the rug before they start finger-painting, sit on it, and keep their supplies on the same.
This allows all of the mess to be contained in the rug itself so they can throw it in the trash after finishing their work; hence, the play area stays messy and color-free.
2. Use Washable Paint

Scared of your child finger-painting the wall despite asking them not to? No worries – with washable paint, even if they do so, you can hand them a damp wiper, and they can clean the wall after they have had their share of fun!
This keeps your space neat and tidy and teaches them about responsibility, which helps them later in life.
Even if they don’t habitually consecrate the walls with paint, using washable paint will help keep your floors and furniture safe just in case they accidentally put their hands on them while playing.
3. Use Pegboards in The Play Area

Categorize finger-painting supplies in caddy shelves and keep them under the pegboard.
When your child is finger painting, let’s say, on the floor or the table, they decide to get a bit naughty just because they want to.
They will end up leaving their hand and fingerprints on the pegboard itself. And, let’s admit, pegboards look so lively and natural with such cute designs from your little love monsters!
4. Finger-Paint Outdoors
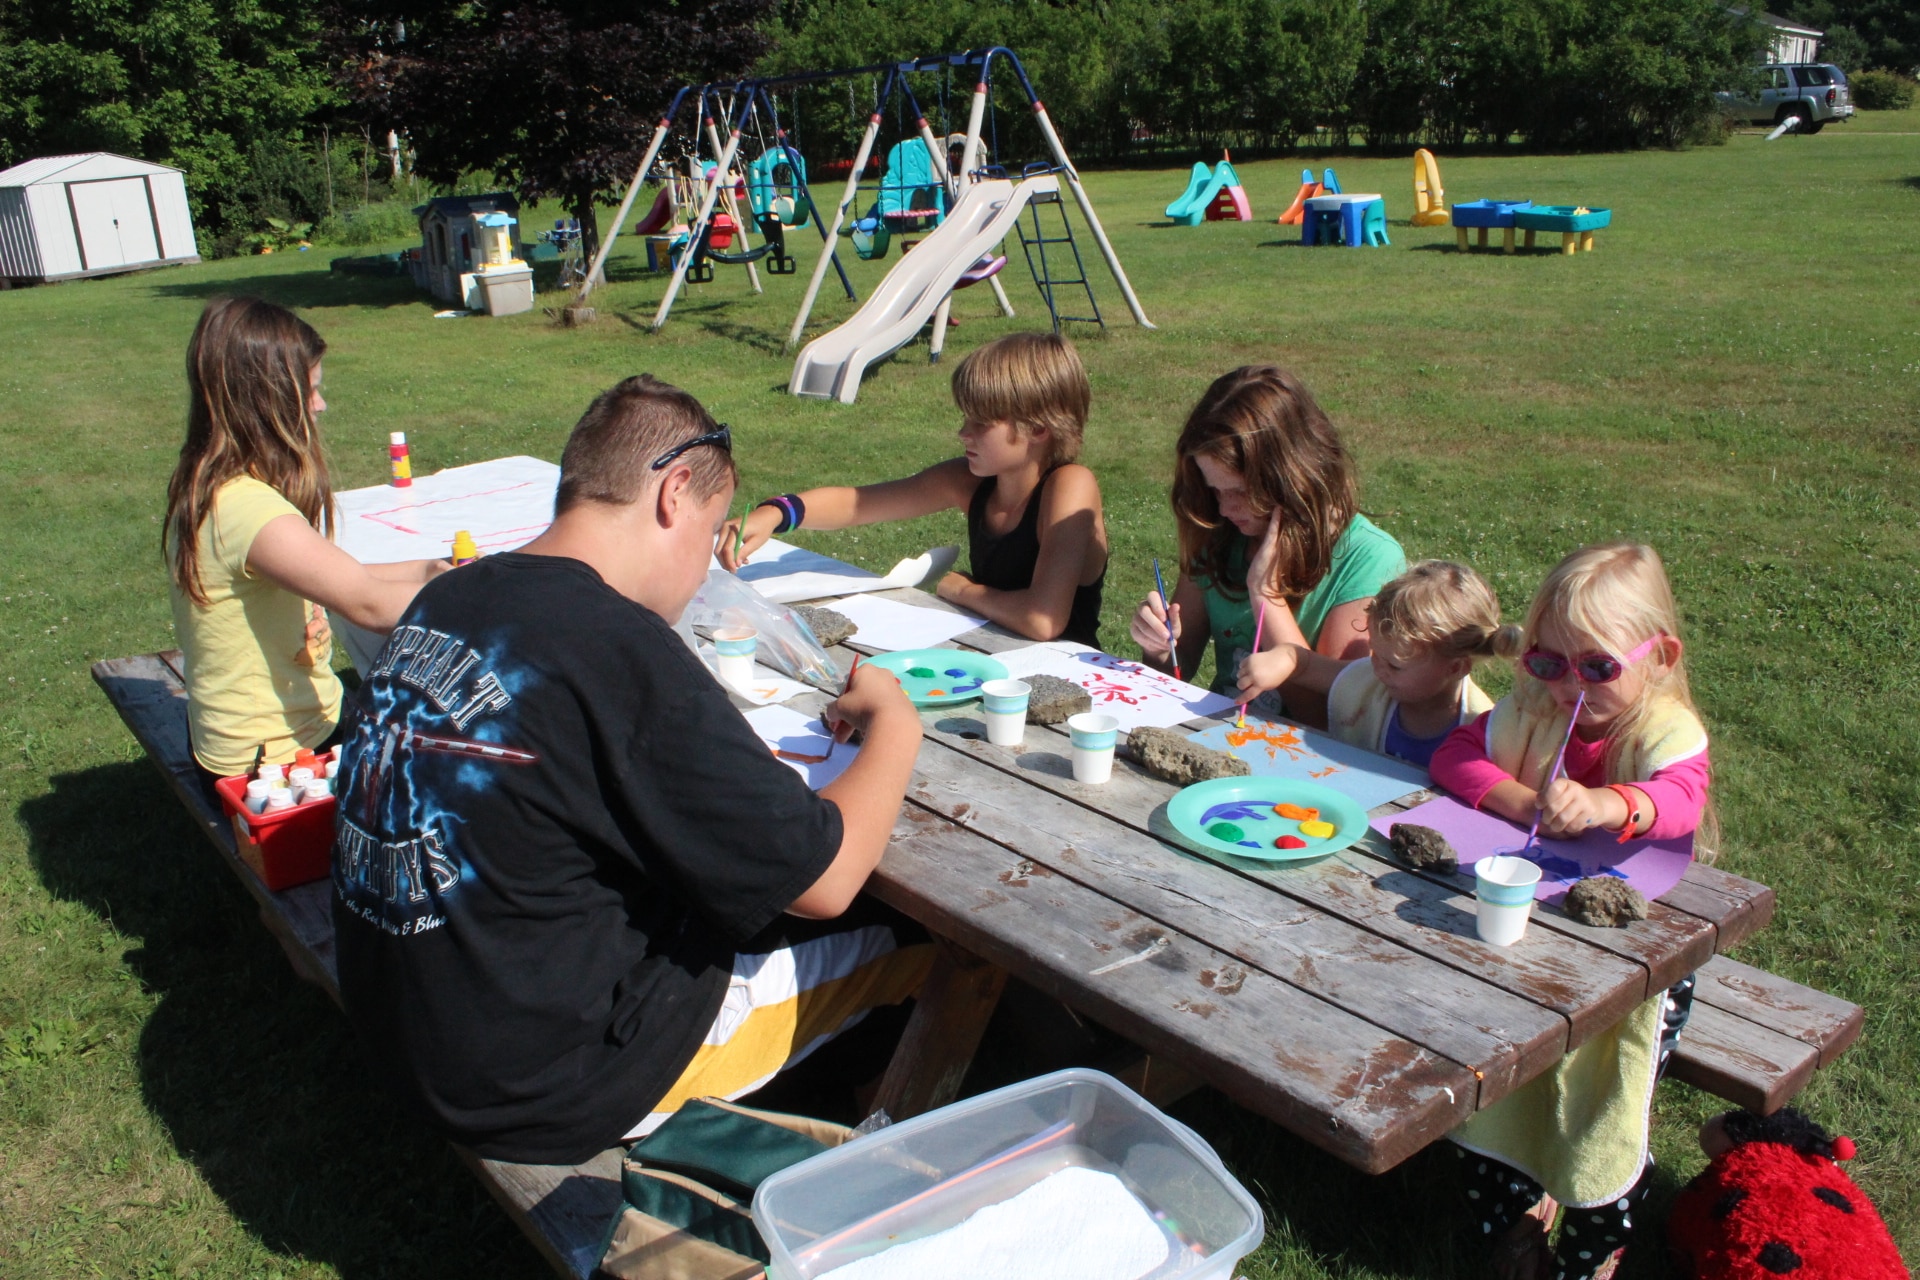
We know it isn’t always practical, but when the sun is shining bright and the weather feels pleasantly warm, shift finger-painting activities in the backyard!
We always advise categorizing children’s toys in caddy trays, baskets, or plastic tubs with lids.
This way, they are easy to carry outdoors without everyone moving back and forth from the house.
Moreover, playing outdoors makes children feel happier and expend energy such that, when they are back home after play, they are tired and listen when you ask them to nap.
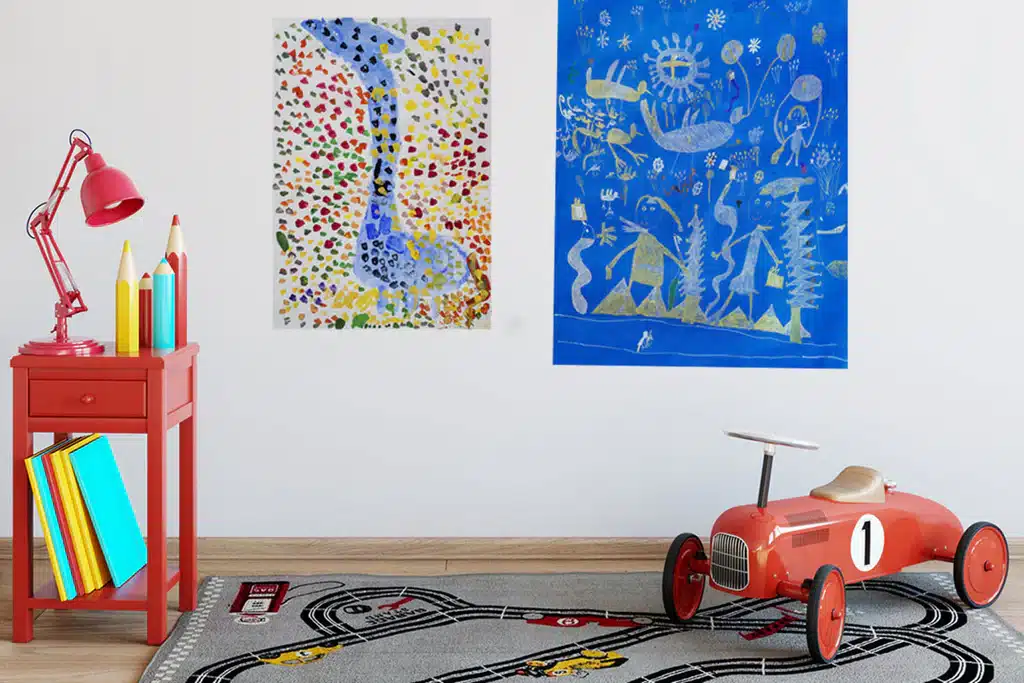
5. Set Up a Canvas Board
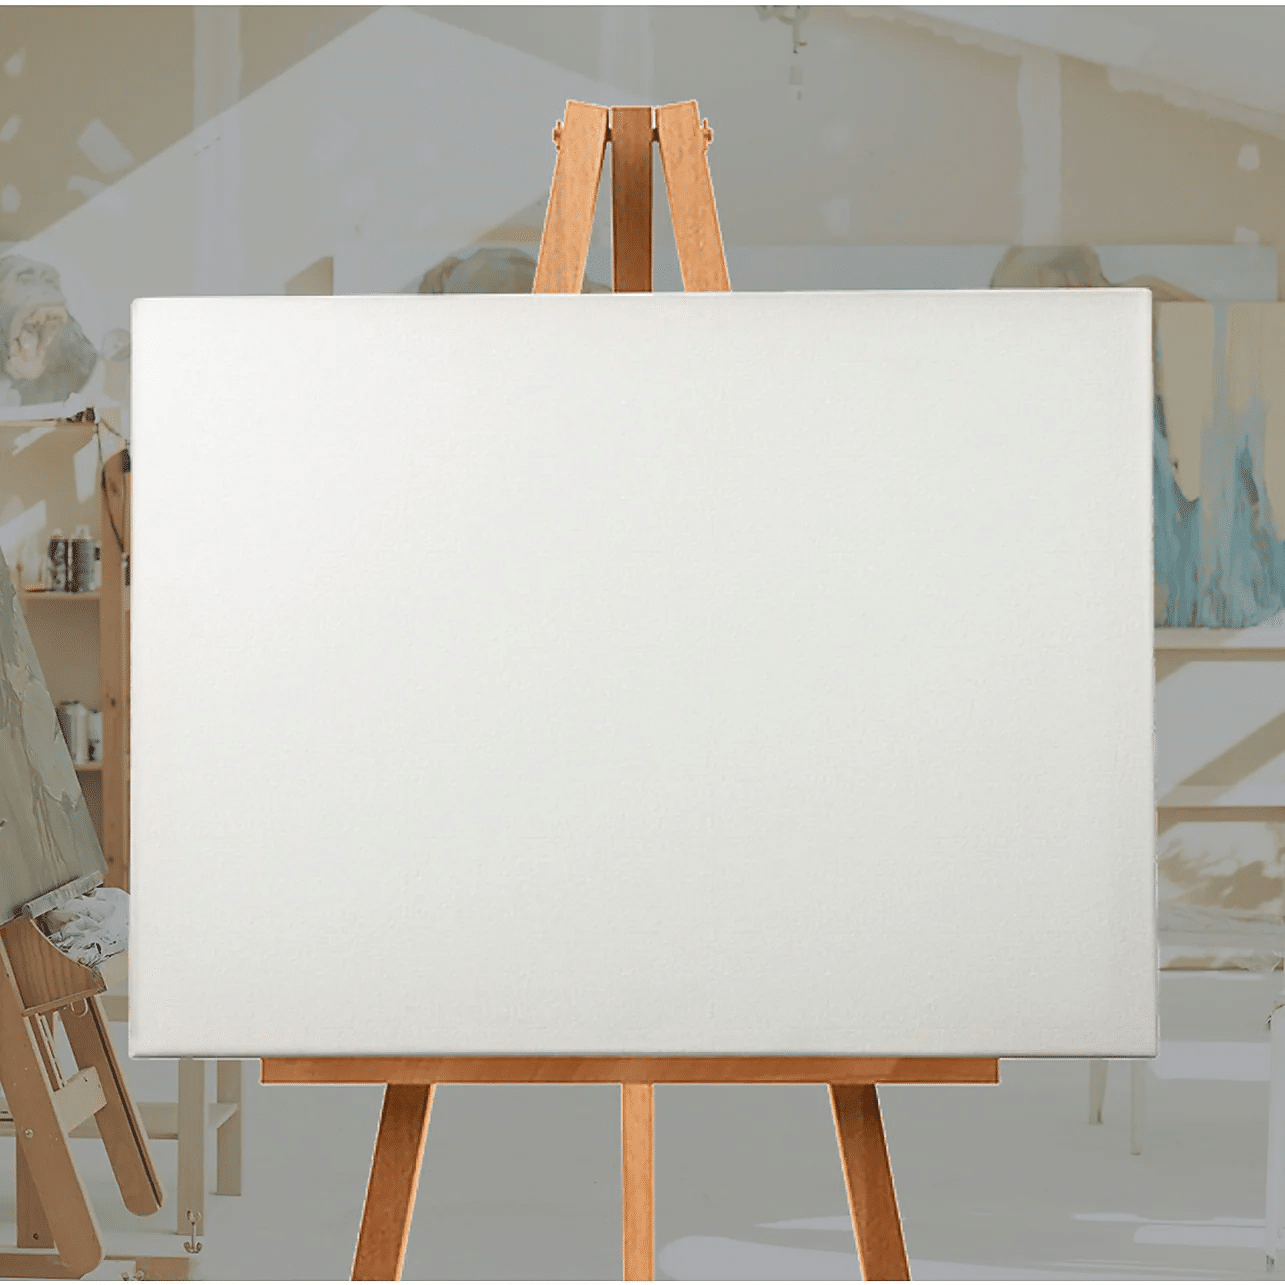
Take a large-sized canvas sheet, stick it on cardboard, and hang it by your child’s play area.
So now, whenever your child wants to finger paint, they have a large blank canvas to portray their creativity on without worrying about creating a mess.
You can also hang it on the wall by their bedside or anywhere in their room so they can choose to finger paint whenever they want to or feel bored, without you having to worry if they are taking steps to keep the area mess-free.
Summing It Up
As much as the above “mess-free” finger-painting technique sounds mess-proof, we all know kids will be kids.
They will continue to finger-paint like they did earlier, even if they don’t find the zip tops or duct tape.
And it is irrational to stop kids from being kids because, yes, after some time, they will stop doing these things, and you will be the one to miss these activities the most.
But that shouldn’t stop you from keeping your house tidy and welcoming for guests and yourselves.
Hence, you can use the above methods to set up a 100% mess-proof finger-painting space at home.
Which one are you planning to try for your home? Let us know in the comment section below.