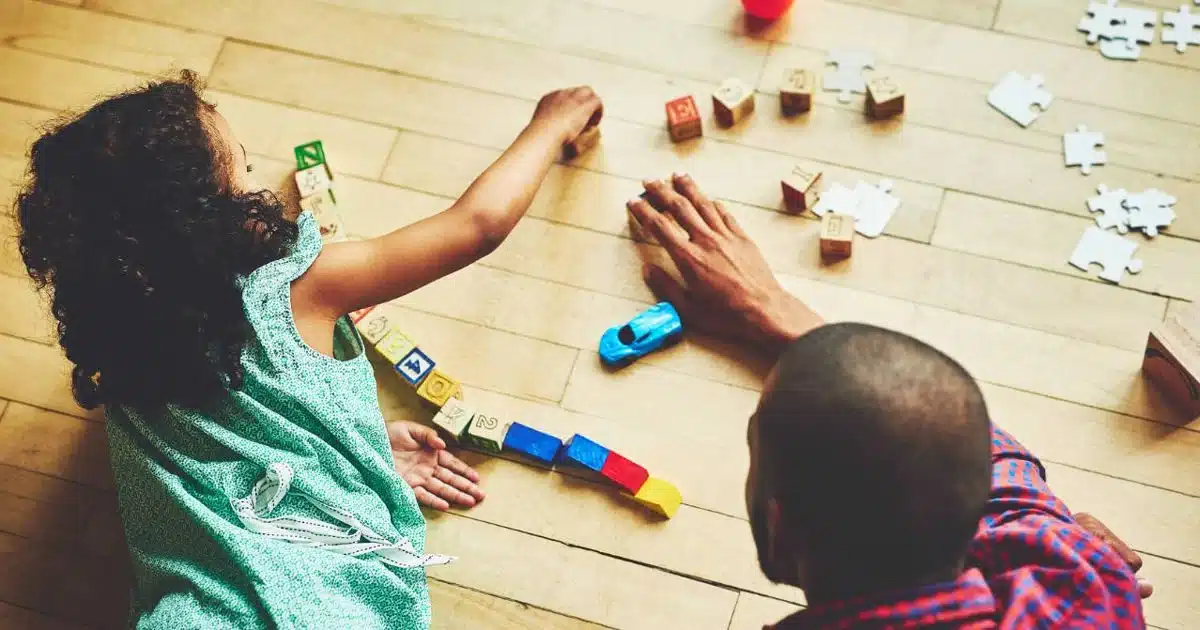
In today’s age of technology, there is a growing emphasis on the importance of talent and creativity. Many parents now understand the significance of nurturing their children’s skills. Despite this, children’s artwork often ends up displayed on walls or stored away in closets. In this article, we will delve into how parents can transform their children’s art into products allowing them to showcase their creativity while also earning a profit.
1. Uncovering Your Child’s Artistic Potential
 Each child possesses abilities waiting to be uncovered. By encouraging your child’s interest in art, including how to create merch, you can unveil their talents. Observing what type of expression naturally captivates your child – whether it be painting, drawing, sculpting, or another form – can help reveal their passion.
2. Cultivating Their Artistic Abilities
Once you have identified your child’s medium, it is essential to nurture and refine their skills. Enrolling them in art classes or workshops tailored for youngsters offers instruction and guidance suited to their age group. These structured educational settings not only enhance technique but foster creativity by introducing children to various art styles and techniques.
3. Provide Resources and Material Support
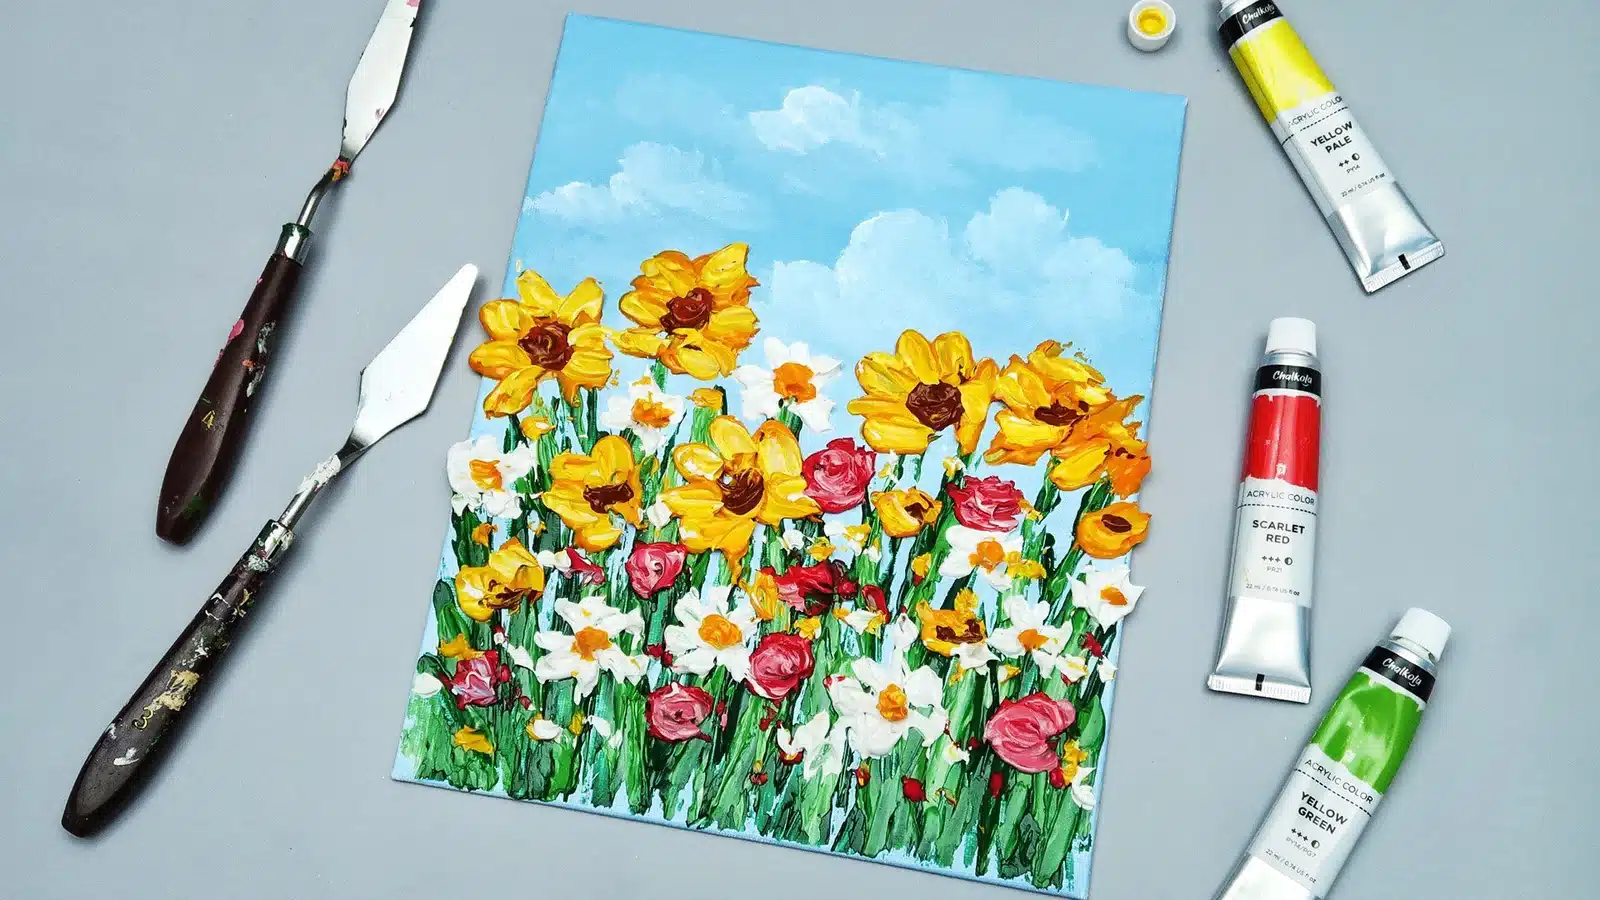
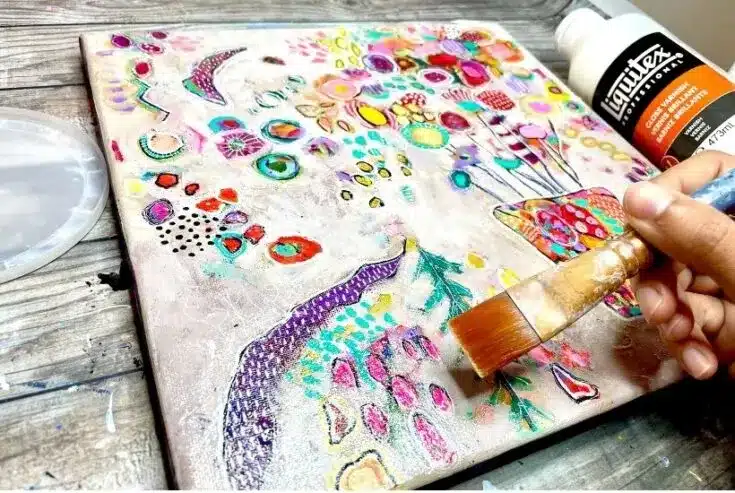
 To support your child’s development, make sure they have access to a variety of art supplies that match their preferred medium. Providing a range of materials like paints, brushes, canvas paper, clay, and markers allows them to explore and experiment while staying engaged in the process.
4. Encourage Exhibition Opportunities
Encouraging opportunities for your child to showcase their art is important for boosting their confidence and receiving feedback. Look for galleries or community events that feature children’s art displays, or think about organizing an exhibition at a community center. Participating in competitions can also be a way for young artists to get noticed.
5. Build an Online Presence
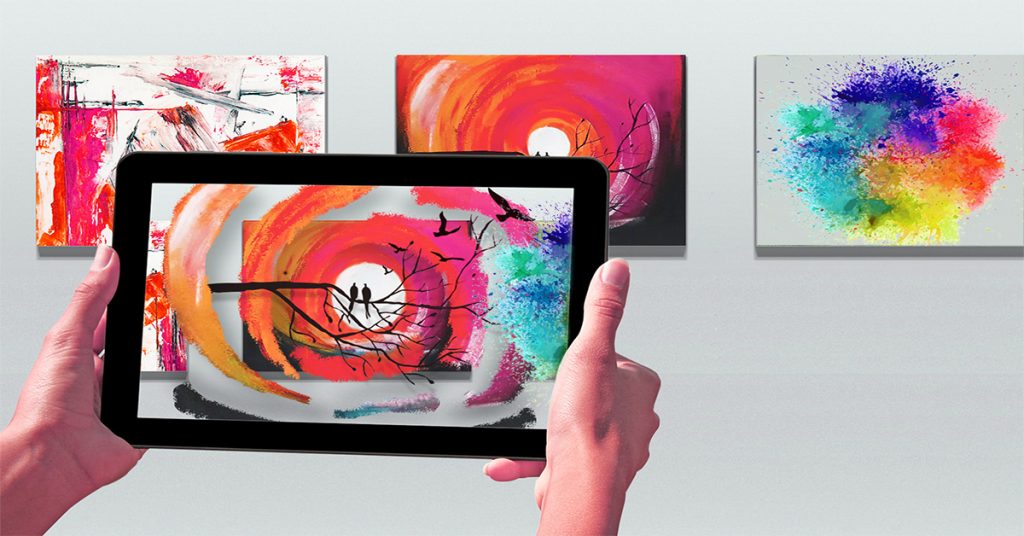
 In today’s age, the internet offers a platform for displaying talent and connecting with others who share similar interests. Set up a gallery or portfolio to showcase your child’s artwork. Utilizing social media platforms like Instagram and Facebook can help broaden the audience by sharing their creations.
6. Explore the World of E-commerce
Consider exploring e-commerce possibilities to transform your child’s art into merchandise. Selling your child’s art products on platforms like Etsy and eBay can be an opportunity. Whether it’s downloads, physical prints, personalized stationery, stickers, or even clothing items featuring their artwork, there are plenty of options to explore.
7. Collaborate with Local Businesses
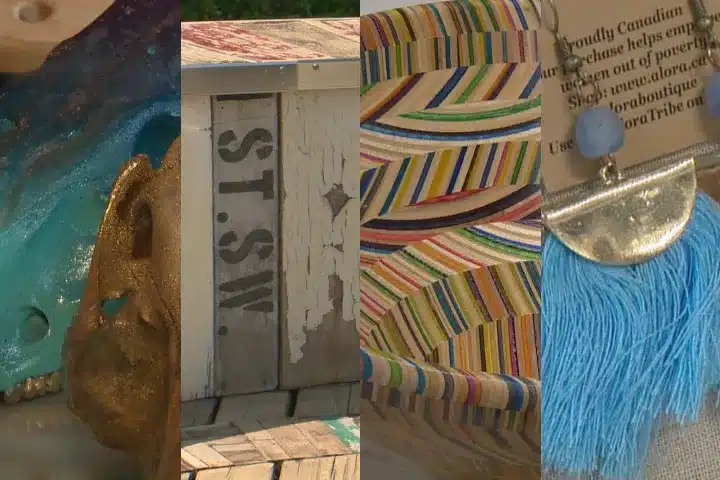
 One idea is to team up with businesses to sell your child’s art offline. Reach out to cafes, bookstores, or boutiques in your area that might be interested in showcasing and selling your child’s creations. Think about merchandising concepts like greeting cards or exclusive notebooks for the back-to-school period.
8. Personalized Gifts and Commissions
Another way to make money from your child’s artwork is by offering gifts and commissions. People love giving items with a touch as gifts. By creating custom pieces based on requests, you can cater to this market while offering one-of-a-kind products.
9. Strengthen Business Skills
 It’s not only about nurturing your child’s abilities. It’s also essential to teach them entrepreneurial skills early on. Strengthening their business skills alongside their creativity can set them up for success in the future.
By involving children in tasks such as setting prices, marketing their creations, packaging orders, and managing finances for materials or investments like printing services or online listings, they can gain insights into operating a business.
10. Seek Professional Guidance if Needed
If you find the process of turning kids’ art into products overwhelming or beyond your expertise, consider seeking advice from artist consultants specializing in children’s art or business mentors. Their expertise and wisdom can offer guidance as you navigate this blend of creativity and commerce.
In conclusion,
Transforming your child’s artwork into items not only celebrates their imagination but also teaches essential life skills. Fortunately, advancements in technology and various online platforms have made it easier to connect with buyers.
By nurturing your child’s abilities utilizing e-commerce channels and exploring opportunities, parents can support their children on a rewarding artistic journey while transforming their creations into tangible goods to share with others.