Recently children have started spending most of their time with technology like mobiles and computers, and as parents, it is always tough to keep children away from these devices. Still, there are some fun activities that you can ask your children to try so they can fall in love with some more learning and entertainment.
Crafting and puffy paint activities are entertaining and as well as beneficial for your kid’s motor skill development. Are you excited? Together, we will explore the joy of mixing colors and the thrill of experimenting with textures.
This blog will take you on a fun-filled journey of creating puffy paint with kids, exploring its benefits, and unleashing your little one’s creativity.
What is Puffy Paint
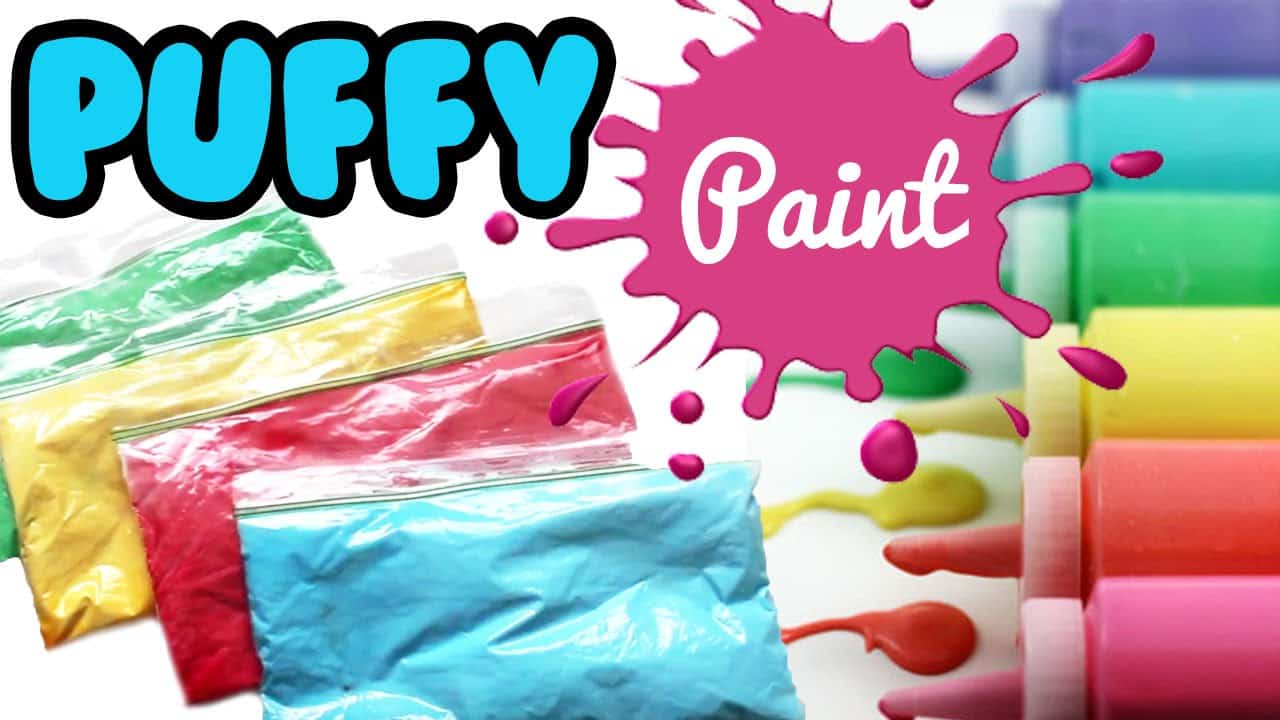
Puffy paints, generally known as 3D paints, is a versatile crafting material that allows your kids to add texture and dimensions to their artwork. The versatility of puffy paint extends beyond traditional painting.
Crafters often use it to add textured elements and embellishments to various projects, such as greeting cards, scrapbooks, and DIY decorations. Different from regular paint, puffy paint dries out fast and is raised with a puffy surface, making the creation stand out.
Ingredients Required for Puffy Paint

Though there are multiple options out there that you can try to make your puffy paint, here we have taken some organic and safe-to-use things so that it would be good for your children to play with them and they will not do any harm to your kids.
- 1 cup all-purpose flour
- 1 cup white glue
- 3+ cups of shaving cream (Foam, not gel)
- Food coloring
- Squeeze bottles or plastic bags with small holes
Steps to Follow to Make Puffy Paint
1. Measure Your Ingredients and Add Accordingly
Start with keeping handy all the ingredients and measuring them accurately; mix shaving cream, flour and glue together without exceeding the amount of any of them. Mixing these dry ingredients first will prevent any lumps from foaming in the final puffy paint mixture. Consider using spoons and cups to measure the ingredients precisely to make sure that the quantity of one particular color does not exceed of another one. Scoop the flour and glue with caution into different measuring cups, making sure to level off any excess for an accurate mixture.
2. Divide the Mixture
Depending on how much quantification of a particular color you want, you can divide the base mixture into several boxes. Still, again, it’s very important to take care not to mix and exceed the quantity of one color to another. Dividing the mixture is one of the most crucial parts, which requires you to choose what you want to create, based on which you can choose how much of each color you will need and can divide the mixture as necessary.
3. Add Coloring
Now comes the fun part – Colouring the puffy paint! Add a few drops of food color into every box, take care of the amount of the color you pour, and mix well until the color is equally distributed. Allow your little artists to showcase their creativity and make their own color palettes. These vibrant puffy paints will make their artwork even more exciting. In the puffy paint activity is where your children will get a chance to learn about color theory and different tones of colors. They can learn more about the technique of color blending as well.
4. Transfer to Plastic Bags
To make it easy for your children to do their artwork, transfer the paints into plastic bags or squeeze bottles. In order to use plastic bags, make sure that the bags are clean and dry, and fill the bags only two-thirds of the way in order to give space for straightforward handling as per the general rule of crafting. Make sure they are sealed after pouring the colors, and cut a small hole at one corner of the plastic bag to create a makeshift piping bag.
5. Create Artwork
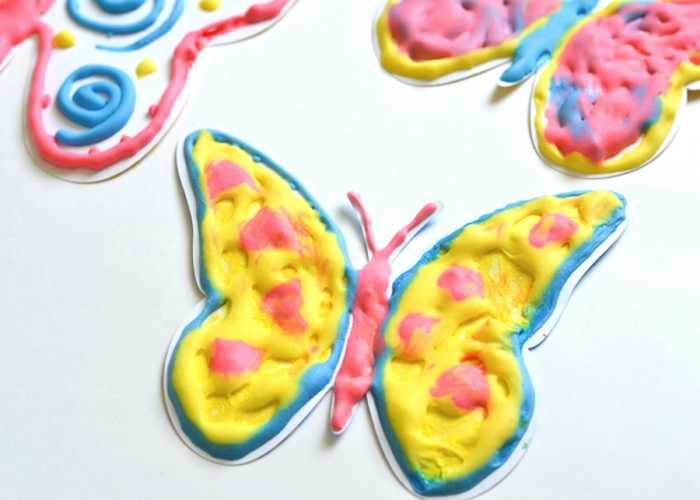
When the coloring material is all ready! Now it’s time for the kids to unlock their creativity and make some memorable paintings on the board. Provide them with paper, cardboard, or any other suitable surface to work on. Puffy paints create the 3D image of any design you make, which makes it even more beautiful and ravishing. So let your children’s creativity go wild and create a masterpiece with their unique thinking.
6. Drying Time
Once the children are done with their artwork, keep the cardboard aside and let it try for some hours. The time for dryness depends on the thickness of the paint that you have used, but it generally takes 6-7 hours minimum. We understand that waiting for long hours might be challenging for the kids, but the outcome will be worth the wait.
You will notice that once the puffy paint starts to get dry, it also starts to become puffier and sets well.
Safety Tips for a Better Crafting Experience
Before embarking on your puffy paint adventure, consider these safety tips to enjoy a safe and enjoyable crafting experience.
1. Adult Supervision
While it is considered to be a safe and entertaining activity for children, it is recommended to have adult supervision. Especially when handling food colors and ingredients for the children, it’s always safe to be around them, and you can always teach them more about puffy paint crafting.
2. Allergy Check
Many of us are allergic to some products; even in this activity, before using the ingredients, check for any allergies if your child has any of the ingredients you are going to use in puffy paints. While rare, we can not deny the fact that some people are allergic to the food colors or even to the flour itself.
3. Non-Edible
Some of the children have the habit of licking their fingers sometimes and even eating whatever they have in their hands. Hence it’s advised that you tell your children not to eat the stuff. Though they are all safe but are not meant to be ingested and might cause some danger. This is one of the reasons why adult supervision is advised throughout the activity.
Crafting with Puffy Paint
It’s convenient and easy to craft paintings with puffy paints. According to their imagination, your kids can make creations and paint drawings with the help of plastic bags and squeeze bottles. In addition, using puffy paint to create crafts promotes creative problem-solving and decision-making and enables young minds to broaden their horizons. It also encourages children to love art and self-expression.
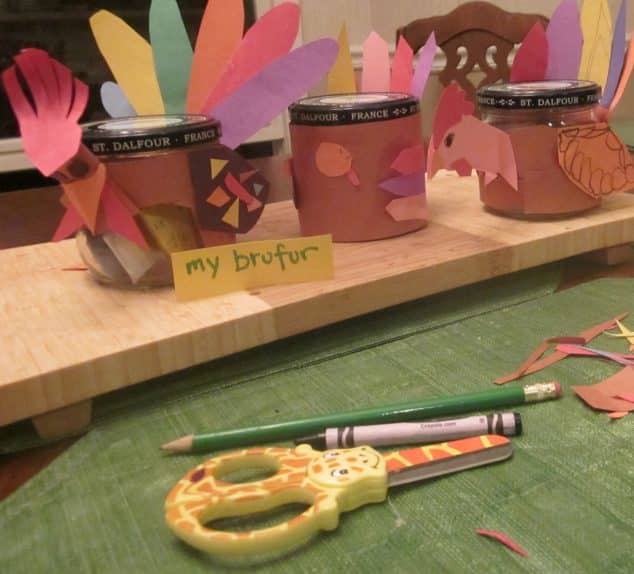
Puffy Paint Ideas
1. Glow in The Dark Moon
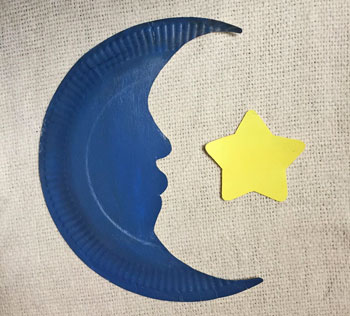
If your kids like to watch stars and sit in the moonlight, you can suggest your kids make a dark moon in a glowing background. It looks good in space and is also easy to craft. So, let’s get ready to bring the moon into the room and enlighten it with stars.
2. Rainbow Painting
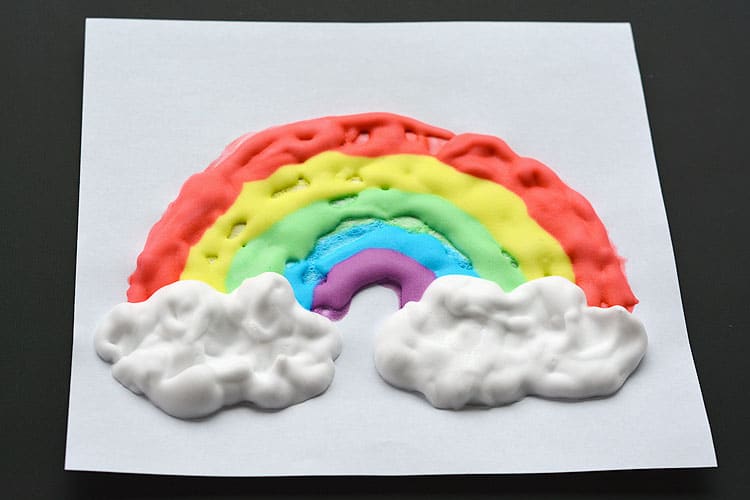
Kids always like colors and get attracted to vibrant, shiny, and lively colors. Rainbow is the perfect choice to make for kids as well as for adults. It brings positivity and calmness into your space.
3. Textured Stickers
Create your own puffy paint stickers on paper or silicon molds. Once dry, peel them off and stick them on notebooks, covers, etc.
Conclusion
All in all, the Puffy Paint activity is a great way for parents to spend time with their kids. By following the above easy recipe and safety guidelines, you can create a little space for your little artists where they can educate themselves and unleash their inner creativity. They will not only be pleased with their words, but they will also develop the essential skills that will also learn some key skills that will help them in further life.
Beyond its educational benefits, it offers a bonding experience for family or friends as they engage in different crafting projects. The easy recipes for puffy paint provide a fantastic opportunity for kids to express themselves and create their very own three-dimensional masterpieces.
Despite all the entertainment and fun, it is advised to have adult supervision throughout the process of crafting the puffy paint to ensure the security of handling elements like food coloring and to test for any allergies.
So, gather all your supplies, clear up your space, and get ready to embark on an exciting puffy paint adventure with your kids.
Frequently Asked Questions
How Long Does Puffy Paint Last?
The Puffy paints are advised to be used the same day as you make them; with shaving cream included, the paint loses its puffy texture by the next day. So even if you save it, there’s no way you can use it again, and it will be more like you will be left with runny glue.
How Long Do Puffy Paint Crafts Last?
The lifespan of puffy paint depends on several factors, like how well they are made, what materials have been used, etc. Generally well-crafted and properly cared for, puffy paint crafts can last for several months, even for years. It is important to understand that puffy paints are made for decorative and entertainment purposes only and may not have a longer lifespan like paintings or sculptures.
Can I Make Puffy Paint Ahead of Time?
If you are using a homemade recipe, then you should use it the same day as it does not contain preservatives which means they can not stay for long. However, some readymade available puffy paint can be preserved, but it is always advisable to air-tight the puffy paint after every use to keep it dry.