
Making your own piñata is a fun and creative way to add a personal touch to any celebration.
Whether it is for a birthday, holiday, or just for fun, crafting a piñata is easier than you might think!
In this complete tutorial, we’ll walk you through each step, from gathering supplies to adding the finishing touches.
With a few simple materials and some basic crafting techniques, you can create a custom piñata that’s sure to be the highlight of the party.
Let’s dive in and start making a piñata that everyone will enjoy!
What is a Piñata?
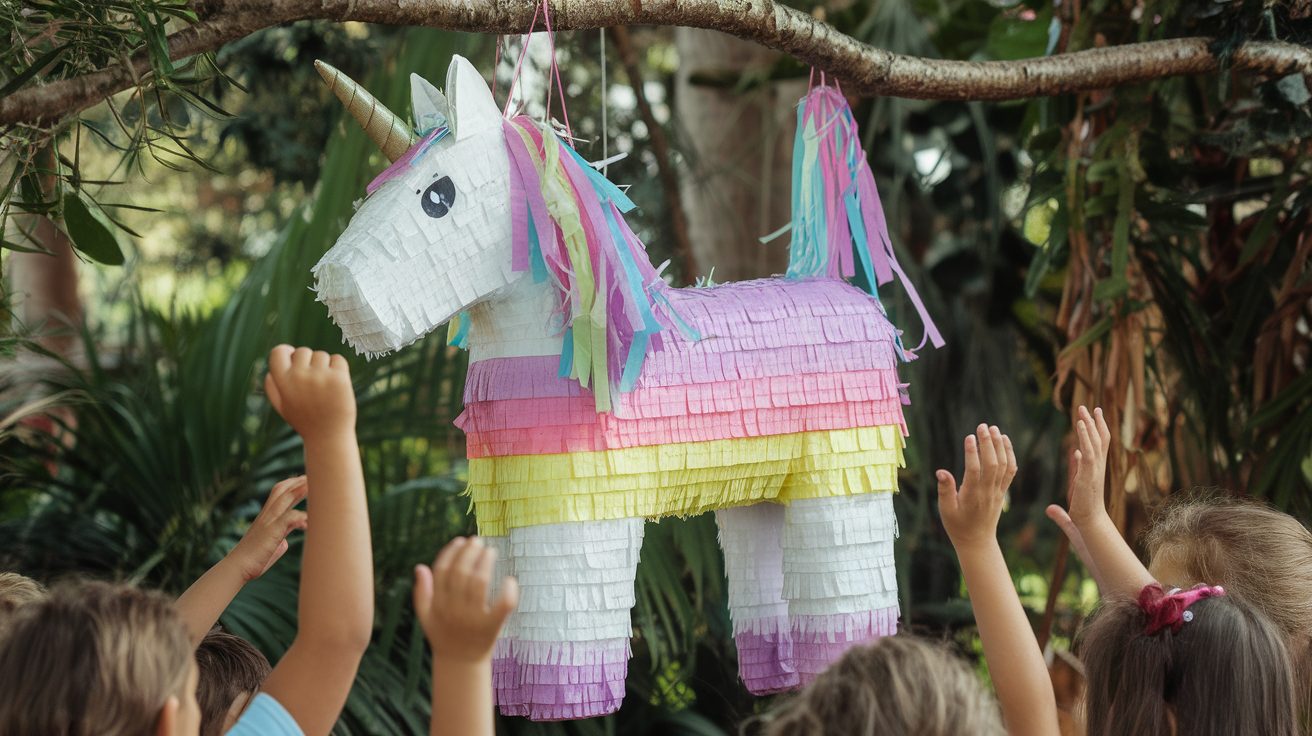
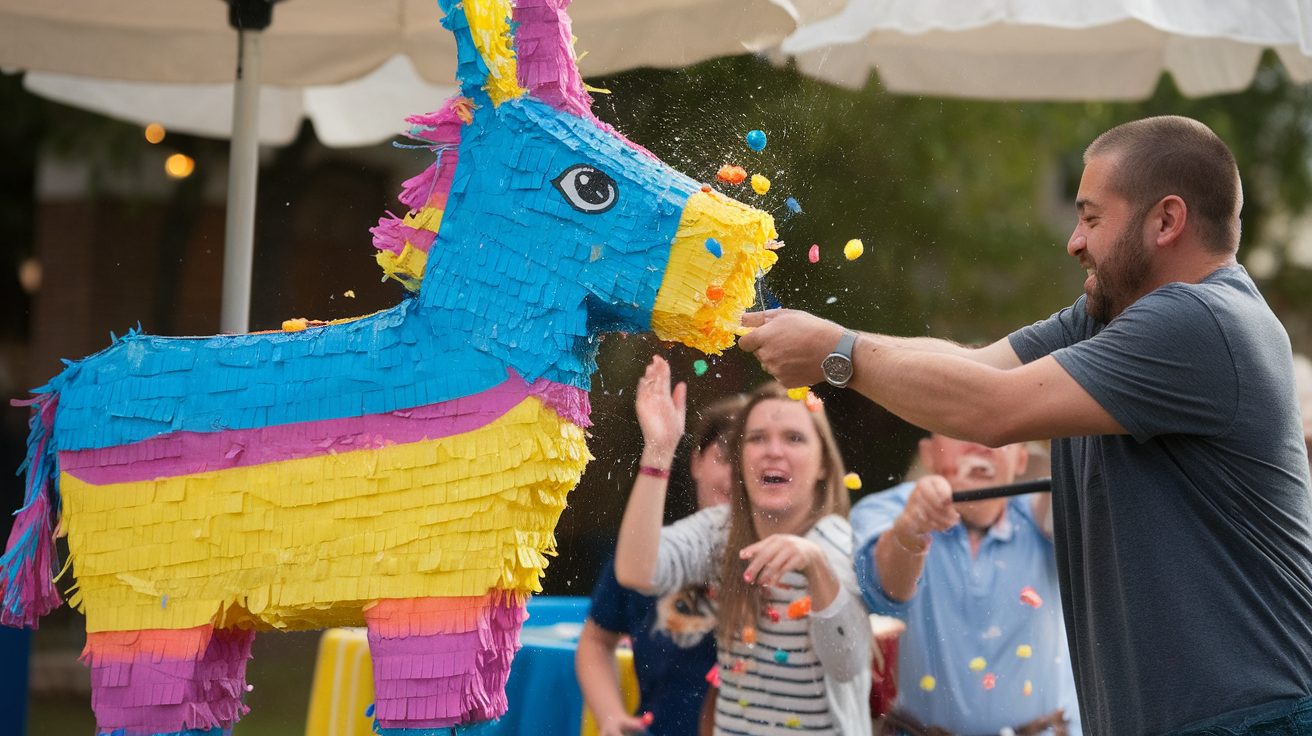
A piñata is a traditional party game that involves a decorated container, often in the shape of an animal, star, or other fun designs, filled with candy, small toys, or party favors.
Participants, usually blindfolded, take turns hitting the piñata with a bat or stick to release its contents.
The piñata is often hung from a tree or ceiling, adding excitement and suspense to the event.
It’s a popular activity at birthdays, holidays, and celebrations, offering both entertainment and a sweet reward for the lucky one who breaks it open.
How to Make a Piñata: A Step-by-Step Guide
A Pinata not only lets you personalize the design for any occasion, but it also brings out your inner artist!
From choosing your shape to deciding how to decorate, each step offers plenty of room for creativity.
Plus, when you fill your piñata with treats and see the excitement of others as they take turns breaking it open, you’ll feel the joy of your hard work paying off.
Supplies Needed
|
Supplies |
Quantity |
| Cardboard box | 1 box |
| Duct tape | 1 roll |
| Crepe streamers | 3-4 rolls |
| Glue | 1 bottle |
| Ribbon | 1-2 rolls |
| Skewer (for making holes) | 1 skewer |
| Candies | Approx. 1-2 bags |
| Chocolates | Approx. 1 bag |
| Small soft toys | 3-5 toys |
| Party favors | 5-10 items |
| Lights | 1 set (optional) |
| “Happy Birthday” banner | 1 banner |
Step 1: Prepare and Cut the Box
- Open the box and cut along one corner. Tape it back to make it easier to break.
- Cut out the inner flaps of the box for easy breaking.
- Seal the openings with duct tape, leaving spaces for easy access.
Step 2: Fill the Pinata
- Fill the box with candies, chocolates, small soft toys, party favors, and lights.
Step 3: Make and Attach the Handle
- Cut slits along the crepe streamers to create fringe.
- Glue the streamers onto the box, layering from bottom to top, one side at a time.
- Create a handle by opening one side, making holes, and looping ribbon through, securing it with knots.
Step 4: Add Streamers and Decoration
- Continue gluing streamers on all sides of the box. For quicker results, layer and cut the streamers in larger rolls.
- Stick a “Happy Birthday” banner on one side of the box for added decoration.
Step 5: Final Touches
- Trim excess streamers for a clean finish.
- Layer the top side of the box with streamers for a polished look.
Your DIY pinata is now complete and ready to bring joy to the celebration!
Video Tutorial
For a detailed step-by-step tutorial, check out this video by Dainty Crafters.
Piñata Safety Tips
While Piñatas Are a Lot of Fun, Safety Is Always a Priority! Here Are Some Tips to Keep Everyone Safe While Enjoying the Game:
- Supervision Is Key: Always Have an Adult Supervise the Piñata Activity, Especially when Kids Are Involved, to Ensure Everyone Stays Safe While Swinging.
- Set Boundaries: Make Sure There’s Enough Space for Participants to Swing without Hitting Anyone Nearby. Clear the Area of Any Obstacles or Sharp Objects.
- Use a Soft Bat or Stick: a Plastic Bat or A Foam Stick Is Ideal for Kids. Avoid Using Hard or Heavy Objects that Could Cause Injury.
- Stay Clear of The Swing Area: Make Sure No One Is Too Close to The Piñata when It’s Being Hit. Keep a Safe Distance Between the Person Swinging and The Onlookers.
- Take Turns: Don’t Let Everyone Swing at The Piñata at Once. Instead, Let People Take Turns to Avoid Any Accidents.
- Keep an Eye on The Piñata: Ensure the Piñata Is Hung Securely Before Letting Anyone Take a Swing at It. A poorly Secured Piñata Can Fall Unexpectedly, Causing Accidents.
Wrapping It Up!
Congratulations — you’ve made your very own piñata!
With just a little creativity and some basic materials, you’ve crafted a fun and personalized addition to any party.
If it’s filled with candy, toys, or party favors, your piñata is sure to bring joy and excitement to the celebration.
Remember, the process is just as fun as the final result, so don’t be afraid to get creative with your designs and decorations.
Now, all that’s left is to hang it up, gather your friends and family, and enjoy watching everyone take turns trying to break it open. Have fun and happy piñata-making!
Frequently Asked Questions (FAQs)
How Do You Make a Homemade Piñata?
Make a piñata by cutting cardboard into shapes, adding a structure with toilet paper rolls, decorating with tissue paper, and filling with candy.
What Paper Is Used for Piñata?
Piñatas are typically made using tissue paper, crepe streamers, or newspaper for decorating and covering the base.
How Does a Piñata Break?
A piñata breaks when enough force is applied, causing the cardboard to crack and spill out the treats inside.
How to Make a Piñata with Flour and Water?
Mix flour and water to create a paste. Dip strips of newspaper into the paste, layer them over a balloon, and let it dry before popping the balloon and adding decorations.


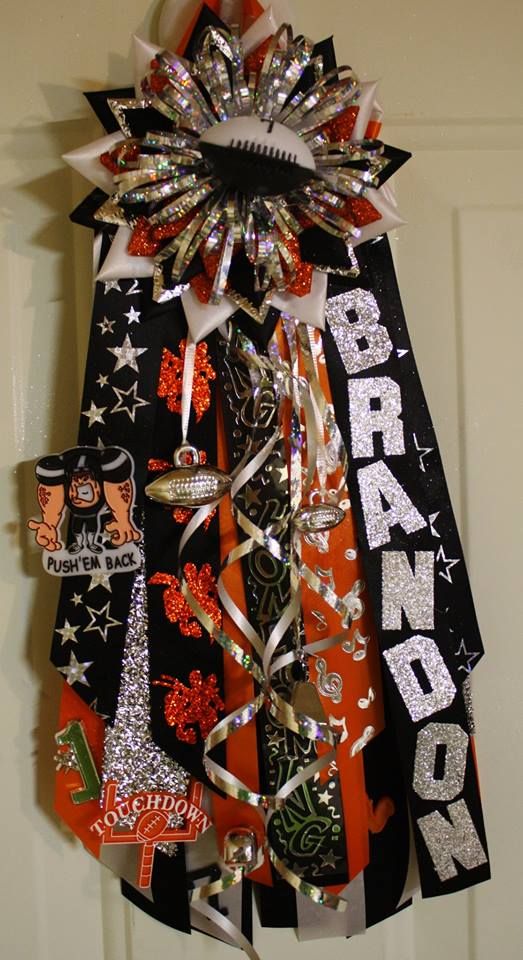
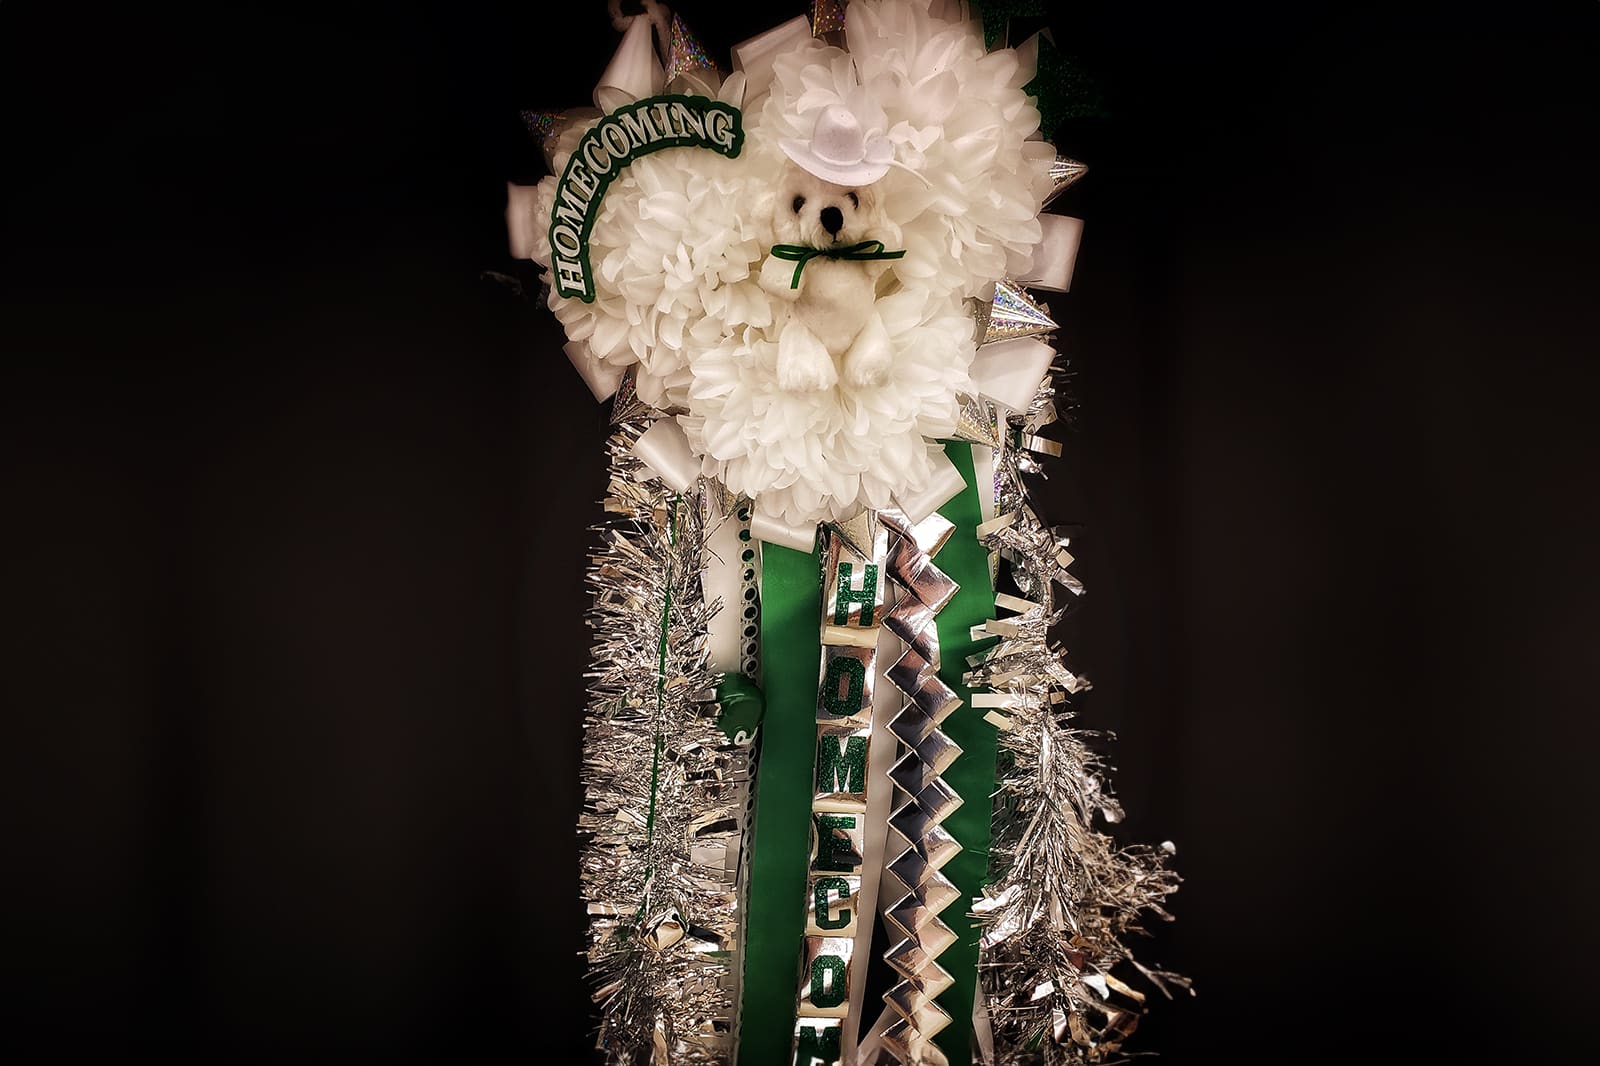 Out with the predictable backers that everyone will have–why not craft a one-of-a-kind backer for your homecoming mum? You’d be surprised at just how many ideas you can come up with when you get started! Here’s how you can make your own:


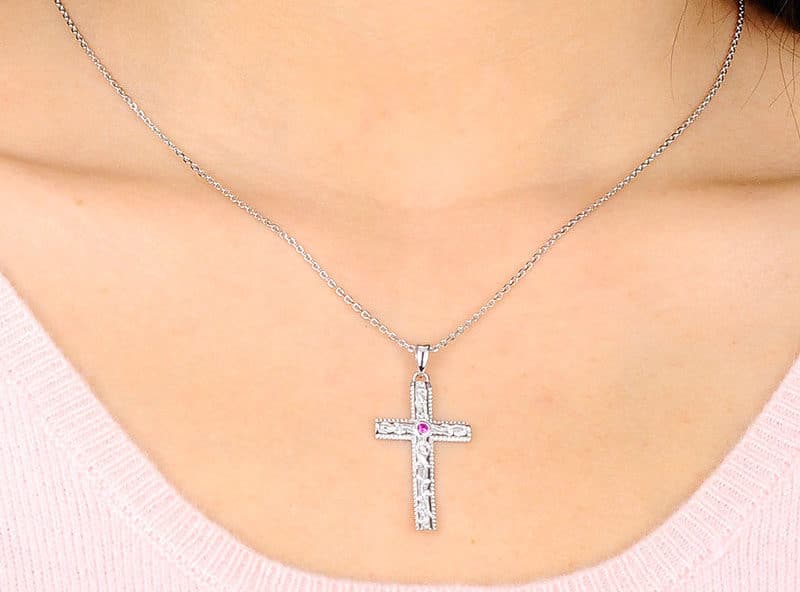 Choosing the right type of gold is critical. For handmade crosses, 14k gold is often recommended because it offers an optimal balance between durability and workability. It’s less likely to deform and easier to handle compared to the softer 18k or 24k gold. Additionally, sourcing your gold and other materials from reputable suppliers ensures that you are working with high-quality elements that will reflect in the final product.
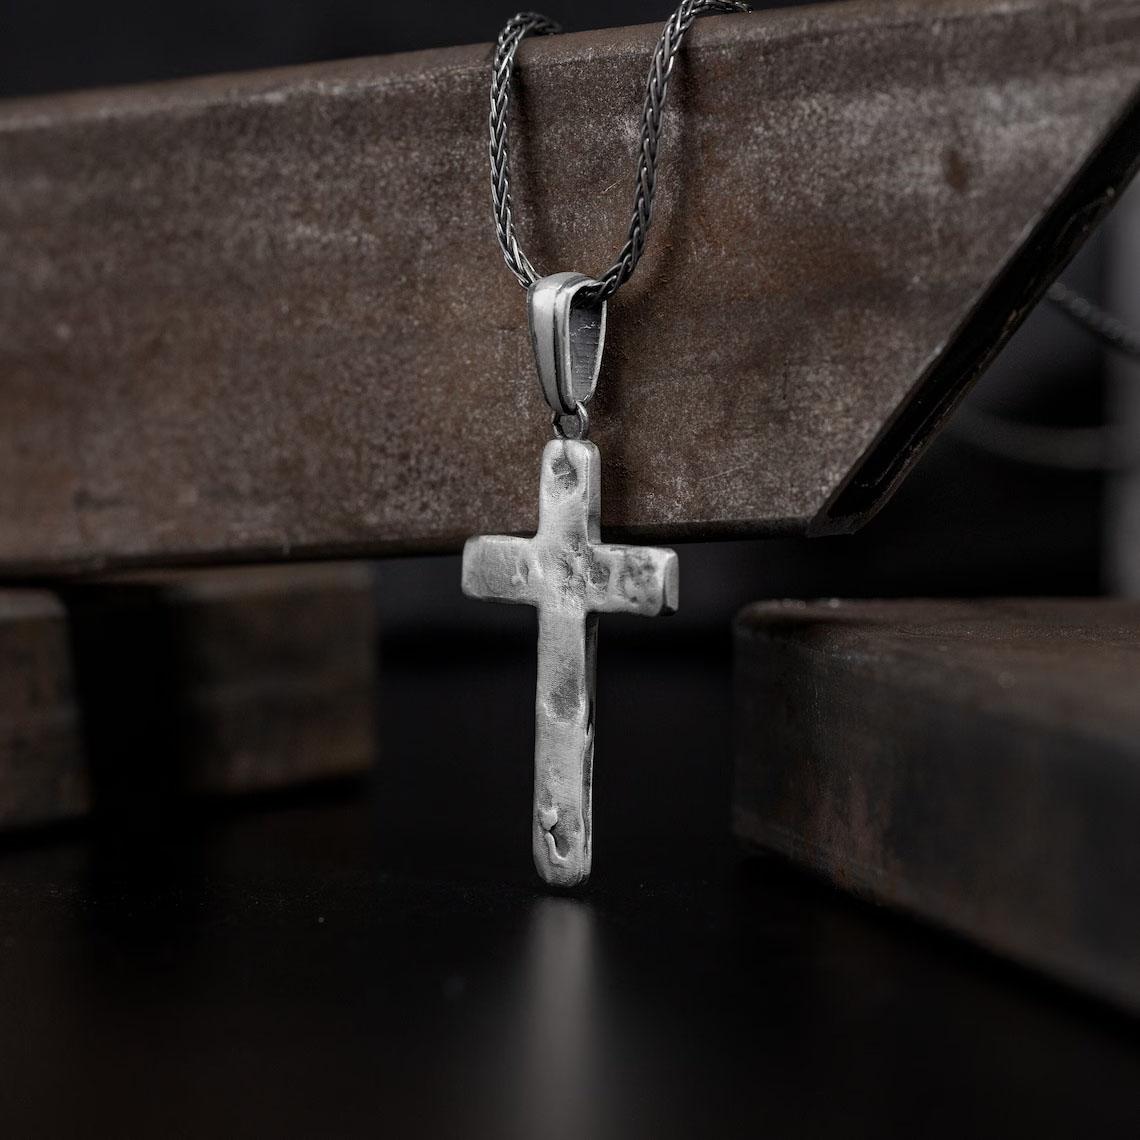

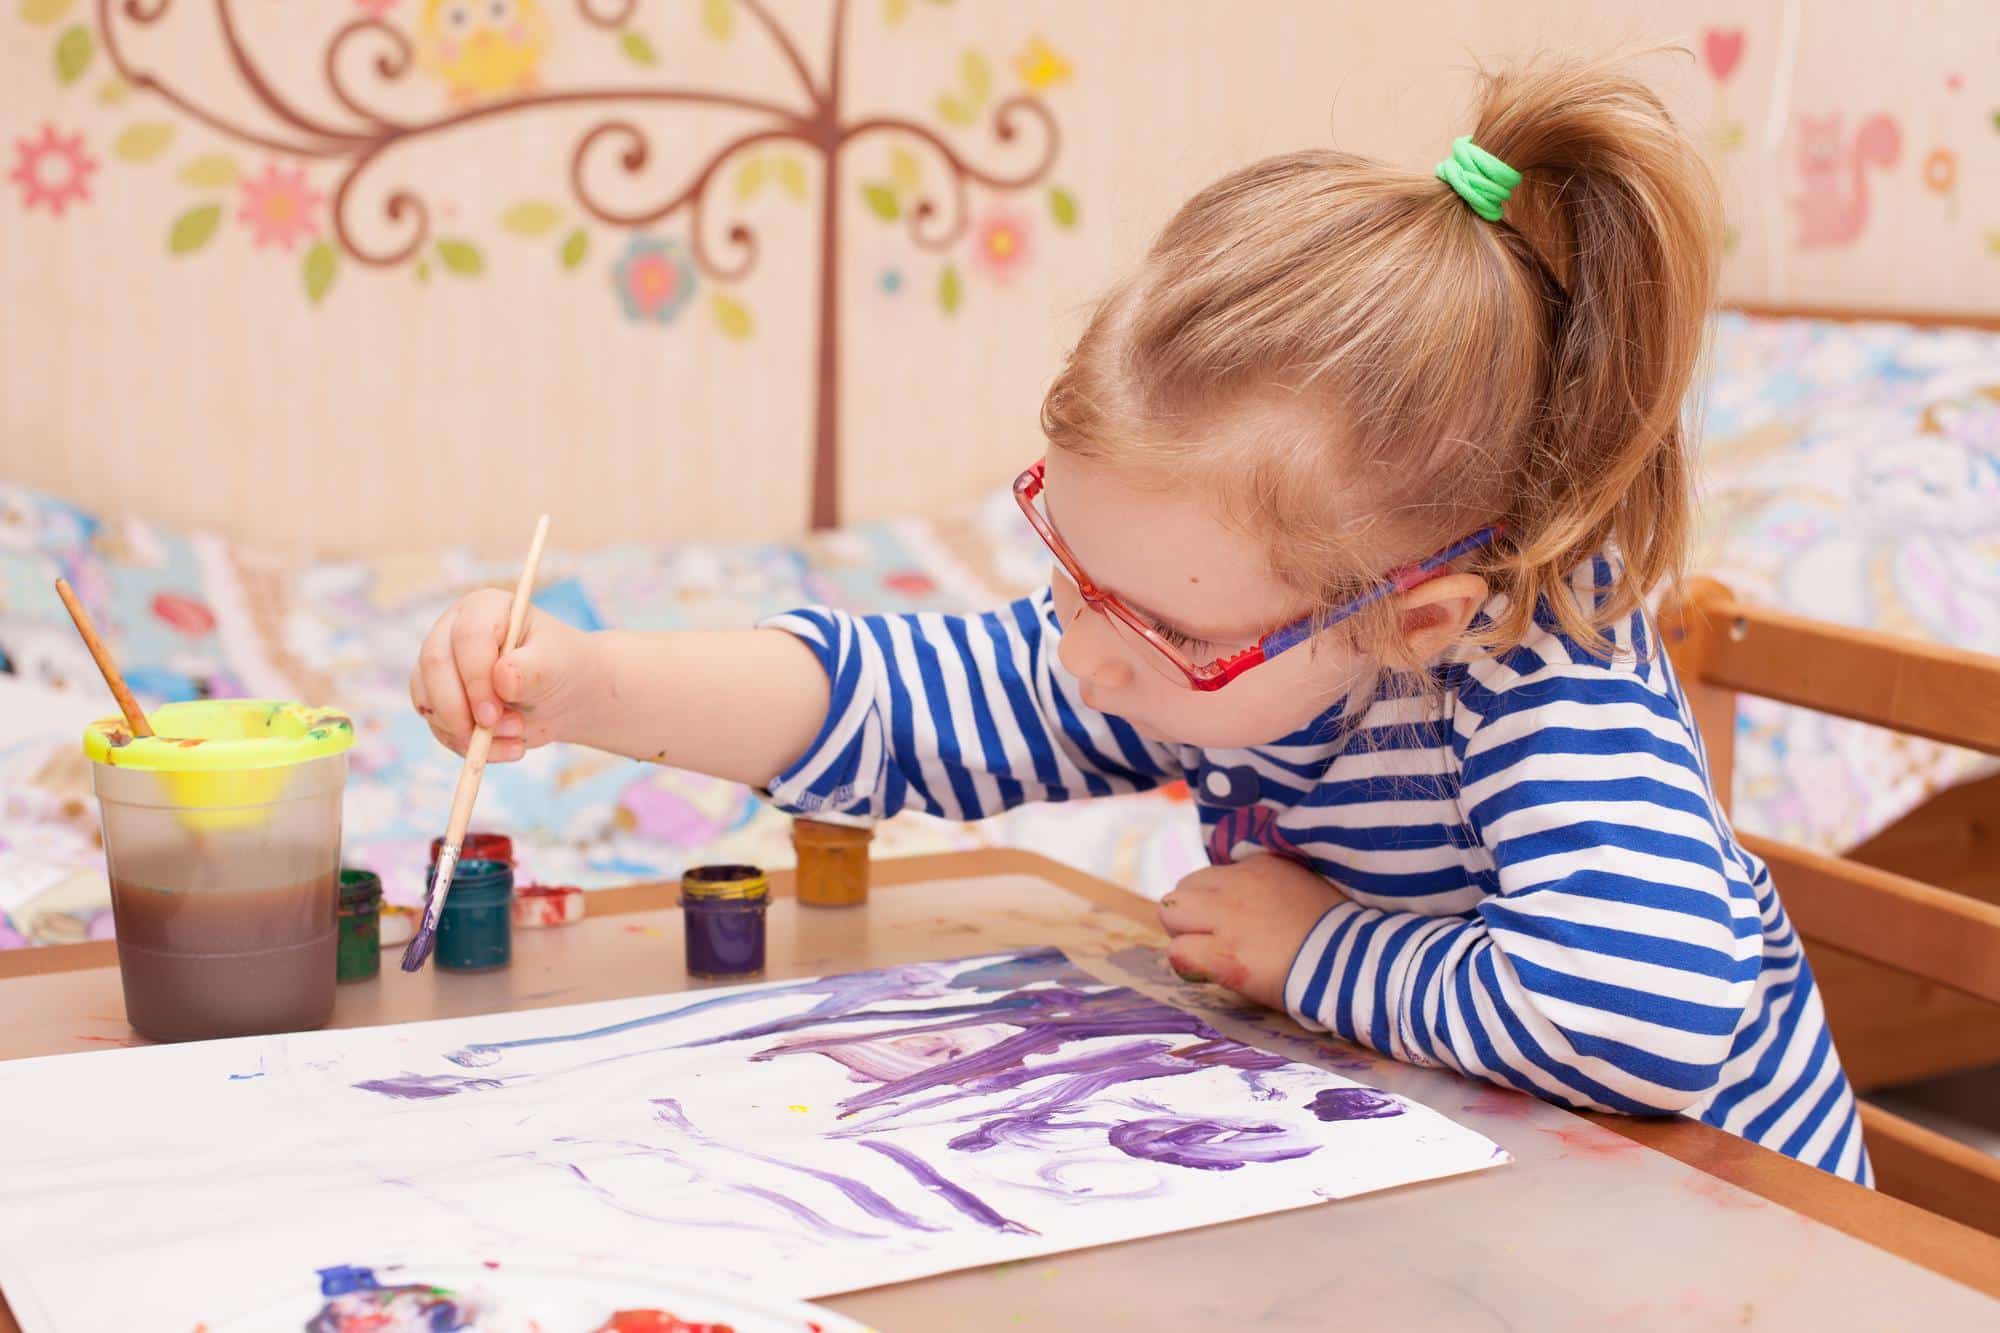
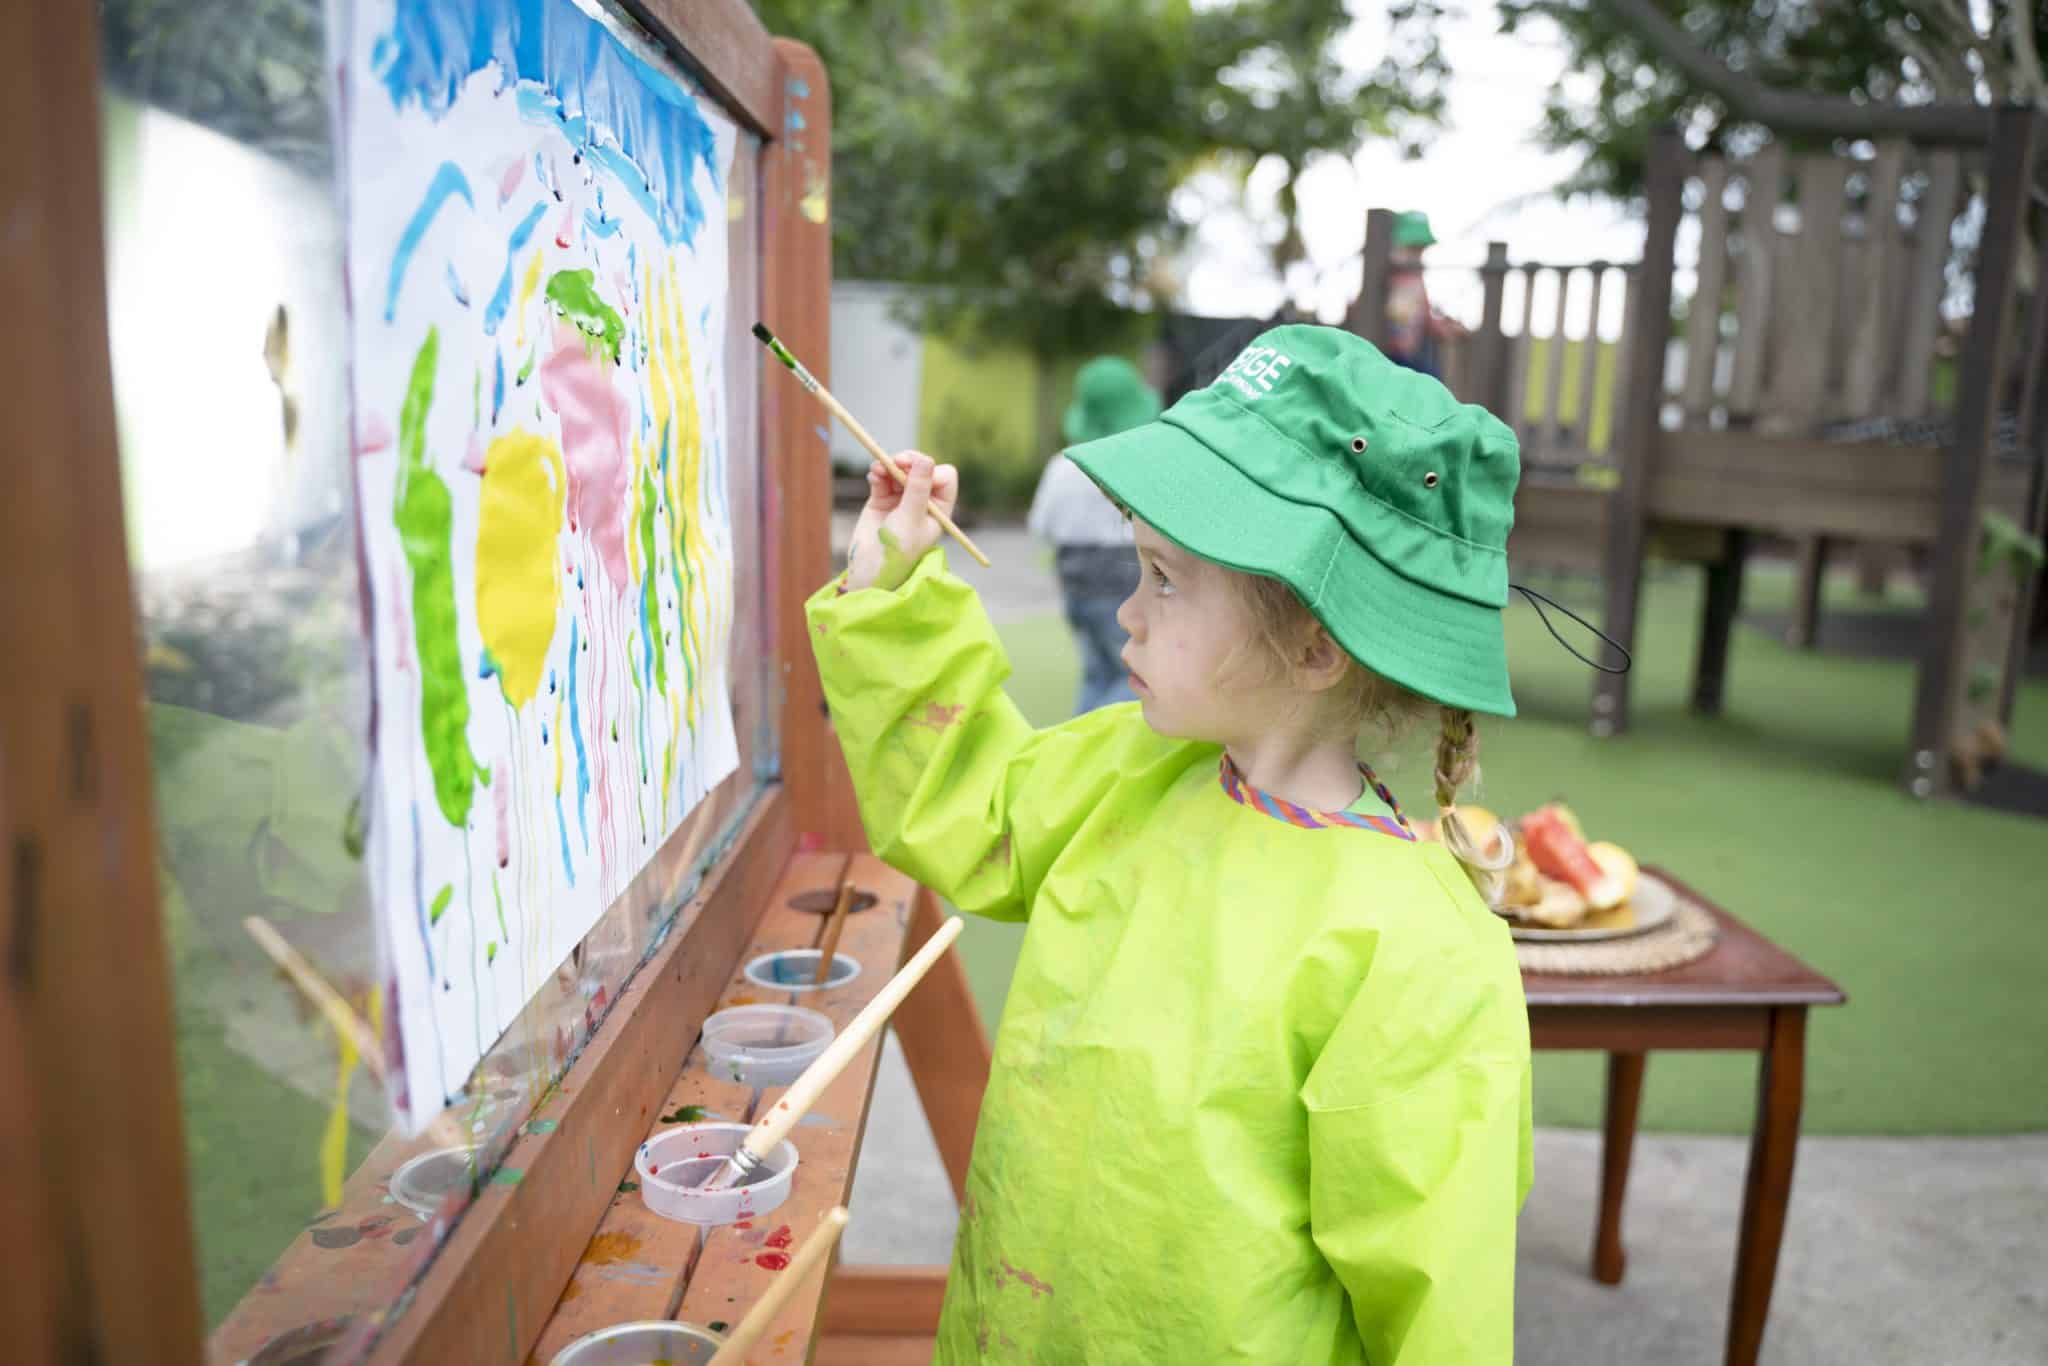 Engaging in painting nurtures a child’s creativity at its core, facilitating a rich development of imagination and innovative thought. This creative exercise strengthens problem-solving skills as children learn to visually translate their ideas onto a canvas.
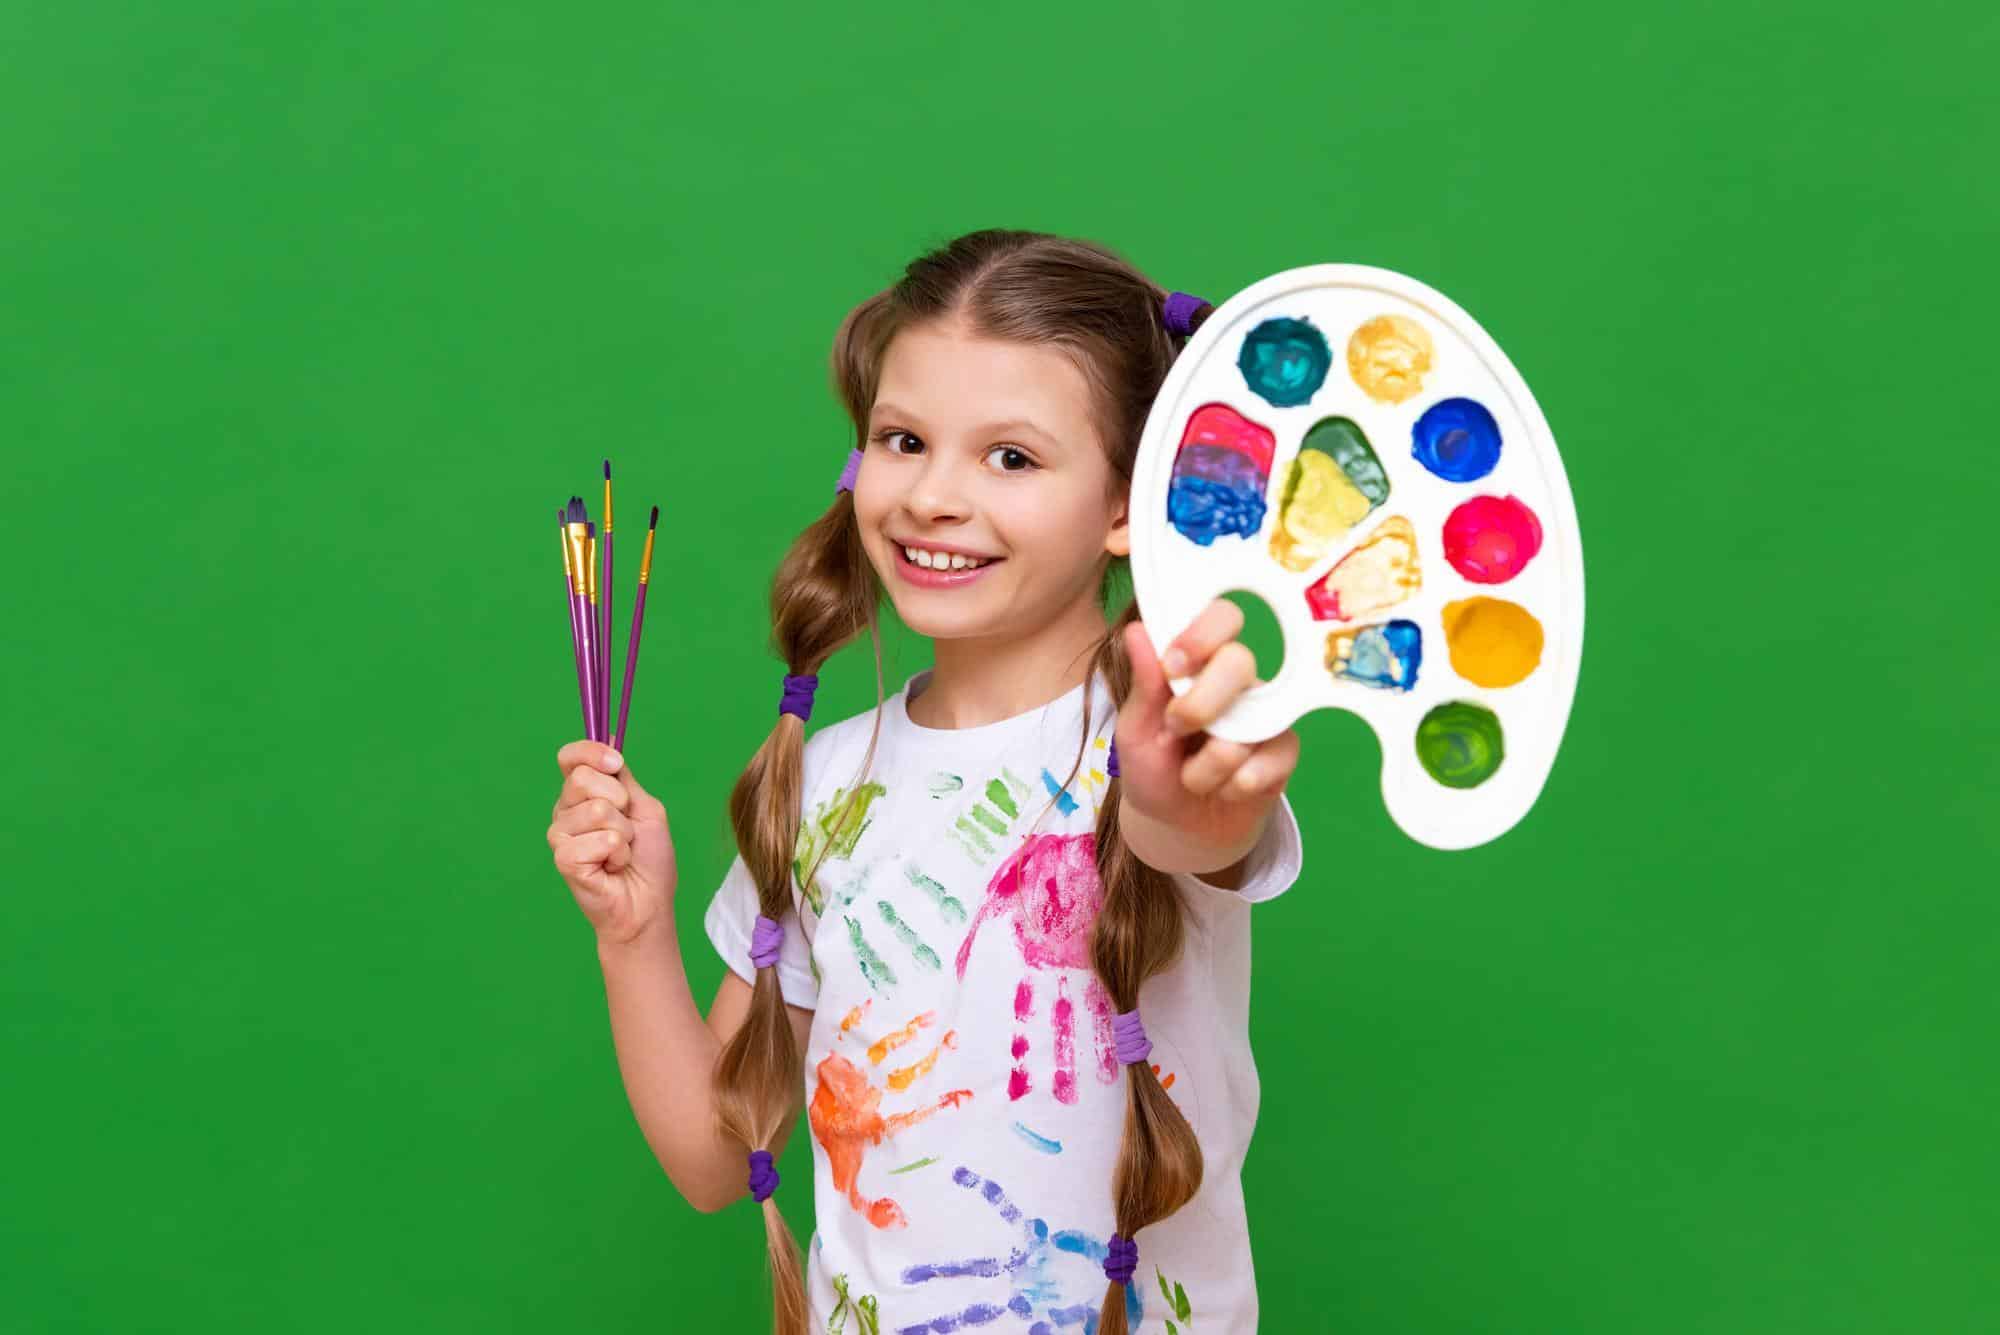
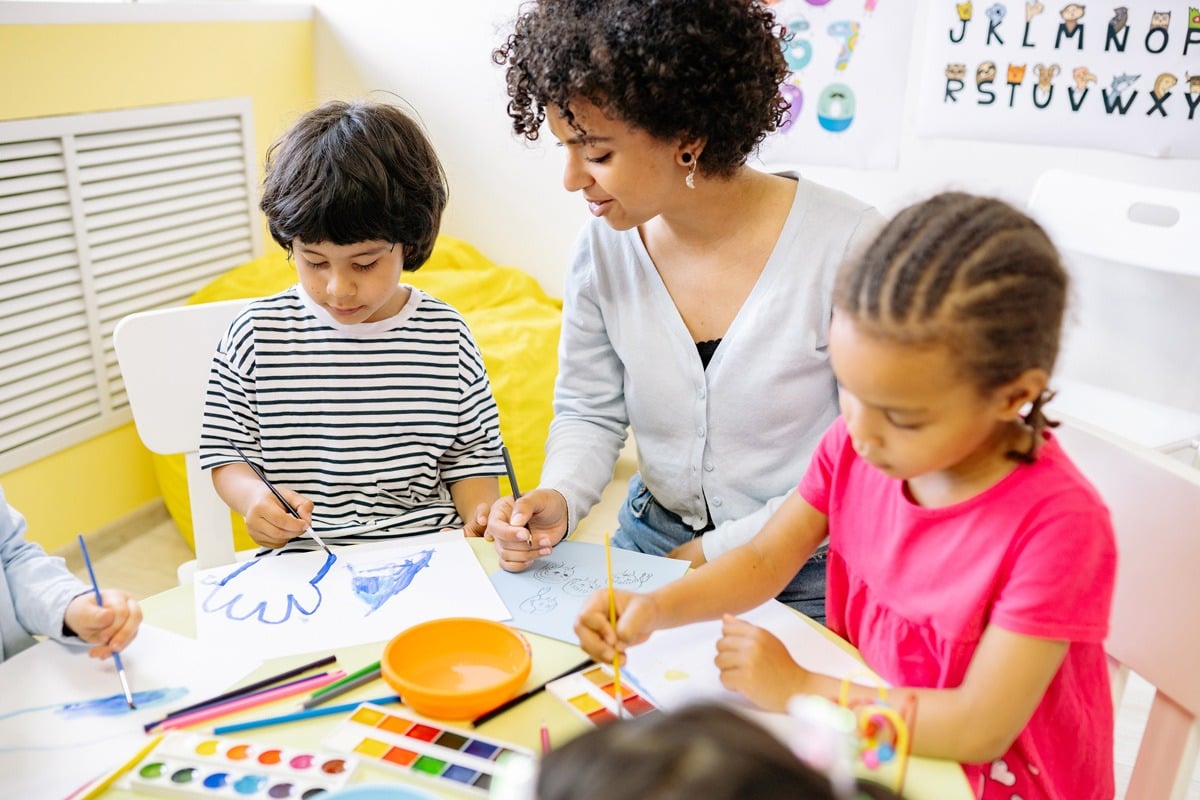 Painting fosters cognitive development, enhancing children’s critical thinking and problem-solving skills through visual-spatial exercises. It transcends mere aesthetics, becoming a cerebral activity nurturing young minds.