Don’t you think stories can potentially transform an individual’s life? Children can easily correlate with the characters, taking them to a different world. In times like today, when digital media is taking over our lives, kids are becoming addicted to the virtual world. Hence, stories and books can become the best medium to bring back the fun of childhood. At the same time, it also invoked the reading habit and patience in kids.
The fun of turning each page and traveling through the storyline takes them into a world. Moreover, these books can be an excellent medium to learn about the culture and history of a country.
So, if you are a parent, and want to know the right kind of books for your little ones, take some time to run through this write-up, where we will explore the 40 must-read books for 4th grade.
Best Books for 4th Graders
Books also play a significant role in enhancing kids’ reading skills and imagination power. Hence introducing books to kids at an early stage is always recommended. These books discussed here are apt for building children’s reading skills, imagination skills, and memory power.
1. Making a Difference
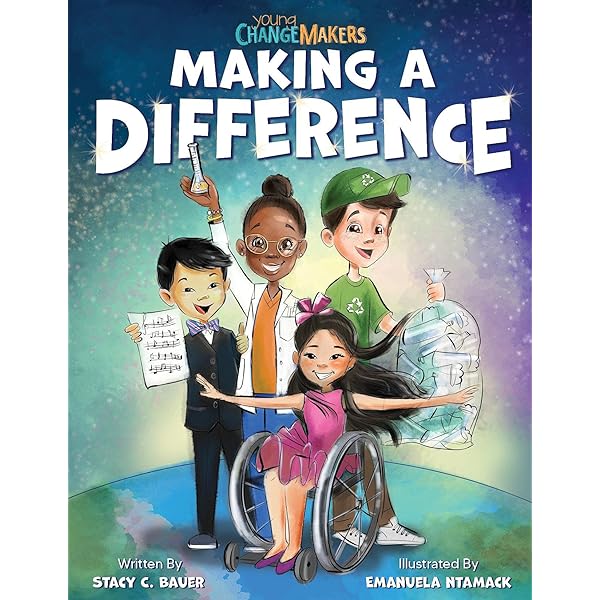
If you are looking for an inspirational book for your little one, consider investing in this book by Stacy C. Bauer. The book takes you through the stories of kids from across the world whose small acts are changing the life of the people around them. The book highlights the stories of 12 kids from across the globe and their extraordinary tasks. It shows how they are making an effort to change the world. The book is colorful so that the kids can connect with the stories.
2. Never Stop Dreaming
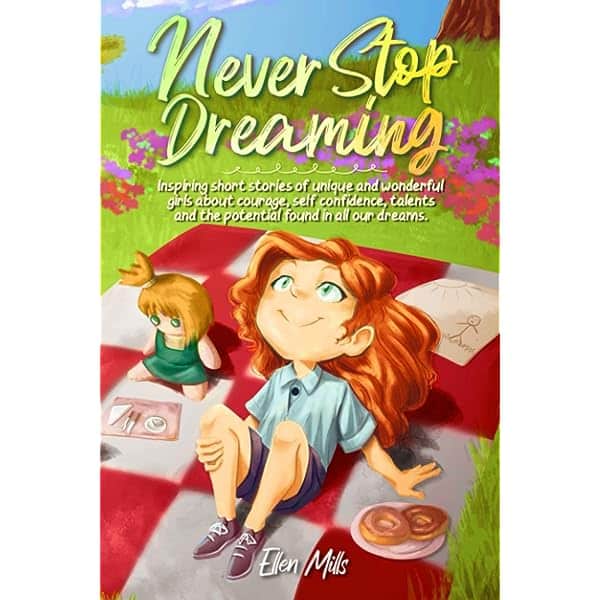
Inspire your child to dream and achieve it; this book will help you with the same. Loaded with the stories of the kids who dreamt and achieved it, surpassing all the hurdles will certainly keep your kids engaged and motivate them. The book has beautiful images that keep you glued to the storybook. The stories are an inspiration, ensuring that kids receive a moral lesson at the end of each story.
3. Set of 3 Books for 180 Days of Practice
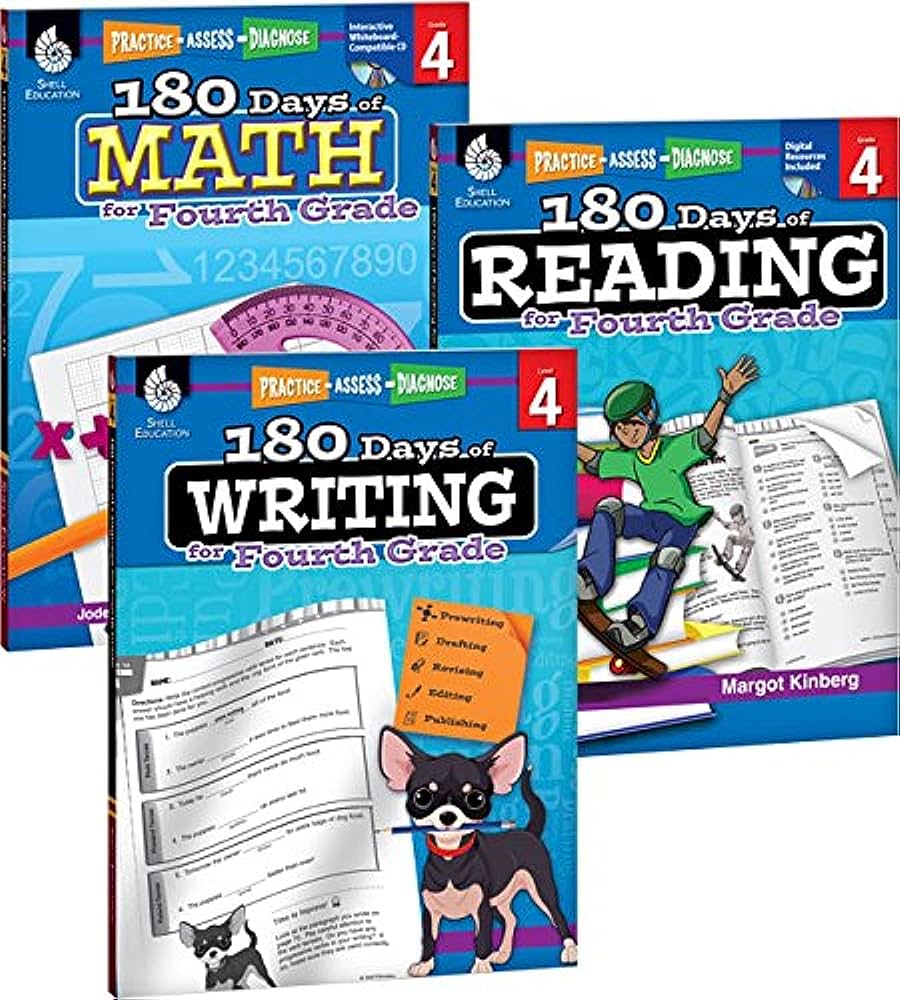
If you are looking for a book for the academic excellence of your kids, consider adding this set of 3 books by Margot Kinberg to your kid’s library. The carefully crafted books include exercises in math, reading, and writing. The worksheets are created to help them revise their lessons and practice regularly. The writing books is divided into five stages pre-writing, drafting, revising, editing, and publishing. All-in-all, these books are perfect for your kids to learn and practice.
4. When You Trap The Tiger
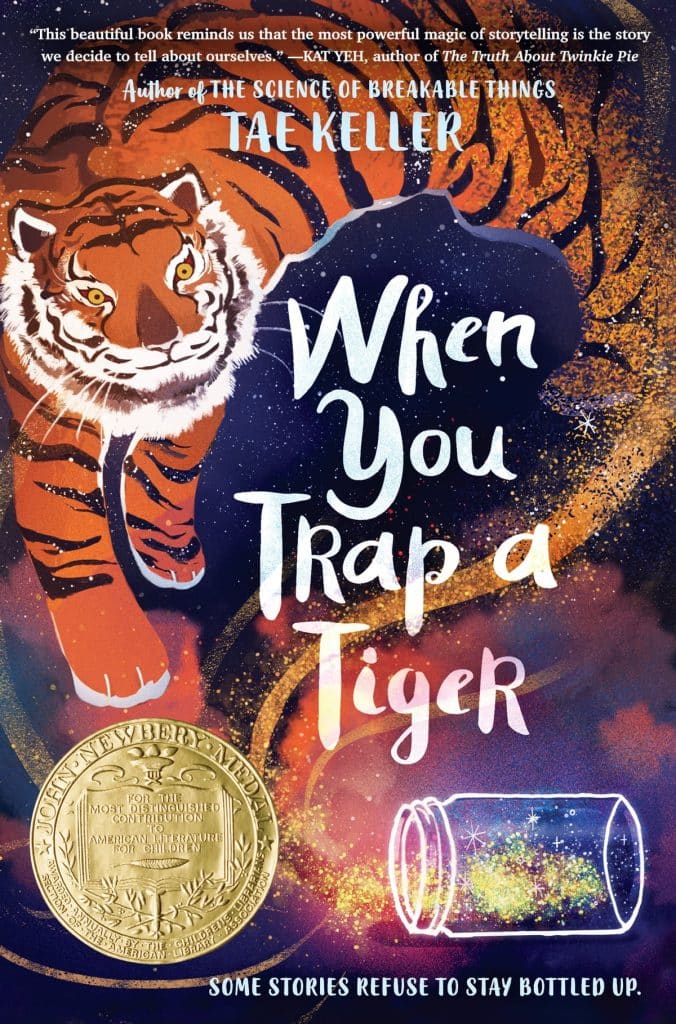
This is a Newbery Medal Winner and provides an amazing reading experience for your little one. The inspirational and motivational story takes the kids to a fantasy land. The story revolves around Lily and her family, that moves in with her sick grandmother. It is here the story takes a turn, and they face a magical tiger.
5. The One and Only Ivan
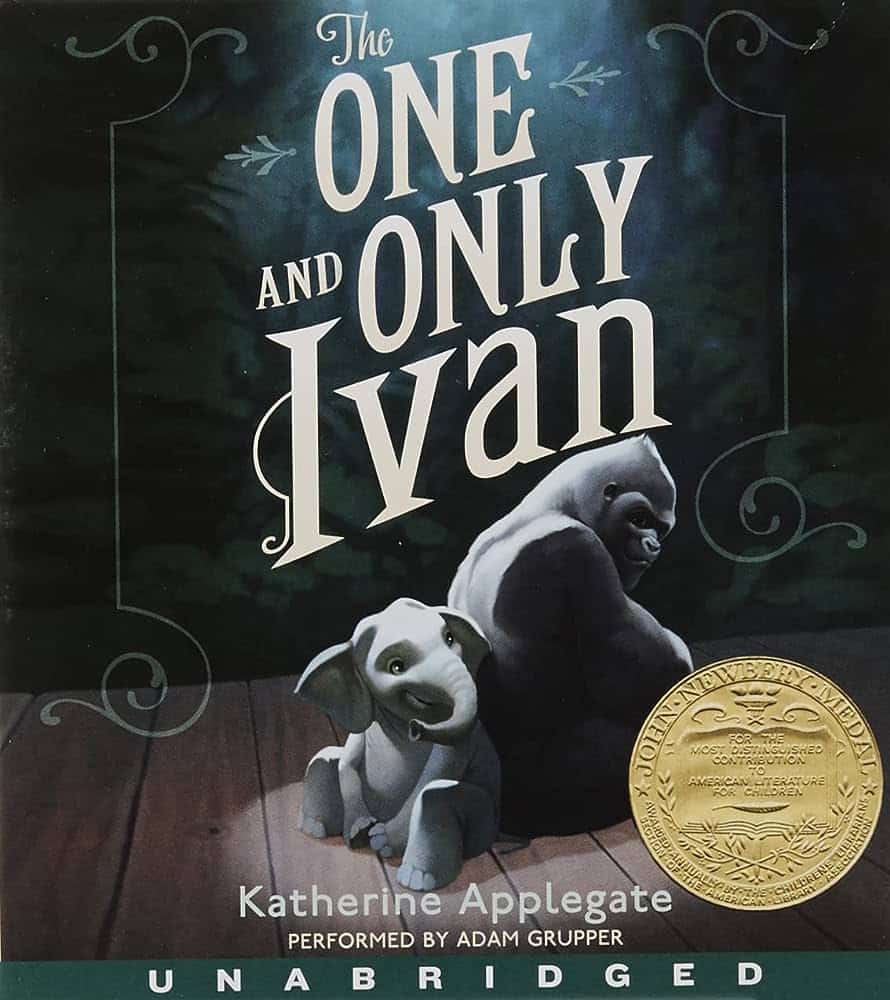
This is yet another Newbery Medal Award winner. The book is acclaimed for its outstanding storyline and how it grips young readers. If you plan to introduce books to your kids and want to teach reading habits, consider adding this book to your list. The film focuses on the bond of friendship. It is the story of captive Gorilla Ivan.
6. How to Steal a Dog
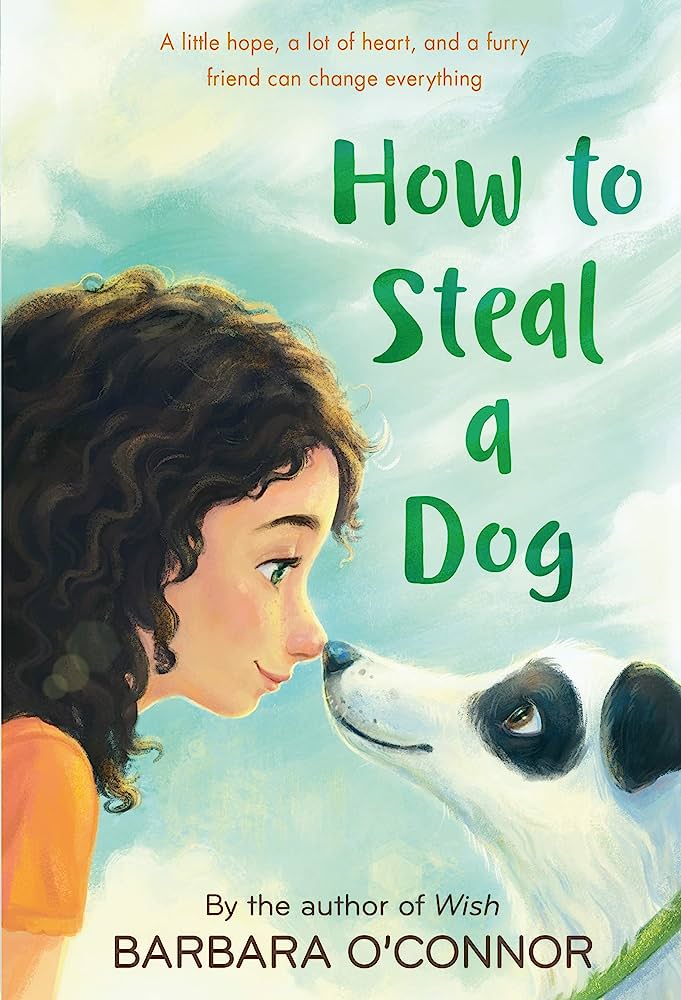
The next book in our list of the best books for 4th-grade kids is How to Steal a Dog. The story highlights a young girl’s effort to find a missing dog. She decides to steal a dog and return it to the owner. The girl also prepares a How-to guide for this. Overall, the book is emotional and narrates the story of a young girl who wants to save her house.
7. Messi, a Boy Who Became a Star

If your little one is a football fan, or you are looking for stories that can inspire your little one, consider adding this book to your list. It impressively highlights the story of Messi, thus taking you on a journey of how Messi became a star footballer. The story is going to motivate you, enlighten you.
8. A Mermaid in the Middle Grade: Book 1: The Talisman of Lostland
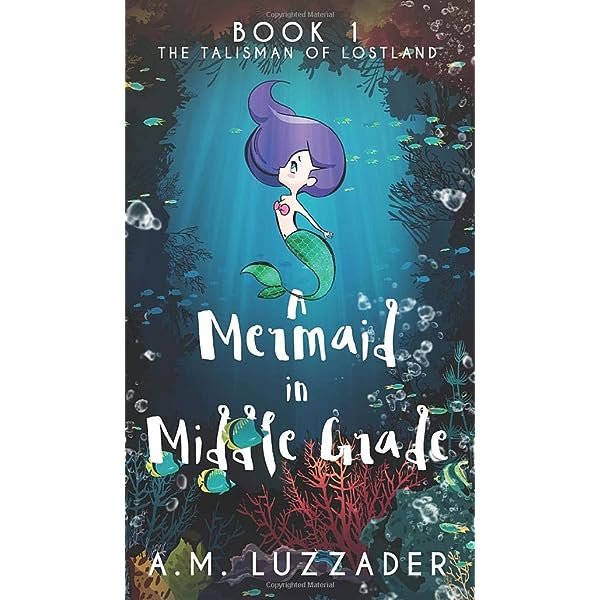
If you are looking for perfect reading material for your kid, this book is great. This is the story of Bryn; she is a mermaid but cannot learn magic and be as good as her other mates. The story tells you how she moves on the quest to find the reason behind the same. The book is apt for 8-plus years. The story emphasizes honesty, friendship, and marine life.
9. Charlotte’s Web
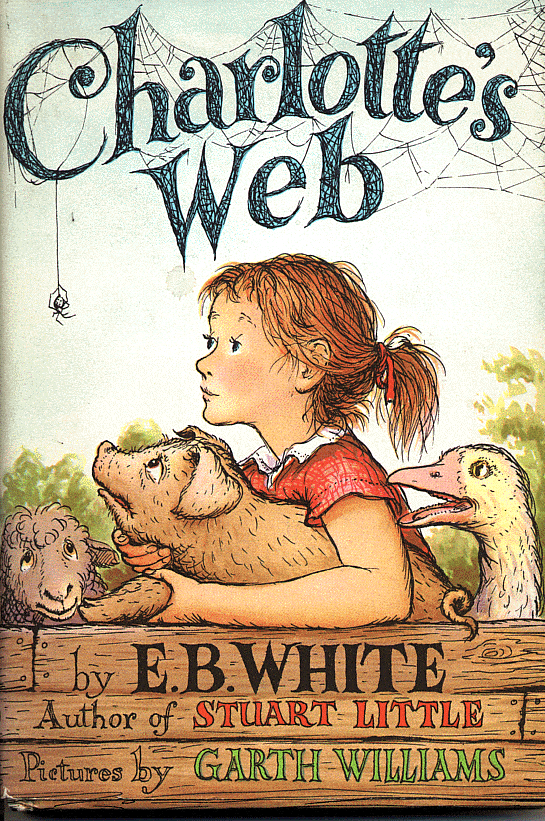
It’s America’s 100 most loved novels. It’s a timeless classic book that focuses on friendship, loyalty, and the power of kindness. The book also includes colorful illustrations that make it more engaging for the kids. Little readers wanting to explore a fantasy world will love this book.
10. The BFG
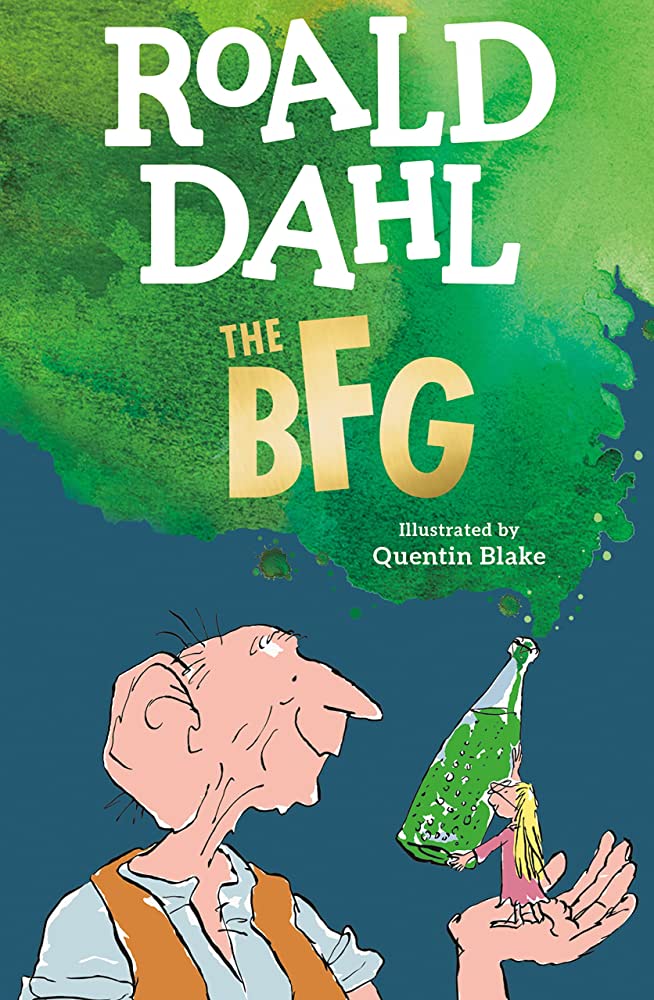
Want to make reading fun for your kids? This book is going to be your perfect mate. The book by Roald Dahl narrates the story of Sofie, who befriends a big, friendly giant. There are beautiful illustrations in the book, which makes the story more interactive.
11. Diary of Wimpy Kid
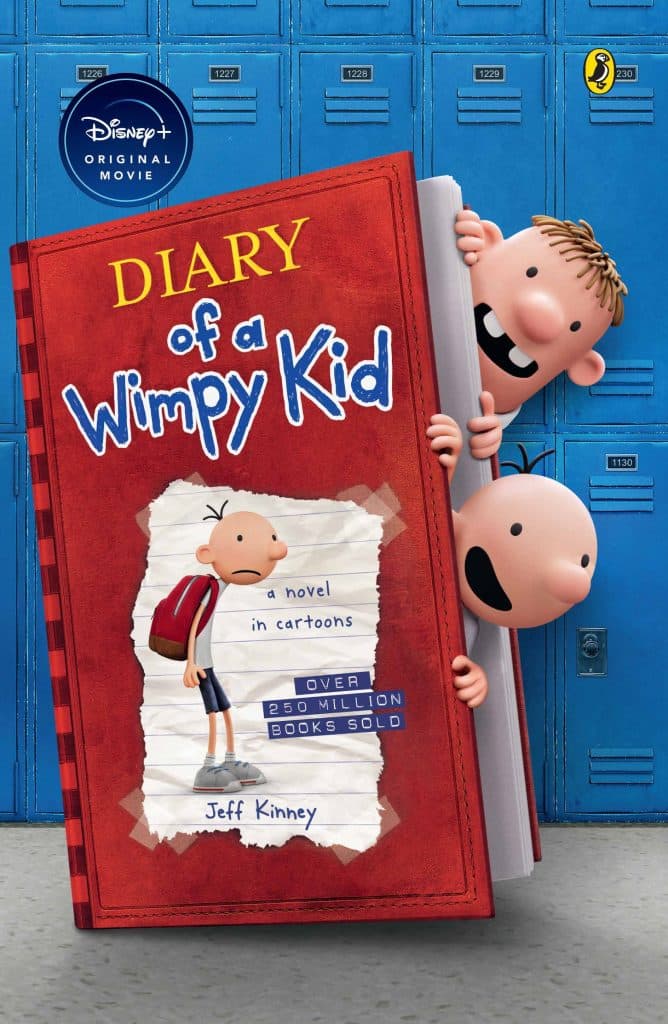
Every kid can easily connect with Wimpy, and this book will certainly become their hot favorite. It includes a collection of stories of Greg Heffley and his adventures. The simple storyline makes the reader feel connected. Kids will feel elated after reading the book.
12. Holes

Ranked as the #1 bestseller in New York, this book takes you on a journey of Stanley Yelnats. He is sent to correctional boot camp, where he enters the mystery of a cursed family. The book is adventurous and written beautifully, creating an image before you while reading it.
13. Charlie and The Chocolate Factory
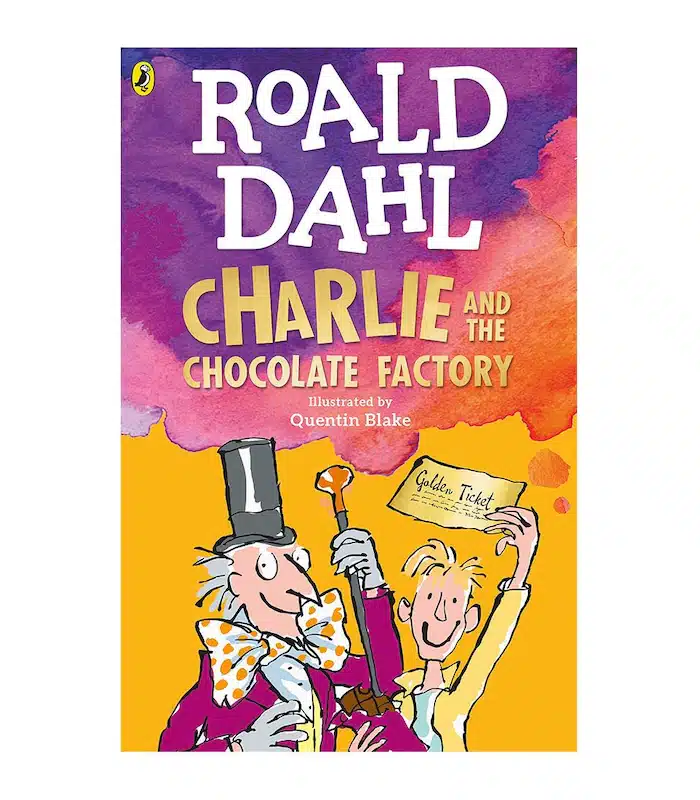
The reading collection would be incomplete without this book. Yet, another well-narrated storyline by Roald Dahl. The book is about the story of Charlie and his visit to Willy Wonka’s Chocolate Factory. It is a delightful and imaginative tale that your kids will love.
14. Wonder

A well-written story filled with emotions grips you from the first page. The story focuses on emotions of empathy, compassion, and the true meaning of beauty. The book is about August Pullman with facial deformities, and he decides to go to public school. Besides, this story also highlights how he overcomes all the dilemmas and the transformative power of friendship. Overall, a great book to nurture the feeling of sympathy and compassion.
15. Harry Potter and the Soccere’s Stone
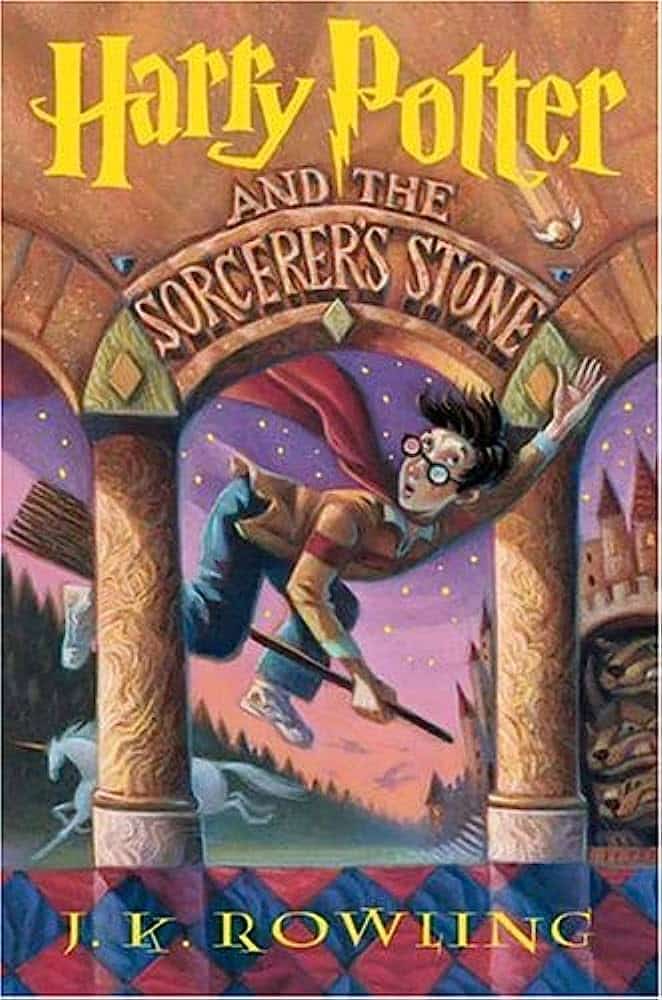
It is undoubtedly one of the most loved stories by the kids. Known for its magical storyline and the journey of Harry and his friends, every kid would be easily able to relate to it. The beautiful narration of Howgwarts would make anyone believe that such a magical school exists. Besides, it also highlights the bond of friendship.
16. The Chronicles of Narnia: The Lion, The Witch, and The Wardrobe
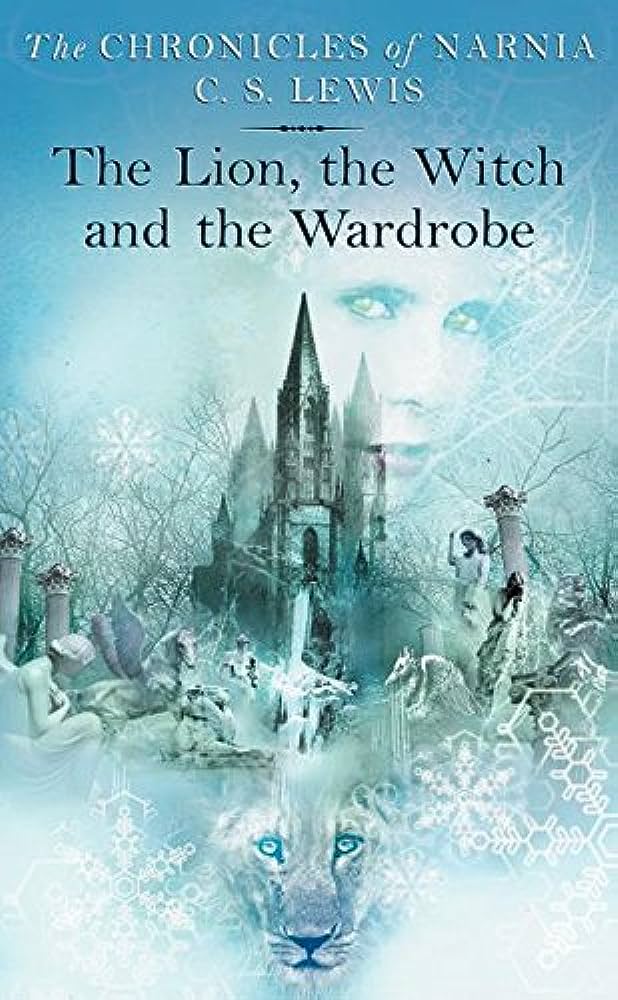
It is America’s 100 most loved novels, and kids will fall in love with the magical world that this book unfolds before them. The adventure of Peter, Susan, Edmund, and Lucy takes you on a magical ride and will make you fall in love with the book. It is the book of 2 of the 7-book series.
17. The Tale of Fourth-Grade Nothing
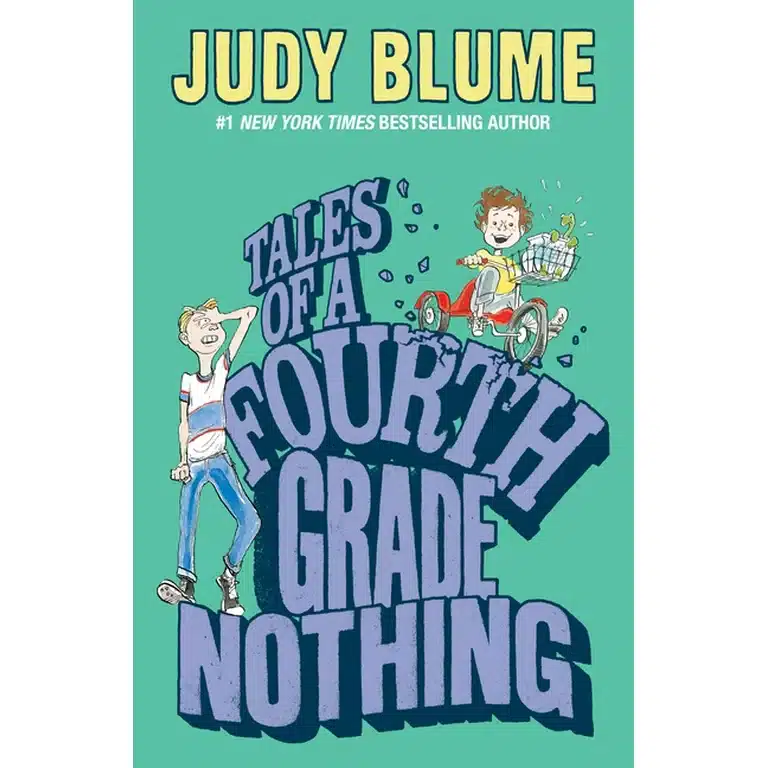
This is a novel by a 9-year-old boy Peter Hatcher. The story is about Peter’s dilemmas because of his younger brother Fudge. He feels overshadowed by Fudge. The story covers the emotions of the Hutcher family and how they balance the love and affection between the two brothers.
18. Bridge to Terabithia
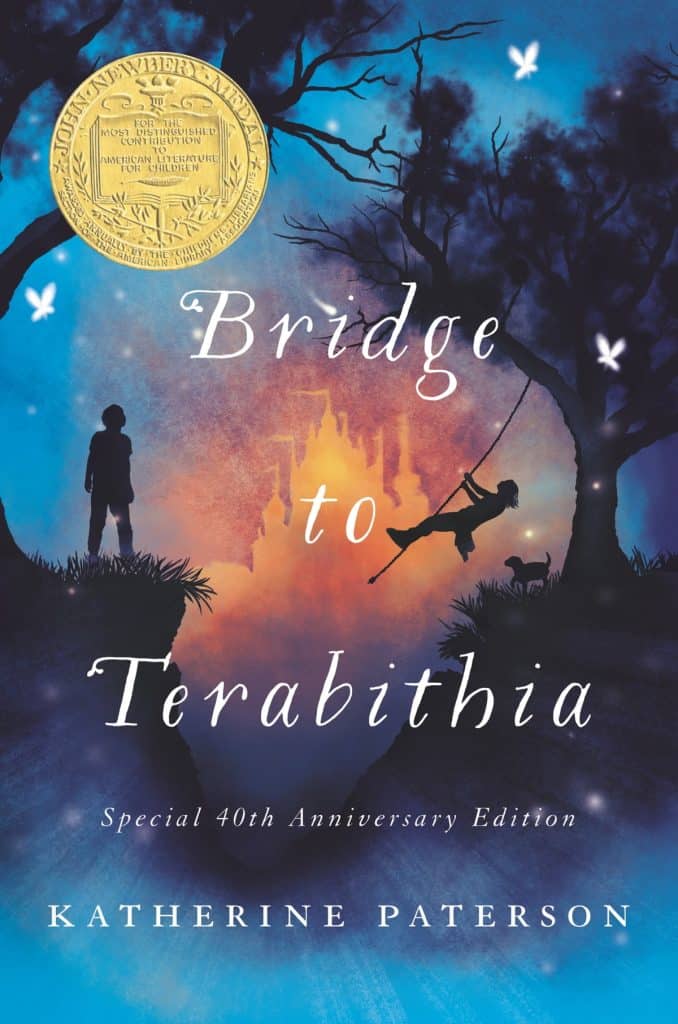
It is a thought-provoking novel that highlights the story of two fifth-grade students and their shared imaginative world Terabithia. They also create fantasy creatures and kingdoms. It boosts the kids’ imaginative power and lets them put on their thinking hats to start creating their own world. It is a captivating novel that leaves you spellbound with a meaningful message at the end of the story.
19. The Return of The Indian (The Indian in The Cupboard)
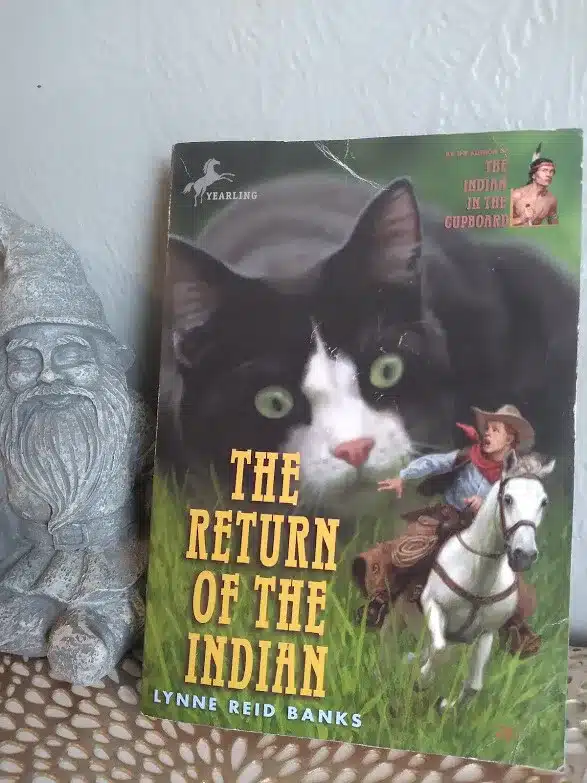
The next must-read book for 4th-grade kids is The Return of the Indian. The book follows the magical journey of a young boy named Omri and his discovery of a magical cupboard. The cupboard can bring life to toys, and the adventure begins when Omri places a cowboy toy in the cupboard. Do not miss out on this adventure, and add this book to your child’s library.
20. Stuart Little
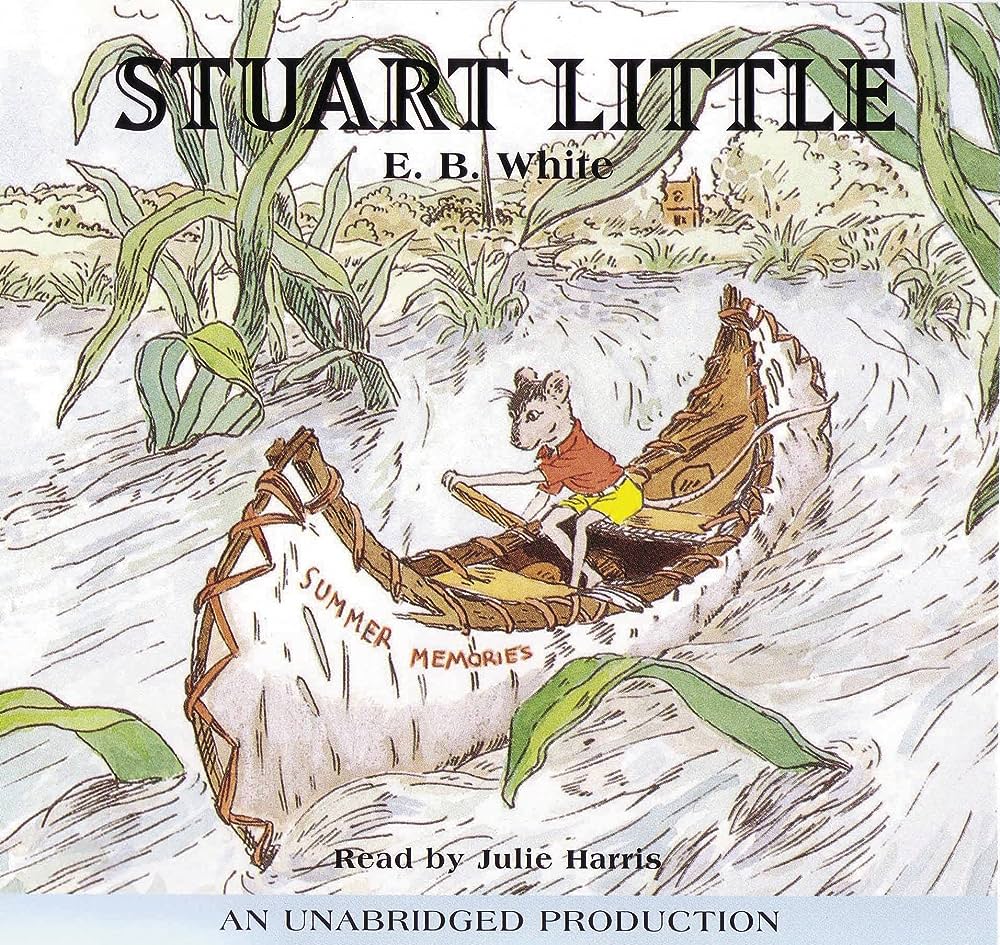
The book will certainly remind you of your childhood days. It is the story of a little rat named Stuart. But this is no ordinary mouse; he is intelligent, curious, and has a big heart. The book takes you through a series of adventures and encounters. The book highlights the significance of friendship and loyalty.
21. The Boxcar Children
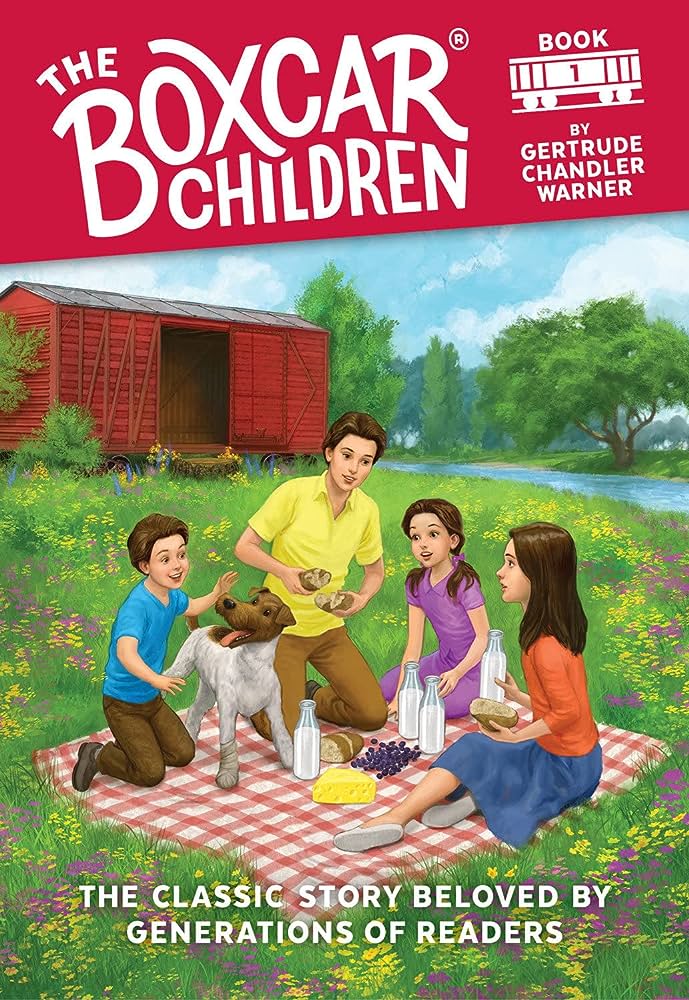
This is an amazing book for 4th-grade kids. It includes the adventure of four siblings who find independence and resilience through their creativity. The story of the walls around 4 or three kids, Sofia’s separation from one another, the initial struggle, and how they overcame the circumstances. The book highlights unity and resilience to overcome struggles and challenges.
22. The Secret Garden
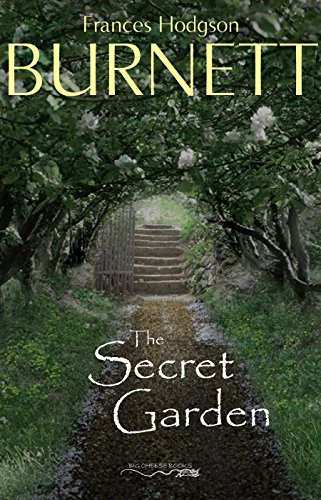
The Secret Garden is a classic novel for your kids. It is a tale of the rejuvenation of friendship and the transformative influence of the natural world on the human spirit. The story also highlights the significance of empathy and finding joy in simple things. The book also has drawings and illustrations that grip you on the book.
23. The Lightning Thief: Percy Jackson and The Olympian (Book1)
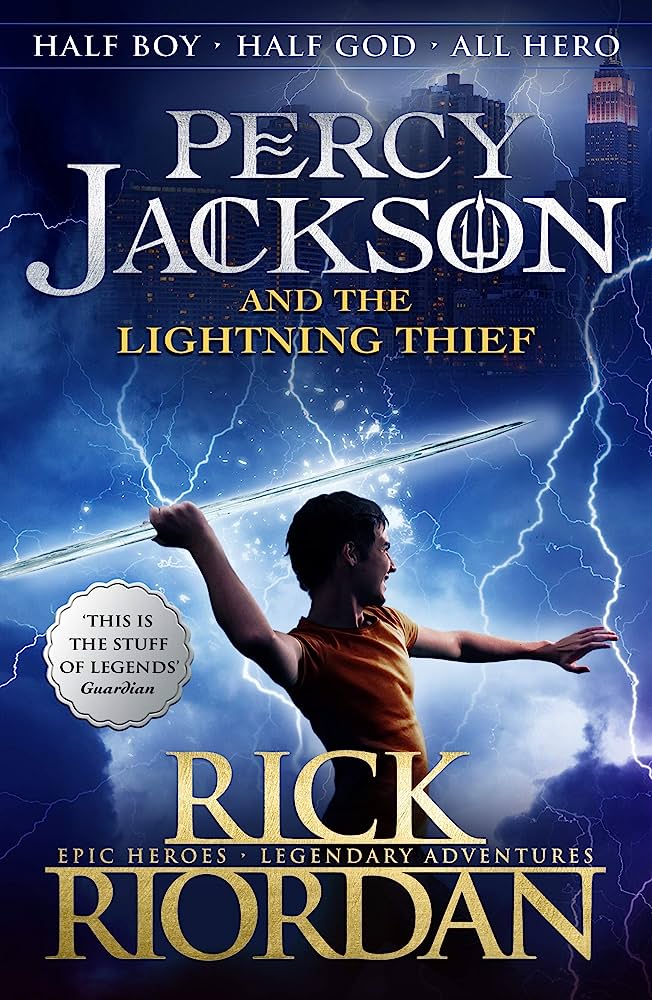
This captivating novel will take you on a beautiful journey of Percy Jackson, a 12-year-old kid, and how he copes with the bullies at school. Moreover, the story also beautifully blends Greek mythology with a modern-world setting. You will love the adventure as well as the humor.
24. Mason Dixon: 4th Grade Disasters
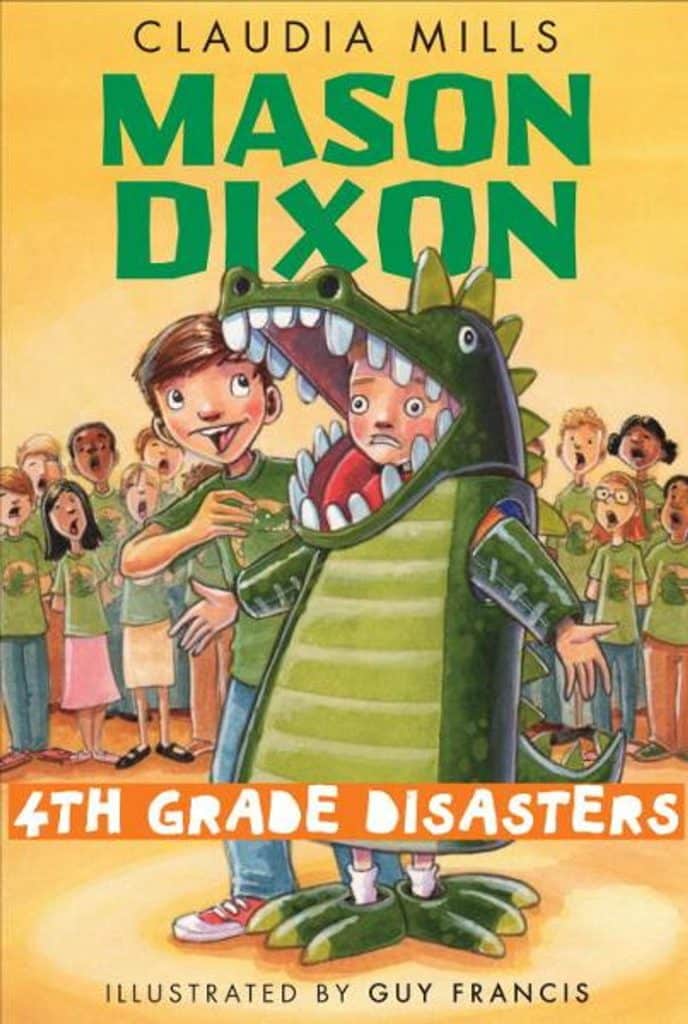
The story will easily capture the kid’s story of Mason Dixon. It’s a humorous story that brings forth the various disasters that Mason faces, and this book talks about the latest school concert in which everyone needs to participate. Mason prepares a foolproof plan to skip this, and this book highlights the same.
25. The 4th Grade Spelling Workbook
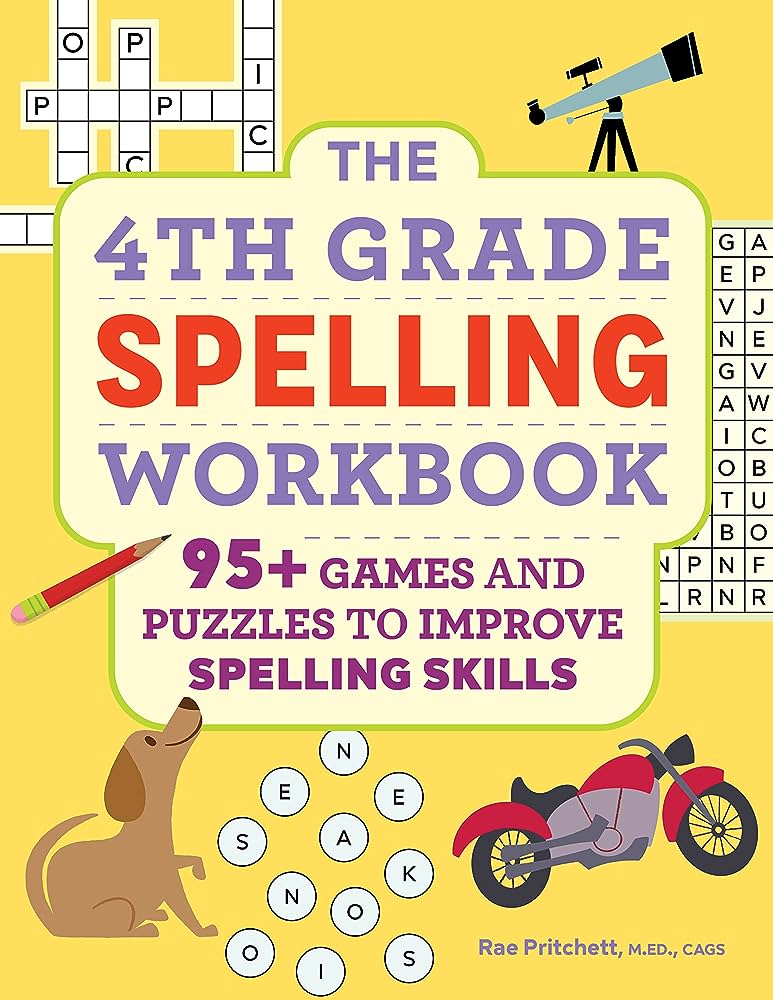
Supplement your 4th grader curriculum with this workbook. Design you neatly paste on the aptitude of a 4th grader. This book presents a workbook, games, and passwords that make selling learning upon activity. The book has more than 95 games and 180 spellings. This book will make spelling learning fun.
26. 4th Grade Rats
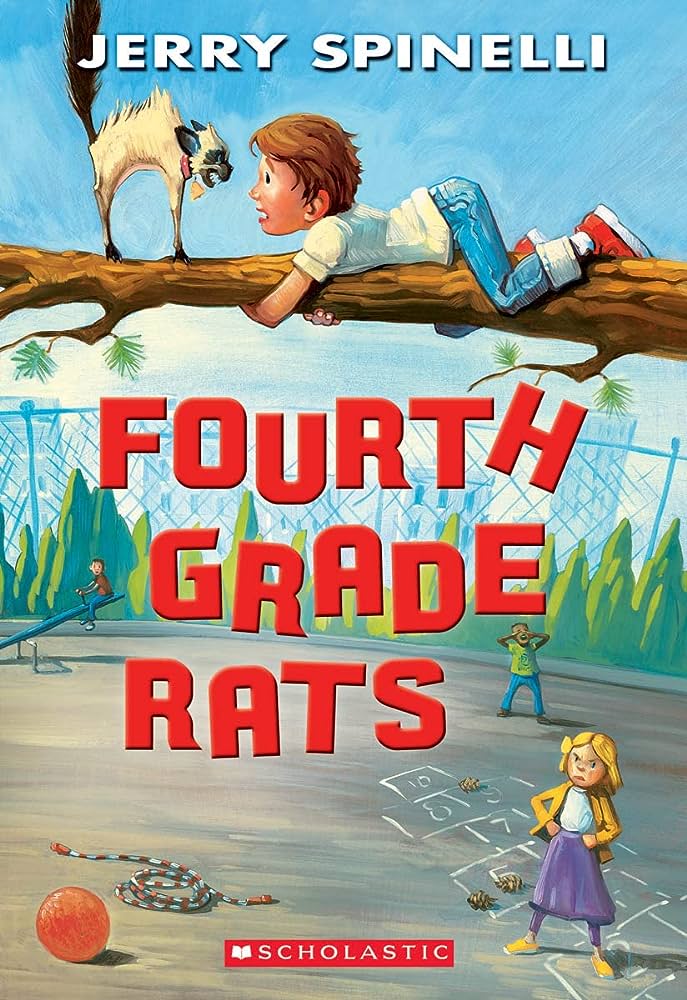
This is a great novel by Jerry Spinelli. The book highlights the story of a boy named Suds, who is excited about his school. The book beautifully captures the emotions and thoughts of a 4th-grade kid, making this book perfect for your little one. It has relatable characters and a meaningful message.
27. Ballpark Mysteries: The Dugout Boxed Set
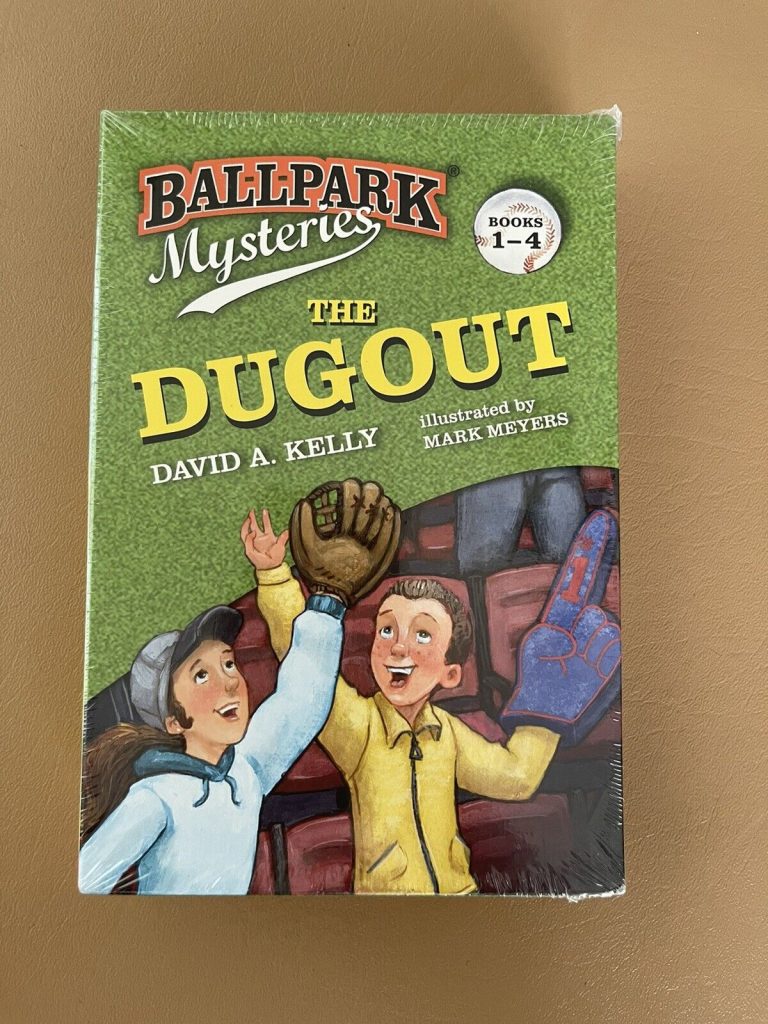
The lovers of mystery stories are going to find this book perfect. From super baseball to mysterious Stadium, these books cover all the adventure and history that takes you into a wonderland. The amazing compilation of the story and gripping theme makes a perfect book for lovers of mystery stories.
28. The Missing Necklace
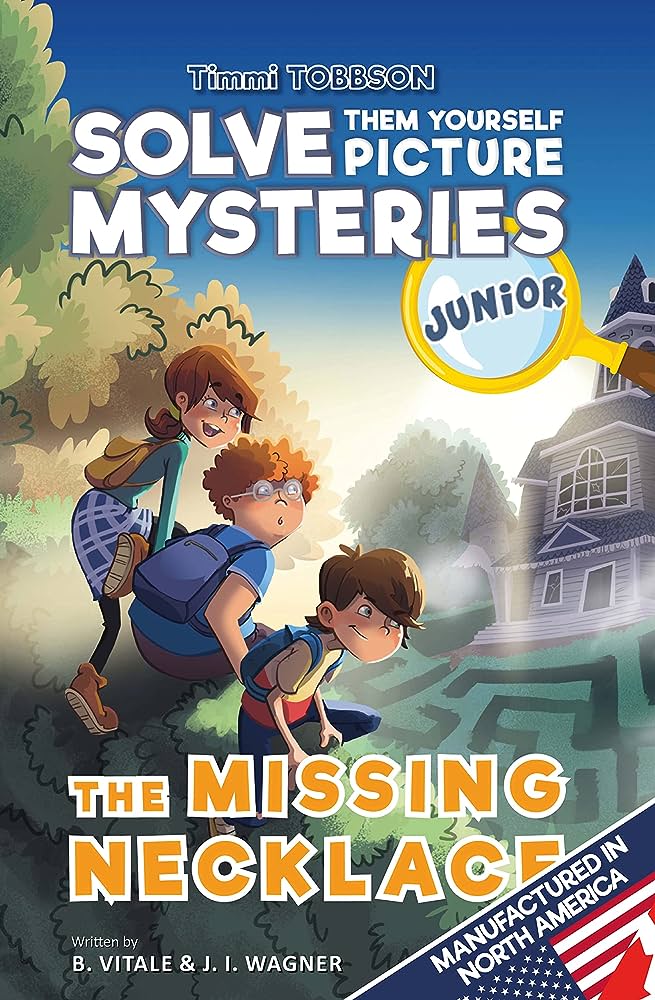
We all love to solve mysteries, and this book is the one that replicates the desires of a kid. The story revolves around 3 kids who are on a hunt to find the missing necklace of their grandmother. If you are struggling to take your kids away from phones and television, this storybook is perfect for creating a world of their own while they are reading the book.
29. The Secret Lake
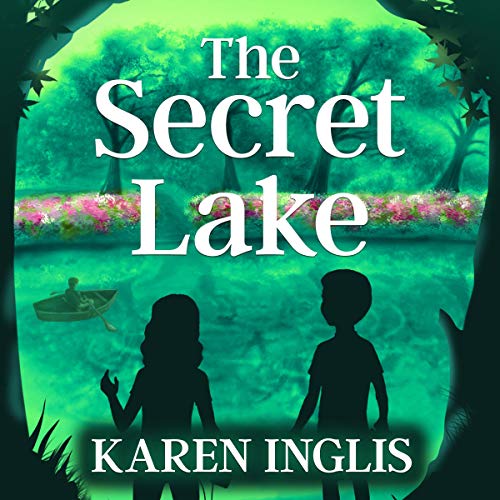
This mystery adventure story revolves around Stella and her younger brother Tom. They moved to a new city, where they found out about their neighbor’s missing dog and his sudden reappearance. Their quest takes them to a buried boat and a secret lake. To know what happens next, you need to read this book.
30. Who’s Afraid of 4th Grade
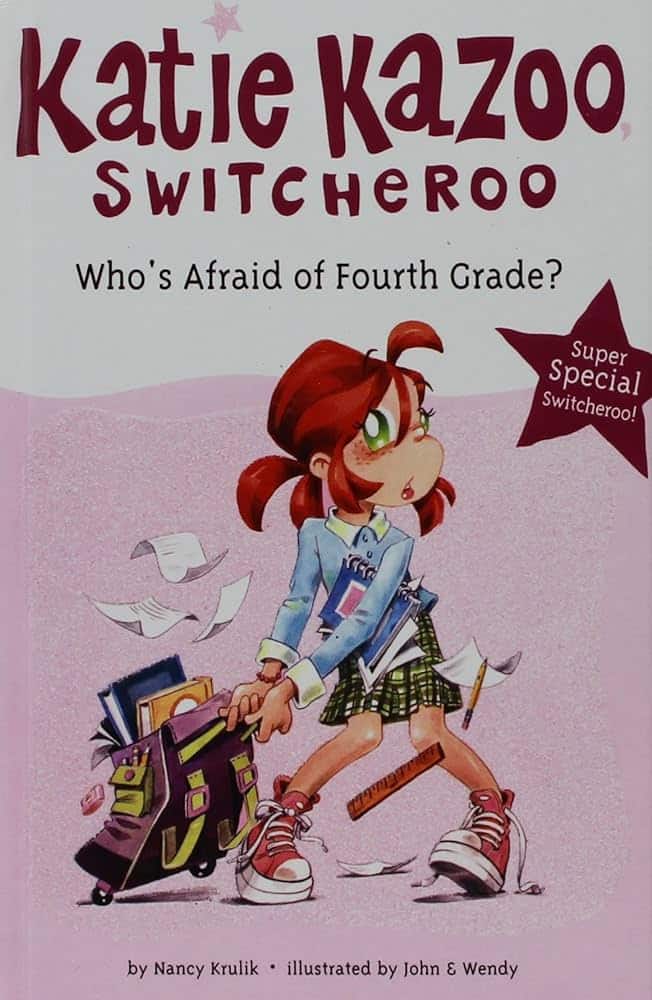
Going to a new class brings a lot of fun and adventure into one’s life, but at the same time, it aslo instills a sense of anxiety in them. This book covers all these aspects from the perspective of a 4th grader. It’s a captivating book that uncovers the emotions of a 4th-grade kid. Don’t miss to read this book.
31. 4th Grade Fairy
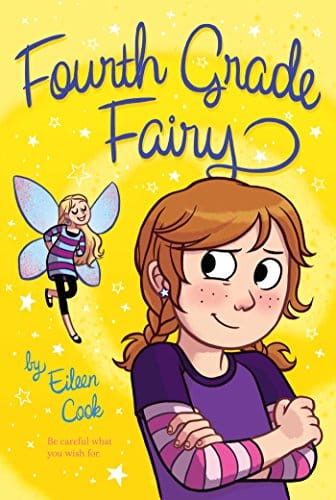
The delightful read by Eileen Cook brings forth an adventurous journey of a girl named Willow Doyle. The book unfolds Willow’s world to the reader and takes them into her imaginative world. She believes in fairies, but her classmates don’t agree with her. The story highlights the strong belief of Eileen and how she copes with the challenges of 4th grade.
32. Dream Big and Be Yourself
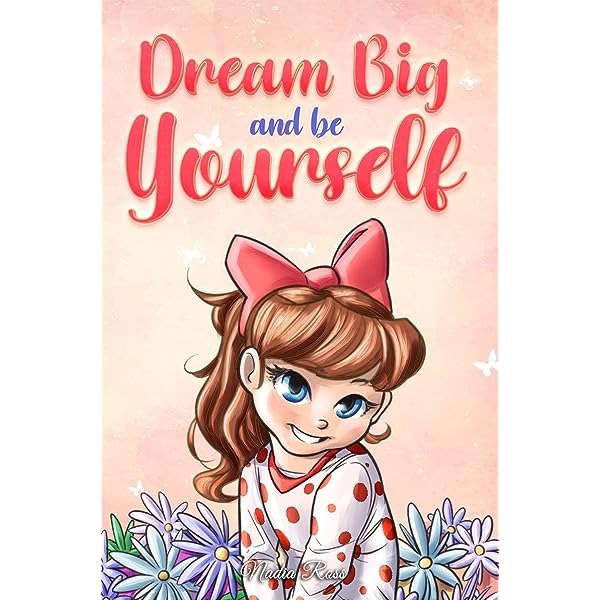
One of the biggest challenges that kids face is to build their self-confidence. This book by Nadia Ross highlights 10 inspiring stories of self-esteem. The relatable characters and gripping storyline make this book a good read for your kid. The book leaves you with an empowering message of believing in oneself.
33. International Sports Stories for Young Kids
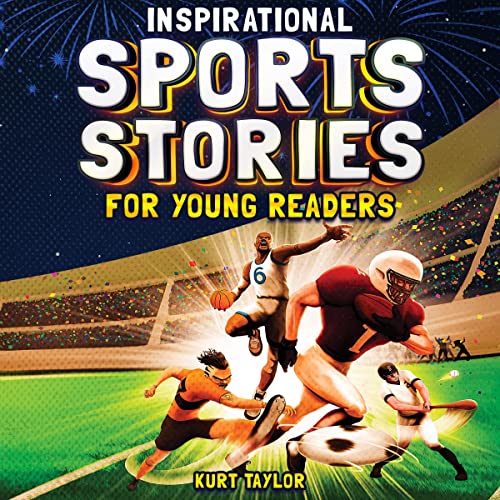
Reading inspiring stories can instill a sense of positivity and motivation in kids. This book covers 10 stories of athletes and how they became successful. The book also brings forth an important message of working hard towards achieving your goals. The kids will also find illustrations of the athletes, which makes this book more interesting.
34. The Dog That Stole Football Plays
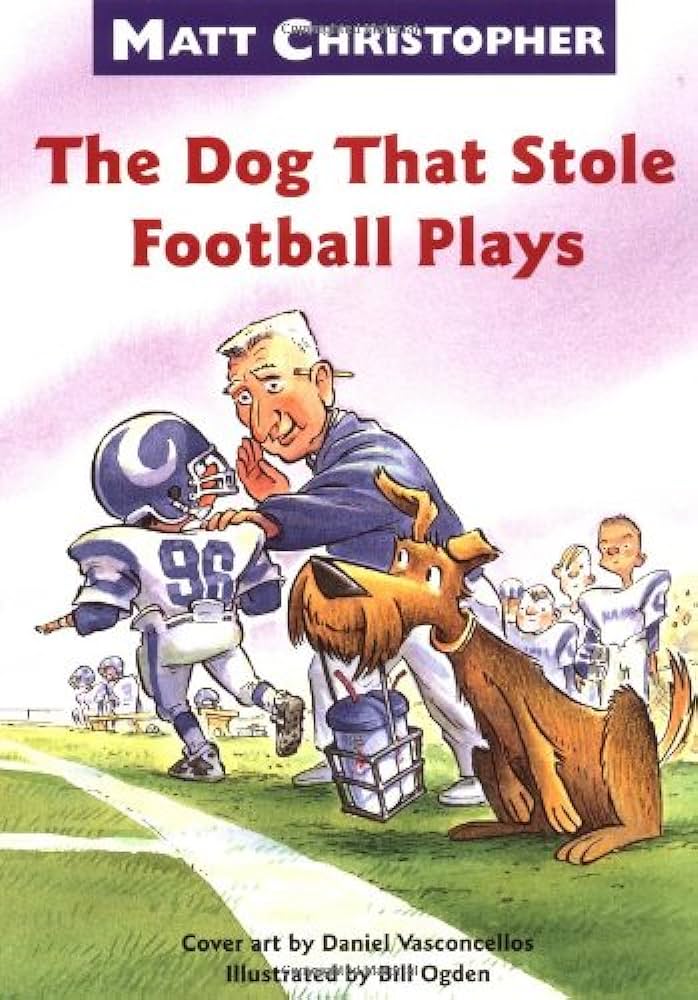
Another interesting book for 4th grade. This book comes with an interesting story of a dog. This dog has telepathic powers and can guide his owner on what the football team plans to do on the field. The book comes with eye-catching illustrations, making it a must-read for every kid.
35. I Was a Third-Grade Spy
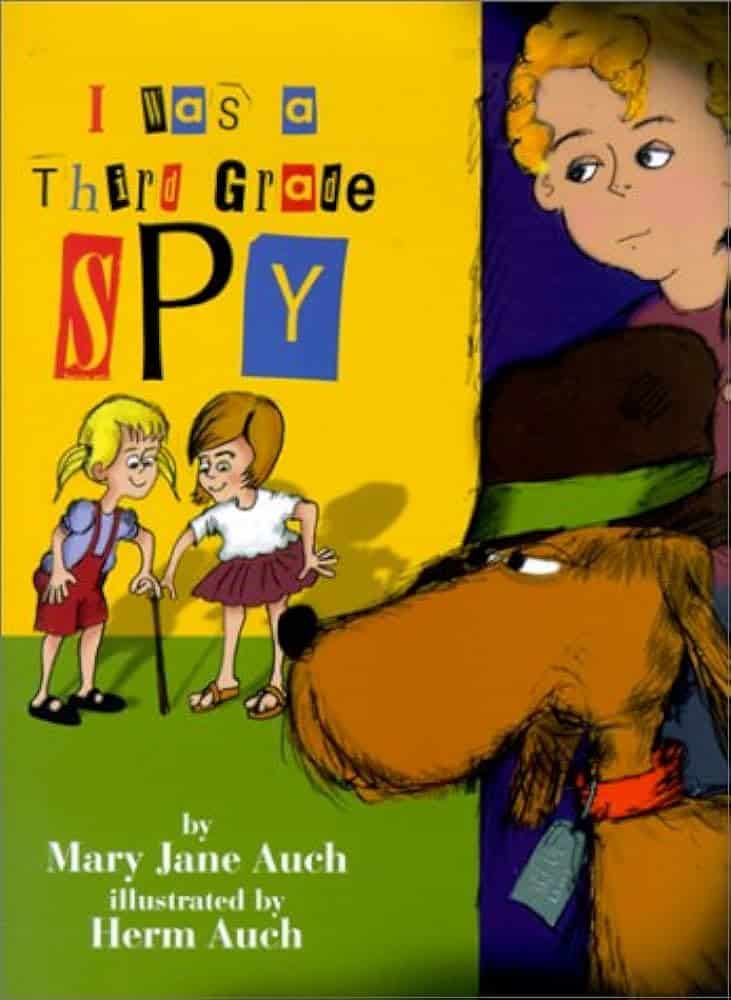
Are you looking for an adventure and fun story? Consider reading this book. It is the story of a dog named Arful, who suddenly begins talking. The dog is then tasked with finding out what the other kids at the school are planning for the talent show. A fun and interesting plot will keep the little readers glued to the book.
36. Life Skills for Kids
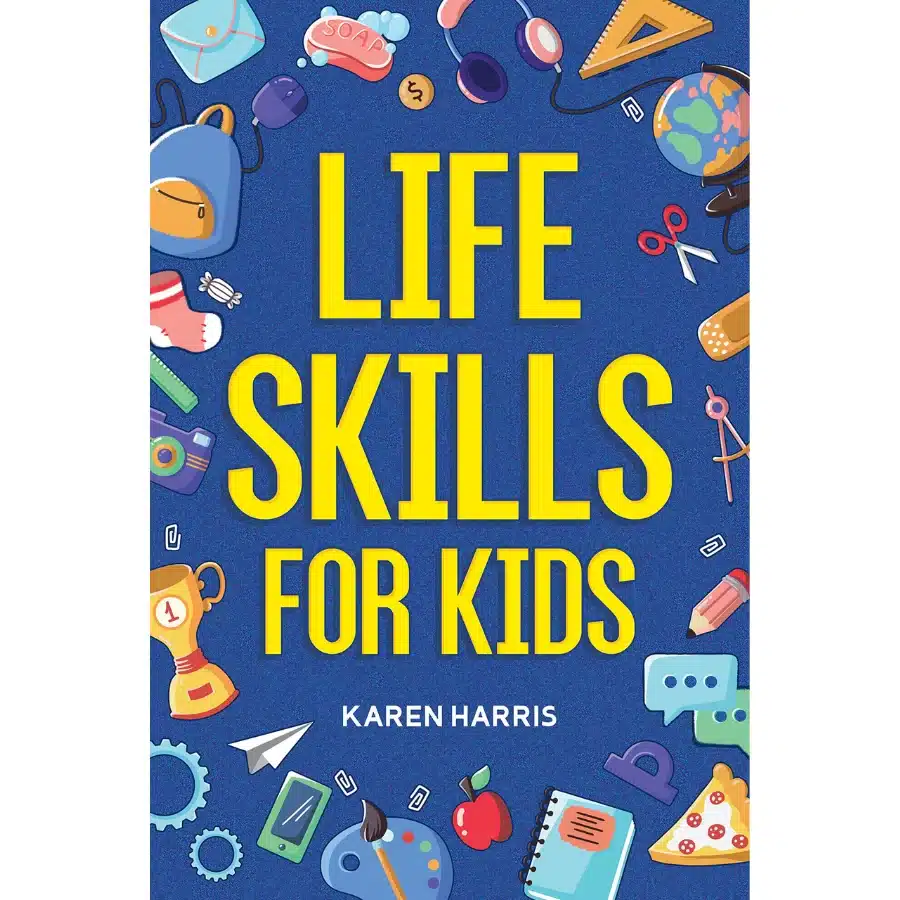
Wondering how to teach good habits to your kids? Well, this book will be a perfect addition to your list. It includes a series of life skill lessons like cooking, making friends, handling emergencies, the right etiquette, navigation skills, the importance of chores, and other skills that will help the kids become more confident and self-dependent.
37. Mystery in Rocky Mountain National Park

Kids in 4th grade are highly inquisitive, they want to explore things around them, and mysteries intrigue them. If your little one is one of them and loves mystery, then this book is a must-read. The story is about Jake and how he is on a mission to unfold the mystery of Rocky Mountain National Park.
38. A Wrinkle in Time
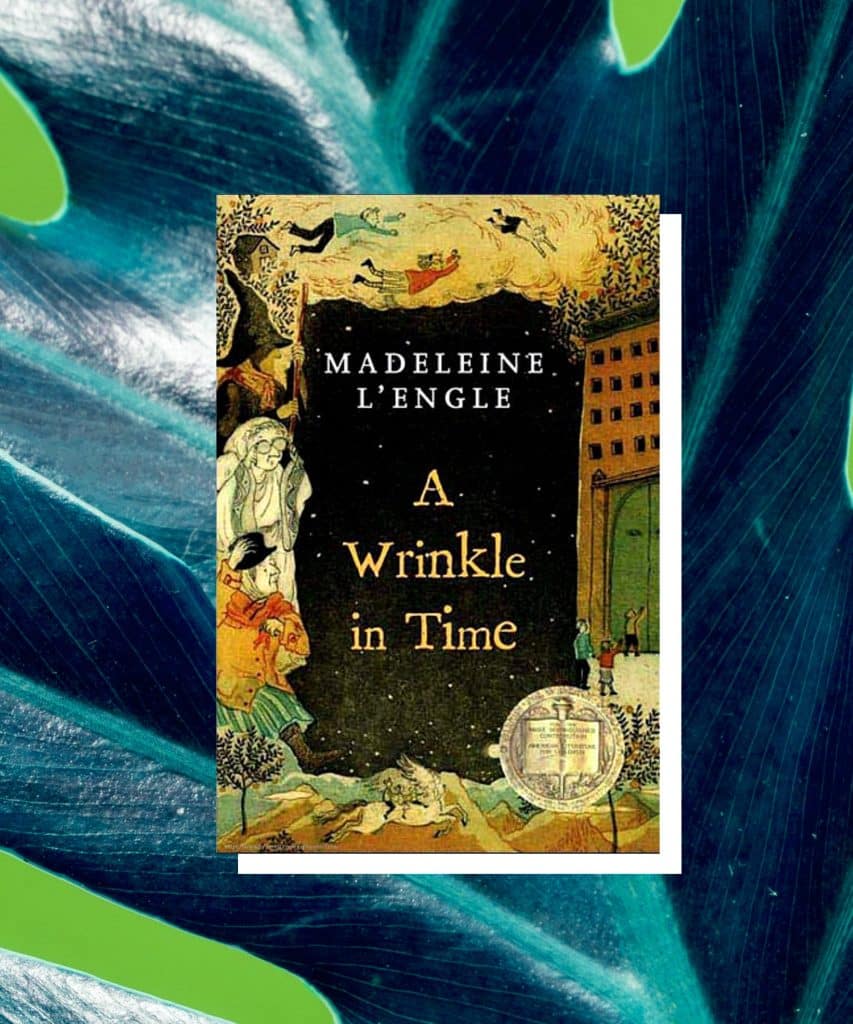
For all science lovers, this fantasy book will be a great addition. It brings together the world of science, mystery, and fantasy through a gripping storyline that awakes you. The book revolves around the story of Meg searching for her father ( a scientist).
39. Hailey Haddie’s Minute Mysteries
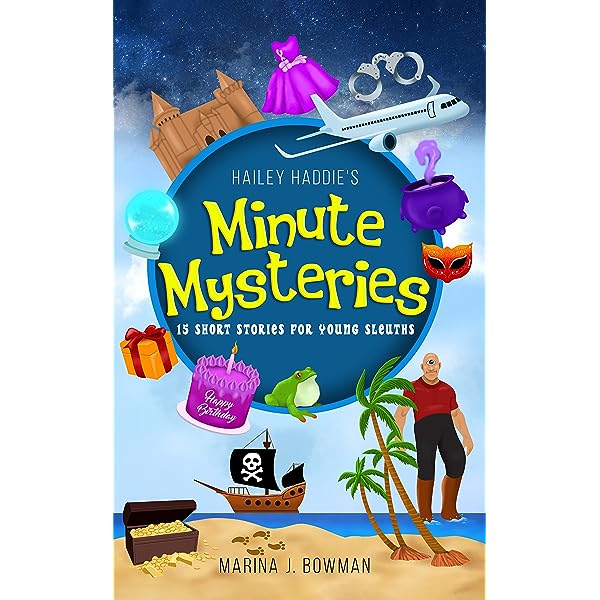
Want to solve hidden cases or puzzles and want to use your detective skills to the fullest, consider reading this book. 15 mystery stories entangle you completely, don’t miss to add this wonderful book to the TBR of your kids.
40. Would You Rather Be for Kids
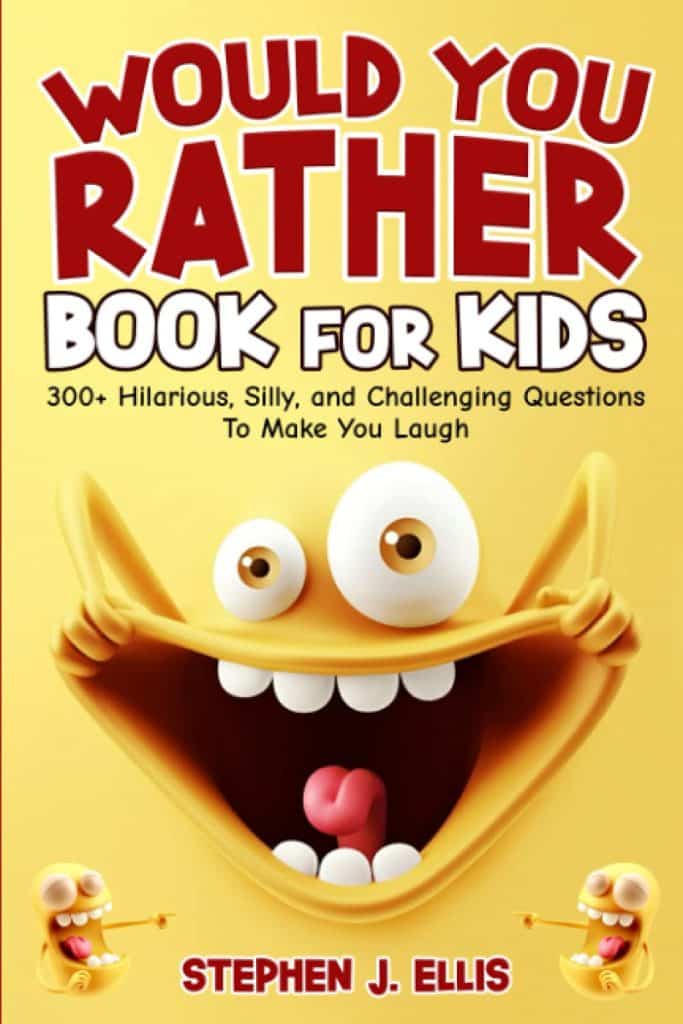
Add some challenge and fun to your kid’s life by adding this book to their reading list. It includes silly, funny, and quirky challenging would you rather question for kids. They will love the read and engage in playful games with their friends. There are more than 300 hilarious questions that will make it easy for you to engage with your kids.
Closing Thoughts
The books mentioned here symbolize a storyline, including mystery adventures and even some academic book reading. It also boosts patience and imaginative skills in the kids. They also encourage the readers to explore their identities and handle the challenges without getting discouraged. The carefully selected list of 40 books for 4th graders motivates them to become strong personalities.
At the same time, these books also still have the essence of compassion and sympathy. These are a great way to introduce kids to different cultures and help them explore more about the things around them. It also boosts their curious mind. There are many other books that you can gift your kid.
Encouraging reading at an early age helps enhance their memory and personality.
Frequently Asked Questions
What Kind of Books Are Good for 4th Grade Kids?
There are several genres of books that one can explore. A kid in 4th grade would love to read about adventure, fantasy, and mystery stories. 4th grade is the best time to introduce books to kids. You can consider adding books with pictures and illustrations that make reading fun. Some books like The Secret Lake, Ballpark Mysteries, Wish, Holes, The Lighting Thief, etc., are good choices.
How Can Reading Help My Kid?
Introducing books to kids at an early age helps build communication and social skills and boosts their imagination. Besides, it also helps in developing learning skills. Reading books also helps in learning about the history and culture of a nation. Hence, introducing the right kind of books can be a valuable addition to your kid’s life.
What is the Reading Level of 4th Grade Kid?
4th grade readers are expected to have a reading level Lexile score of 650-750. Moreover, the focus of the 4th-grade reader is to analyze the text and develop reading skills rather than focusing on understanding the plot. The books should encourage the students to learn the message and implement the learnings in their lives.