Don’t you think technology has becomes an integral part of our lives? So it is essential to ensure that our children can benefit from its advantages responsibly. Apple devices offer a wide range of educational and entertaining content, making them popular choices for children. To provide a safe and controlled digital experience for your child, creating an Apple ID specifically designed for kids is crucial.
In order to be able to do almost anything on a MacBook, iPhone, or Apple device, it is imperative to have an Apple ID. If you are looking for easy steps on how to create an Apple ID for a child, this blog post is just for you! One effective solution is to create an Apple ID for your child using the Family Sharing tool on your device.
In this guide, we will discuss the process of setting up your child’s Apple ID and explore the reasons why they may benefit from having one. In this comprehensive guide, let’s walk you through the step-by-step process of creating an Apple ID for a child with detailed instructions and helpful images.
Prepare for the Setup
Before you begin creating an Apple ID for your child, ensure you have the following prerequisites:
- An Apple device (iPhone, iPad, or iPod Touch) running the latest iOS version.
- A stable internet connection.
- A credit card or a PayPal account linked to your Apple ID (required for setting up Family Sharing)
Steps to Create an Apple ID for a Child on iPhone and iPad
1. Go to Device Settings
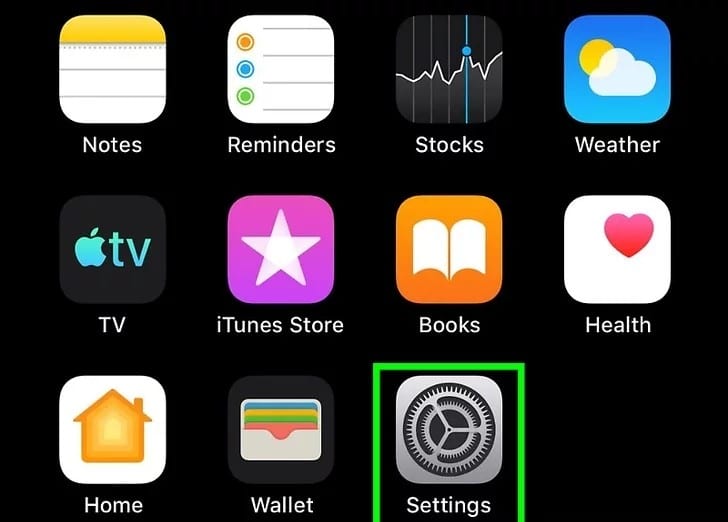
To access your iOS device’s settings, locate and tap the gear icon displayed on one of the home screens. In some cases, you might find it within a folder labeled “Utilities.”
2. Scroll Through the Options
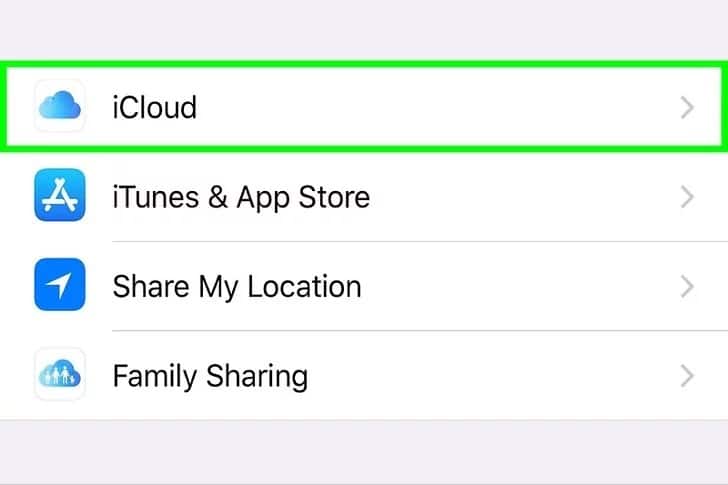
Scroll through the options until you spot “iCloud,” then tap on it. Depending on the number of options, you might need to scroll down a few times to locate it.
3. Set Up Family Sharing

Select “Set Up Family Sharing” from the available options. By doing so, you will assume the role of the family “organizer,” granting you full administrative control and the ability to add a child account to the family sharing group.
4. Get Started

Initiate the setup process by selecting “Get Started.” This simple action will kickstart the process of creating an Apple ID for your child.
5. Tap “Continue”

Click “Continue” to confirm your decision to be the organizer for this family. If you notice a different account listed instead of yours, simply click the link labeled “Not [xxx] or want to use a different ID?” at the bottom and proceed to sign in with your preferred account.
6. iTunes and App Store Purchases Sharing

Tap “Continue” to enable the sharing of your iTunes and App Store purchases with the entire family. By doing so, you can avoid purchasing the same app multiple times for different family members’ devices, saving both time and money.
7. Enter Your Billing Details
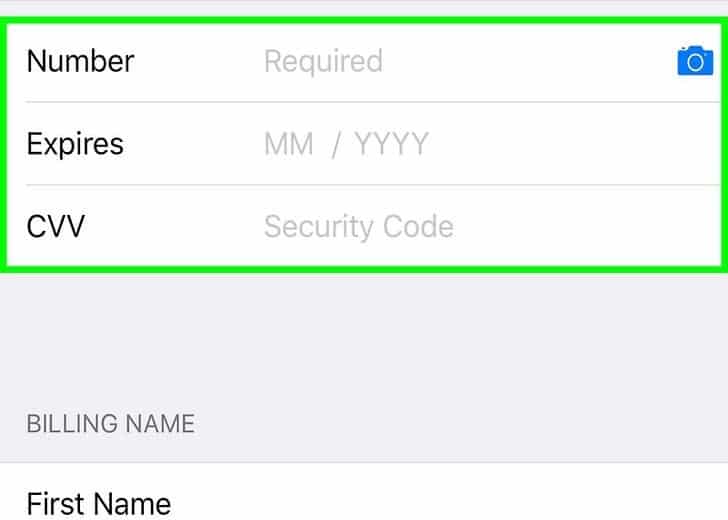
Enter your credit card details, as verifying you are an adult is essential. If you have already provided your credit card information before, simply tap “Continue” to confirm that you wish to use the card on file.
8. Share Your Location

Select “Share Your Location” to allow other family members to view your whereabouts through Find My Friends. Once you’re done, you will be redirected back to the Family screen. If you prefer not to share your location, tap “Not Now.”
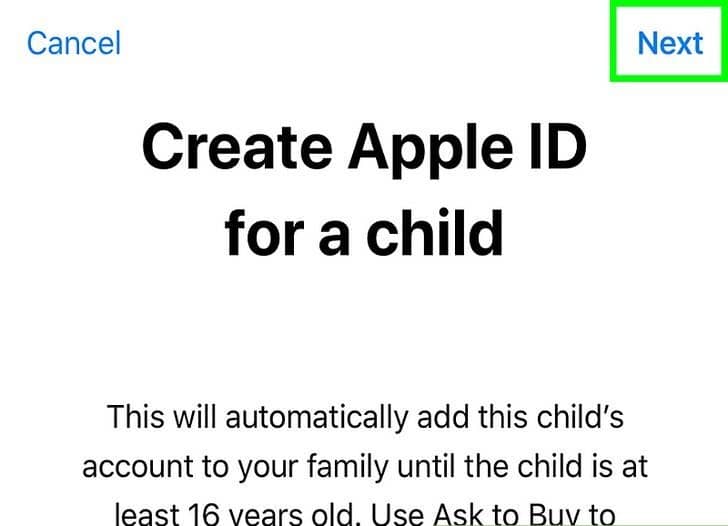
9. Click on Create a Child Account
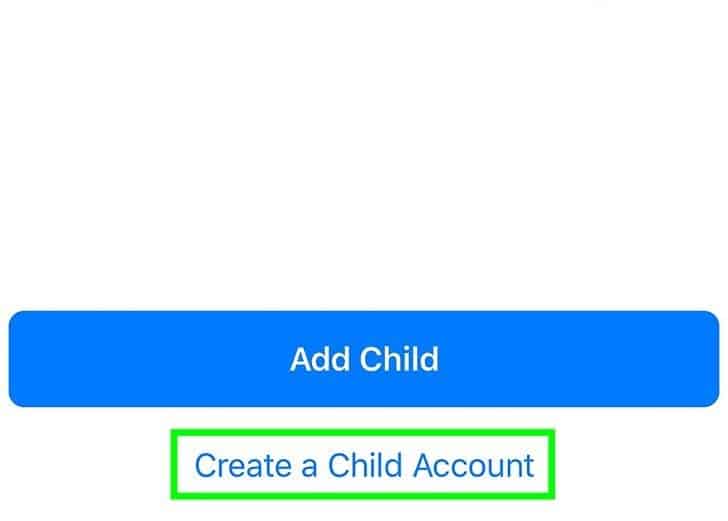
Tap on the link “Create an Apple ID for a Child,” highlighted in blue. Depending on the content on the screen, you might need to scroll down to find it.
10. Adding Your Child’s Birth Date
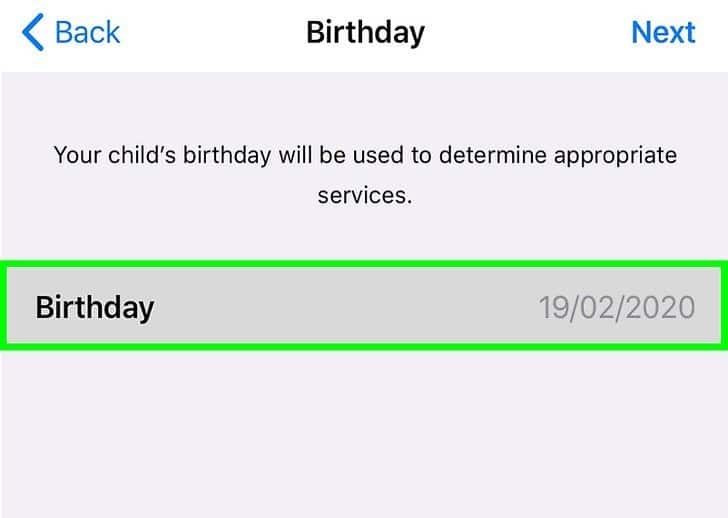
Enter the child’s birthdate when prompted to create an Apple ID on your iPhone. This information is necessary to establish the child’s age-appropriate access and parental control settings for a secure and personalized digital experience.
11. Parental Disclosure
Tap on the “Agree” button to acknowledge and accept the Parental Disclosure terms. By doing so, you agree to adhere to the specified guidelines and ensure a safer digital environment for your child’s Apple ID.
12. Enter Your Child’s Name
The next step is to provide your child’s name and then tap on the “Next” button to proceed further with the Apple ID creation process.
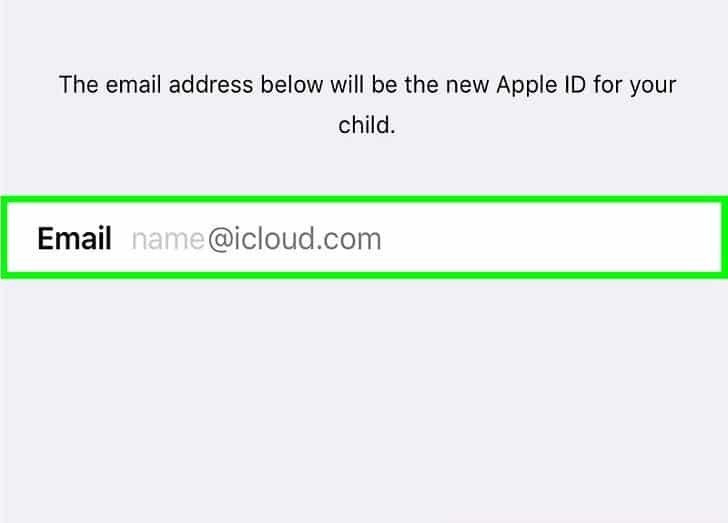
13. Enter An Apple ID
Enter an Apple ID for your child, which will serve as their unique username for signing in to Apple devices and accessing various services. After entering the Apple ID, tap “Next” to continue with the setup process.
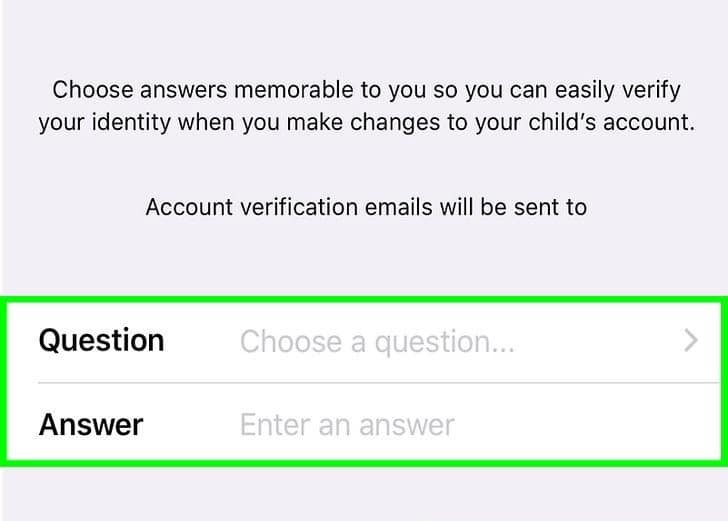
14. Follow the On-Screen Instructions
Follow the prompts on the screen to create a new password and set up security questions for the Apple ID. These measures will enhance the security of your child’s account and help them recover access if needed in the future.
15. Ensure “Ask To Buy” Is Enabled
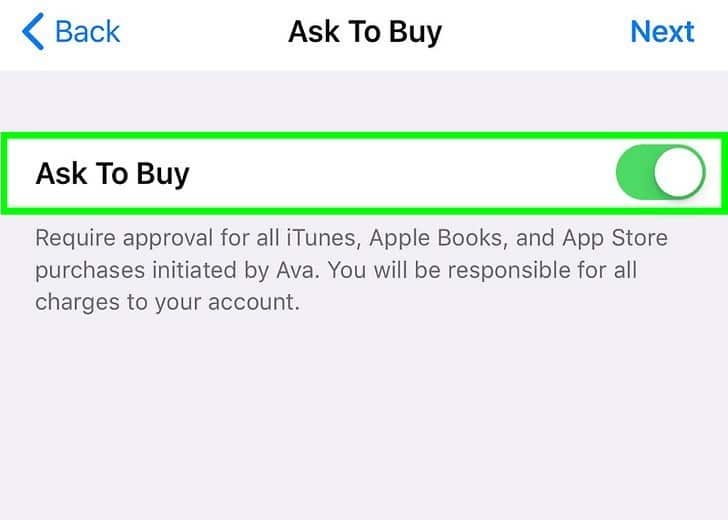
Ensure that “Ask to Buy” is turned on, and then tap “Next.” Enabling this feature means that any iTunes or App Store purchases your child tries to make will necessitate your approval, providing an extra layer of control over their spending.
16. Tap on “Share Location”

Tap “Share Location” to enable the visibility of your child’s location in Find My Friends. Rest assured; only family members will have access to view your child’s location. If you prefer not to enable location sharing for your child at this time, you can select “Not Now” as an alternative.
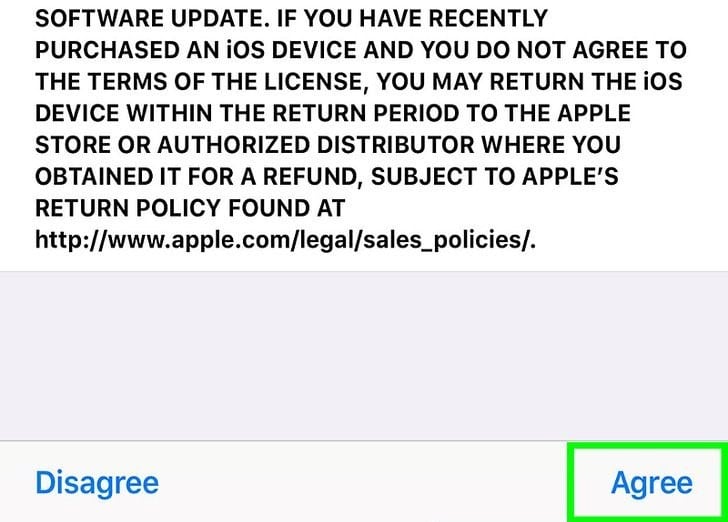
17. Agree to Complete the Final Step
Tap “Agree” to accept the Terms and Conditions, indicating your compliance with Apple’s policies. With this step completed, your child’s Apple ID is now fully set up and ready to use. Your child can seamlessly sign in to any Apple device or service using their newly created Apple ID, ensuring a safe and personalized digital experience.
Setting Up Apple ID for A Child on Mac
1. Click on The Apple Menu
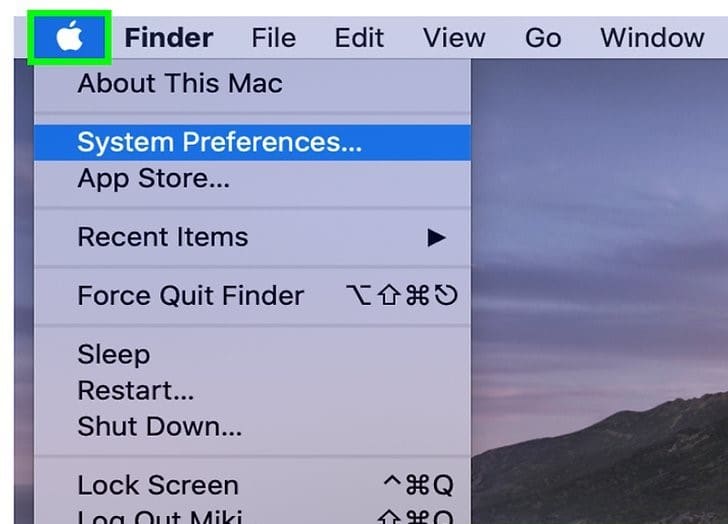
Select the Apple menu by clicking on the black apple-shaped icon located on the far left of the menu bar at the top of your screen.
2. Go to System Preferences

Access the System Preferences on your Mac by clicking on its icon. Gears typically represent the System Preferences icon and can be found on your Dock or by clicking the Apple menu and selecting “System Preferences” from the drop-down list.
3. Click on iCloud
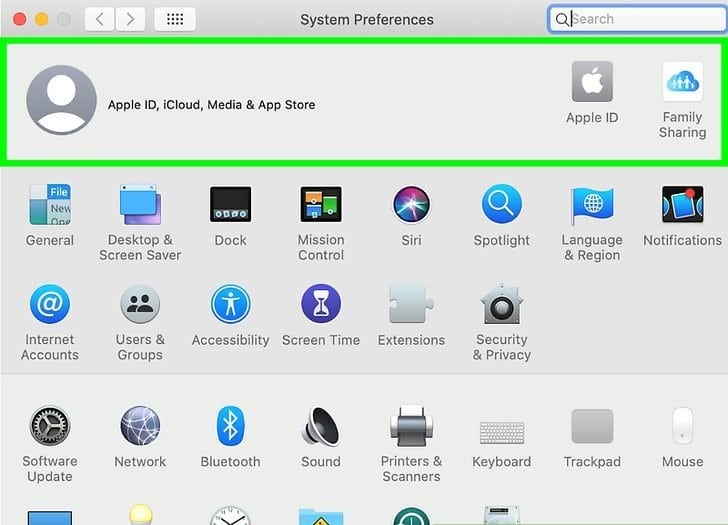
Click on “iCloud.” If you cannot locate this option, click on the button that resembles three rows of dots positioned at the top of the screen or select “Show All.” Following these steps will lead you to the iCloud settings on your Mac.
4. Click On “Set Up Family”
Click on “Set Up Family” located on the left side of the screen, just beneath your name and photo. By setting up Family Sharing, you will become the family “organizer,” granting you full administrative control to add a child account. In case you have already set up Family Sharing, you will see “Manage Family” instead. This allows you to manage and modify family members and settings within your existing family group.
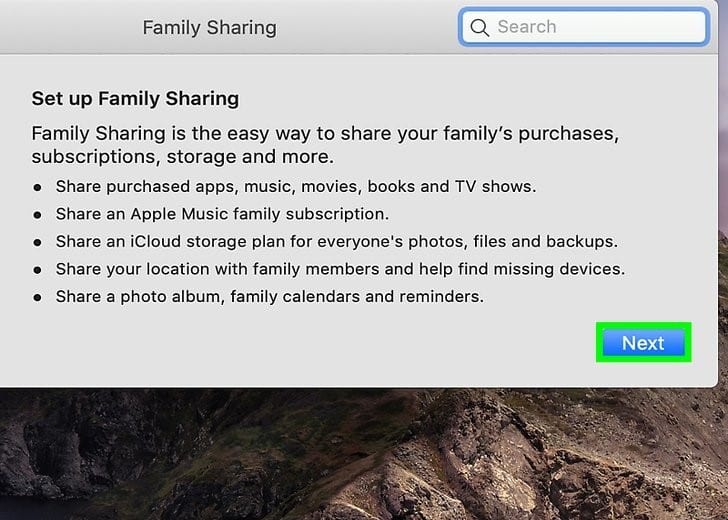
5. Read the Family Sharing Description
After reading the description of Family Sharing, proceed by clicking on “Continue.” This action confirms your decision to utilize Family Sharing, allowing you to enjoy the benefits of sharing content and managing accounts within your family group.
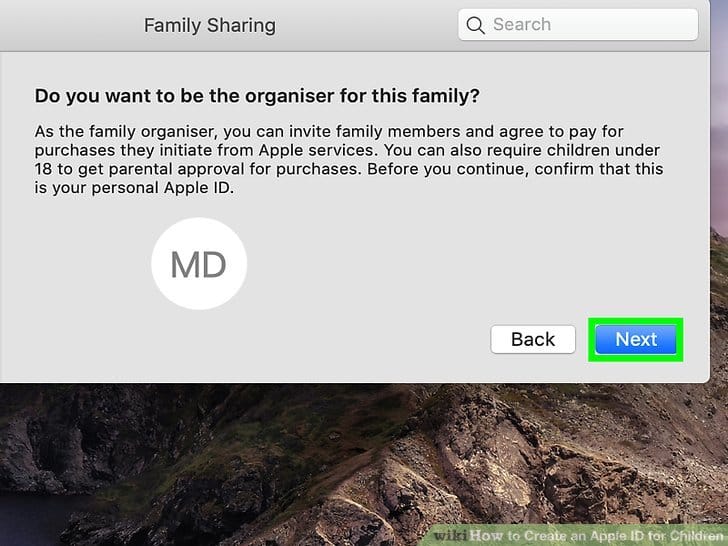
6. Click on Continue to Confirm Being the Organizer
Click on “Continue” to confirm your role as the family organizer. As the organizer, you will have the authority to add family members, including child accounts, to the family group. This privilege allows you to manage and oversee the family’s digital ecosystem effectively.
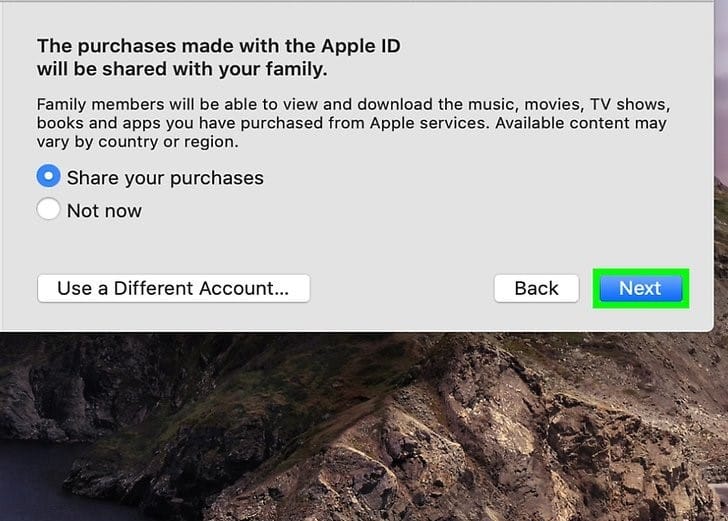
7. Sharing Access to iTunes and App Store Purchases

Select “Continue” to confirm that your iTunes and App Store purchases will be accessible on all your family’s devices. This feature ensures that any content or apps you purchase will be available for all family members to use without the need for separate purchases.
8. Enter Credit Card Information
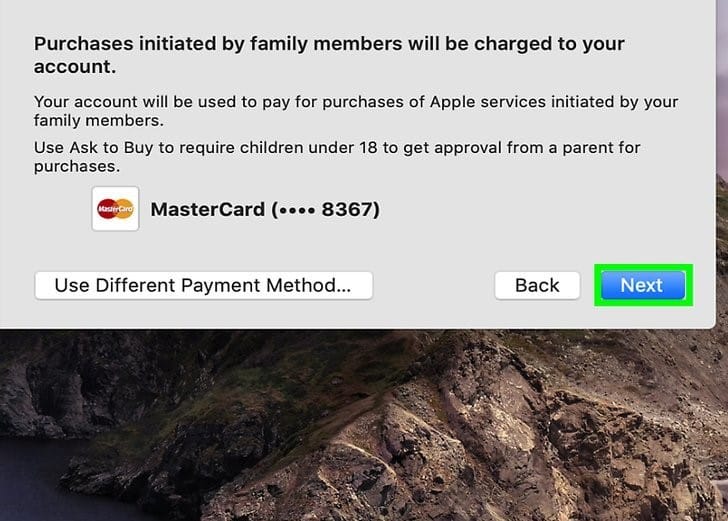
Provide your credit card information and then click on “Continue.” While adding an Apple ID for a child, this step is necessary, but rest assured, your card will not be charged. If you have already linked a credit card to your account, it will be displayed here, showing only the last 4 digits for security reasons.
9. Location Sharing
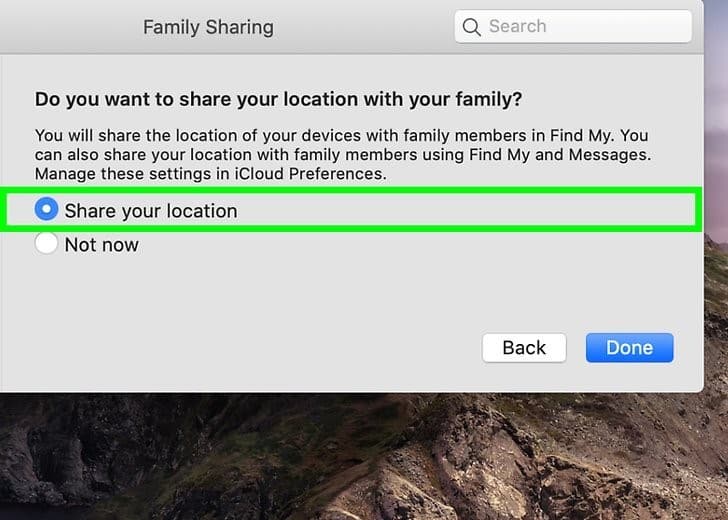
Decide whether you wish to share your location with other family members. If you choose to “Share your location,” other family members will be able to track your whereabouts using “Find My Friends.”
10. Continue for Redirection to Family Sharing Screen
Click on “Continue.” This action will bring you back to the Family Sharing screen, allowing you to review and manage the family sharing settings and preferences.
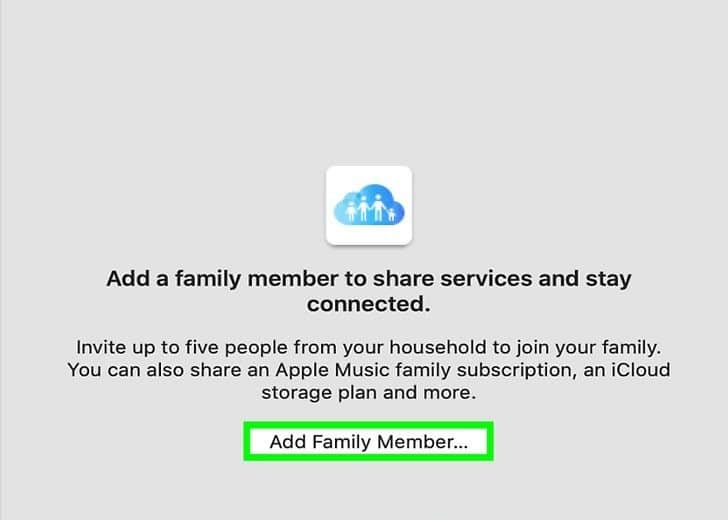
11. Click on Add Family Member
Click on the “+” button or “Add Family Member” option. The appearance of this button may vary depending on the version of macOS you are using. Still, its purpose remains the same: to initiate the process of adding a new family member to your family-sharing group.
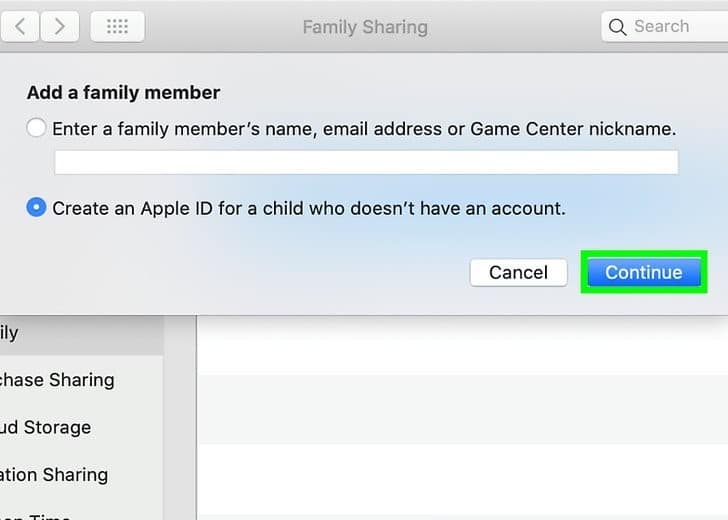
12. Create an Apple ID fora Child with the Required Information

Select your child’s birthday from the available dropdown menus. Next, enter a new Apple ID, which will be used as your child’s username for logging into Apple products and services. Create a new password for the Apple ID and verify it by entering it again. If you wish to locate your child using Find My Friends, check the box next to “Share your child’s location with your family.” Once you’ve completed these steps, click on “Continue” to proceed with the setup.
13. Follow the Prompts to Complete the Setup
Follow the on-screen prompts to finalize the account setup. This will involve creating security questions, verifying your credit card information, and accepting the Apple ID agreement. Upon completing the setup, you will be redirected back to the Family Sharing screen, where you can manage and review the family members and settings within your family sharing group.
14. Set up Ask to Buy
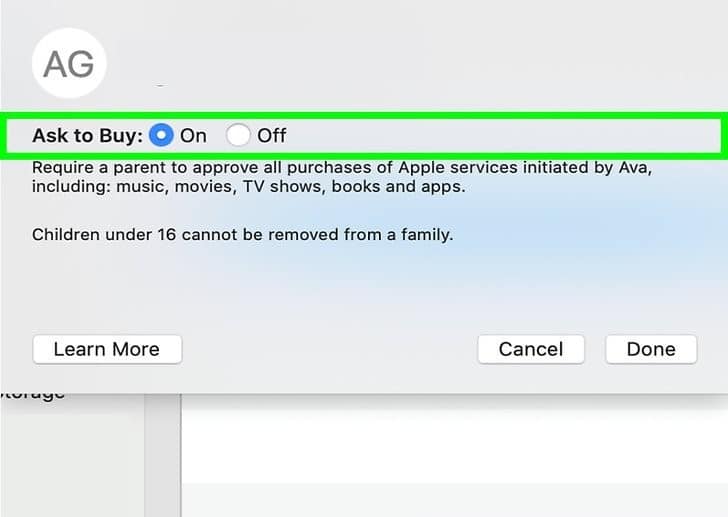
Ensure that “Ask to Buy” is checked. By enabling this option, every purchase your child attempts to make from iTunes or the App Store will require your authorization before the transaction is completed. This feature allows you to have control over your child’s spending and ensures a safer digital experience for them.
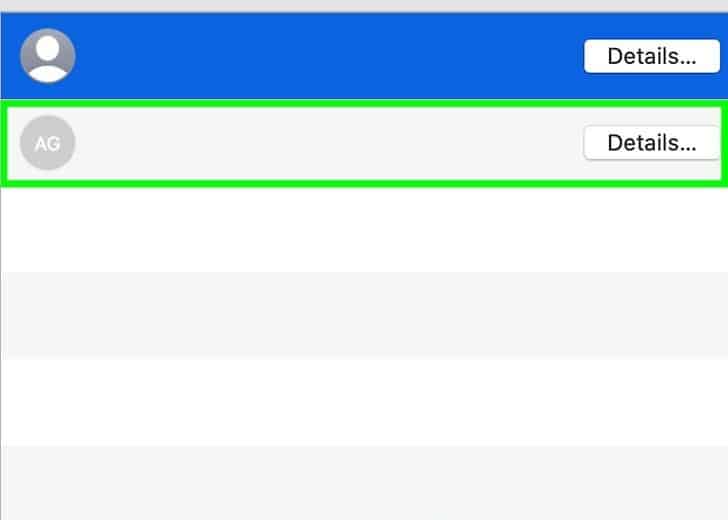
15. You’re All Set
Click on “Done.” Congratulations! Your child’s Apple ID setup is now complete. They can start using their new username and password to sign in to any Apple service or product, providing them with a secure and personalized digital experience within the Apple ecosystem.
Importance of Setting up Apple ID for a Child
1. Age-Appropriate Access
With a child-specific Apple ID, parents can set age restrictions and control the content their child can access. This ensures that children are only exposed to age-appropriate apps, games, and media.
2. Family Sharing
Family Sharing allows parents to manage and share purchases, subscriptions, and apps among family members. This feature streamlines the process of managing digital content and expenditures for the entire family.
3. Parental Controls
Apple provides robust parental control features, such as Screen Time, which enables parents to manage screen time, set app limits, and restrict certain content. These controls help strike a balance between technology usage and other activities.
4. Safe Online Experience
By creating a child Apple ID, parents can ensure that their child’s personal information is protected and their interactions with others are monitored in a controlled manner, enhancing their online safety.
5. Educational Resources
An Apple ID allows children to access a wide range of educational apps, eBooks, and learning content tailored to their age and interests, promoting a constructive and enriching digital experience.
Final Thoughts
All in all, setting up an Apple ID for a child provides numerous advantages, from age-appropriate access to a safe and controlled online experience. With parental controls, family sharing, and access to educational resources, parents can empower their children to explore the digital world responsibly and constructively.
By emphasizing safety, privacy, and age-appropriate content, parents can foster a healthy and positive relationship between children and technology, ensuring they benefit from the advantages of modern devices while remaining protected in the digital landscape.
This will also ensure that you are infinitely aware of their online activities and exposure to digital media across different iOS devices like iPhone, Mac, iPad, and more.