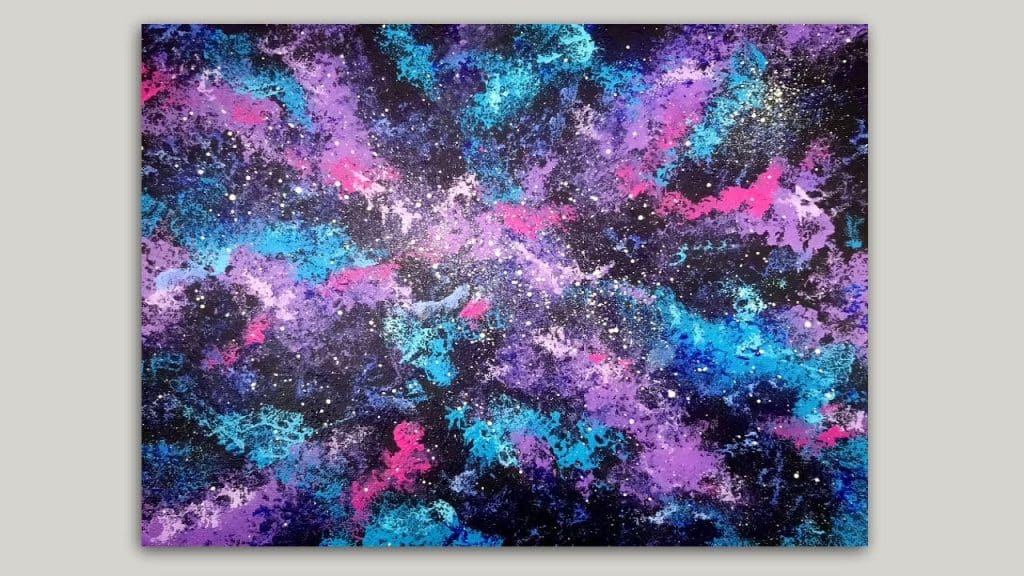
Sponge painting is a creative adventure that opens up a world of possibilities and provides artists with tactile and expressive material to work with. In this field, becoming proficient in creating gradient effects stands out as an intriguing method that gives creative creations depth and character.
If you are looking for sponge painting ideas, then we are here with an extensive tutorial, revealing the techniques behind creating gradient sponge paintings.
For artists who are keen to add the captivating charm of gradient effects to their work, this guide offers a roadmap for everything from choosing an ideal color scheme to trying out different approaches.
What Is Gradient Effect In Sponge Painting?
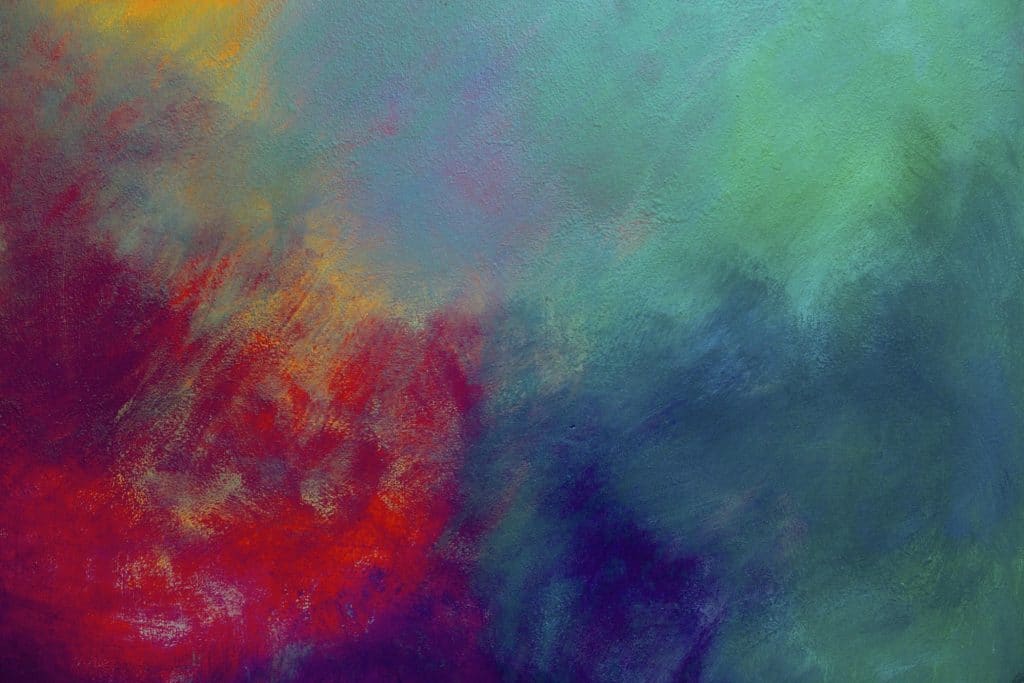
In sponge painting, the gradient effect is the skillful development of colors, producing a smooth change from one color to the next. With this method, paint is applied expertly with a sponge, allowing the colors to merge gradually.
On Canvas or Paper, artists create a subtle and smoothly moving gradient by layering and blending different tones. Through the use of this technique, the artwork gains depth and fluidity as well as intriguing visual dimensions.
This kind of painting is very popular for producing textured surfaces and dynamic backdrops. This produces an aesthetically beautiful composition that draws viewers in.
Materials You May Require:
- Paper/ Canvas
- Desired Acrylic paint colors
- A coloring palette
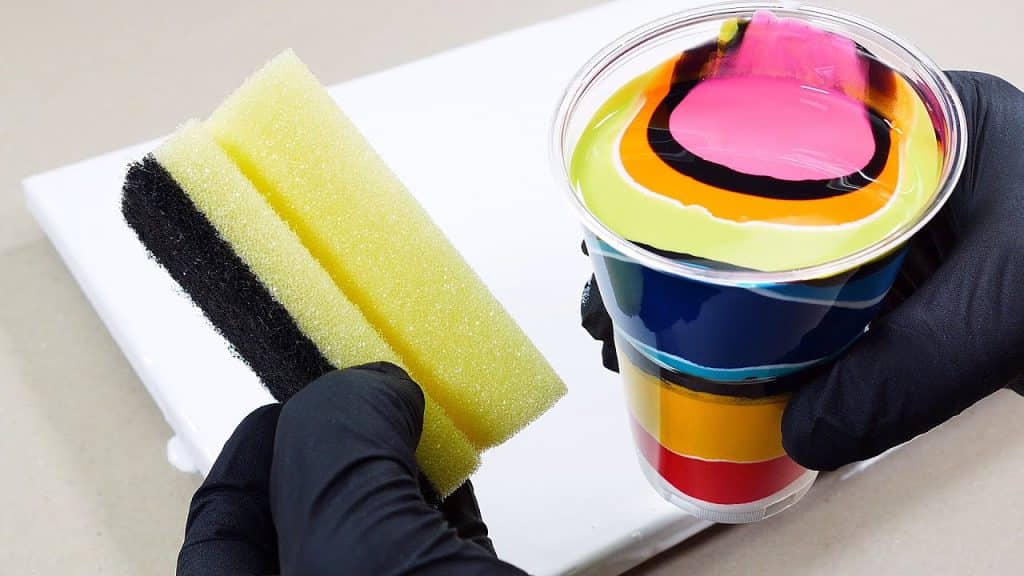
- Sponges
- Water in container
- Paper towels
Steps to Create Gradient Effect With Sponge Painting
Follow the steps given below to achieve a gradient effect with sponge painting.
Step 1
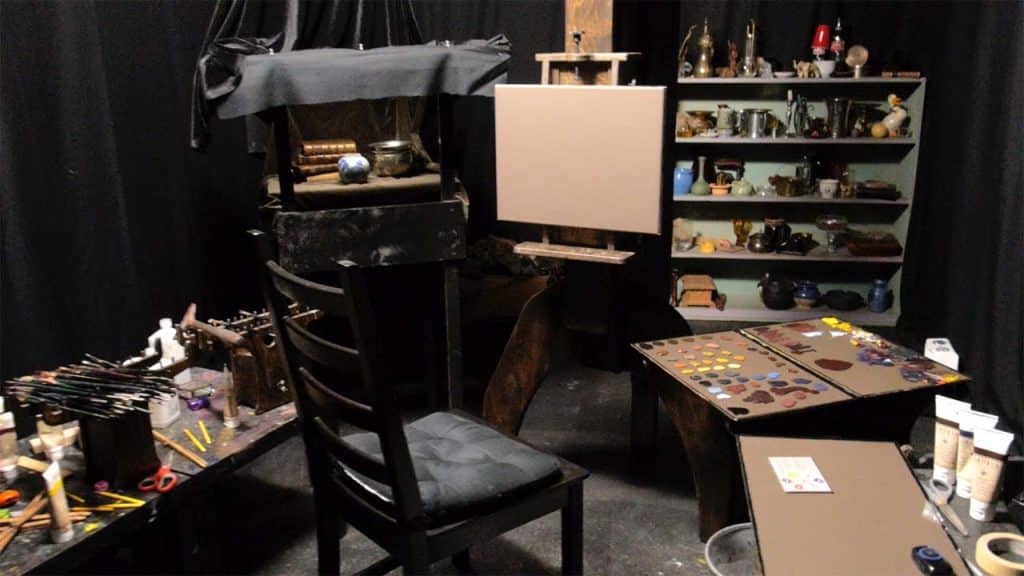
Make sure your workstation is tidy and well-lit. To prevent paint splatters, cover the surface with newspaper or a drop cloth. If you are painting on a canvas, you might want to use painter’s tape to make a neat border around the edges.
Step 2
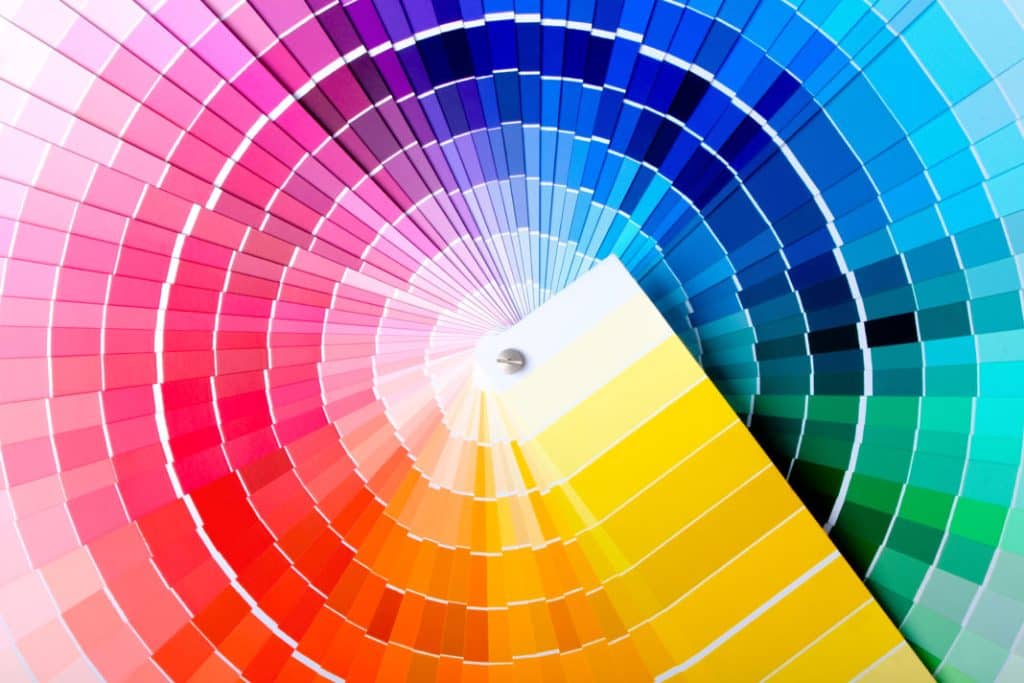
Choose a set of colors for your gradient. Selecting colors that go well together is crucial. Think about utilizing complimentary colors for a more dramatic impact or analogous colors- colors that are next to one another on the color wheel- for a harmonious gradient.
Step 3
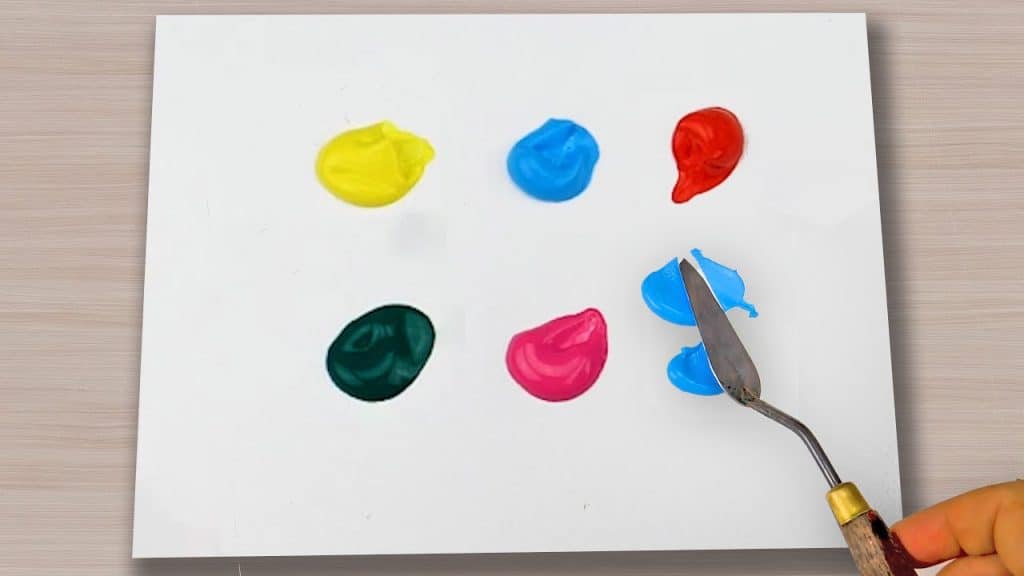
Squeeze out the selected colors onto the plate or palette. By combining different proportions of adjacent colors, you may create several intermediate tones. This is going to be essential to bring out a nice and aesthetic transition in your gradient.
Step 4
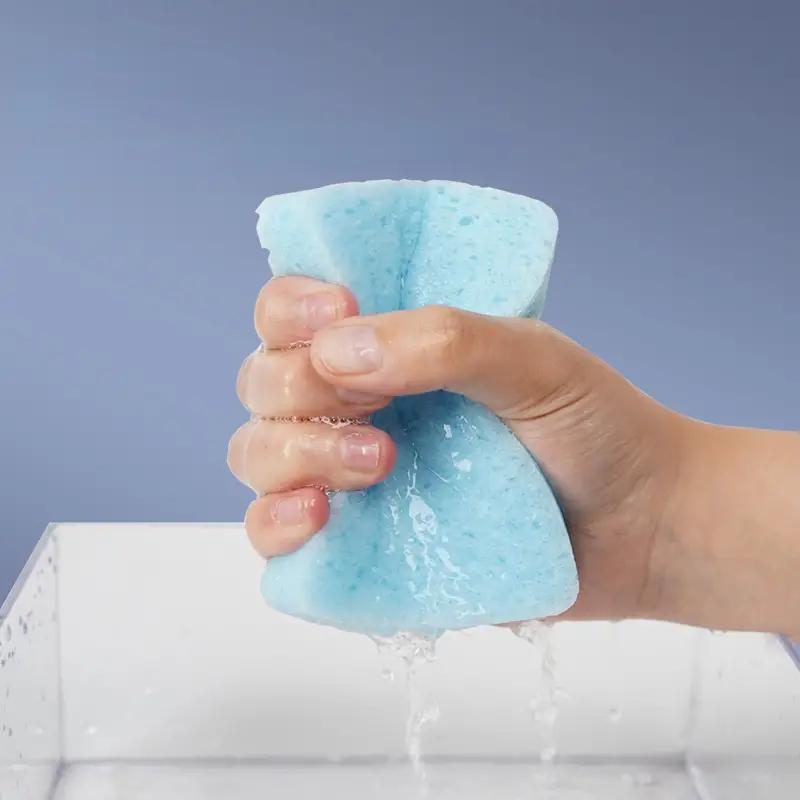
After wetting the sponge with water, squeeze off the excess amount. A sponge that has been slightly moistened makes it easier for the paint to spread and keeps it from drying too soon.
Step 5
Take your sponge and dip it into the lightest desired color shade in your palette. You must make sure that the paint is evenly distributed across the surface of the sponge. Even the distribution of the color will give the impact you want.
Step 6
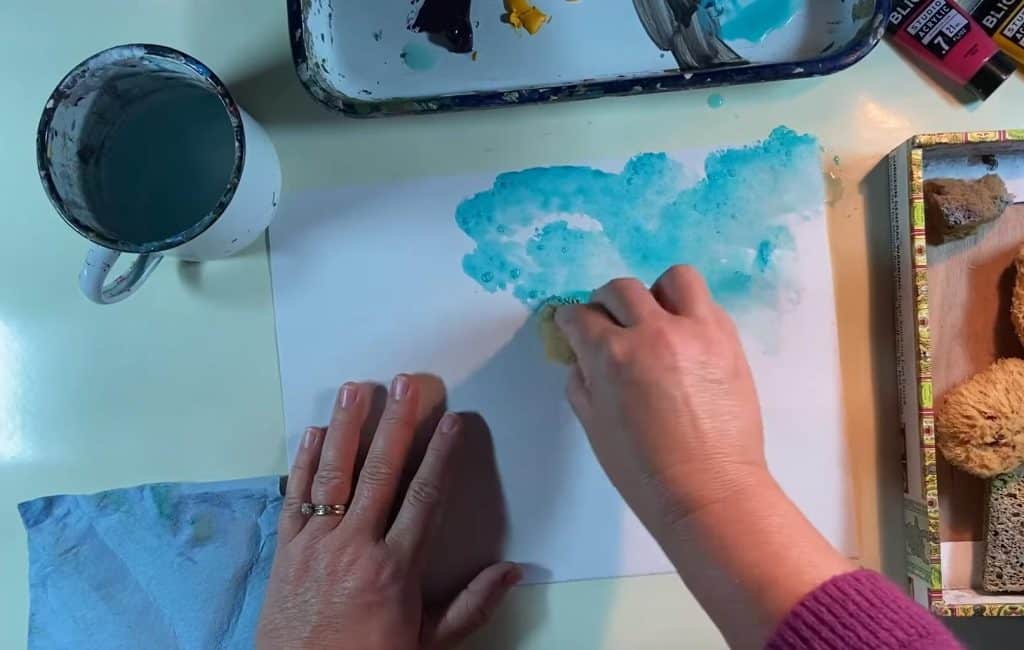
It’s now time to start with the base layer of your painting. Apply the lightest color evenly across the entire canvas by gently pressing the sponge into it. This is going to be your gradient’s foundation layer or base layer.
Step 7

Change to the next color in your palette as you work towards the gradient’s intended direction. To achieve a smooth transition, press the sponge into the canvas and slightly overlap it with the preceding color. Proceed in this manner, adding color little by little, until you get the darkest shade.
Step 8
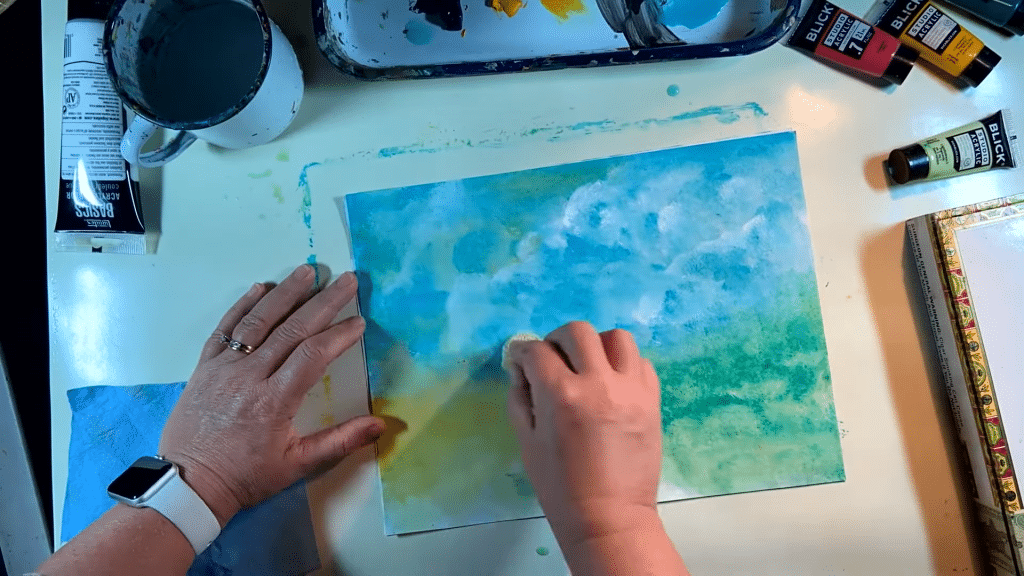
Lightly dab the borders where colors meet to create a seamless transition. By doing so hard lines are avoided and the colors are blended. If necessary, you may further soften the transitions using a clean moist sponge.
Step 9
You may experiment with different techniques. There are numerous ways you can select to enhance your gradient effect while using sponge painting. For texture, try stippling, which involves repeatedly poking the sponge in one area, or dragging the sponge for a smoother appearance. You can experiment with a variety of sponge types and pressure to find the effects that go best with your aesthetics.
Step 10
Allow the painting to dry fully after you have obtained the appropriate gradient look. This procedure can take a few hours depending on how thick your paint layers are.
Now carefully examine your dried painting, addressing areas that need to be refined. To ensure a precise gradient, touch up any blemishes using a brush or sponge. This process ensures that the colors will flow smoothly and improve the artwork’s overall visual impact.
Conclusion
Trying your hand at sponge painting gradients is a rewarding creative endeavor that allows you a great deal of flexibility and personal expression. Artists develop a unique style through the dynamic interaction of various color combinations, methods, and textures.
Sponge painting gradient is a skill that can be mastered with consistent practice, leading to the production of visually appealing artwork. This voyage not only encourages individualism but also presents how transforming art can work.
Every color combination tells a different tale, which makes the artist’s journey both satisfying and attractive to look at.