
While everyone else is wrestling with demanding poinsettias that drop leaves at the slightest misstep, your Christmas cactus could be bursting with brilliant blooms without all the drama.
That’s the magic of a Christmas cactus, and here’s the best part: caring for this stunning plant is far easier than you might think.
Unlike its prickly desert cousins that demand constant attention and specific conditions, the Christmas cactus thrives with just a bit of knowledge and consistency.
Whether you’re a seasoned plant parent or just starting your indoor garden journey.
This guide will walk you through everything you need to change your Christmas cactus into a blooming showstopper that returns year after year.
What is a Christmas Cactus?
The Christmas cactus, scientifically known as Schlumbergera, originates from the coastal mountains of Brazil, where it grows nestled in trees rather than desert sand.
This tropical heritage explains everything about its care needs: it craves humidity, indirect light, and regular moisture, unlike its drought-loving desert relatives.
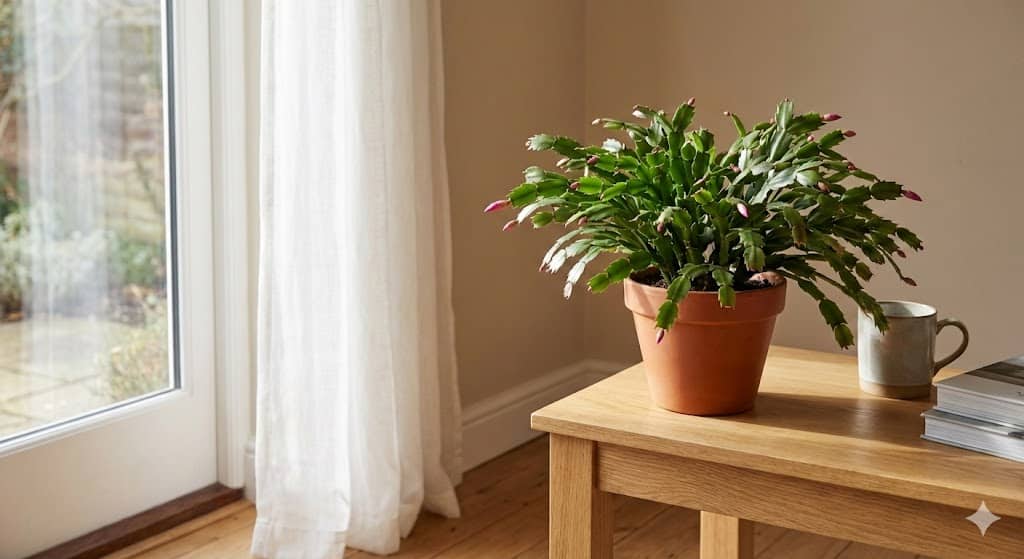
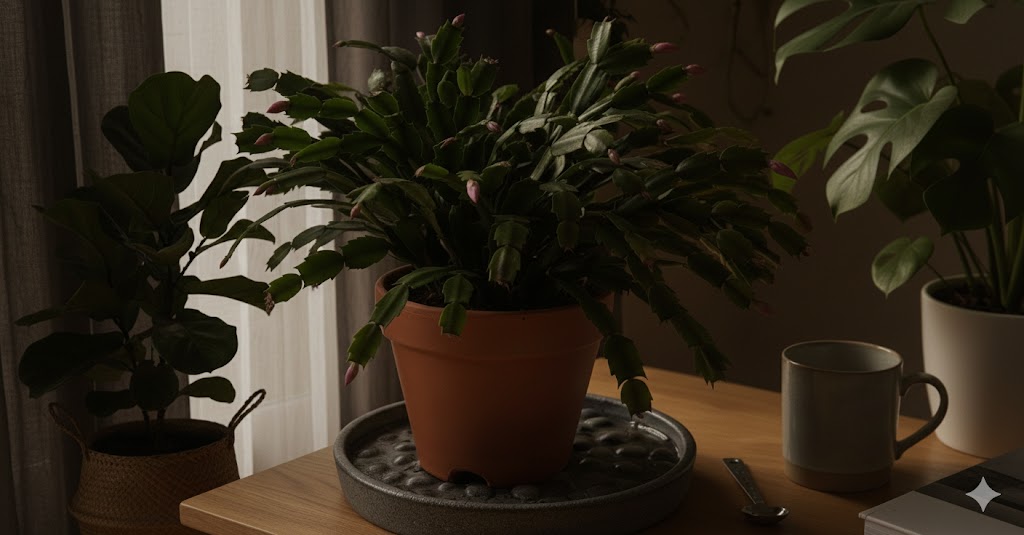
You’ll recognize this plant by its distinctive flat, segmented stems with scalloped edges that cascade beautifully from pots. These aren’t actually leaves but modified stems that can grow quite long, creating a beautiful draping effect perfect for hanging displays.
The real magic happens during the blooming season when tubular flowers in shades of pink, red, white, orange, or purple emerge from the stem tips.
With proper care, these plants become family heirlooms, living for decades and producing increasingly spectacular flower displays each year. Some specimens have thrived for over a century, passing from generation to generation.
How to Care for a Christmas Cactus: 5 Essential Steps
Getting your Christmas cactus care routine right involves having the proper setup from the start. Here’s what you’ll need before diving into the steps.
Tools and Materials
| Item | Purpose |
|---|---|
| Pot with drainage holes | Prevents water from pooling and causing root rot |
| Well-draining cactus or succulent soil mix | Provides proper aeration and moisture balance |
| Watering can with narrow spout | Allows precise watering at the soil level |
| Balanced liquid fertilizer | Supplies essential nutrients during the growing season |
| Spray bottle for misting | Increases humidity around the plant |
Step 1: Provide the Right Light and Location
Place your Christmas cactus near an east or west-facing window where it receives bright, indirect sunlight.
Avoid direct afternoon sun, which can scorch the stems, causing them to turn reddish or appear bleached. The stem segments should maintain a healthy green color as your indicator of proper lighting conditions.
Step 2: Water Properly and Use Well-Draining Soil
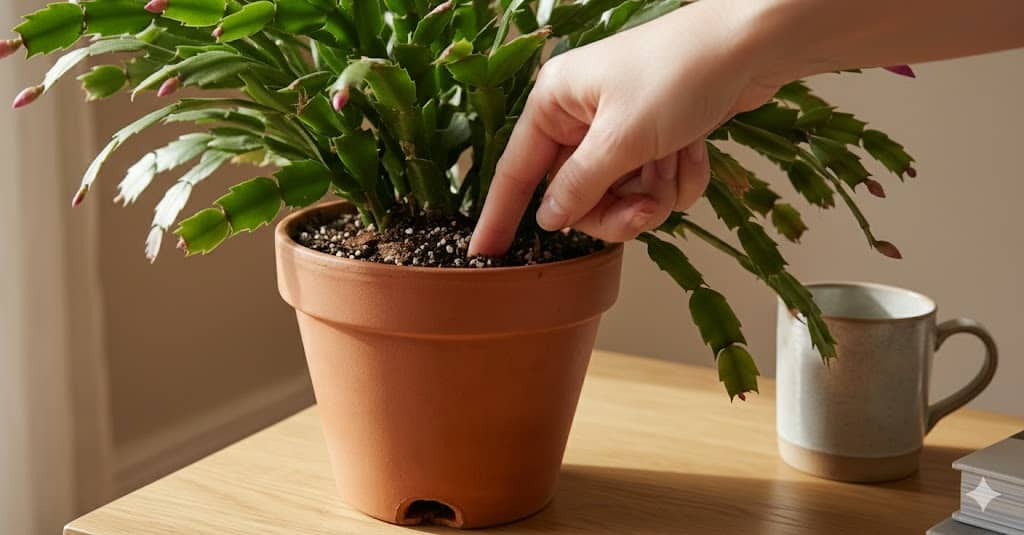
Check the soil about an inch below the surface and water when it feels dry at that depth.
Use a well-draining potting mix designed explicitly for cacti or succulents, or create your own blend with regular potting soil, perlite, and orchid bark.
Always ensure excess water can escape through drainage holes.
Step 3: Maintain Ideal Temperature and Humidity
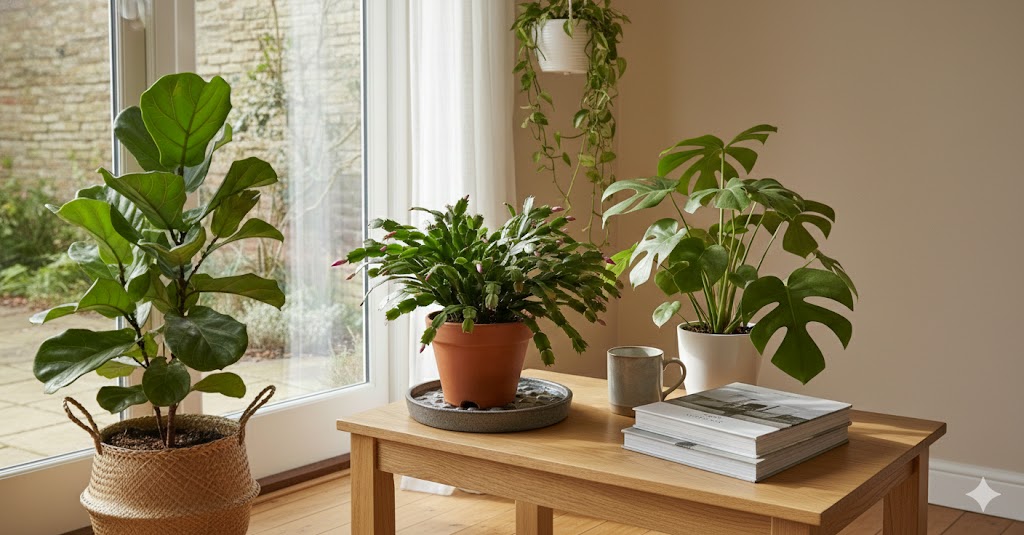
Keep your Christmas cactus in temperatures between sixty and seventy degrees Fahrenheit for optimal growth.
These tropical plants appreciate humidity levels around fifty percent, so consider misting occasionally, placing a pebble tray with water beneath the pot, or grouping them with other plants to create a microclimate.
Step 4: Fertilize During Growing Season
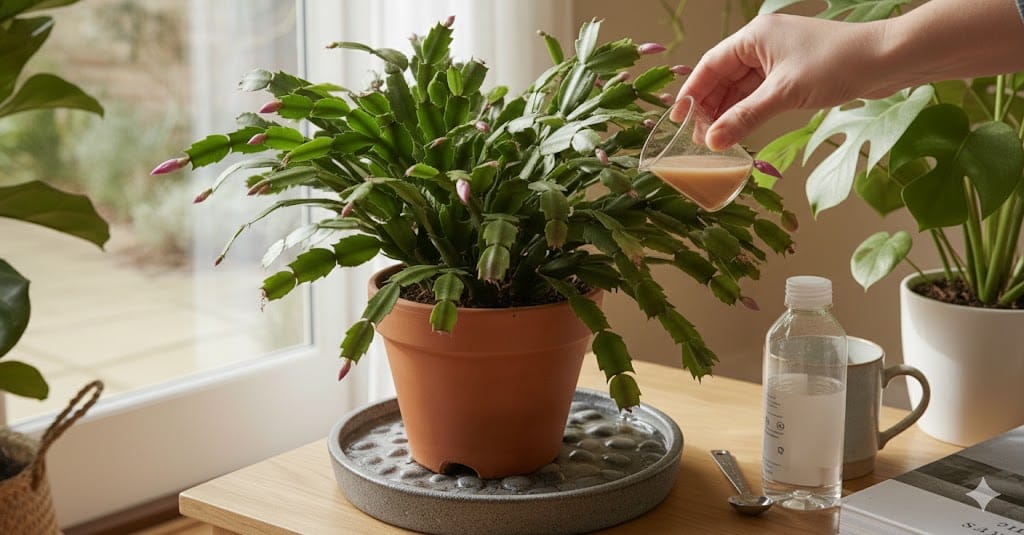
Feed your Christmas cactus monthly from spring through early fall using a balanced, water-soluble fertilizer diluted to half strength.
Stop fertilizing in late fall and winter when the plant enters its rest period before blooming. This break helps encourage bud formation for the upcoming flower display.
Step 5: Trigger Blooming with Darkness and Cool Temperatures
Starting in late September or early October, give your plant fourteen hours of complete darkness each night and reduce watering slightly. Maintain cooler temperatures around fifty-five degrees if possible.
Continue this routine for six to eight weeks until buds form, then resume regular care and watch the magic unfold.
Now that you’ve mastered the essential care steps, let’s address some pitfalls that could derail your Christmas cactus success.
Common Christmas Cactus Care Mistakes to Avoid
Even experienced plant parents sometimes stumble when caring for Christmas cacti. Recognizing these common errors helps you avoid frustration and keeps your plant thriving year after year.
|
Mistake |
Why It’s Problematic |
How to Fix It |
|
Treating it like a desert cactus |
These tropical plants need consistent moisture and will quickly shrivel if left too dry. |
Water when the top inch of soil feels dry, not bone dry. |
|
Overwatering and poor drainage |
Roots rot quickly in soggy soil, leading to mushy, collapsing stems. |
Always check soil moisture before watering and ensure drainage holes exist. |
|
Direct sunlight exposure |
Harsh rays cause stress, reddish discoloration, and bleached-looking segments. |
Move to a bright, indirect light location away from intense afternoon sun. |
|
Skipping the fall darkness period |
Without environmental triggers, the plant won’t form flower buds. |
Provide fourteen hours of darkness nightly for six to eight weeks in the fall. |
|
Moving the plant frequently |
Sudden ecological changes cause bud drop and stress. |
Keep in a consistent location, especially once buds form. |
Understanding these mistakes gives you a clear roadmap of what not to do. But there’s more you can explore to get even more from your Christmas cactus.
Bonus Tips for Your Christmas Cactus
Ready to expand your Christmas cactus collection or share this beauty with loved ones? Here are some advanced techniques that take your plant care to the next level.
- Propagation made simple: After blooming ends in late winter or early spring, twist off a segment containing two or three connected sections. Let the cut end dry for a few hours to callus over, then insert it about an inch deep into moist potting soil. Roots develop within weeks, giving you a brand new plant.
- Water propagation option: Place segments in a small glass with just the bottom portion submerged, changing water every few days. Once roots reach about an inch long, transplant into soil.
- Repotting wisdom: Christmas cacti actually prefer being slightly root-bound and bloom better in cozy conditions. Only repot every two or three years when roots grow out of drainage holes. Choose a pot just one size larger since excessive soil retains too much moisture.
- Timing matters: The best repotting window is right after blooming ends in late winter or early spring. Gently remove the plant, shake off old soil, inspect roots for damage, and trim any brown, mushy sections before settling into a fresh mix.
- Post-repotting care: Wait about a week before watering to allow disturbed roots to heal and prevent rot. Then resume your routine and enjoy watching your refreshed plant flourish.
These bonus techniques transform you from a Christmas cactus caretaker into a true enthusiast who can multiply your collection endlessly.
Conclusion
Caring for a Christmas cactus truly boils down to understanding its tropical nature and providing consistent, thoughtful attention throughout the year.
Remember those five essential steps: proper lighting placement, balanced watering with excellent drainage, comfortable temperature and humidity levels, appropriate fertilization during growing months, and that crucial fall darkness period to trigger spectacular blooms.
Your reward will be a stunning display of flowers that brightens the darkest time of year and becomes more magnificent with each passing season.
Ready to become a Christmas cactus expert?
Start implementing these techniques today, and share your blooming success stories with fellow plant enthusiasts.
Your future self will thank you when holiday visitors marvel at your thriving, flower-laden plant.


