
Kids pick up confidence in ways that rarely make it into glossy advice columns. It grows in the tiny moments parents often overlook, the ones happening while you hunt for the missing shoe or coax someone into brushing their teeth. Confidence is mostly built in the in between, and that is where families actually live. This topic lands well with a parenting blog because it keeps things practical without adding pressure. No one needs another impossible checklist. What parents usually need is permission to trust the slow and steady work they are already doing.
The Power of Predictable Routines
Routines are the quiet architecture of confidence. When kids know how their day will flow, their nervous systems settle, and that calm space makes room for growth. A predictable rhythm does not require an iron grip on the clock. It just means morning feels like morning, bedtime feels like bedtime, and the hours in between follow a shape everyone recognizes. Kids thrive when life feels like solid ground under their feet, not shifting gravel. Parents sometimes underestimate how much this steadiness teaches kids to trust their own sense of direction. Even setbacks feel less overwhelming when the rest of life has a familiar beat.
Where Curiosity Learns To Stretch
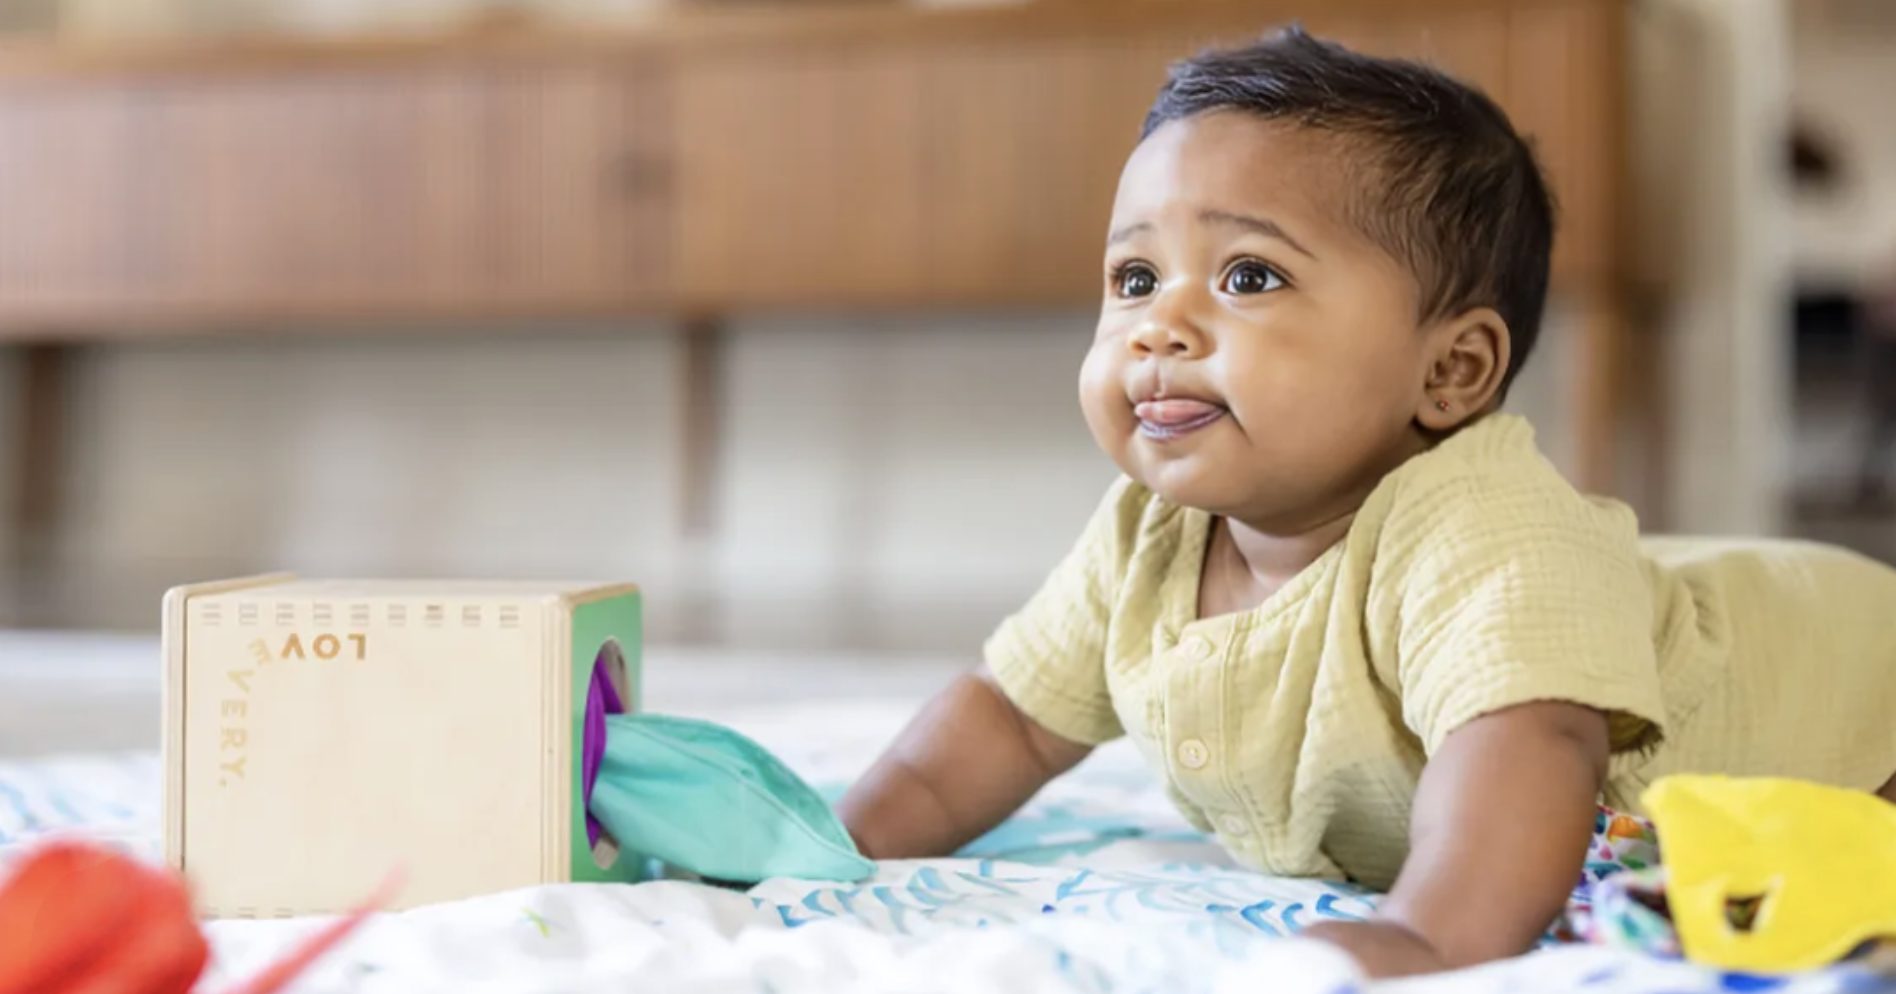
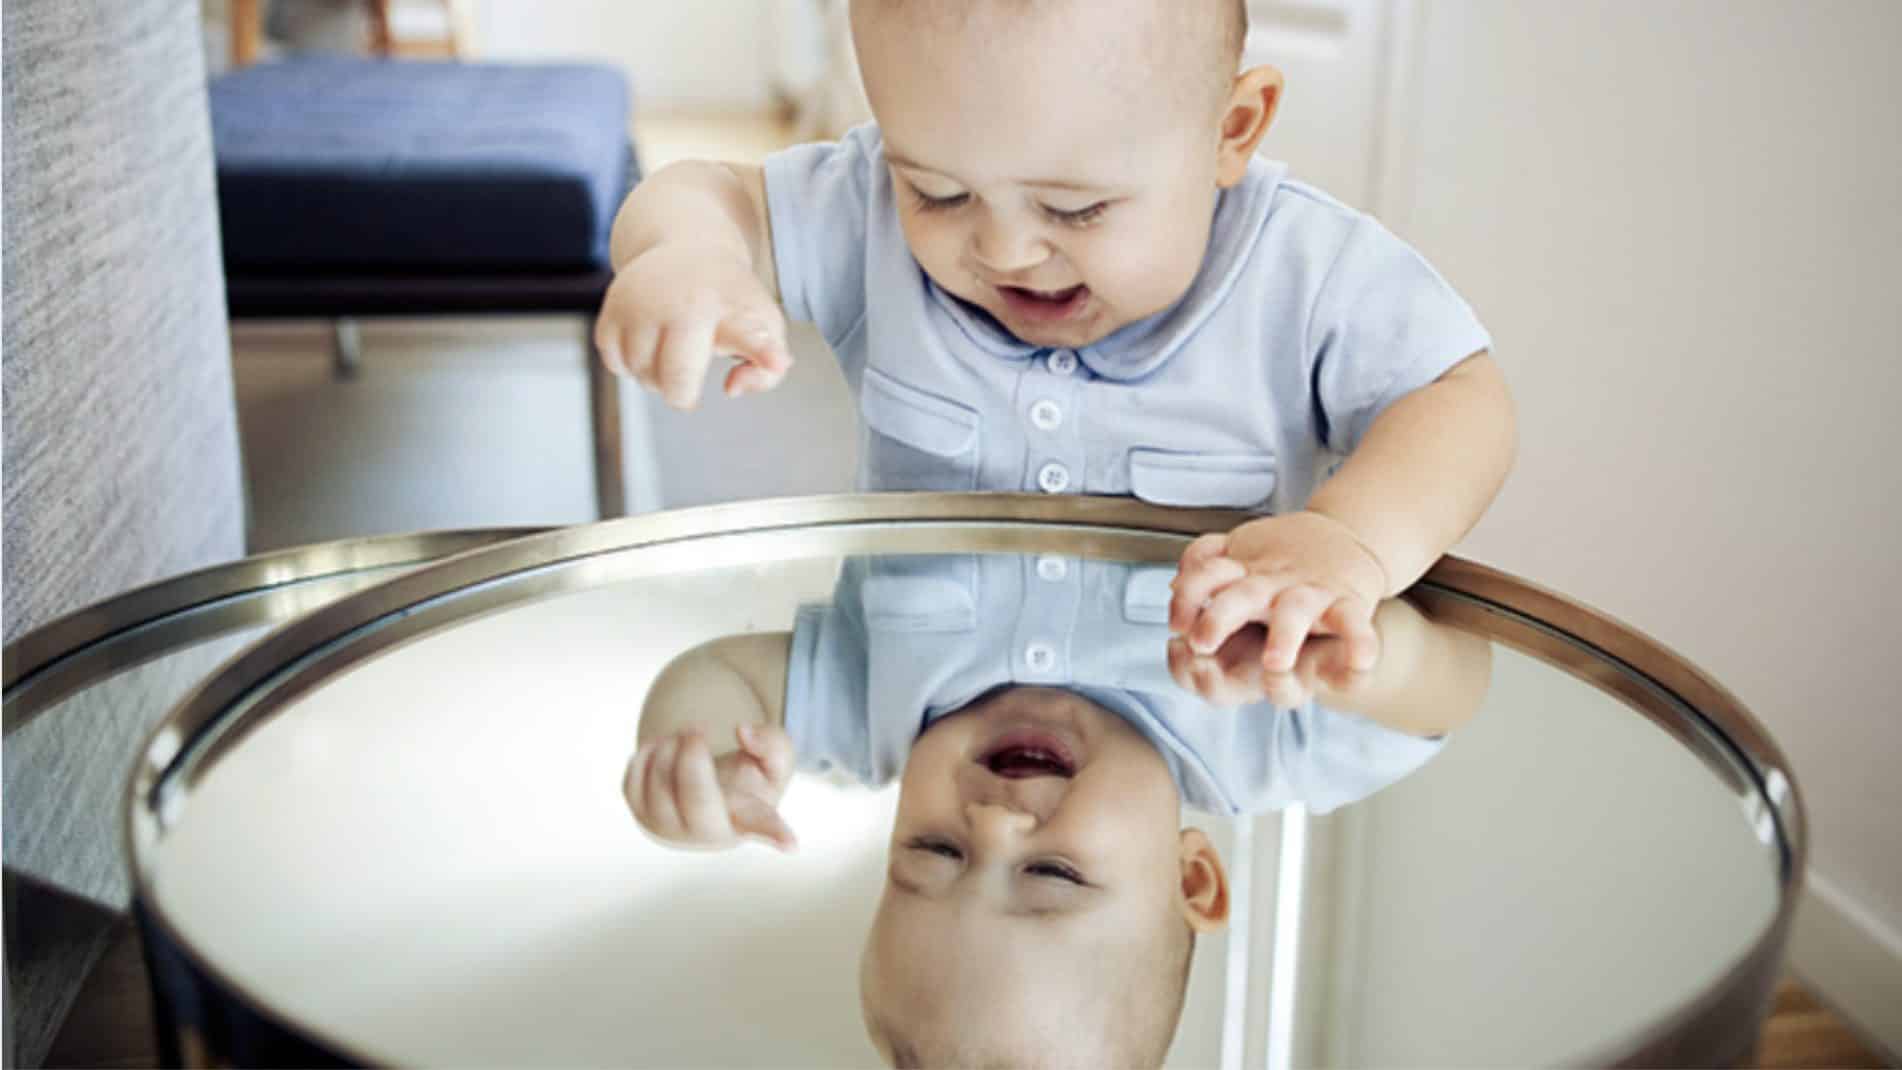
Confidence and curiosity travel together. Kids become braver thinkers when they get room to explore ideas without fear of being wrong. That does not require elaborate projects. It can be as simple as stepping back while your child experiments with the paint set or narrates their theory about how the toaster works. When you respond with genuine interest, even if their explanation drifts into questionable science, you are building the kind of internal voice that says go ahead and try. This is where learning activities weave themselves naturally into everyday life. They do not need labels or fanfare. Curiosity grows best when it feels like play rather than a performance.
Helping Kids Practice Being Capable
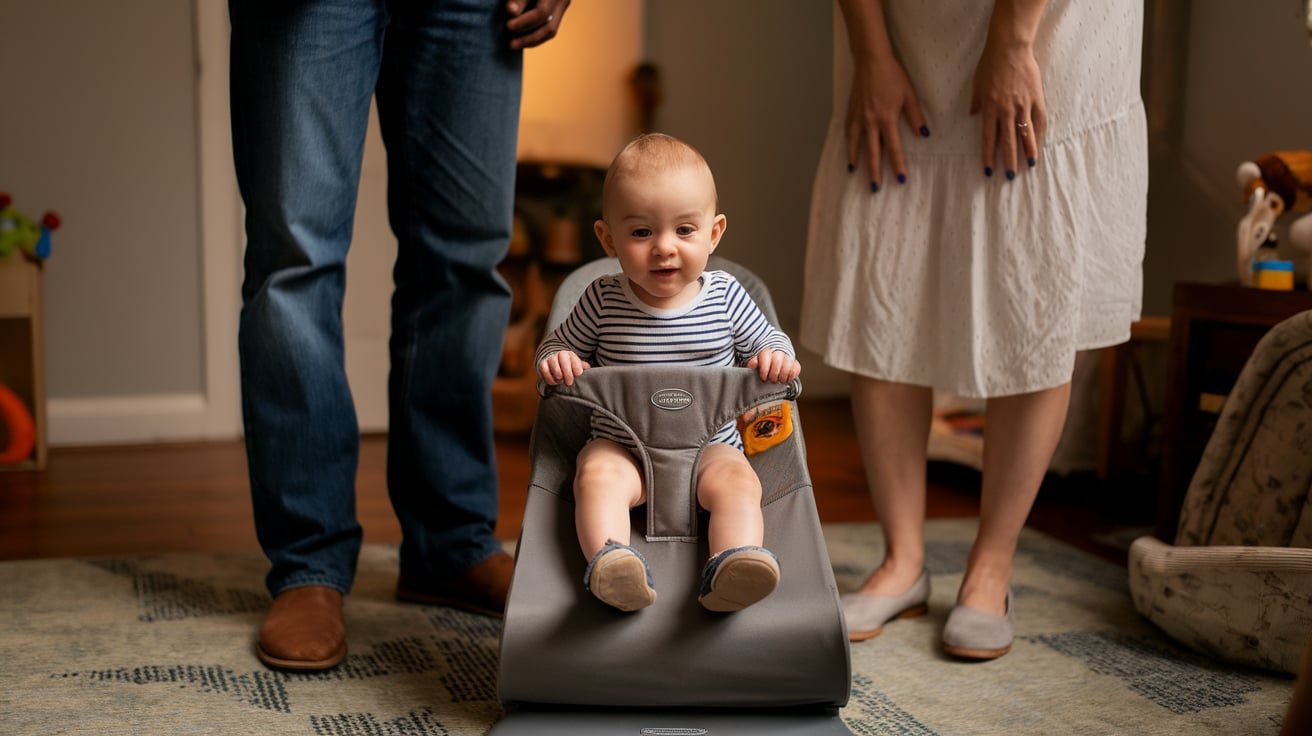
Every kid deserves chances to do small tasks independently, even when that means the towels end up folded in shapes no household has ever officially endorsed. Letting kids try, mess up, and try again quietly writes confidence into their muscle memory. Parents sometimes feel torn between getting things done quickly and slowing down enough for these lessons. Most households juggle real-life time constraints, so the goal is not perfection. It is picking a few moments each day when you can pause and let a child take the lead. The size of the task rarely matters. The message does. Capable people are grown everyday, not the exceptional.
Building Confidence Outside the House
Kids often surprise themselves when they step into new settings. That is why opportunities like summer camps in Colorado, Virginia or wherever you live can open doors they did not know existed. These experiences let them try new skills without the pressure of parental observation, which can be freeing in the best way. Whether they discover they love archery or they simply learn to navigate a cabin full of new faces, each experience leaves a small imprint of capability. Parents do not need to chase the biggest or fanciest program. Confidence grows perfectly well in modest local options. What matters is exposure to a wider world and the chance to hear their own voice inside it.
Teaching Kids To Handle Setbacks With Grace
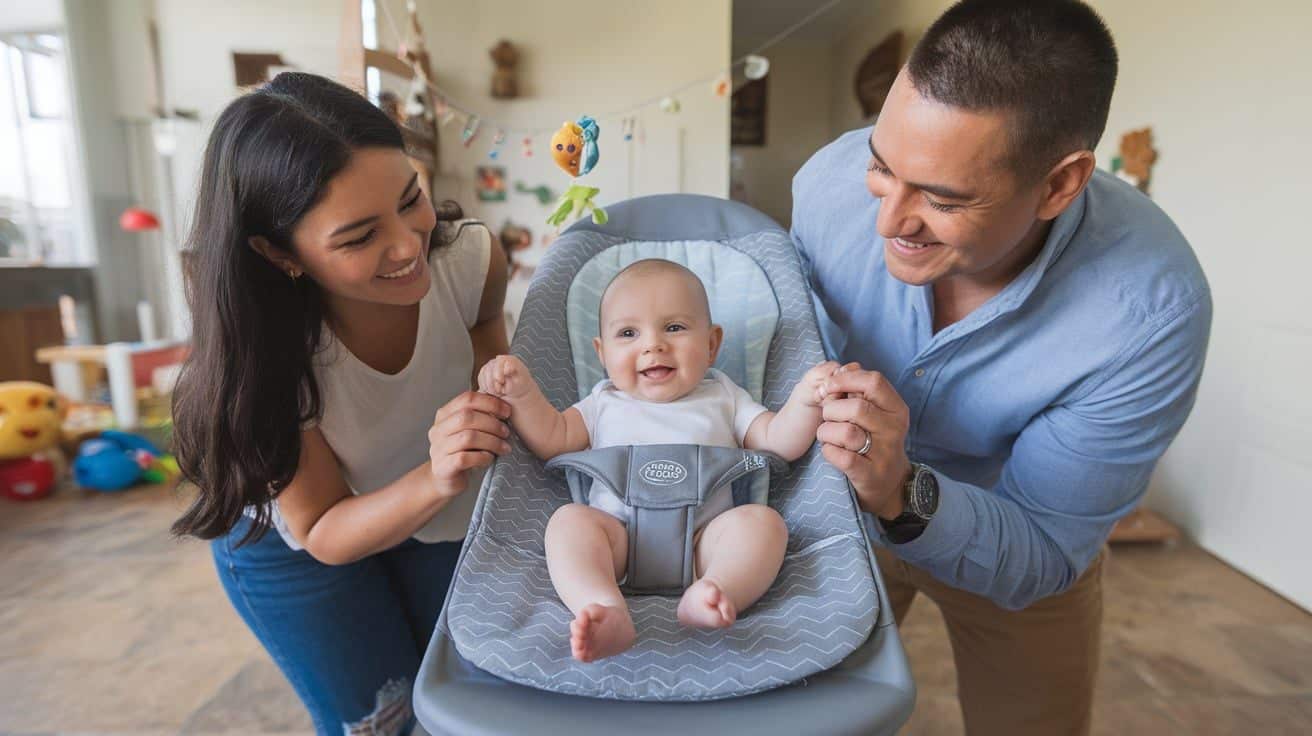
Confidence is not only built on accomplishments. It strengthens when kids learn how to deal with frustration without losing themselves. That might look like a child dissolving into tears while trying to tie their shoes or feeling defeated when homework refuses to cooperate. These moments feel messy, but they are golden opportunities to teach resilience. Sitting with a child through frustration, offering steady encouragement without swooping in too quickly, creates emotional wiring they will rely on for years. Kids learn that feelings rise and fall, and they learn that they can move through those waves without being swept under. Parents often underestimate the power of quiet companionship during these short-lived storms.
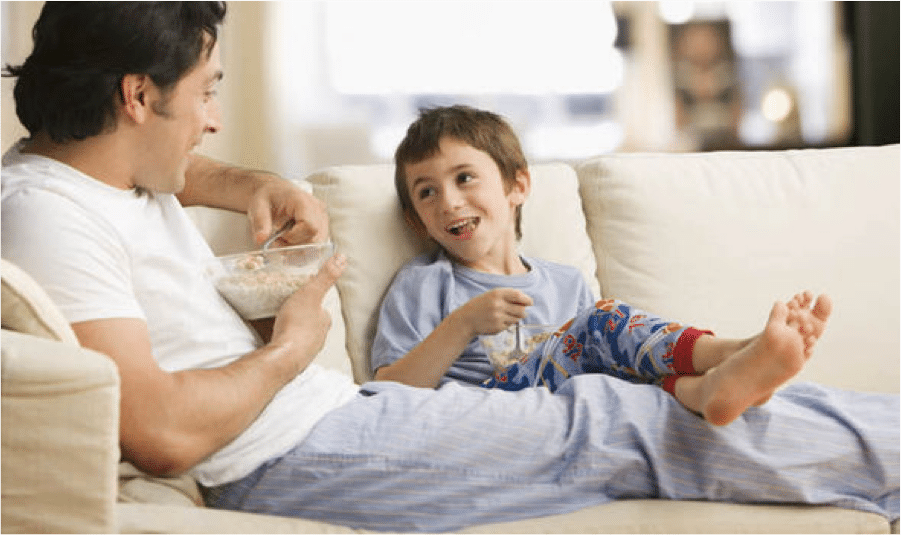
Letting Kids See You Try Too
Parents do not need to present themselves as perfect guides. Kids learn a surprising amount by watching how adults navigate challenges. When you try something new in front of them, you are modeling experimentation and patience. If dinner trial number one comes out slightly tragic, and you shrug it off with good humor, you are showing them how to handle disappointment while staying grounded. Kids absorb these cues quickly. They imitate the mood of the household, and when they see you treat mistakes as part of growth, they are more likely to treat their own the same way. This passes along the message that confidence is not a personality trait. It is a practice.
Confidence grows in kids who feel seen, supported, and trusted. Parents do not have to engineer these moments or chase perfection. The small daily interactions do more heavy lifting than they get credit for, and they quietly build children who believe in their own abilities. The most reassuring truth is that confidence is not something parents must construct from scratch. It is already inside the kids, waiting for room to stretch.


 When children are encouraged to be authentic, they become more
  Children who feel they can be themselves are less likely to experience anxiety and stress. Authenticity reduces the pressure to conform to external expectations, allowing children to express their true emotions and cope with challenges more effectively.
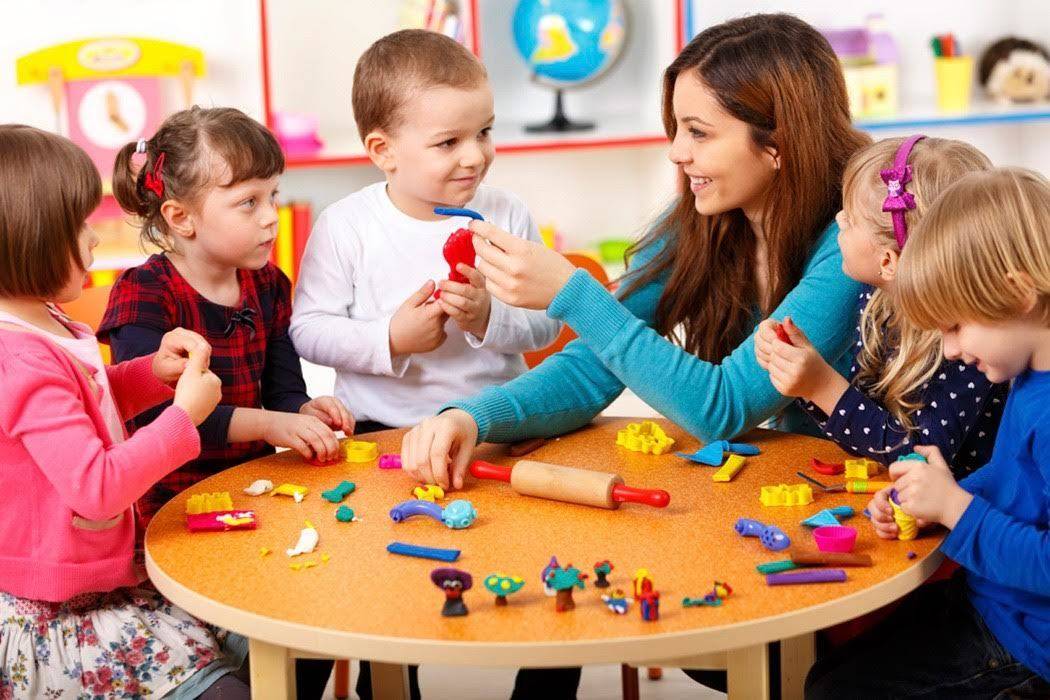 Adults play a pivotal role in teaching authenticity. Teachers and parents can set a powerful example by demonstrating genuine emotions and honest communication. Sharing personal experiences and showing vulnerability can encourage children to do the same.
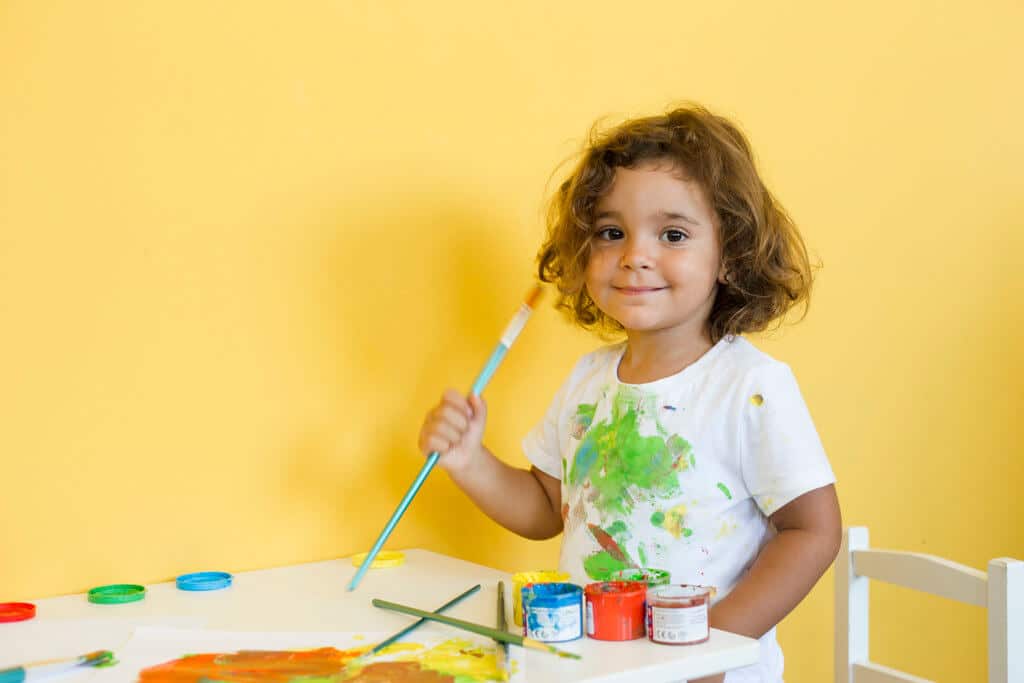 Providing opportunities for children to express themselves through various mediums—such as art, music, writing, and drama—can enhance their ability to communicate their genuine thoughts and feelings. Encouraging open-ended activities and discussions allows children to explore and share their unique perspectives.
 Environmental education doesn’t require complicated textbooks or extensive lectures. The key lies in introducing children to key concepts like biodiversity, climate change, and pollution in an age-appropriate way. Here are some effective approaches:
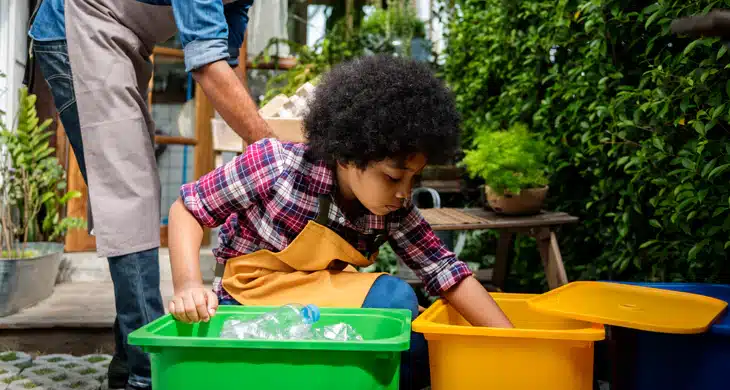 Children are keen observers, constantly mimicking the behaviors of the adults around them. Therefore, our own actions play a crucial role in shaping their environmental consciousness. Here’s how leading by example can make a difference:
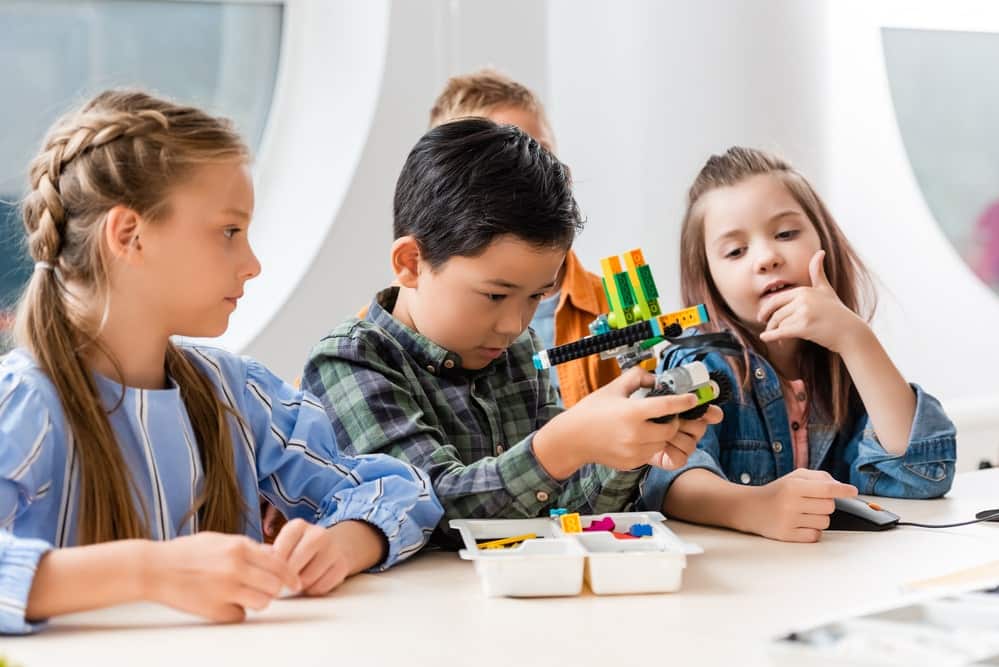 Environmental education goes beyond theory. Engaging children in practical activities allows them to connect with environmental issues on a deeper level. Here are some ideas to inspire hands-on learning:
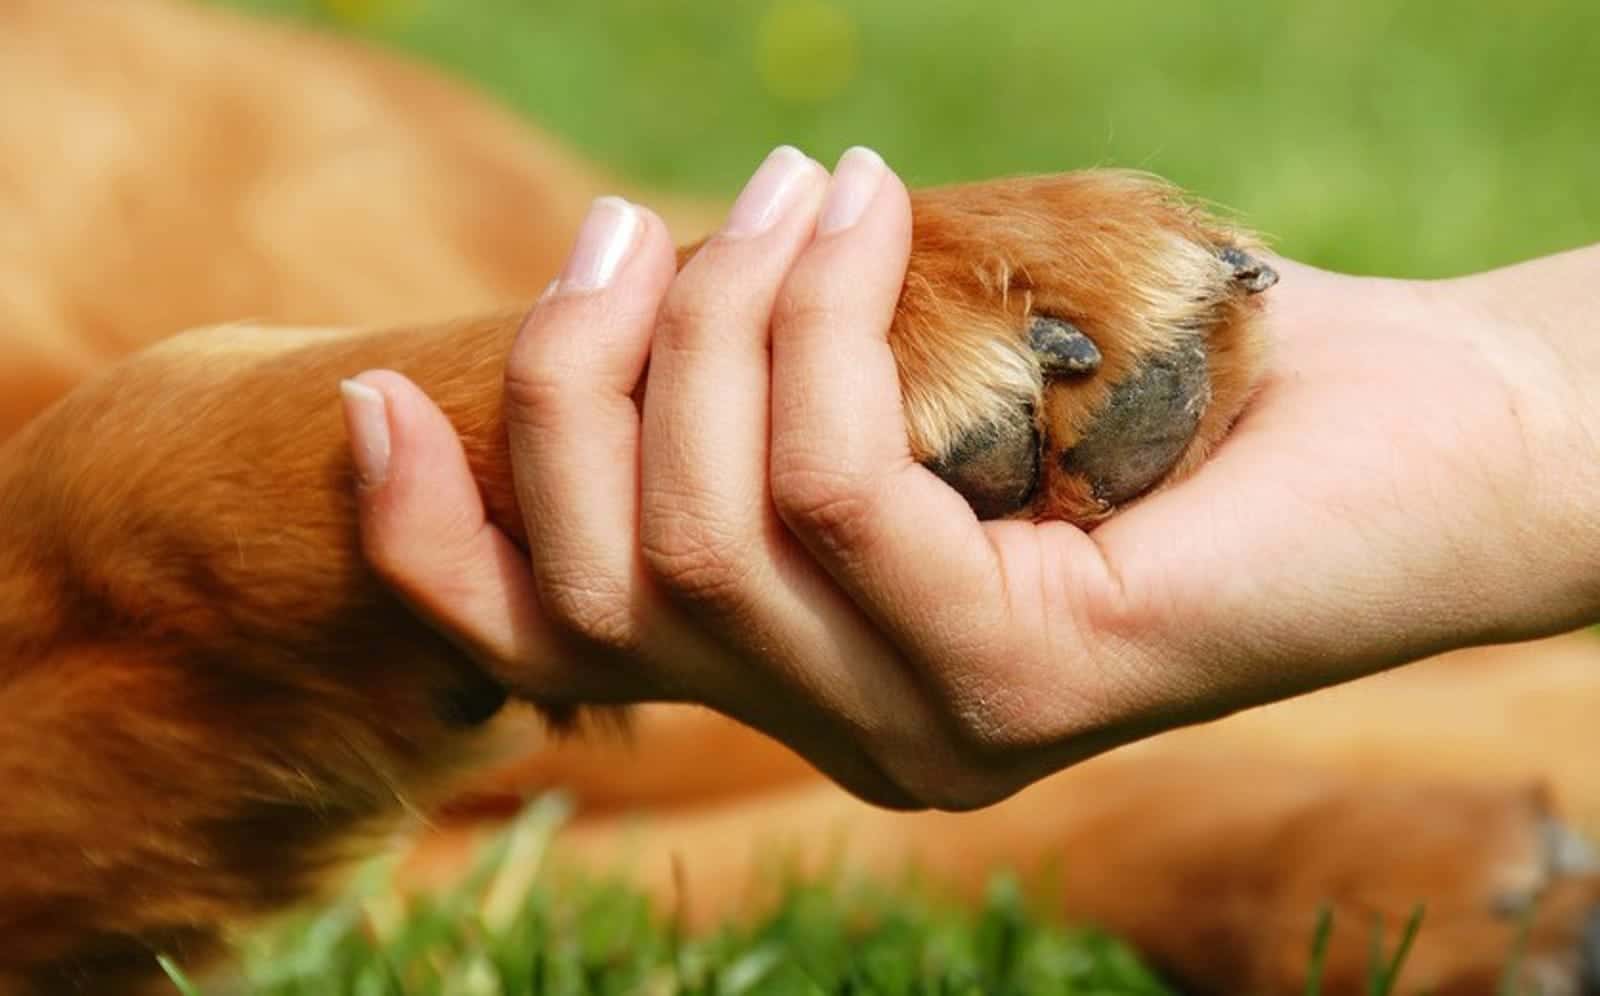 Environmental conservation is intrinsically linked to animal welfare. As you educate your children about protecting the planet, emphasize the importance of protecting the creatures that inhabit it.