
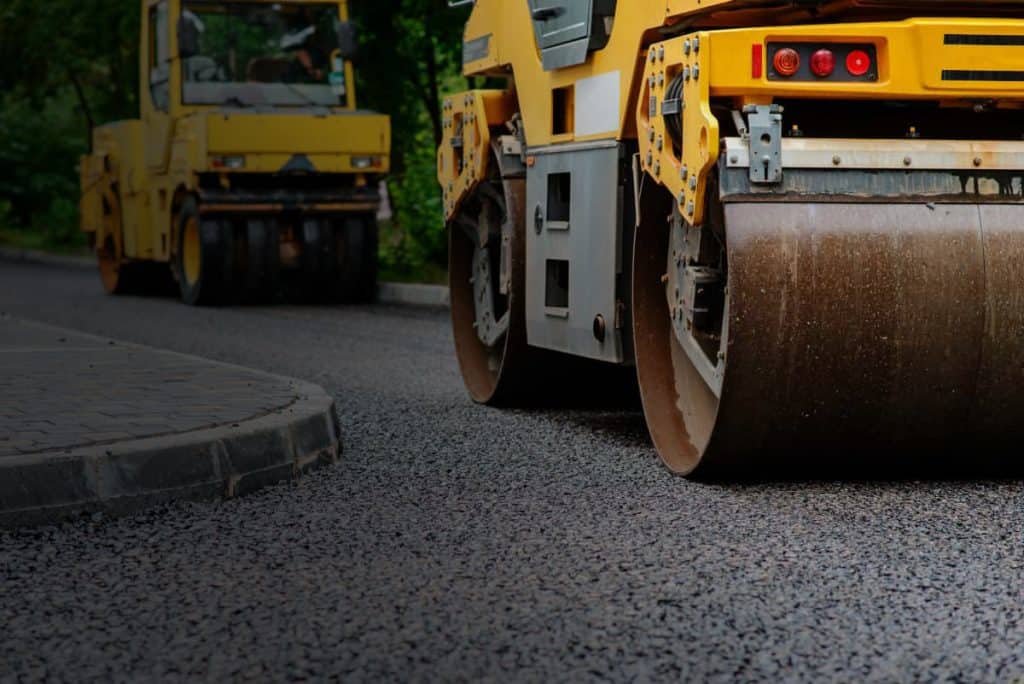
There’s nothing quite like the jarring thump of your car hitting a pothole or the white-knuckled grip you develop navigating a cracked and uneven driveway. Damaged pavement isn’t just an annoyance it poses a real safety hazard for vehicles, pedestrians, and cyclists alike. Fortunately, professional paving repair services are your knight in shining armor, ready to restore a smooth, safe, and functional surface.
The Enemy at Your Feet: Common Types of Pavement Damage
 Pavement damage comes in various forms, each requiring specific attention. Here are some common culprits:
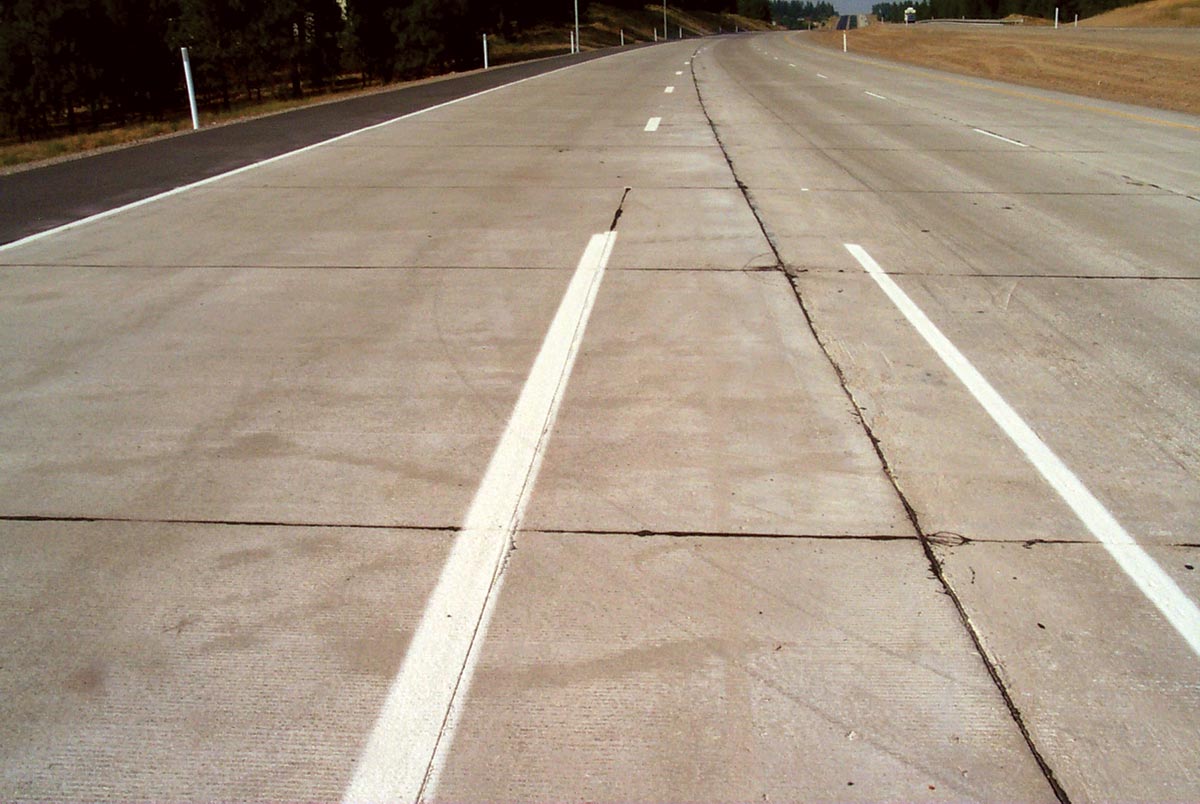
- Cracks: From hairline fractures to alligator cracks and expansion joints, cracks compromise the pavement’s integrity and allow water to seep in, leading to further deterioration.
- Potholes: These sudden depressions form when water weakens the subgrade underneath the pavement, causing it to collapse. Potholes pose a serious threat to vehicles and can cause accidents.
- Settlement and Uneven Surfaces: Uneven pavement can be caused by improper installation, poor drainage, or soil movement. This not only looks unsightly but also increases the risk of tripping and falling.
- Erosion and Raveling: Over time, weather and wear-and-tear can erode the pavement surface, causing loose aggregate (stones) to detach – a condition known as raveling. This weakens the pavement and creates a rough, uneven surface.
DIY Disasters: Why Professional Repair is the Best Choice
While a DIY approach might seem tempting, it’s often a recipe for disaster. Here’s why professional paving repair is the smarter choice:
- Lack of Expertise: Attempting repairs without proper training and experience can worsen the damage. Improper patching techniques or using unsuitable materials can lead to a quicker breakdown.
- Material Mishap: Sourcing high-quality materials for DIY repairs can be challenging. Professional paving companies use high-grade asphalt and sealing products specifically designed for durability and long-term performance.
- Safety Concerns: Working with hot asphalt and heavy equipment requires knowledge and safety precautions. Trained technicians take proper measures to avoid injuries and ensure a safe work environment.
Professional paving repair services offer numerous advantages:
- Experienced Technicians: These professionals have the knowledge and skills to diagnose the problem and implement the most effective repair strategy.
- High-Quality Materials: They use top-of-the-line materials and equipment to ensure a long-lasting solution.
- Safe and Efficient Repairs: Trained technicians prioritize safety while working efficiently to minimize disruption and complete the job quickly.
The Heroes Arrive: What to Expect from a Professional Paving Repair Service
 Here’s a breakdown of what typically happens when you hire professional paving repair services:
- Initial Assessment: A qualified technician visits the site to assess the damage and determine the best repair approach.
- Repair Strategy: Based on the assessment, they propose a repair strategy, outlining the process, materials to be used, and estimated costs.
- Job Preparation: The work area is prepped to ensure proper safety measures are in place and disruption is minimized for surrounding areas.
- Repair Execution: Trained technicians execute the chosen repair method, utilizing appropriate tools and materials. This might involve crack filling, pothole patching, asphalt milling, and paving, or complete pavement replacement depending on the severity of the damage.
- Quality Control: The finished repair is inspected to ensure it meets quality standards and your satisfaction.
Beyond the Fix: Preventative Measures to Extend Pavement Life
 Taking proactive steps to maintain your pavement can significantly extend its lifespan. Here are some key strategies:
- Regular Maintenance: Patching minor cracks early on prevents them from expanding and causing further damage. Sealcoating your pavement every few years helps protect it from water infiltration and UV rays.
- Asphalt Sealing: Periodic sealing creates a protective barrier on the pavement surface, preventing cracks and extending its lifespan.
- Drainage Solutions: Ensuring proper drainage prevents water from pooling and causing damage to the pavement subgrade.
The Value of Professional Repair: A Long-Term Investment
Investing in professional paving repair goes beyond the immediate fix. Consider these long-term benefits:
- Increased Property Value: A well-maintained pavement enhances your property’s curb appeal and can even increase its market value.
- Reduced Maintenance Costs: Addressing minor issues promptly prevents them from escalating into costly repairs in the future.
- Improved Safety: A smooth and even surface minimizes the risk of accidents and injuries for vehicles, pedestrians, and cyclists.
- Peace of Mind: Knowing your pavement is in good condition provides peace of mind and eliminates future worries about potential problems.
Choosing the Right Paving Repair Company
Selecting the right paving repair company is crucial for ensuring a quality job and lasting results. Here are some key factors to consider:
- Experience and Reputation: Look for a company with a proven track record and a strong reputation in the community. Bulgari Paving, for example, is known for its commitment to quality and customer satisfaction.
- Service Offerings and Repair Methods: Choose a company that offers a variety of repair solutions to address your specific needs. Inquire about their experience with different repair techniques and materials.
- Warranty and Guarantees: A reputable company will stand behind their work with a clear warranty or guarantee on the repairs performed.
- Customer Reviews and Testimonials: Read online reviews and ask for references to get a sense of the company’s customer service and the quality of their work.
By taking the time to research and choose the right paving repair company, you can ensure a smooth, safe, and long-lasting pavement surface for your property.
Conclusion
Don’t let damaged pavement become a safety hazard or an eyesore. By taking prompt action and seeking professional repair services, you can restore your pavement to its former glory. Investing in quality repairs is a wise decision that will benefit you for years to come. Contact a reputable paving repair company today and get a free quote to get started on creating a smooth and safe path forward.

 There’s something undeniably attractive about tackling a deck set up for your own. The experience of achievement while you finish, the potential value savings and the delight of making something with your fingers may be particularly profitable.
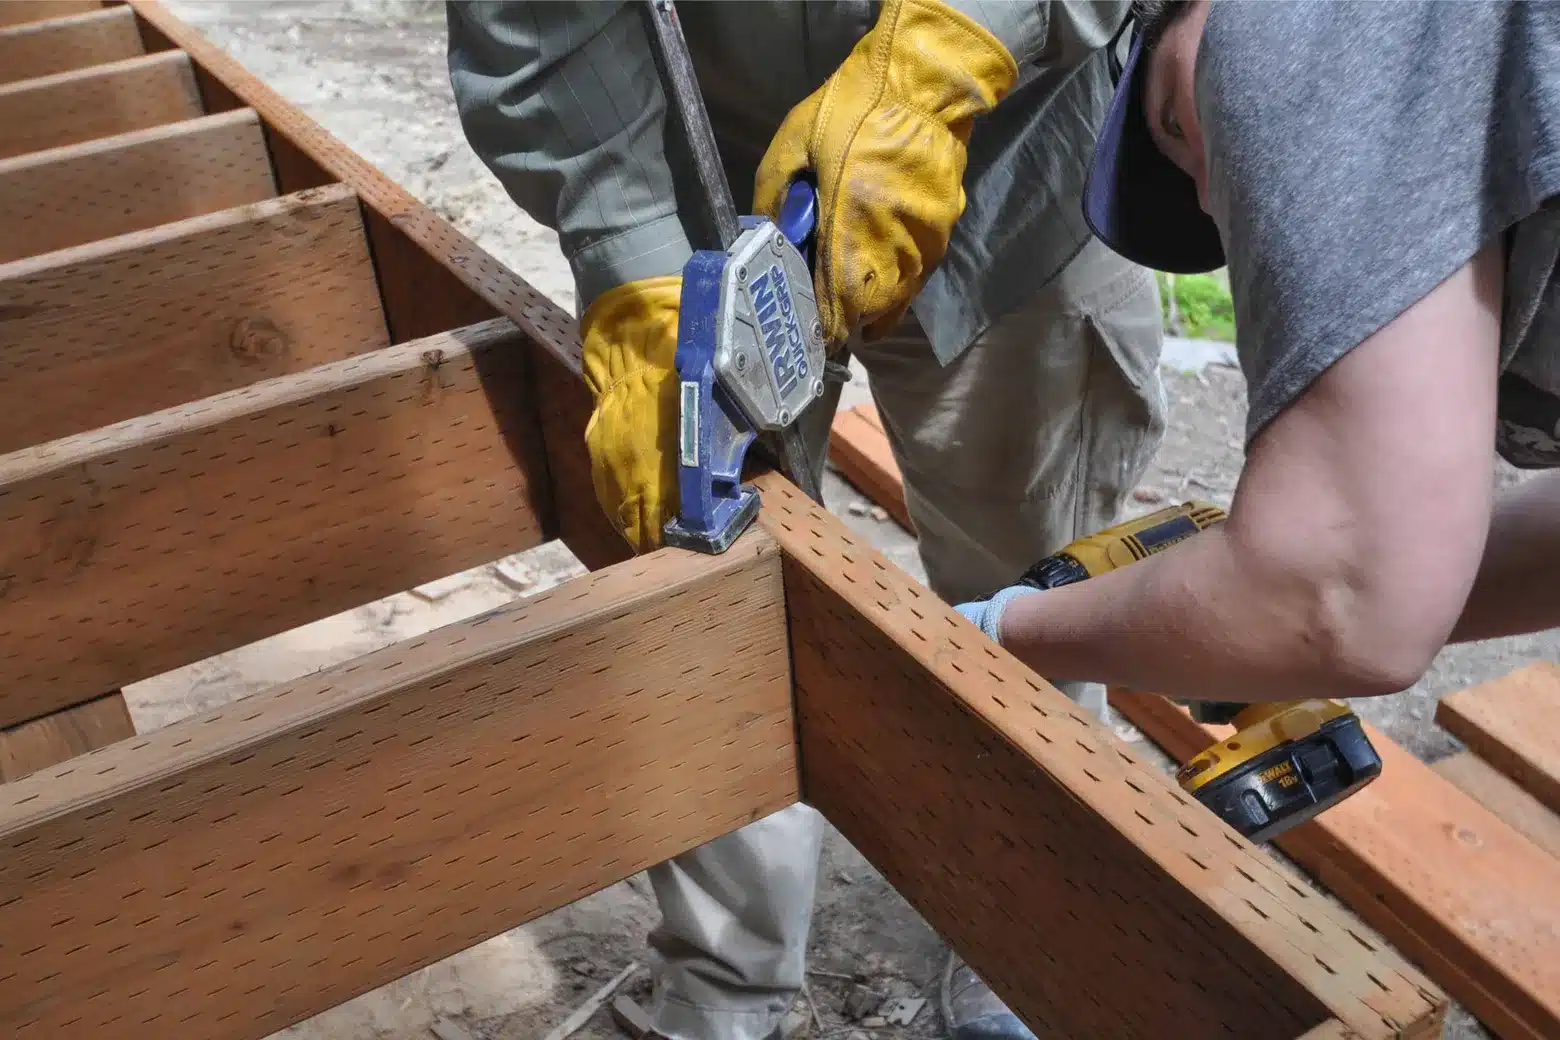 When it involves figuring out whether or not to go the DIY course or hire an expert, the complexity of your deck layout must play a huge role. If you’re working with a smaller, easier layout with primary shapes, it is probably achievable as a DIY project, specifically if you’re an experienced owner of a house with the essential capabilities and tools.
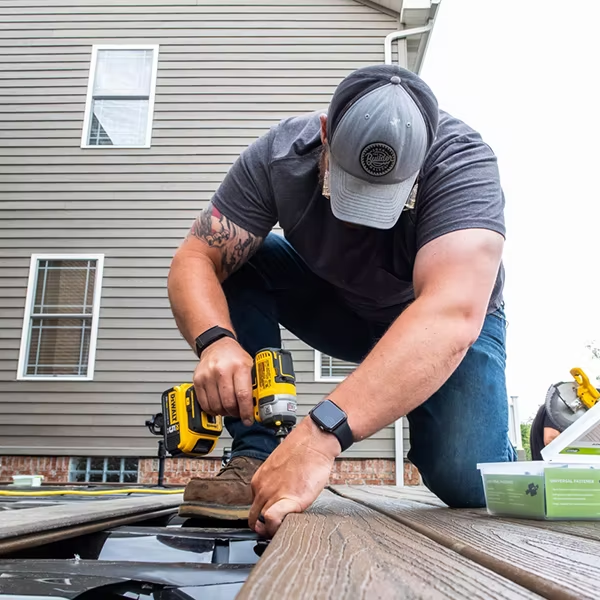 If you are thinking about going to the expert course, it’s essential to find a dependable and skilled deck builder. A top place to begin is to invite your friends or family or test out online assessment structures for recommendations.
 Hardwood flooring isn’t just a practical choice – it’s a bold declaration of style and opulence, a testament to your discerning taste and appreciation for the finer things in life. Imagine stepping into your home and being greeted by the natural splendor of hardwood floors, their lustrous grains and rich tones infusing the space with an air of understated grandeur and refined luxury.
 This ease of maintenance ensures that your hardwood floors will retain their elegance and charm for years to come, making them a valuable long-term investment in both the aesthetic and functionality of your home.

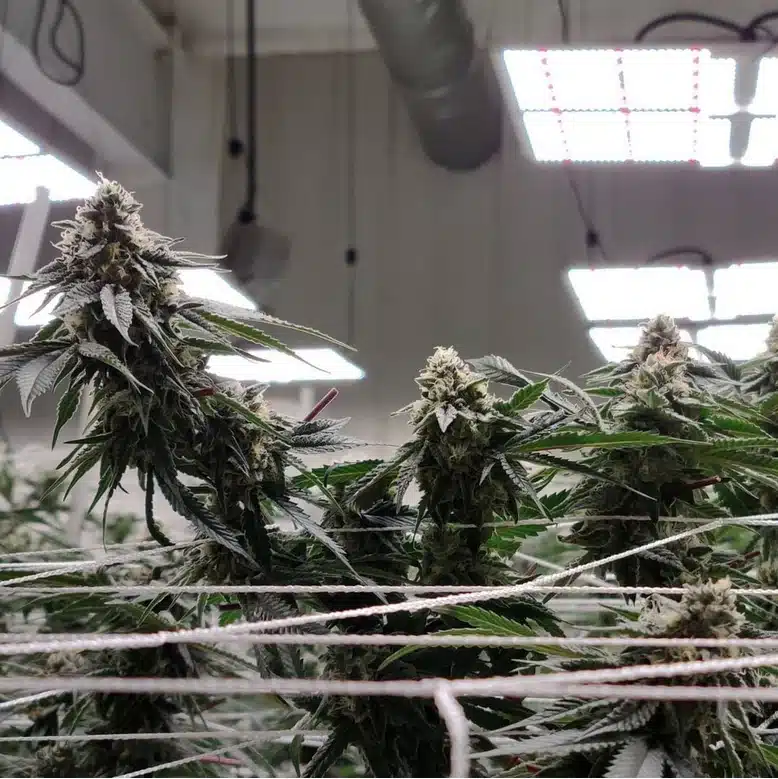 To maximize the benefits of the Spider Farmer SF4000 LED Grow Light, here are some detailed tips for optimal use:


 Safety is paramount. Unless you’re a qualified electrician, leave electrical work to the professionals. A bad DIY job can lead to fires, electric shocks and even invalidate your home insurance. A qualified electrician can advise on the best course of action, from simple socket additions to a complete rewire.
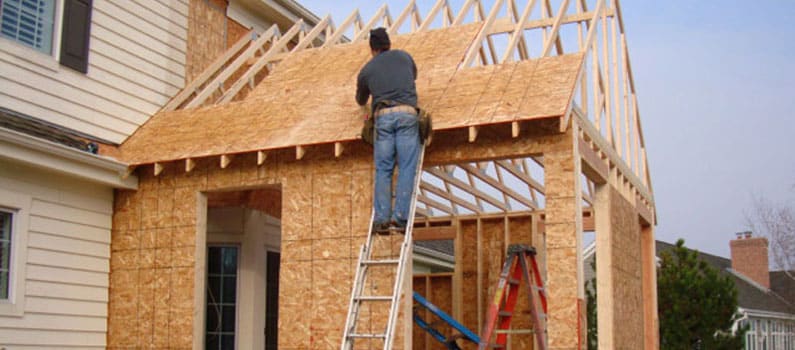 Adding an extension or loft conversion brings exciting possibilities, but it also creates new electrical demands. Collaborate with your electrician and architect to plan the layout.
 Electrical safety should be a top priority, and you must protect the property against any potential fire hazards. This is why it is strongly advised that you do not conduct any work on the electrics within your home if you are not qualified.
 In the quest for a modern living room that marries style with functionality, dual-purpose furniture stands out as a versatile solution. These innovative pieces not only save space but also enhance the aesthetic and practicality of the living area.
 Incorporating natural
  Selecting the right color schemes for your modern living room involves understanding how different colors can affect the space’s ambiance and functionality. Here are some trendy options and tips on how to choose them effectively:

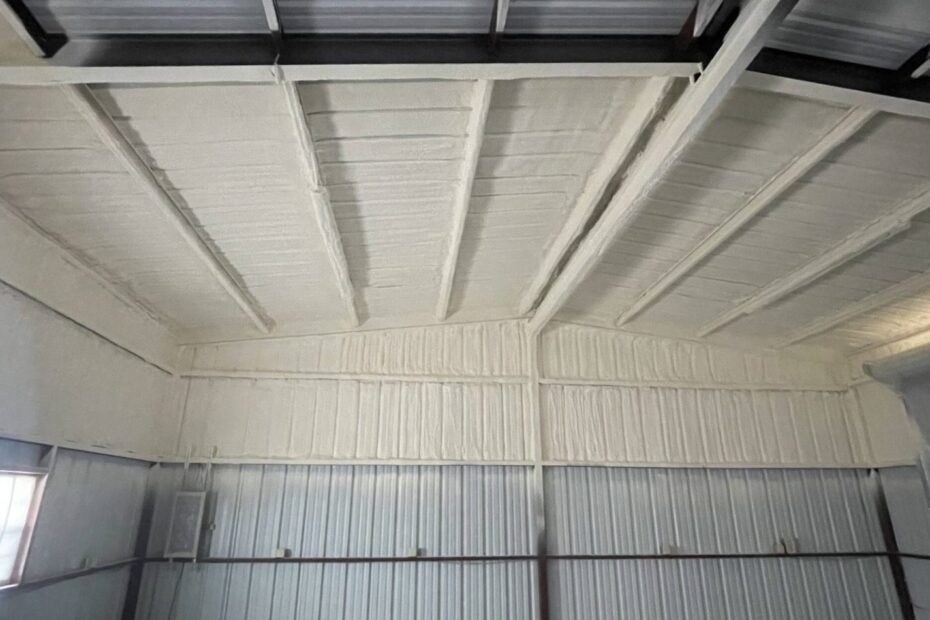 Let’s start with everyone’s favorite benefit: soundproofing. Metal buildings have a reputation for being a bit, well, noisy. From the clang of machinery to the pitter-patter of rain on the roof, unwanted noise can be a real headache.
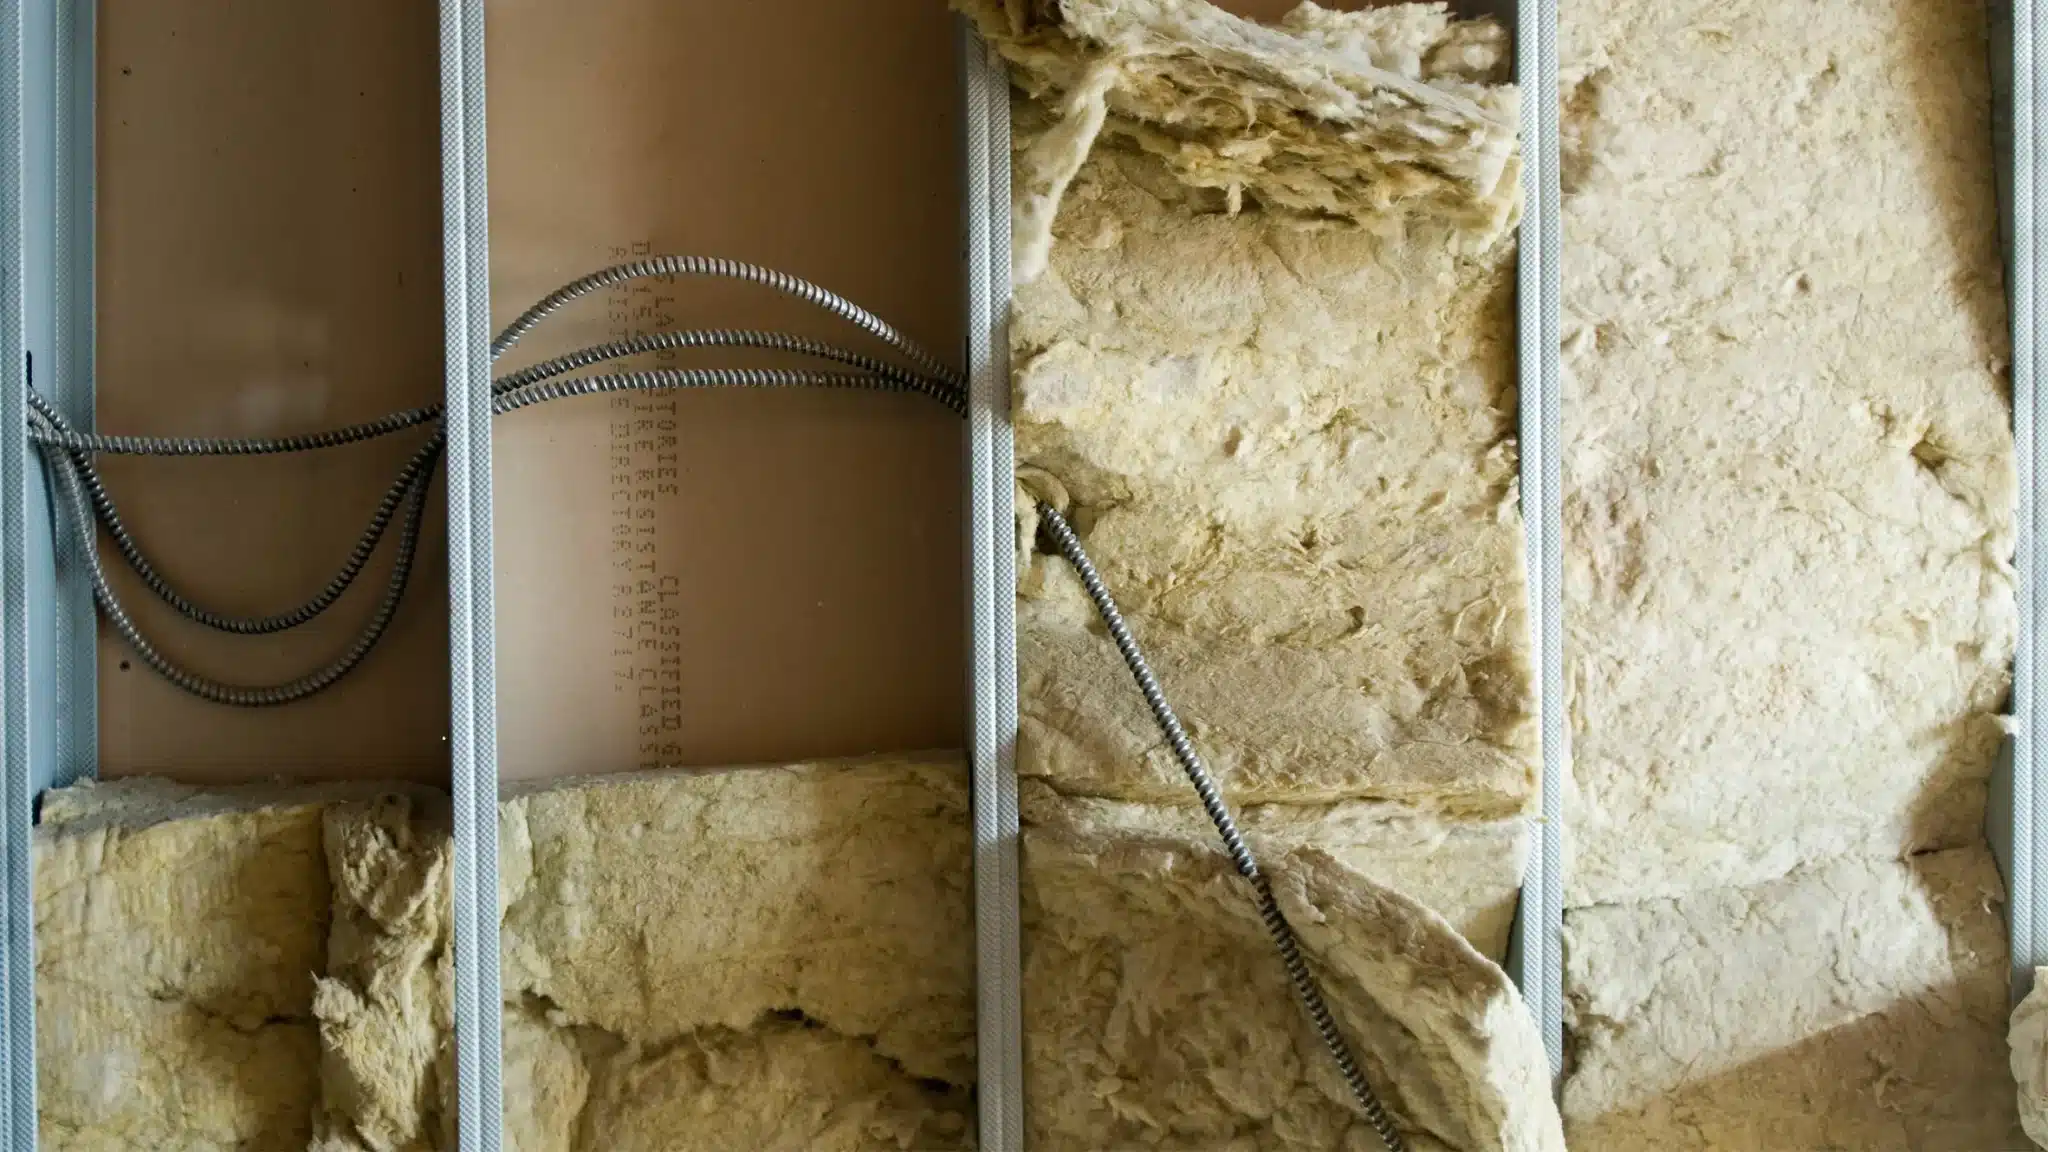 But wait, there’s more! Insulation isn’t just about soundproofing and comfort – it’s also about saving you money. That’s right, insulation is like a little money-saving superhero for your building.
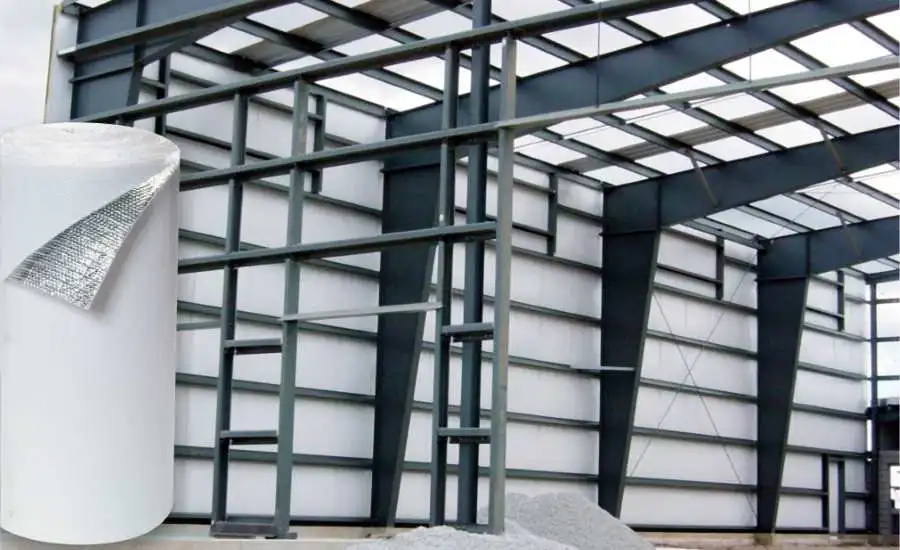 Of course, the size of your building is going to have an impact on how long this project takes you. For example, if you have a large building, it will take double the time for you to install all of the necessary insulation. Just ensure you don’t rush the process, as this can lead to substandard results.

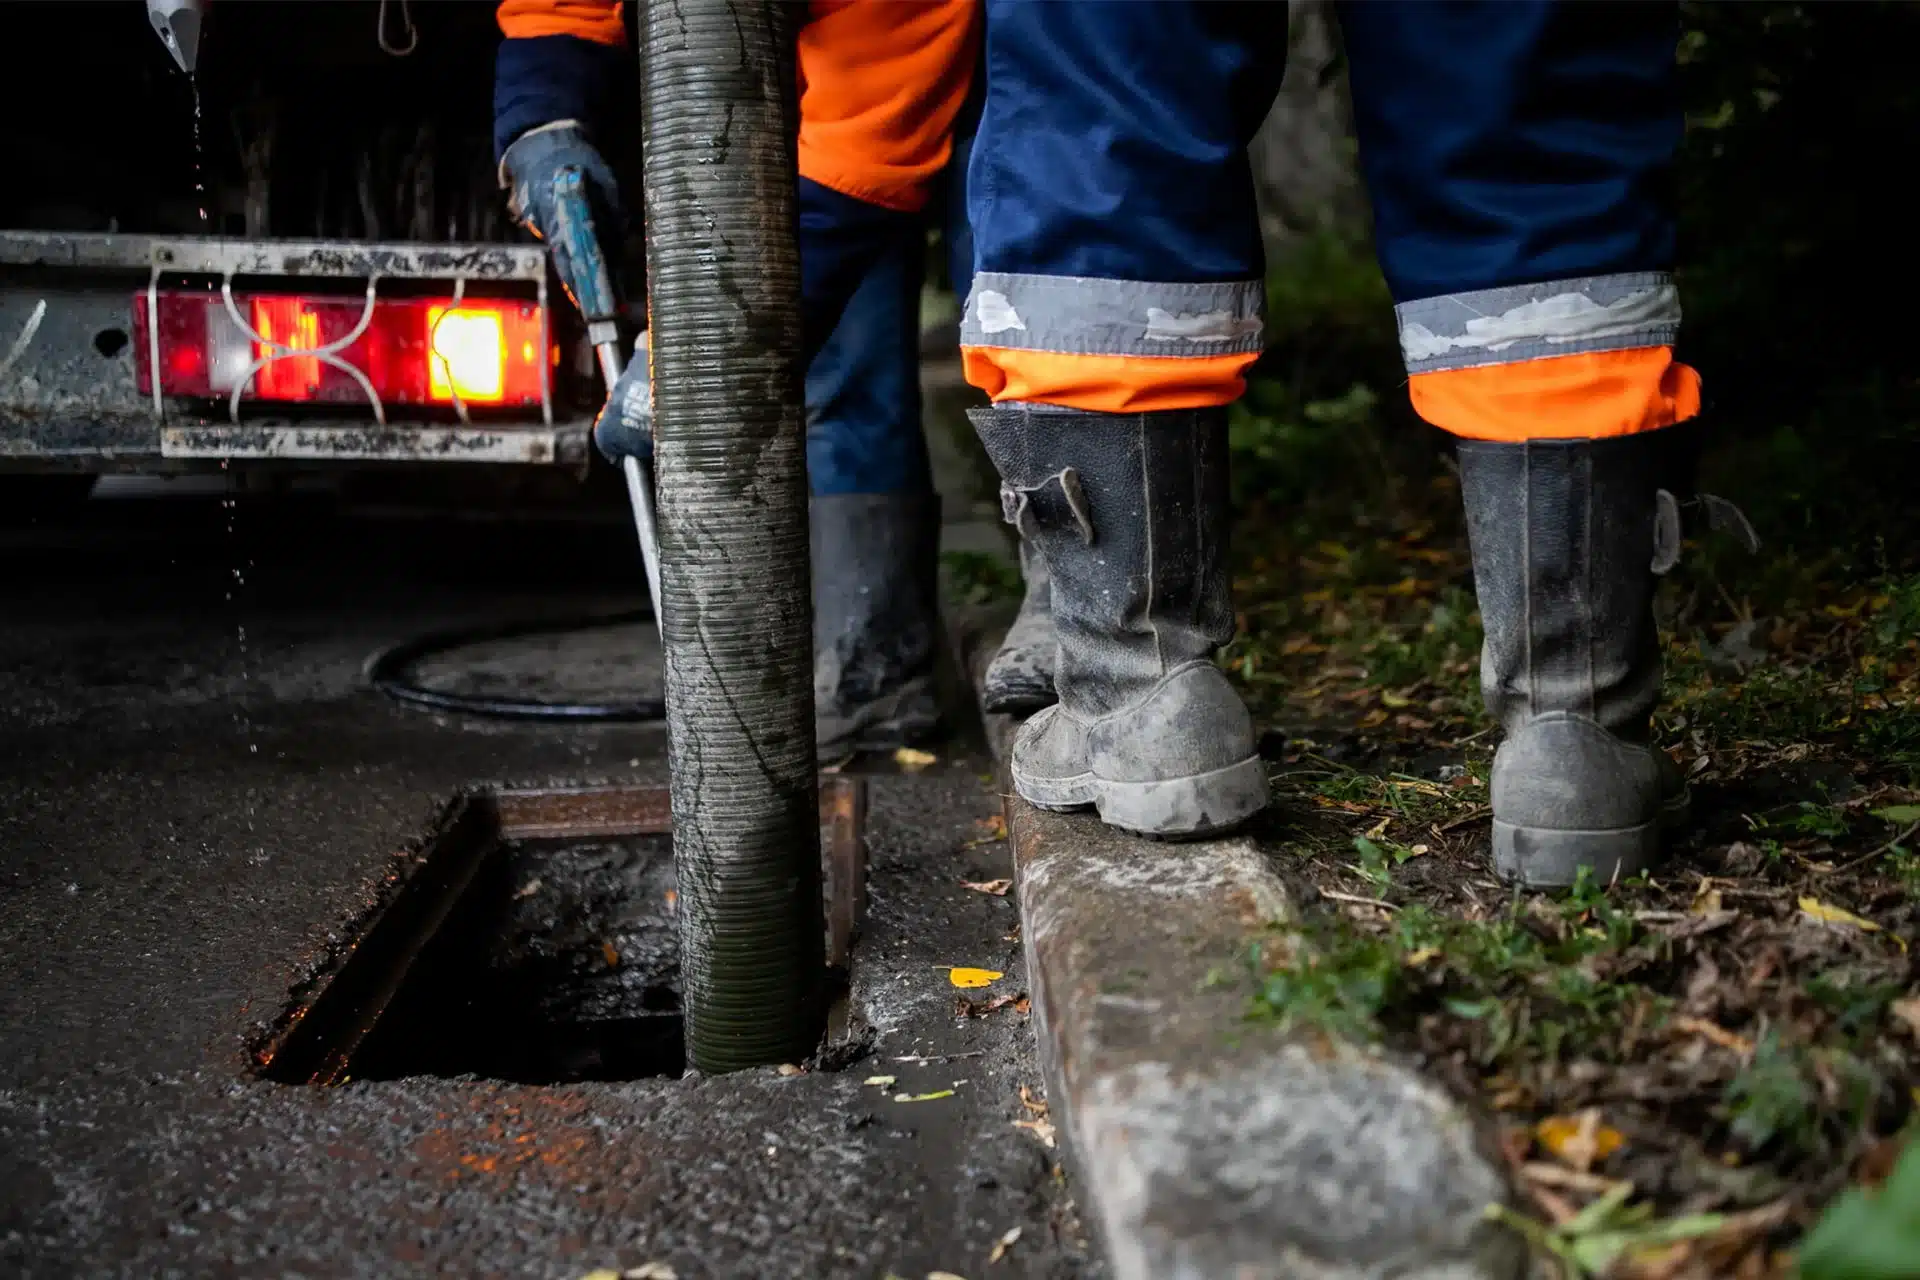 Are you starting to think that the blocked drain isn’t that bad after all? While there might be an unpleasant odour or the water drains away slowly, some homeowners believe they can put up with the side effects for longer.
 One of the main reasons why people delay using professional drainage services is because they can be costly. First of all, this is often a misconception and there are many companies that make their prices affordable.