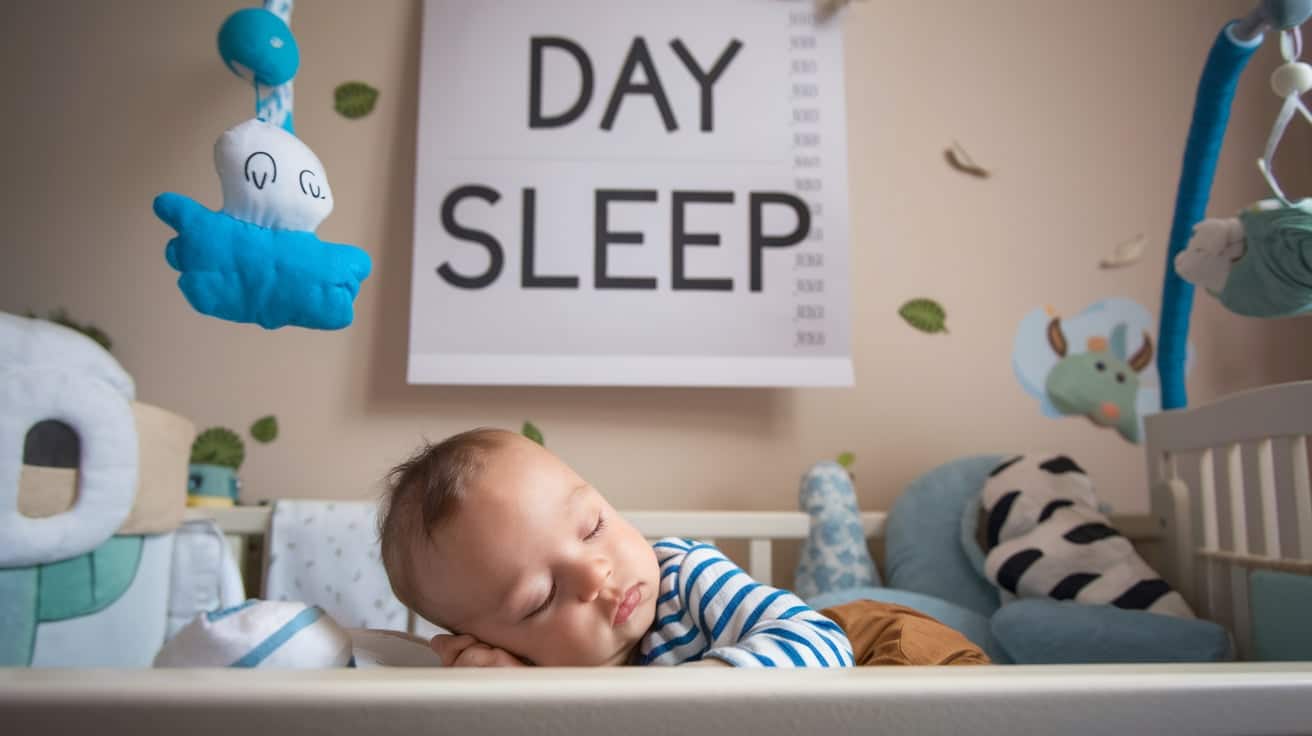
If you’re reading this at 3 AM, with tired eyes and a cup of cold coffee nearby, wondering how to get your baby to sleep in the bassinet, know you’re not alone in this journey.
Picture this: It’s midnight, and you’ve just spent an hour getting your little one to sleep perfectly in your arms. Your movements are calculated – slow, gentle, like a stealthy ninja.
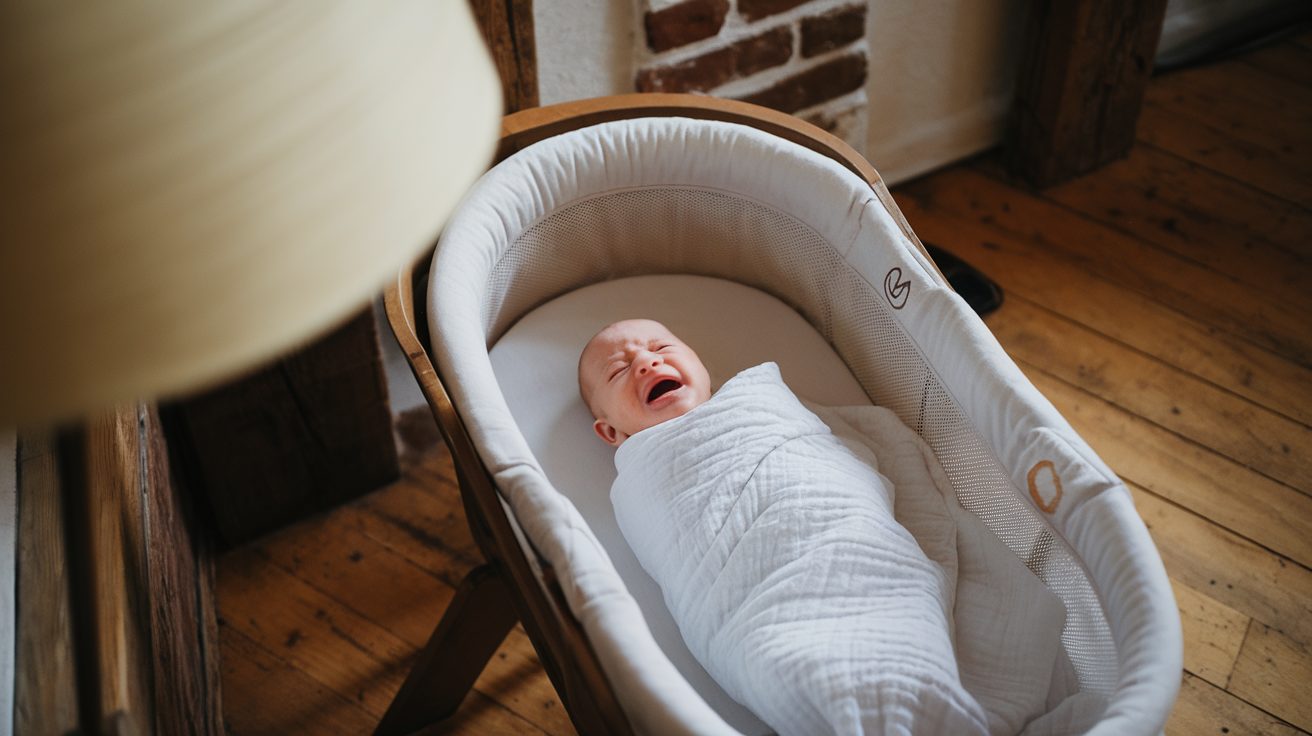
You lean over to place them in the bassinet, holding your breath… and just like that, those tiny eyes flutter open, and the tears begin.
As both a parent and sleep consultant, I’ve seen how small changes in bassinet setup can transform those short catnaps into peaceful sleep sessions.
The good news? You don’t need fancy gadgets or expensive solutions. Often, simple tweaks turn a bassinet from a ‘no-go zone’ to your baby’s cozy sleep haven.
Why Won’t My Baby Sleep in the Bassinet?
You’re not alone if your baby treats their bassinet like a protest zone. Let’s break down the most common reasons behind those bassinet battles:
They Miss Being Held
- Babies crave the warmth and heartbeat they felt in the womb
- Moving from your cozy arms to a still bassinet feels strange to them
- They need time to adjust to this new sleeping spot
Startle Reflex Wakes Them
- Sudden arm movements jolt them awake
- Common in young babies up to 4-5 months
- It makes them feel like they’re falling
Temperature Changes
- Going from warm arms to cool bassinet feels shocking
- Similar to stepping out of a warm room into a cold one
- Babies are sensitive to temperature changes
Need More Soothing
- Some babies need white noise
- Others want gentle motion
- Many calm down with swaddling
How to Make Your Baby’s Bassinet a Cozy Sleep Haven

I’ve found some simple tricks to transform your bassinet from a cry zone into a sleep sanctuary. Let me share what works:
Creating That Perfect Cozy Space: It’s all about making the bassinet feel more like your arms. Here’s what to do:
- Always use a sleep sack – it’s like a warm hug for your baby but safer than loose blankets
- Before laying the little one down, warm up the spot with a quick rub of the hands
- Keep the baby’s room at that sweet spot: 68-72°F (20-22°C) – not too hot, not too cold
Sleep Aids that work:
- White noise machine – use it to mimic those familiar womb sounds
- A snug swaddle – works like magic for stopping those startling jerks (until rolling starts)
- Calm-down routine – dim lights, soft lullabies, gentle rocking
“Stealth Mode” Lay Down Method This is my secret weapon for transfer success:
- Start with those tiny feet first
- Then, slowly lower that precious head
- Keep your warm hand right on their chest
- Count slowly to 10 before sneaking away
Here’s a little secret I’ve learned: try these tricks when your baby is drowsy but still awake. I know waiting until they’re in a deep sleep is tempting, but trust me – this helps them learn that the bassinet is their sleep spot.
Setting Up Your Baby’s Sleep Zone
The right spot for your bassinet can be the difference between peaceful sleep and midnight wake-ups. Here’s what you need to know:
Perfect Placement Tips
- Keep it beside your bed: Easy reach for feeding and comfort
- About arm’s length away: Close enough for quick checks
- Away from drafts: No cold air from vents or windows
- Free from direct sunlight: Avoid bright morning light
Room Setup Basics
- Darkroom: Use blackout curtains or shades
- Soft lighting: Small nightlight for feeds
- Quiet space: Away from household noise
- Stable surface: On flat, firm ground
Pro Tip: Walk around your room at different times of the day. Notice where light comes in, feel for drafts and listen for noises that might disturb your baby. This helps you find the ideal spot for uninterrupted sleep.
What If My Baby Still Won’t Sleep in the Bassinet?
Even with the best setup, some babies need extra help adjusting. Don’t worry – we’ve got some tried-and-true tricks:
The “Drowsy but Awake” Magic
- Watch for sleepy signs (yawns, eye rubs)
- Put baby down before deep sleep kicks in
- Stay calm if they fuss a little
Gentle Comfort Methods
- Pat their tummy rhythmically
- Make soft “shh” sounds
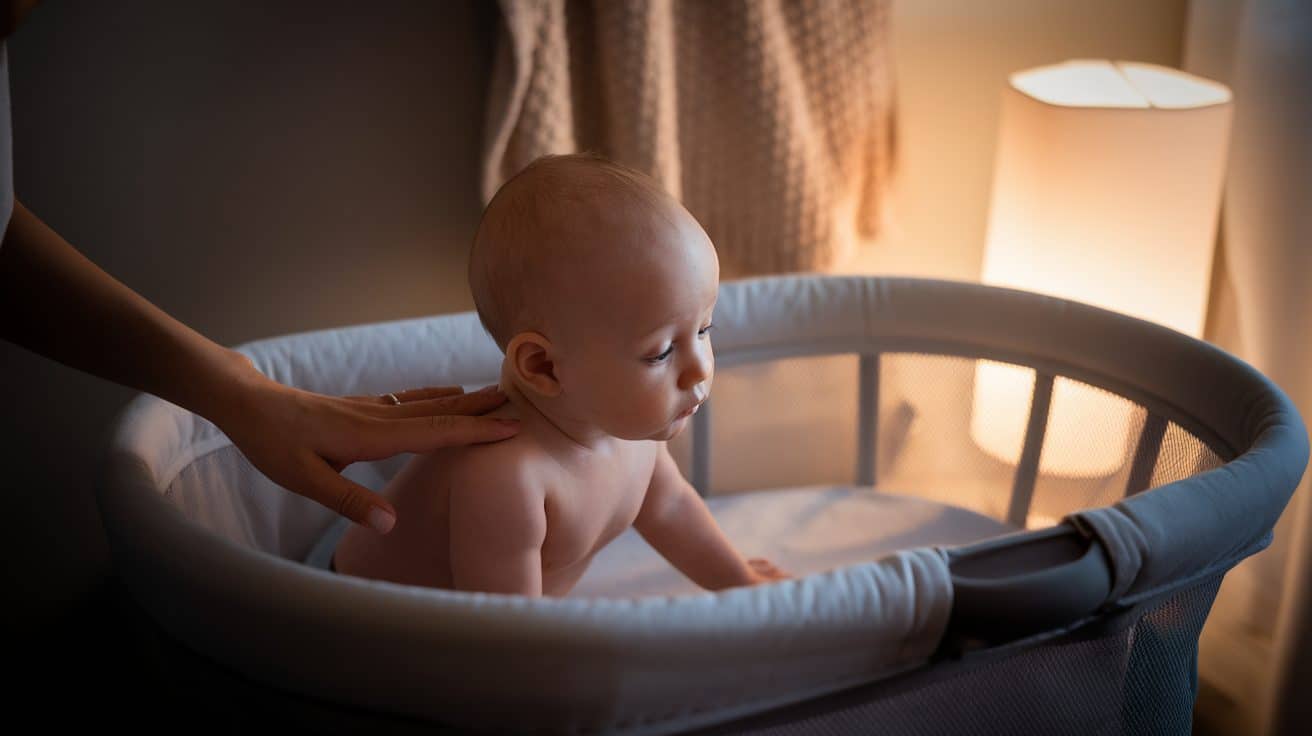
- Keep your hand on them while they settle
- Avoid picking up at first signs of fussing
Stay the Course
- Give it 5-7 days of consistent tries
- Start with one nap time to practice
- Remember: Progress isn’t always perfect
Quick Tip: If your baby protests, start with 10-minute practice sessions during the day when you’re both less tired. Think of it like training for a marathon – small steps lead to big wins!
You’ve Got This!
You know that feeling when your baby finally drifts off peacefully in their bassinet?
That moment of getting your baby to sleep in a bassinet feels like a pure victory.
Start with one change at a time. Remember, your baby spent nine months nestled in the coziest spot they knew – it’s natural for them to need time to adjust to their new sleep space.
Keep going, keep trying, and most importantly, trust your instincts. Before you know it, you’ll share your success story of peaceful bassinet sleep. Sweet dreams to you and your little one!
After all, every parent’s journey to better sleep starts with that first successful night – yours is just around the corner.
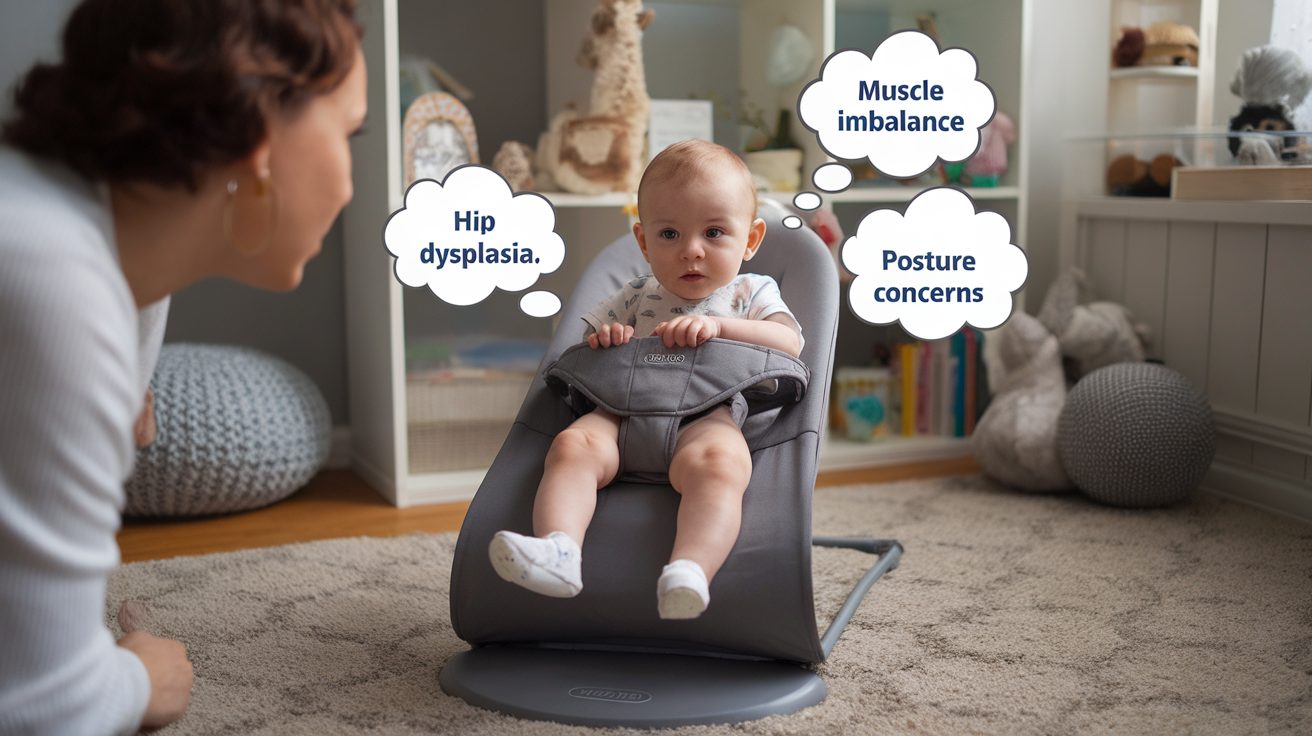
Concerns That Come to Every Parent’s Mind
Is the Bassinet Too Hard?
A firm mattress is essential for safety, but it shouldn’t feel like a rock. Use a breathable fitted sheet made of soft cotton for comfort.
What If My Baby Hates Sleeping Flat?
If reflux is a concern, consult your pediatrician about safe incline options. Ensure proper burping after feedings to reduce discomfort.
Is My Baby Too Hot or Too Cold?
Dress them in light layers and check their chest (not hands or feet) for warmth. Avoid loose blankets—use a swaddle or sleep sack instead.