As a new parent, you may have heard about the benefits of swaddling your baby.
Swaddling involves wrapping your newborn snugly in a blanket, which can help them sleep better, cry less, and regulate their body temperature.
However, it’s crucial to ensure that the swaddle is not too tight, as this can cause discomfort and even pose safety risks.
In this blog post, we’ll explore how to know if a swaddle is too tight for your little one.
We’ll provide you with tips and guidelines to ensure that your baby is both secure and comfortable during swaddling.
What Is Swaddling a Baby?

Swaddling is a traditional practice of snugly wrapping a baby in a blanket or cloth. The goal is to create a warm, secure feeling that reminds babies of being in the womb.
Swaddling helps to calm fussy babies and can promote better sleep by preventing startling movements that might wake them up.
To swaddle, lay a blanket in a diamond shape, fold the top corner down, place the baby’s head above the fold, and then wrap the sides securely around the baby’s body.
Swaddling is most effective for newborns but should be stopped once babies start trying to roll over.
Signs the Swaddle Is Too Tight

1. Difficulty Breathing
If your baby shows signs like shortness of breath, grunting, or struggling to breathe, the swaddle might be too tight.
A snug swaddle should feel secure but not restrict chest movement. Always check that your baby can breathe comfortably. If you notice any breathing issues, loosen the swaddle right away.
2. Restricted Movement
Babies need to move their hips and legs freely for healthy growth. A swaddle that’s too tight can limit this movement, which may affect development.
Make sure the swaddle allows some natural motion, especially in the lower body, to keep your baby comfortable and safe.
3. Skin Irritation or Redness
Check your baby’s skin for marks, redness, or irritation where the swaddle touches. These signs often mean the swaddle is too tight.
A proper swaddle should fit snugly without pressing too hard on the skin. Adjust the swaddle to avoid discomfort or harm to your baby’s delicate skin.
4. Inability to Wiggle Fingers and Toes
Your baby should be able to move their fingers and toes slightly, even when swaddled. If the swaddle is too tight, it can restrict this movement, causing discomfort.
Ensure the swaddle isn’t wrapped too tightly around the hands and feet to keep your baby happy and cosy.
5. Excessive Crying or Irritability
A tight swaddle can make your baby feel trapped or uncomfortable, leading to excessive crying or fussiness.
If your baby seems unusually upset after swaddling, it might be too tight. Loosen the swaddle and see if your baby calms down. Comfort is key to a peaceful sleep.
How to Swaddle a Baby Correctly?

Step-by-Step Guide to Proper Swaddling
-
Lay a soft, breathable blanket flat in a diamond shape. Fold the top corner of the blanket down about 6 inches.
-
Place your baby on their back, with their head above the folded edge. Gently straighten their arms at their sides.
-
Take the left corner of the blanket and wrap it across your baby’s chest. Tuck the left corner under your baby’s right side.
-
Fold the bottom corner of the blanket over your baby’s feet. Take the right corner of the blanket and wrap it across your baby’s body.
-
Tuck the right corner under your baby’s left side. Ensure the swaddle is snug but not too tight.
-
Check for comfort by placing two fingers between the swaddle and your baby’s chest. Make sure your baby’s hips and legs can move slightly.
-
Monitor your baby to ensure they are breathing well and not overheating. Stop swaddling if your baby starts rolling over.
Check for Comfort
After swaddling, check if your baby is comfortable. Place two fingers between the swaddle and their chest.
If your fingers fit easily, the swaddle is just right. If it’s too tight, loosen it a little. A good swaddle should feel snug but not restrict breathing or movement.
Your baby should be able to move their hips and legs slightly. This ensures they stay safe and comfortable while sleeping.
Monitor Your Baby
Always keep an eye on your baby after swaddling. Make sure they are breathing well and not overheating. Check their face and skin for signs of discomfort.
If they seem restless or fussy, adjust the swaddle or try a different method. Stop swaddling if your baby starts rolling over, as this can be unsafe.
Monitoring helps you ensure your baby stays happy and healthy while swaddled.
How to Choose the Right Swaddle Product for Your Baby?
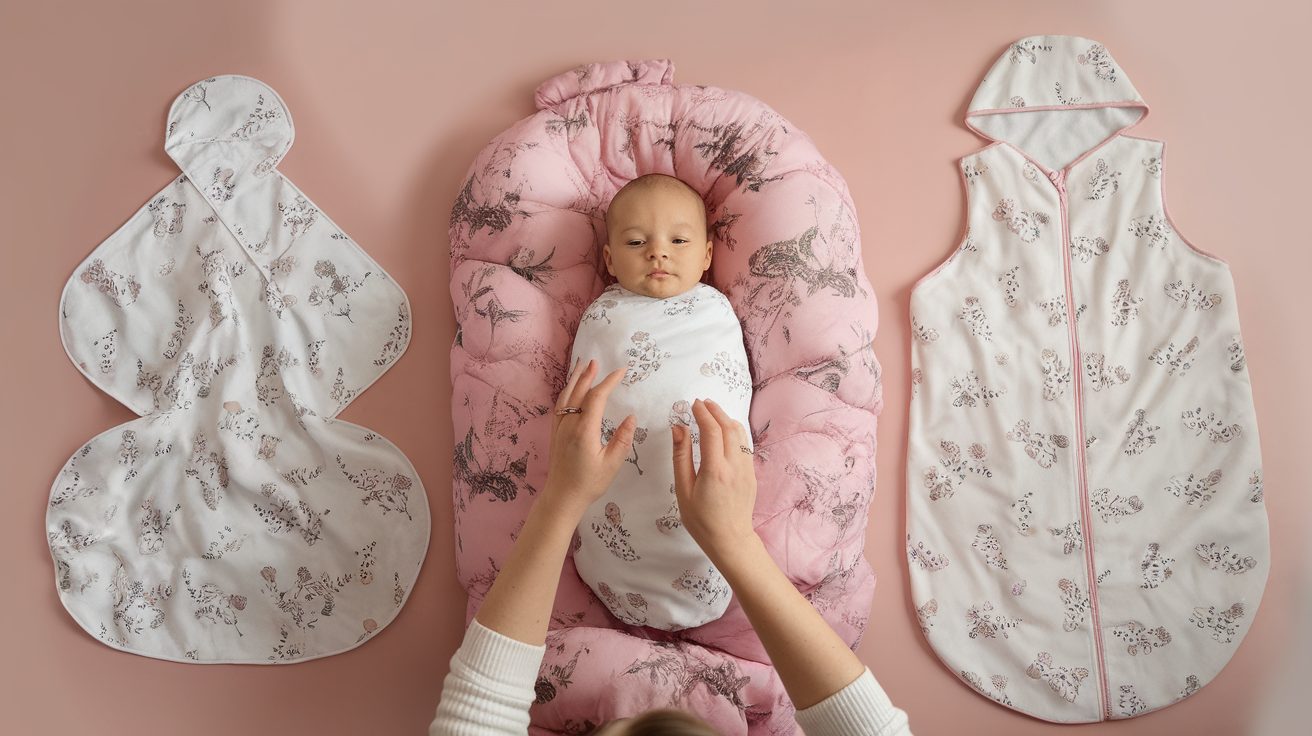
When it comes to swaddling your baby, there are several options to choose from.
- Swaddle Blankets: Swaddle Blankets are traditional and versatile, allowing you to wrap your baby snugly.
- Sleep Sacks: Sleep Sacks provide more freedom of movement for the legs while still offering a cosy feel.
- Wearable Swaddlers: Wearable Swaddlers, like the Zen One, are designed for easy use and adjustable fit.
Consider the following features when selecting a swaddling product: Adjustable fit to accommodate your growing baby, breathable fabric to prevent overheating and ease of use for quick diaper changes.
Some swaddlers also have additional features like two-way zippers or velcro closures.
Ultimately, the right swaddle product depends on your baby’s preferences and your comfort level.
It may take some trial and error to find the perfect fit, but prioritizing safety, comfort, and convenience will help you make the best choice for your little one.
How to Transition Out of Swaddling?

When your baby shows signs of rolling over, it’s time to transition out of swaddling. To make this change easier, try a gradual approach.
Start by swaddling with one arm out for a few nights, allowing your baby to adjust.
Then, try swaddling with both arms out. Once your baby is comfortable with this, you can stop swaddling altogether.
Another helpful option is to use a sleep sack or a sleeveless sleep bag. These wearable blankets provide a cosy feeling similar to swaddling without restricting arm movement. They can also keep your baby warm without the risk of loose blankets.
With patience and the right tools, you can help your baby transition to a new sleep routine.
Conclusion
Swaddling can be a helpful tool to soothe your baby, but it’s important to ensure it’s done correctly.
By watching for signs like restricted breathing, difficulty moving hips, or excessive fussiness, you can determine how to know if the swaddle is too tight.
Always prioritize your baby’s comfort and safety by using proper swaddling techniques, such as leaving room for hip movement and ensuring the fabric isn’t too constricting.
Remember, swaddling is only beneficial for a limited time, so stop once your baby shows signs of rolling over or outgrowing the need for it.
By staying attentive and following these guidelines, you can create a safe and cozy environment for your little one.
Frequently Asked Questions
What Are the Risks of Swaddling Too Tightly?
A tight swaddle can lead to hip dysplasia, overheating, or breathing difficulties. Always ensure the swaddle is snug but not constricting.
How Much Room Should My Baby Have in A Swaddle?
Leave enough space for your baby to bend their legs and move their hips. The swaddle should feel secure but not restrictive.
Can a Tight Swaddle Affect My Baby’s Sleep?
Yes, a swaddle that’s too tight may cause discomfort, making it harder for your baby to settle or stay asleep.
When Should I Stop Swaddling My Baby?
Stop swaddling once your baby shows signs of rolling over, usually around 2-4 months, to ensure their safety.