A cuddly bear in a red shirt, sitting with a pot of honey – who doesn’t smile at the thought of Winnie the Pooh?
There’s something so sweet and simple about Pooh Bear and his friends that makes both kids and grown-ups feel right at home.
Maybe it’s those gentle life lessons hidden in every story or just how Pooh sees the world through honey-tinted glasses.
Either way, this lovable bear has been making hearts happy for nearly 100 years!
So grab your favorite stuffed animal, and Come along as I share how we turned our baby shower into a cozy corner of the Hundred Acre Wood!
Setting the Scene: Decor Ideas
1. Hundred Acre Wood Entrance Sign
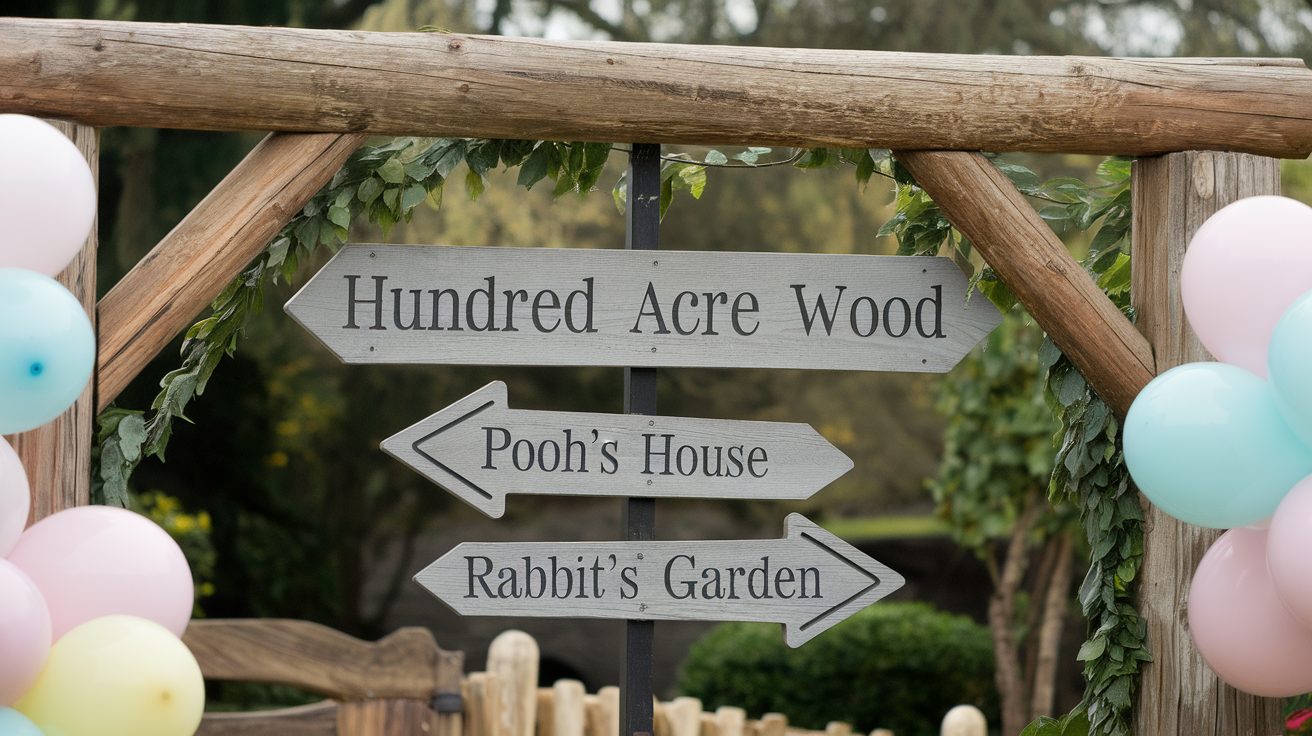
Welcome guests with a wooden sign pointing to ‘Hundred Acre Wood.’ Use old planks or cardboard painted to mimic wood texture, adding charming imperfections for an authentic feel. Include playful arrows for places like ‘Pooh’s House’ or ‘Rabbit’s Garden.’
Budget Tip:
- Use scrap wood from old furniture or pallets.
- Print and glue wood textures from free online resources.
- Hand-paint signs with leftover paint or marker for details.
2. Balloon Honeycomb Backdrop
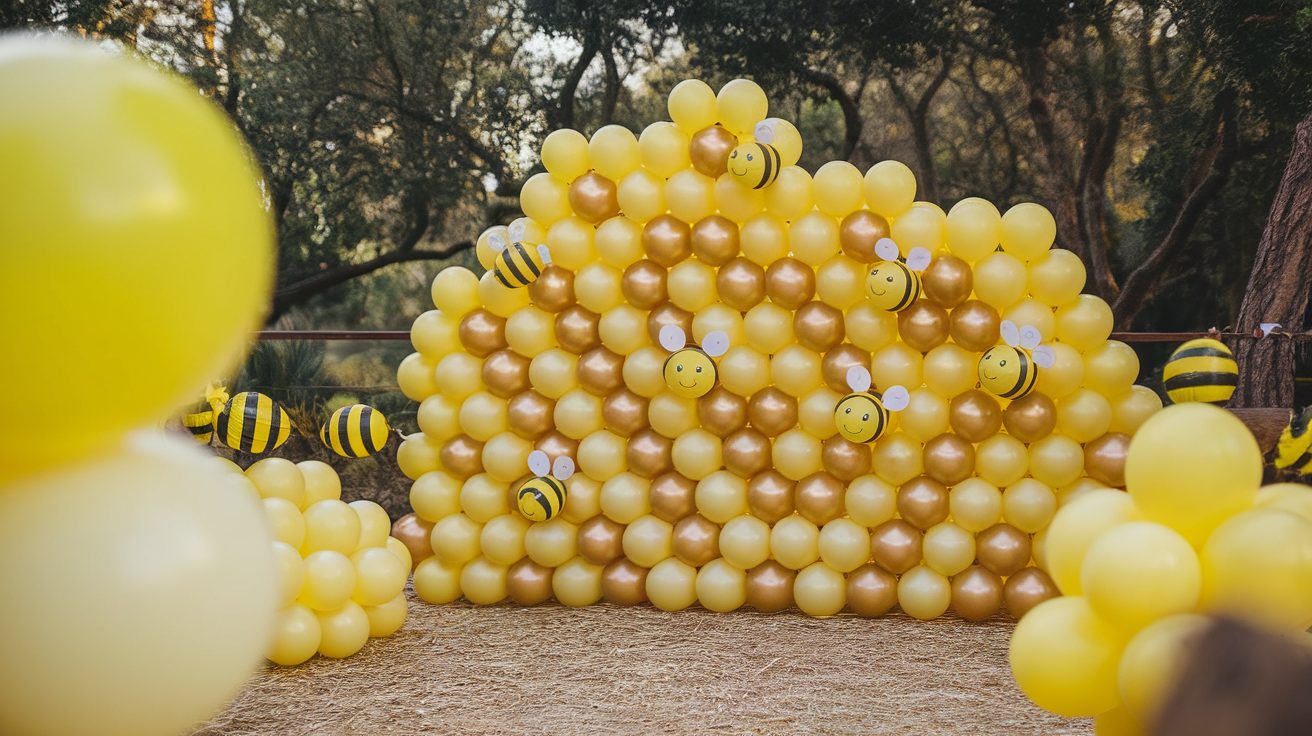
Stack yellow and gold balloons in a honeycomb pattern for a cheerful photo spot. Add paper bees with smiling faces for a playful touch. The backdrop can serve as a main focal point for photos and is easy to assemble with minimal supplies.
Budget Tip:
- Buy balloons in bulk from dollar stores or online sales.
- DIY bee cutouts from colored paper or printable templates.
- Use double-sided tape or fishing line instead of pricey balloon strips.
3. Pooh’s Honey Pot Centerpieces
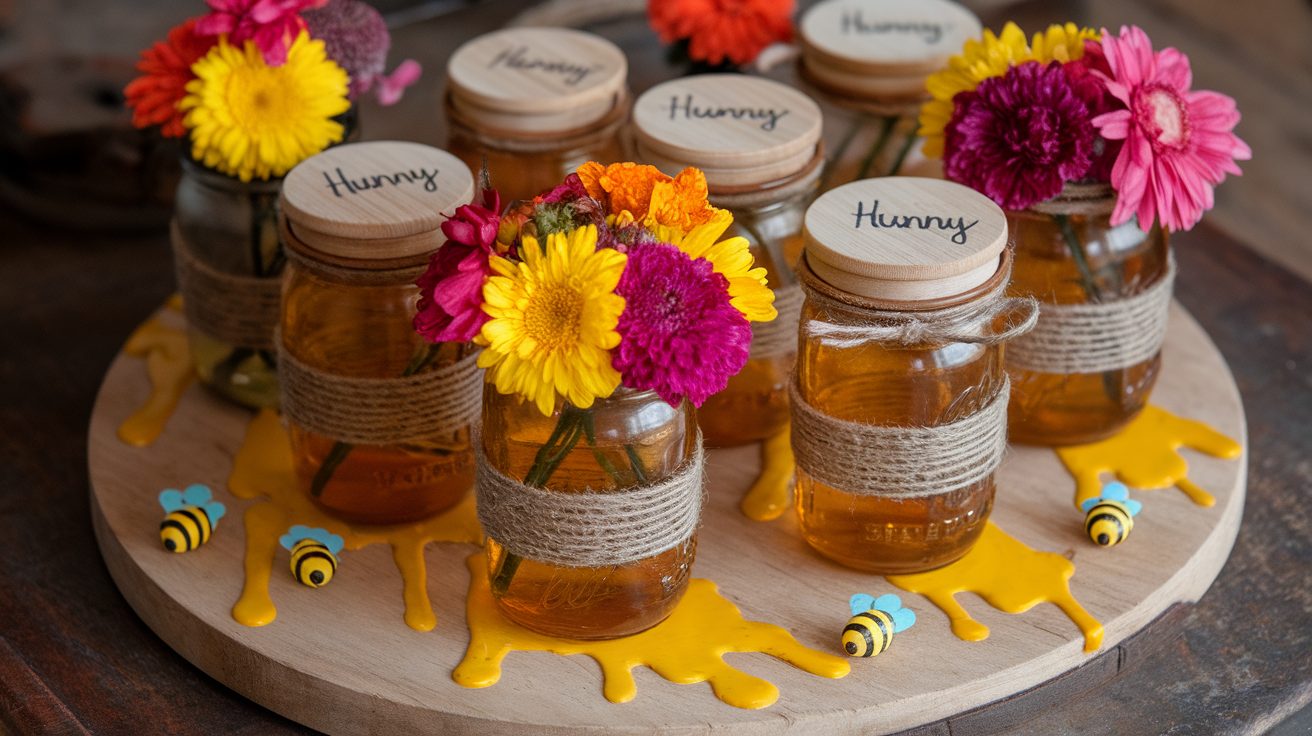
Fill mason jars labeled ‘Hunny’ with bright flowers, twine, or gingham fabric wraps for extra charm. Add small bee decorations or honey drips painted on the jars. These centerpieces tie the theme together beautifully and can be placed on every table for a consistent look.
Budget Tip:
- Repurpose mason jars from your kitchen or collect from friends.
- Use wildflowers or seasonal blooms for a cost-effective option.
- Print labels on plain paper, glue them on, and coat with clear tape.
4. Storybook Quote Banners
Print classic Pooh quotes on cardstock, cut into banner shapes, and string them with pastel ribbons or twine. Hang them above tables, entrances, or the photo booth for a nostalgic and heartwarming touch. This decor piece adds literary charm to the event.
Budget Tip:
- Use free printable templates found online.
- Repurpose old ribbons, twine, or string from home.
- Print multiple quotes per page to save on paper and ink.
5. Stuffed Pooh & Friends Display
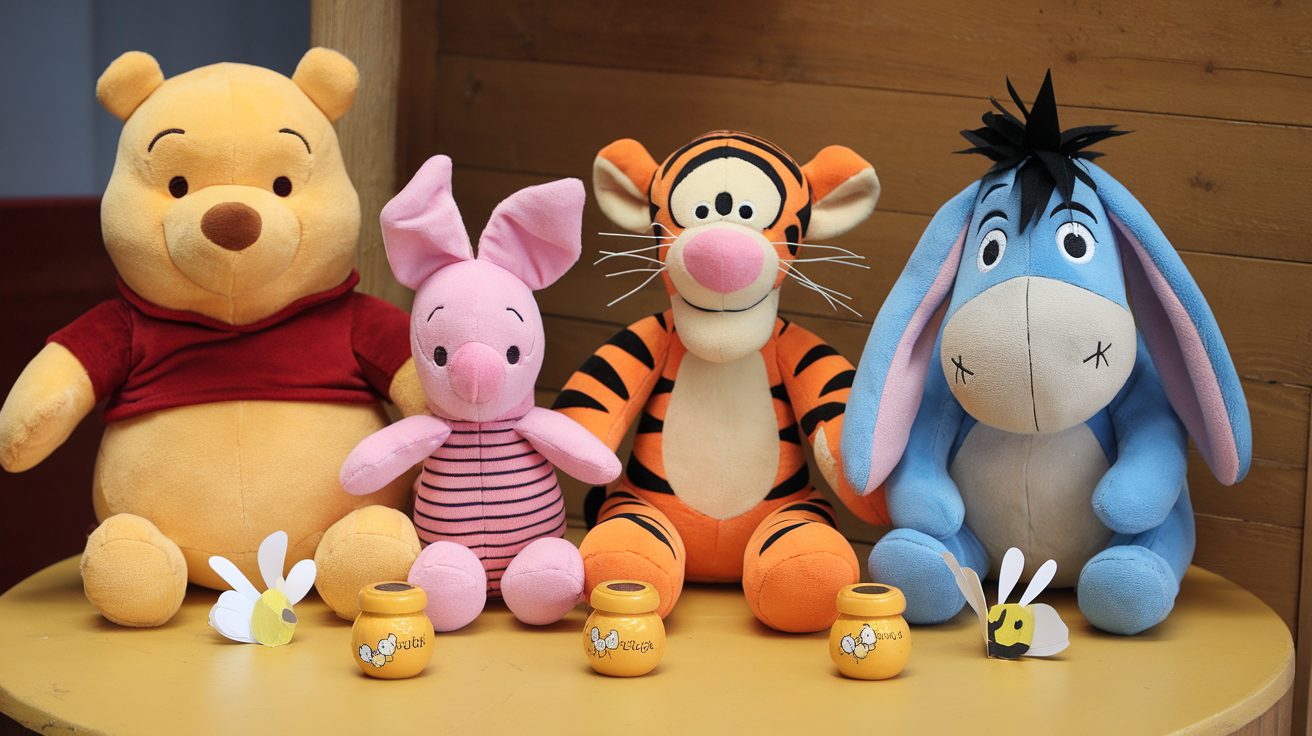
Scatter plush toys of Pooh, Piglet, Tigger, and Eeyore around tables, gift areas, and seating corners. Add honey pots and tiny paper bees for extra detail. This display creates a cozy, playful atmosphere that feels straight out of the Hundred Acre Wood.
Budget Tip:
- Borrow plush toys from family, friends, or local swaps.
- Check thrift stores or second-hand shops for budget-friendly options.
- DIY small bees from cotton balls, pipe cleaners, and paint.
6. Bee and Honey-Themed Garland
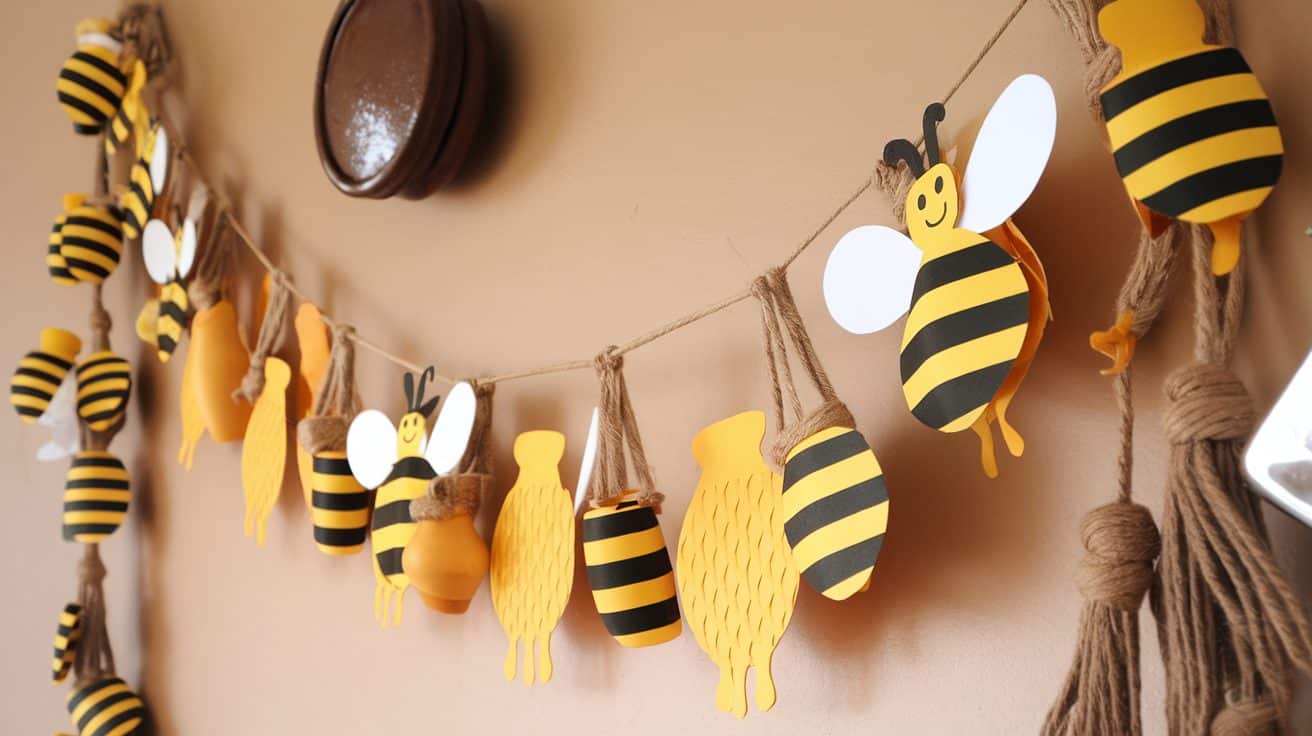
String paper bees and honey pots along walls or tables. Cut shapes from colored paper and add small wings for a 3D effect. This charming garland adds a buzzing touch to the decor and pairs well with the theme.
Budget Tip:
- Use scrap paper or cardstock from old projects.
- Print free bee templates from craft sites.
- Hang with twine or yarn you already have.
7. Tigger’s Bounce Zone
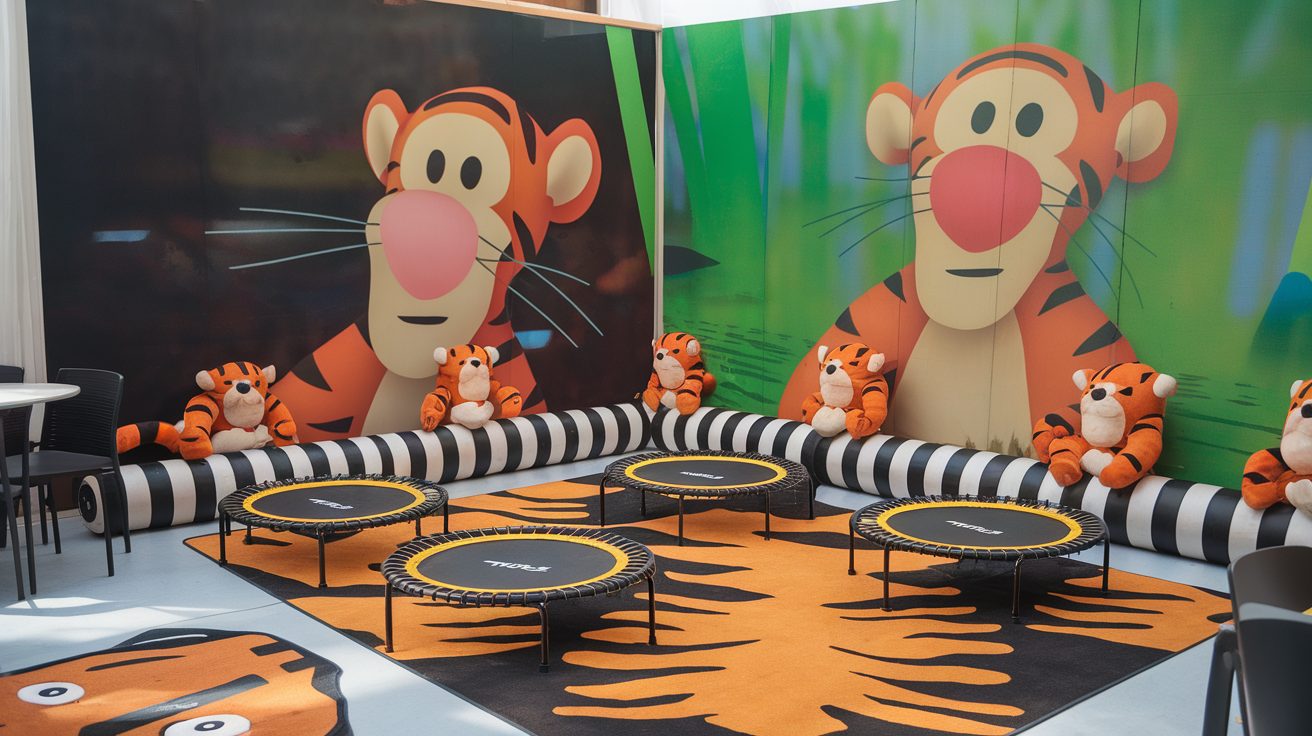
Set up a playful bounce area with pillows or mini trampolines for kids to jump like Tigger. Add Tigger plush toys and stripes for fun. It keeps little guests entertained and adds energy to the event.
Budget Tip:
- Use pillows and cushions from home.
- Borrow mini trampolines if possible.
- Decorate with paper stripes instead of fabric.
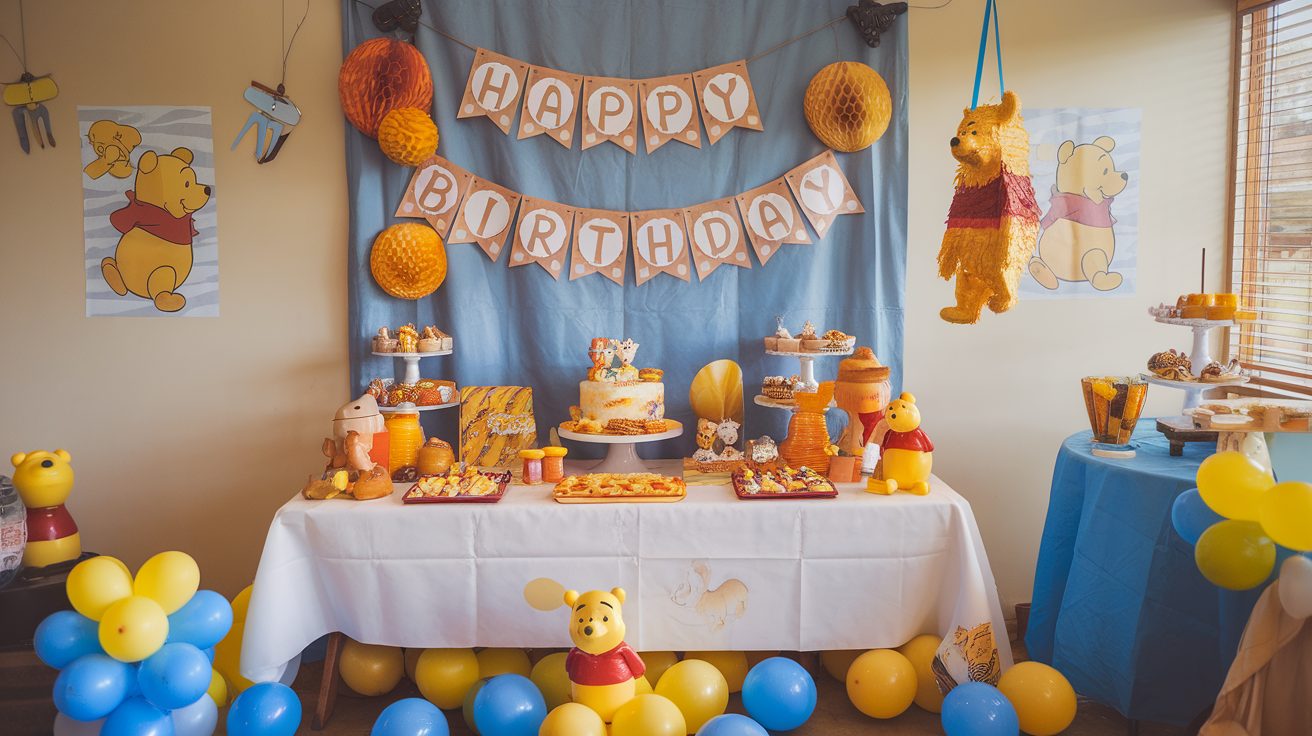
8. Pastel Yellow & Soft Brown Color Scheme
Use pastel yellow and brown for tablecloths, balloons, and banners. This color palette feels warm, inviting, and unmistakably Pooh-themed without being overwhelming.
Budget Tip:
- Reuse linens or tableware in matching colors.
- Buy paper decor in bulk from dollar stores.
- Mix in neutral decor items you already own.
9. ‘Hunny Pot’ Balloon Display
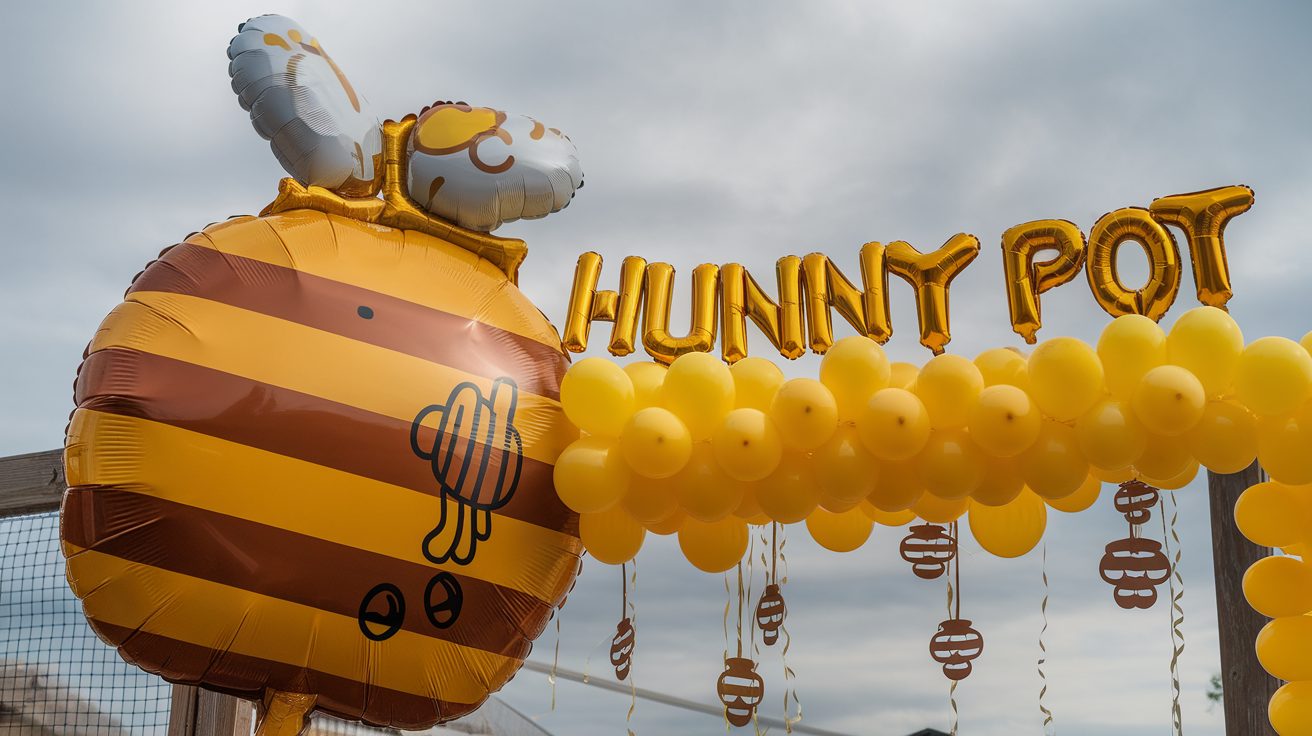
Create a balloon display shaped like a honey pot spilling over. Add paper honey drips for detail. This eye-catching piece adds whimsy and charm to your decor.
Budget Tip:
- Use cardboard for the pot base.
- Buy balloons in bulk to save money.
- DIY honey drips from construction paper.
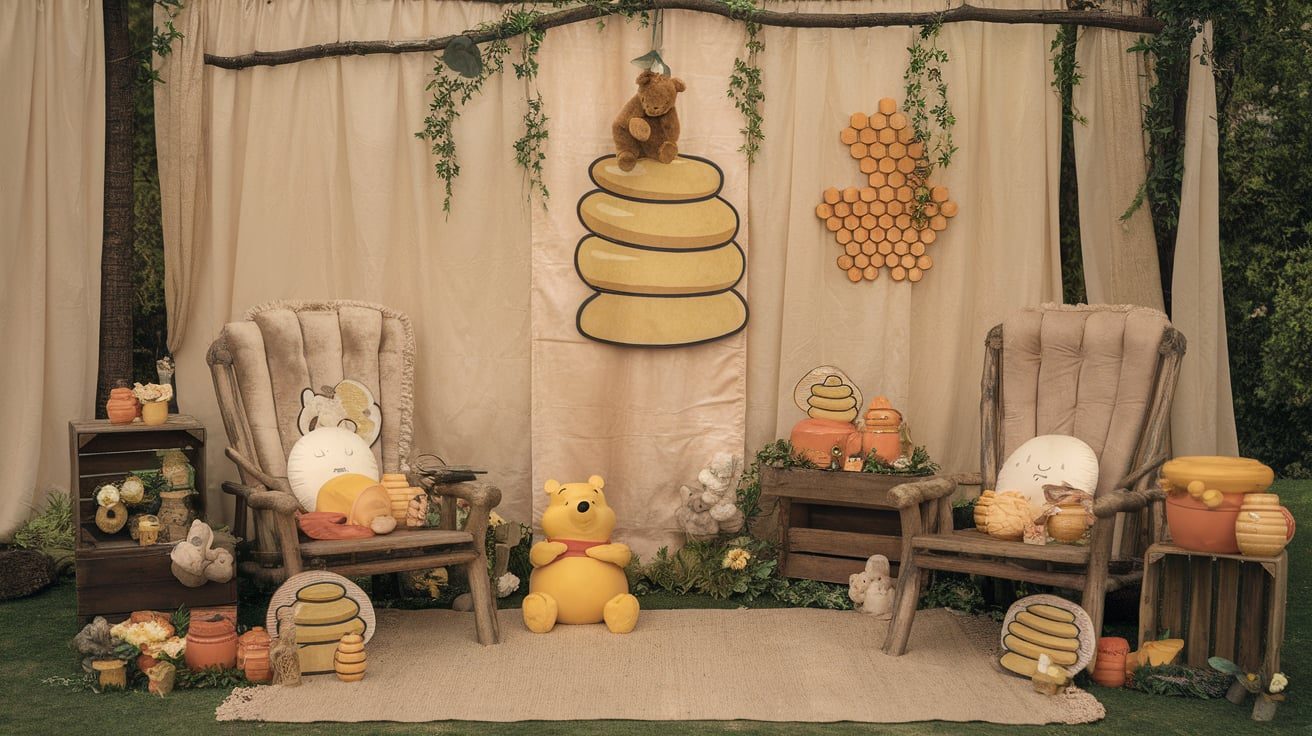
10. Floral Hundred Acre Wood Backdrop
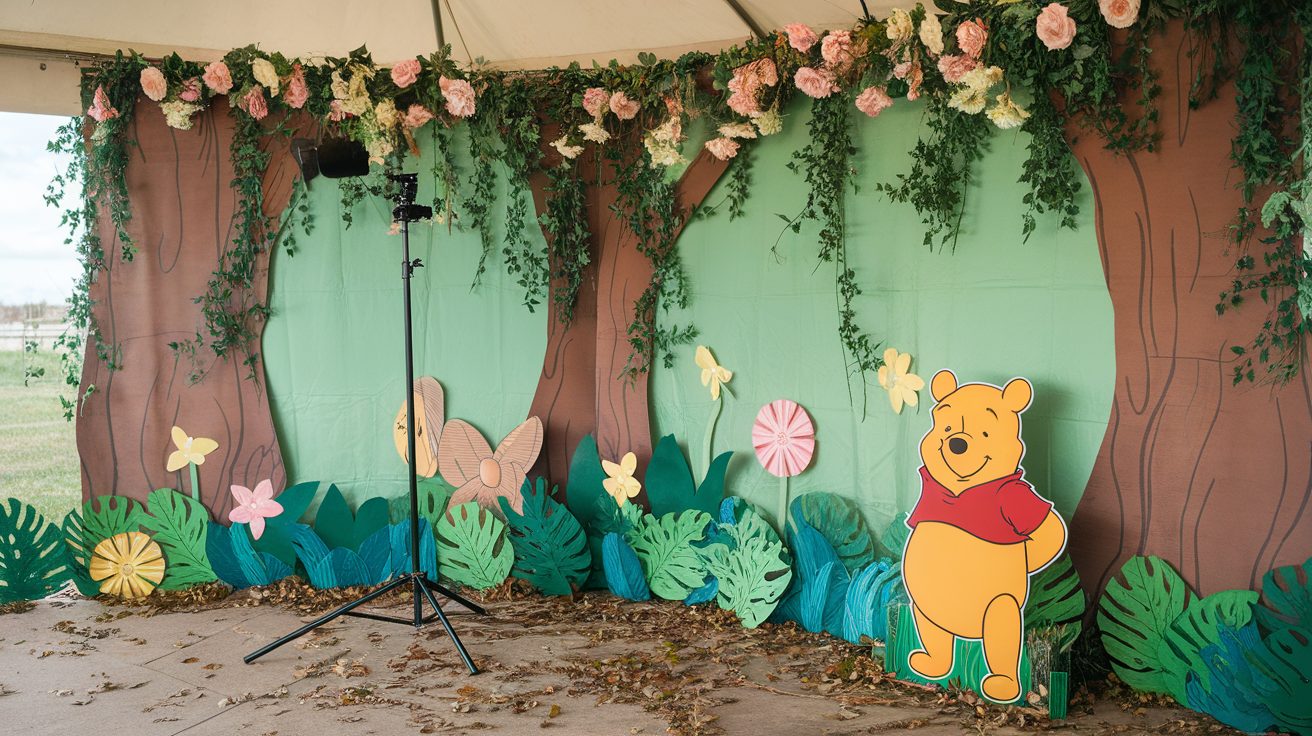
Make a backdrop with artificial flowers, greenery, and cut-outs of Pooh characters. It serves as a stunning photo spot and brings the outdoors inside.
Budget Tip:
- Buy faux flowers from dollar stores.
- Reuse old craft supplies for cutouts.
- Borrow greenery decor if possible.
Invitations & Stationery
11. Handmade Winnie the Pooh Invitations
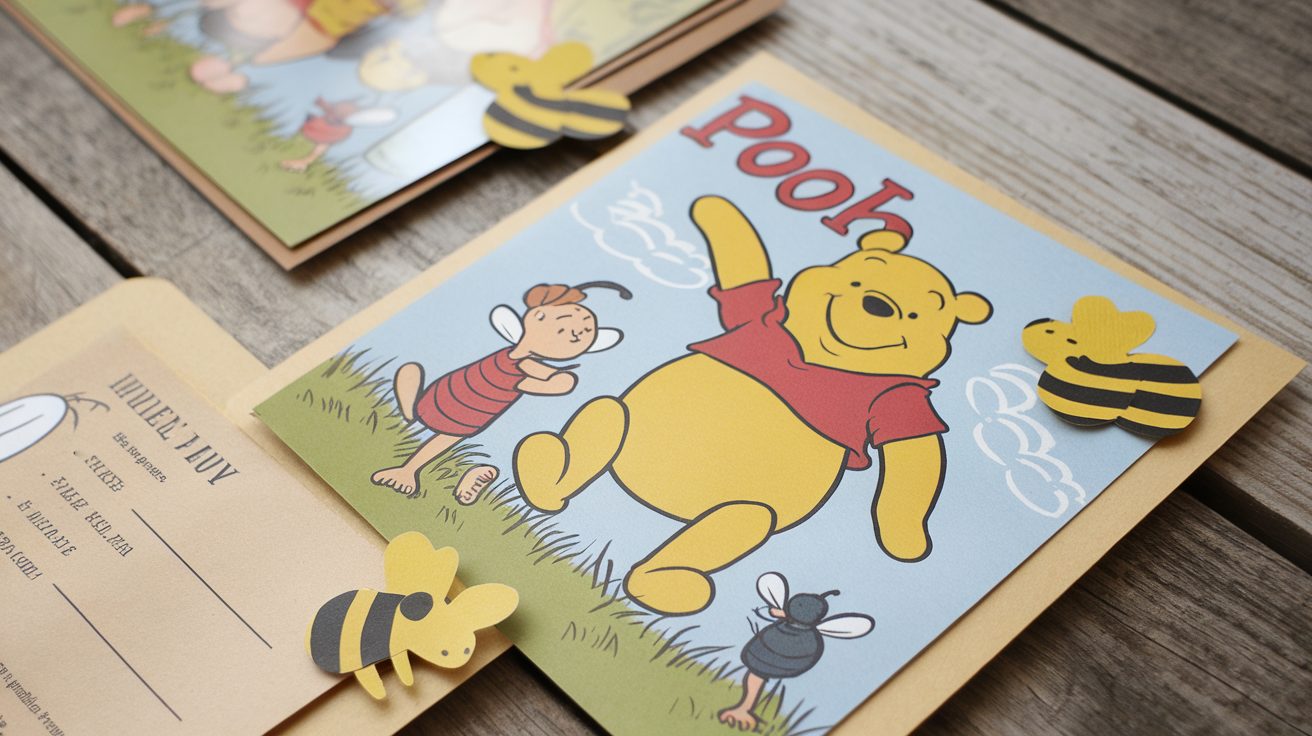
Design custom invitations featuring Pooh and friends using printable templates or simple illustrations. Include cute phrases like “A little hunny is on the way!” These handmade invites add a personal touch and set the mood for the baby shower.
Budget Tip:
- Design invitations with free online tools like Canva.
- Print at home on cardstock.
- Use envelopes you already have or buy in bulk.
12. Beeswax-Sealed Envelopes
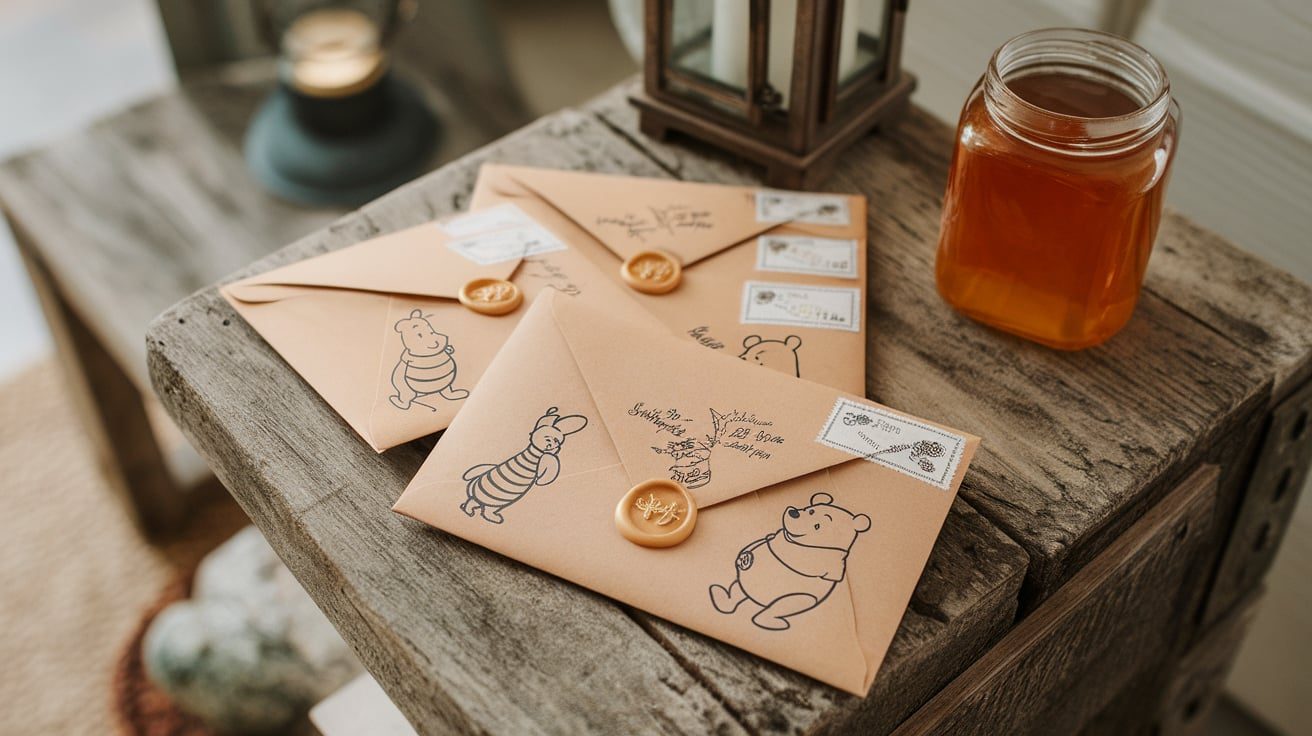
Add a honeybee wax seal to each envelope for a charming finish. Use gold or yellow wax for a honey-like effect. This little detail makes invites feel extra special.
Budget Tip:
- Use bee-themed stickers instead of wax.
- Buy a wax seal kit from discount stores.
- Melt crayons for a DIY wax seal.
13. Scroll Invitations
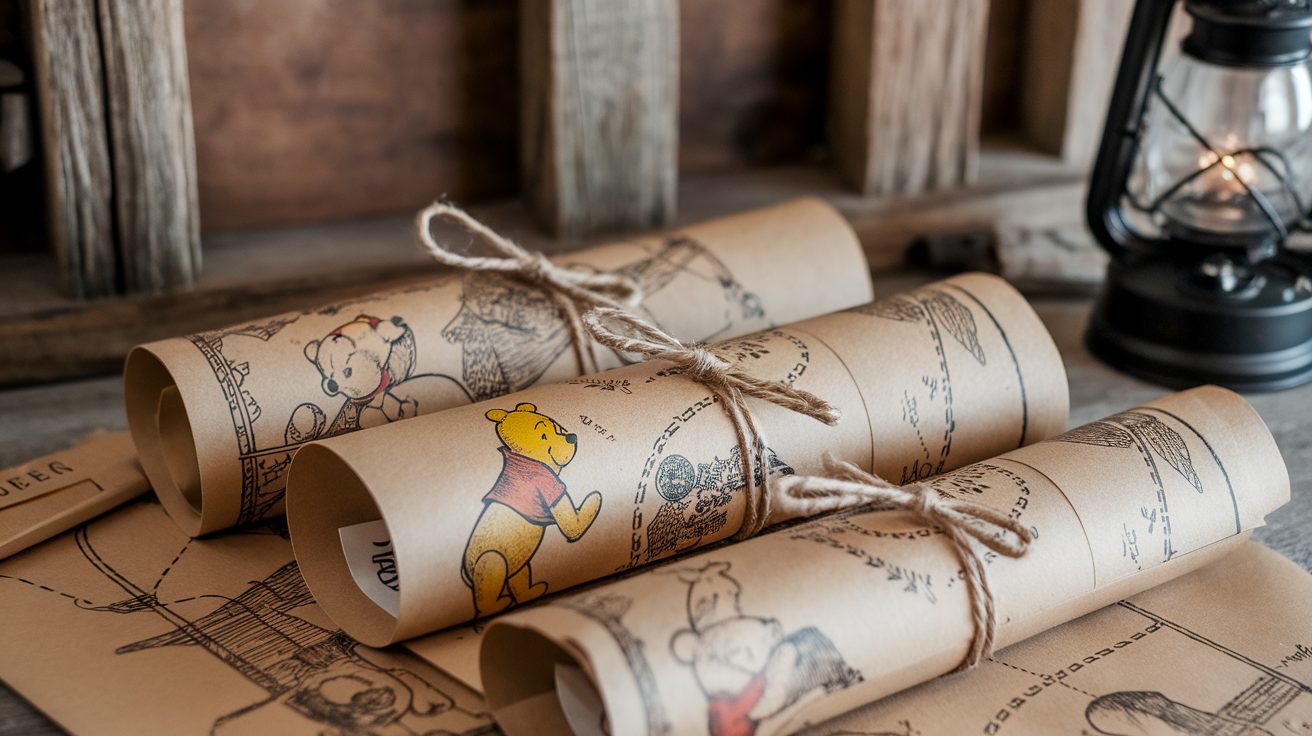
Roll up paper invites like a map to the Hundred Acre Wood. Tie with twine or ribbon for a vintage feel. It’s unique and adds an adventurous charm to your baby shower.
Budget Tip:
- Use printer paper aged with tea or coffee.
- Tie with yarn instead of ribbon.
- Print in black and white to save on ink.
14. Personalized Pooh-Themed Thank You Cards
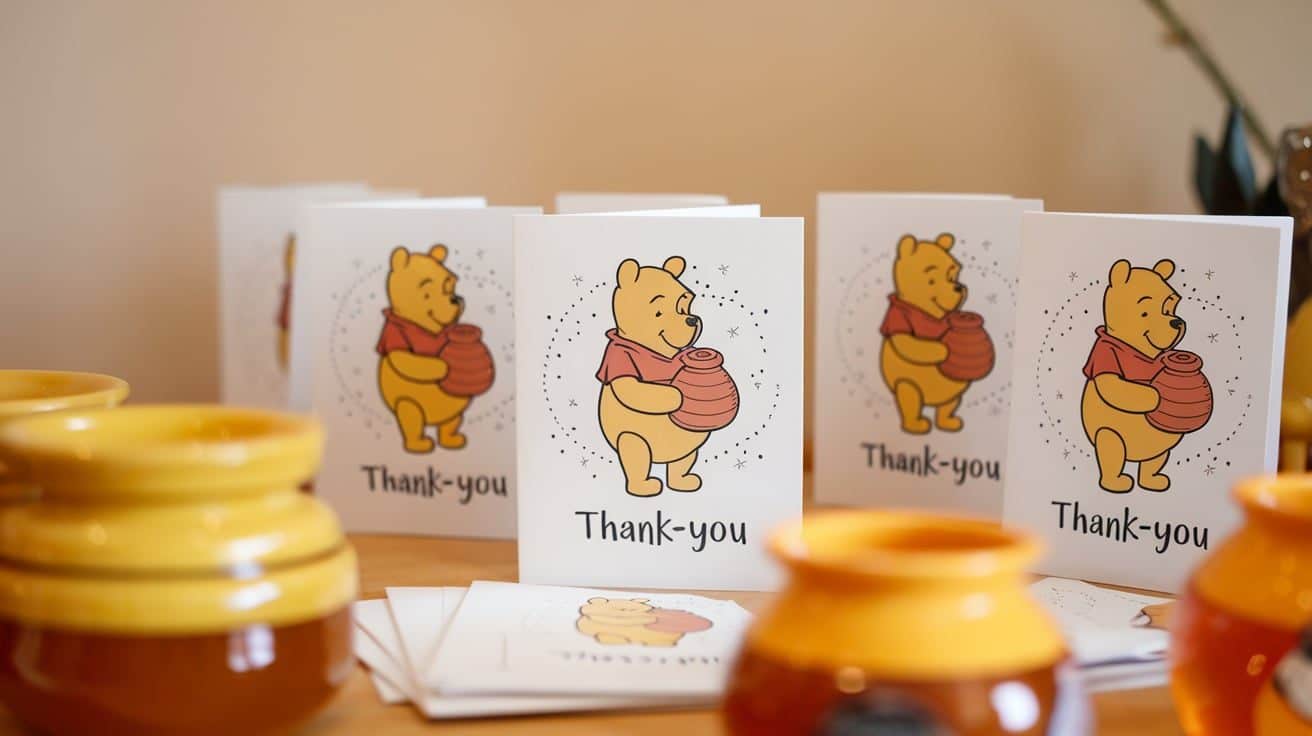
Send thank-you notes featuring Pooh characters and heartfelt messages. Handwritten notes add sincerity, and Pooh designs keep the theme alive.
Budget Tip:
- Design and print cards at home.
- Use blank note cards and add Pooh stickers.
- Send digital thank-you notes to save costs.
15. Table Number Signs with Pooh Quotes

Label tables with numbered cards featuring Pooh quotes like “Sometimes the smallest things take up the most room in your heart.” This adds sweetness and helps guests find their seats.
Budget Tip:
- Print and frame at home.
- Use small chalkboards if available.
- Handwrite quotes on cardstock.
Fun Activities and Games
16. Pin the Tail on Eeyore

A classic party game with an adorable twist. Draw or print Eeyore on a large board and have guests pin the tail while blindfolded. It’s fun, easy, and loved by all ages.
Budget Tip:
- Draw Eeyore yourself or print a free template.
- Use yarn or fabric scraps for the tail.
- Borrow a blindfold or use a scarf.
17. Guess the Baby’s Name with Pooh Quotes
Create cards with famous Pooh quotes and have guests match them to baby name suggestions. It sparks creativity and laughter during the party.
Budget Tip:
- Print cards on plain paper.
- Use online Pooh quote collections for free.
- Repurpose index cards or scrap paper.
18. Hunny Pot Toss Game
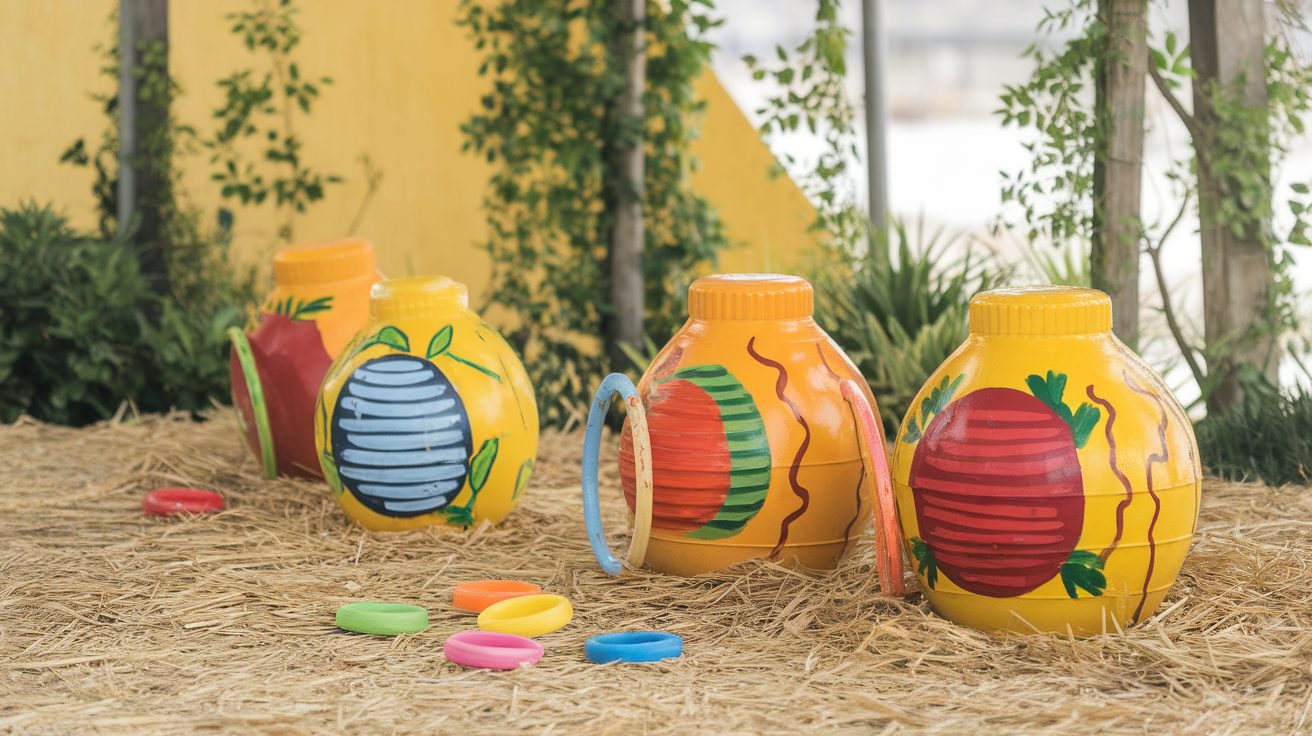
A ring toss game using honey pots as targets. Paint or decorate containers as honey pots and let guests aim for them. It’s simple and fun.
Budget Tip:
- Use plastic containers from your kitchen.
- Make rings from paper plates.
- Decorate with leftover craft supplies.
19. Winnie the Pooh Trivia Game
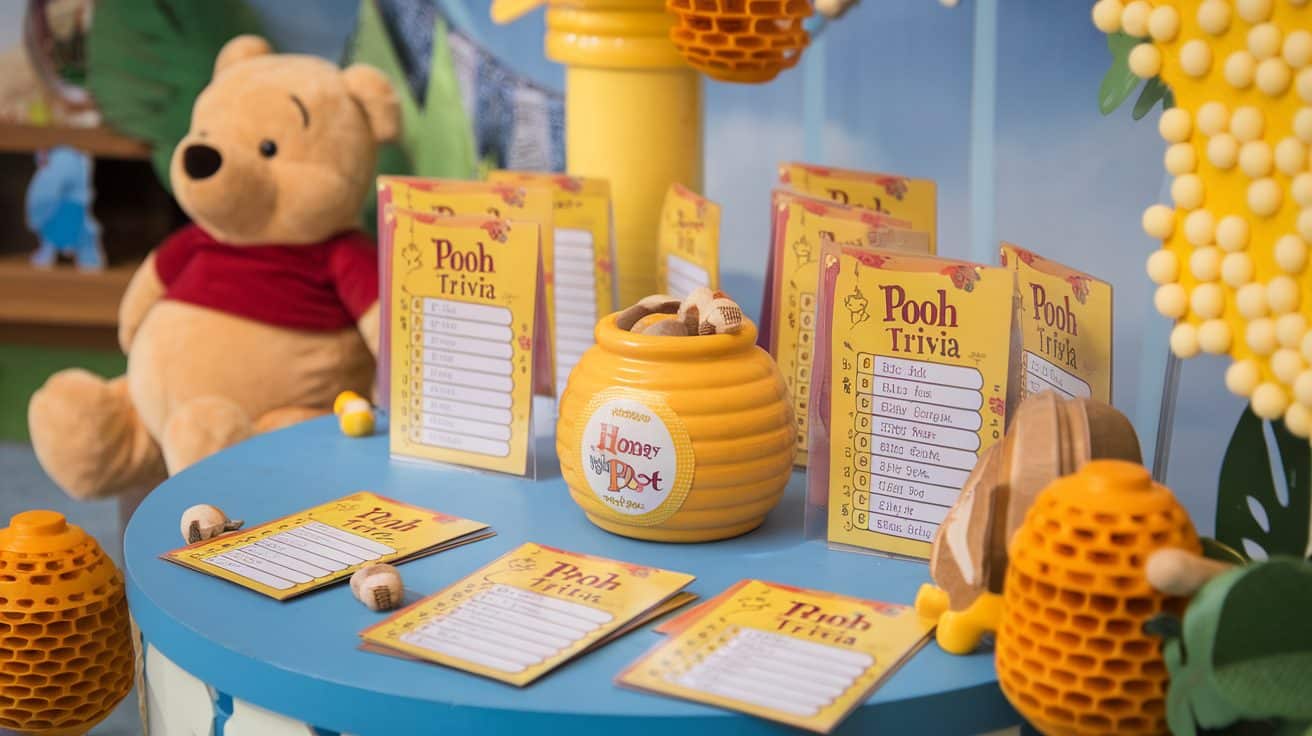
Test guests’ knowledge with a trivia game about Pooh and his friends. Prepare questions on the books, movies, and characters.
Budget Tip:
- Create trivia sheets with free templates.
- Print questions at home.
- Use small prizes like candy for winners.
20. Honey Bee Relay Race
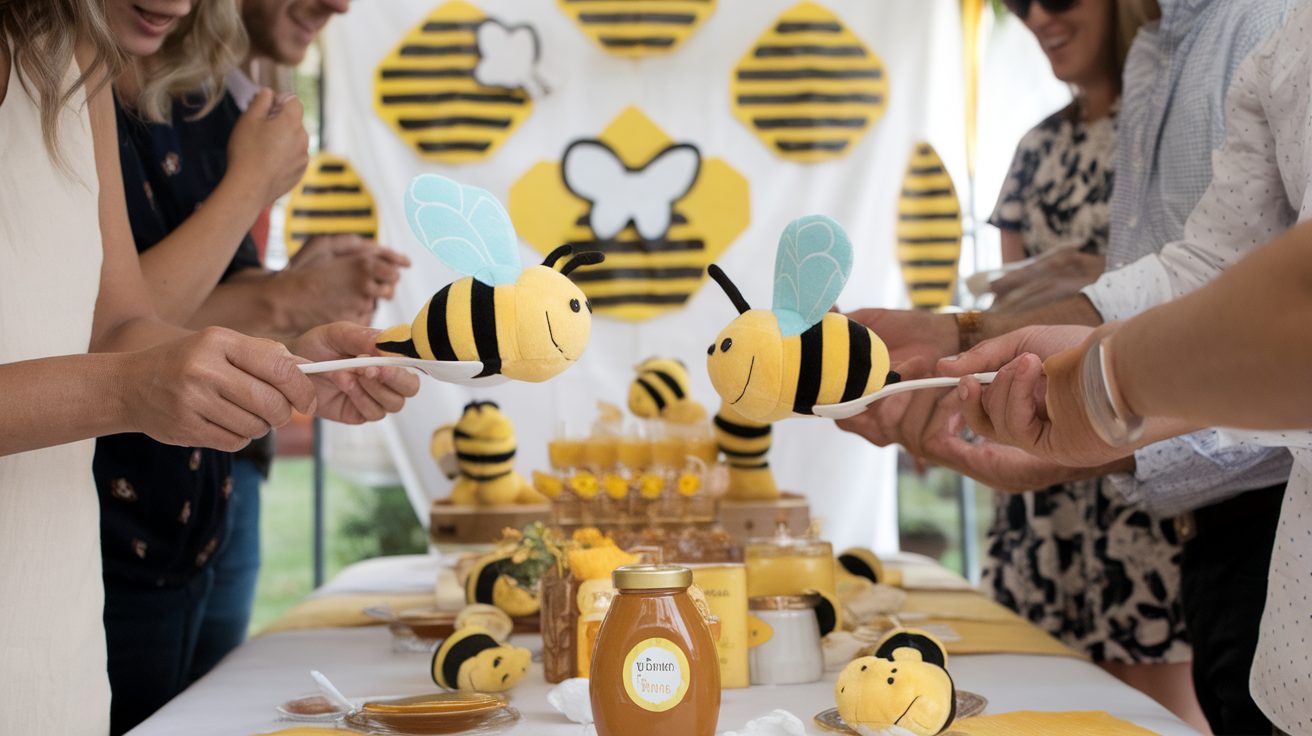
Guests race while balancing a plush bee on a spoon. It’s a lighthearted and engaging activity for all ages.
Budget Tip:
- Use a stuffed toy or paper bee.
- Borrow spoons from your kitchen.
- Use masking tape to create a race track.
21. Who Said It? Pooh or Parents?
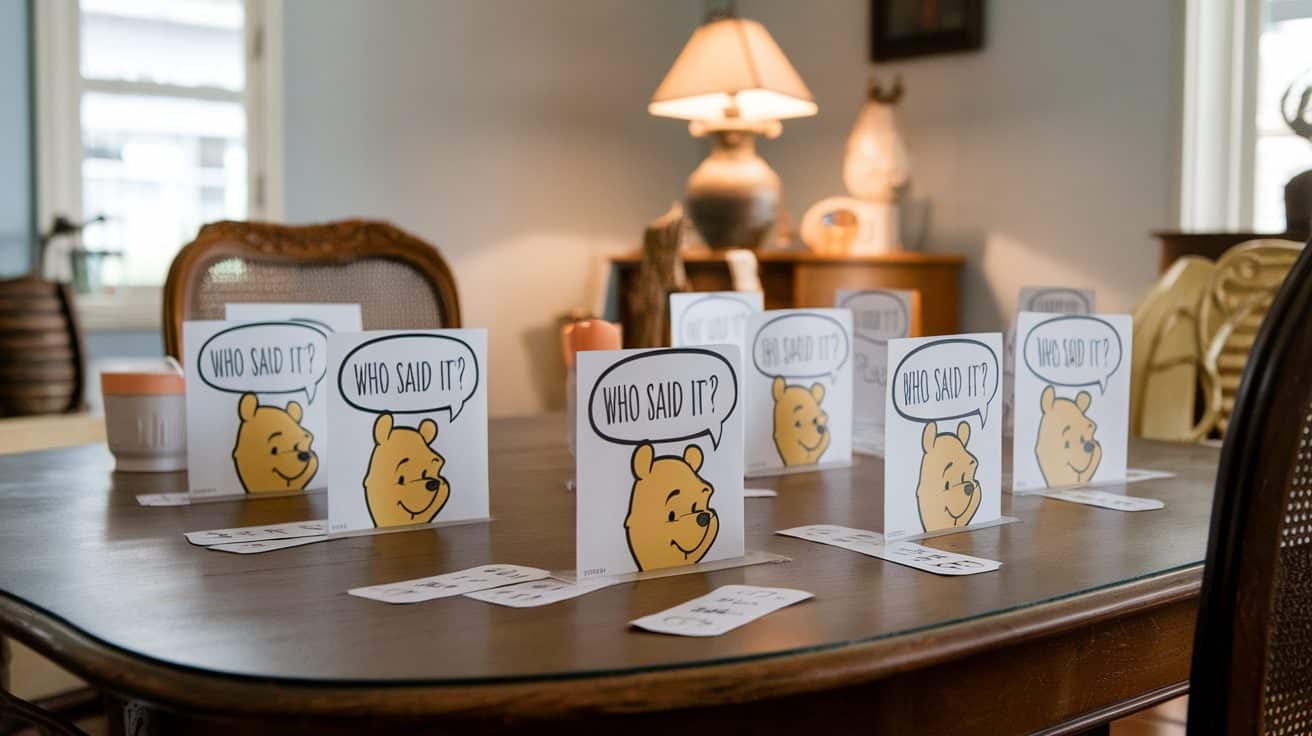
Create cards with classic Pooh quotes and fun phrases from the parents-to-be. Guests guess who said each line, making for plenty of laughs and memories.
Budget Tip:
- Use free printable templates.
- Print at home on scrap paper.
- Handwrite quotes if needed.
22. Guess the Honey Flavor
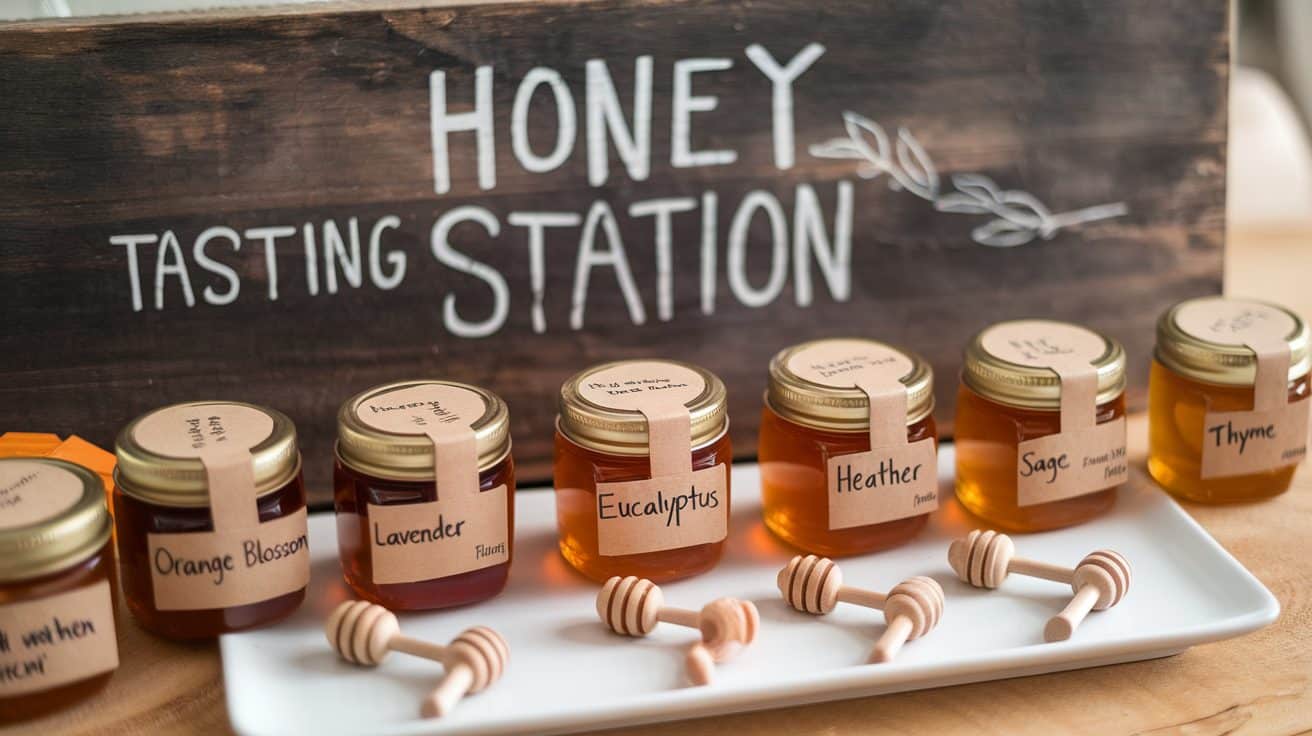
Offer small samples of various honey flavors for guests to taste and identify. It’s a sweet and interactive game that fits the theme perfectly.
Budget Tip:
- Buy honey samples in bulk or local markets.
- Use small cups for sampling.
- Borrow honey dippers.
23. Storytime with Classic Pooh Books
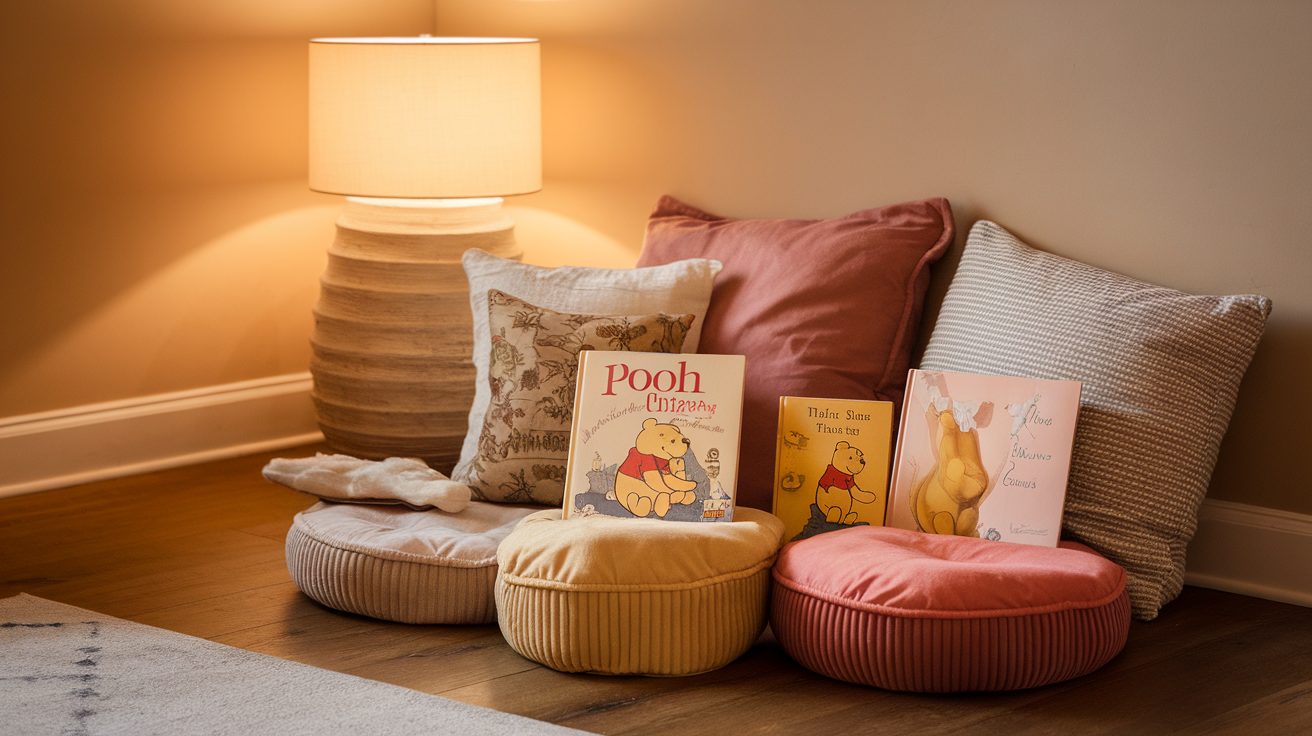
Set aside a cozy corner with classic Pooh books for guests to enjoy. Have someone read aloud for a nostalgic touch.
Budget Tip:
- Borrow books from a library.
- Use cushions and blankets from home.
- Print Pooh images for decor.
24. Baby Onesie Decorating with Pooh Designs
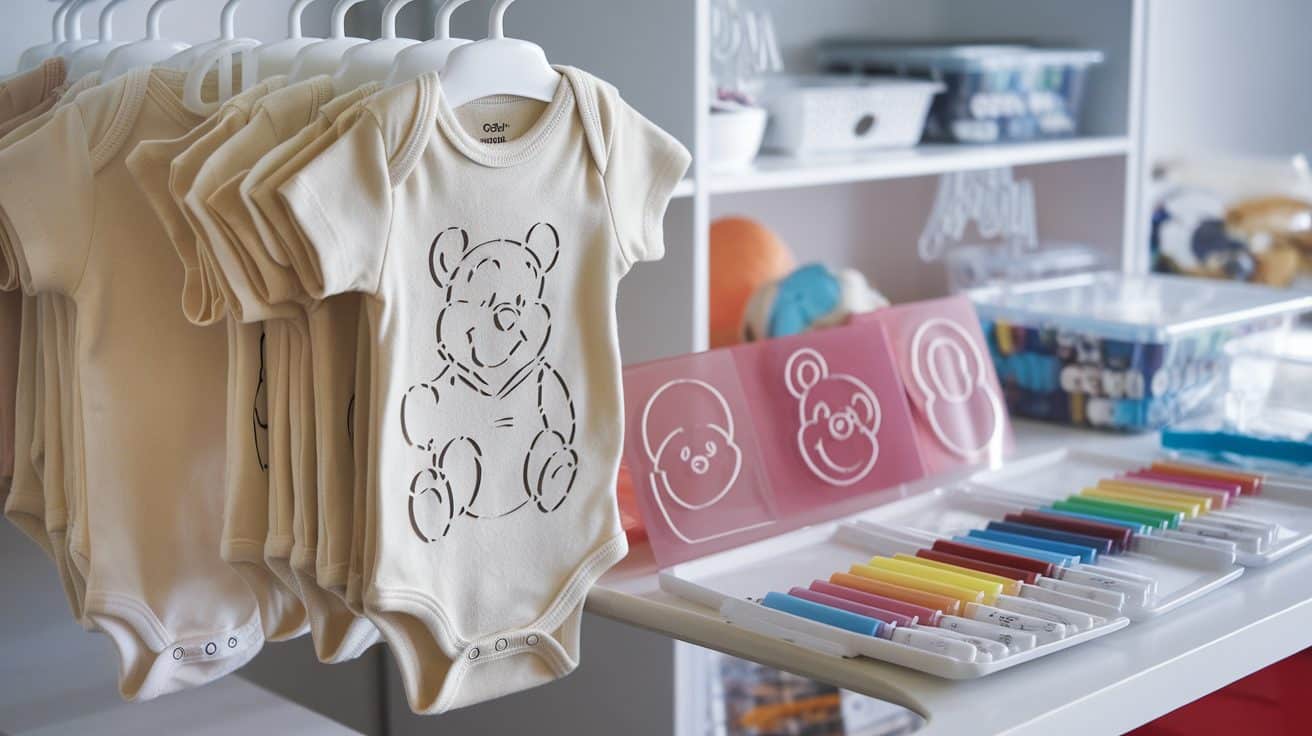
Guests decorate plain onesies with Pooh-inspired designs using fabric markers and stencils. It’s a fun activity with a lasting keepsake.
Budget Tip:
- Buy plain onesies in bulk.
- Use DIY stencils from printed images.
- Provide fabric markers from craft stores.
25. Tigger Bounce Challenge
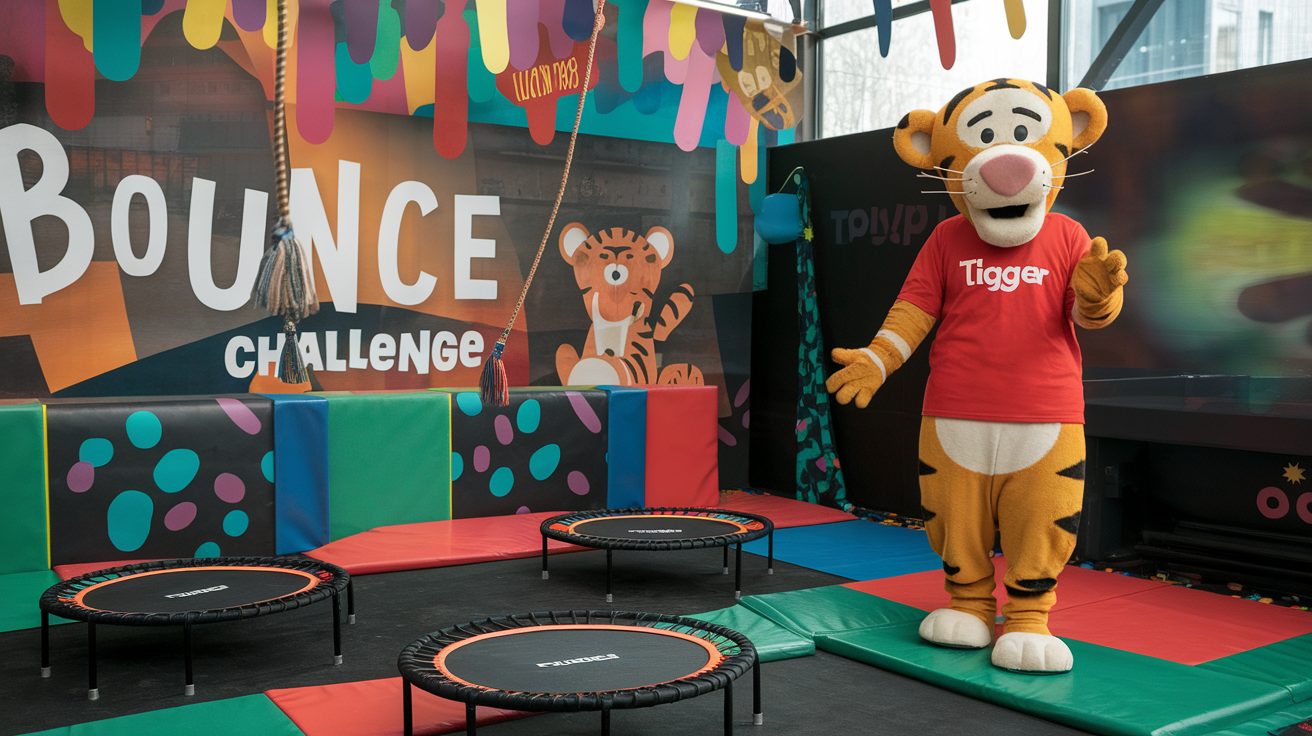
Host a jumping contest inspired by Tigger’s endless energy. Guests compete to see who can bounce the longest or highest.
Budget Tip:
- Use jump ropes or trampolines you already own.
- Borrow equipment if possible.
- Use a stopwatch app for timing.
Food & Drinks
26. Hunny Jar Cupcakes
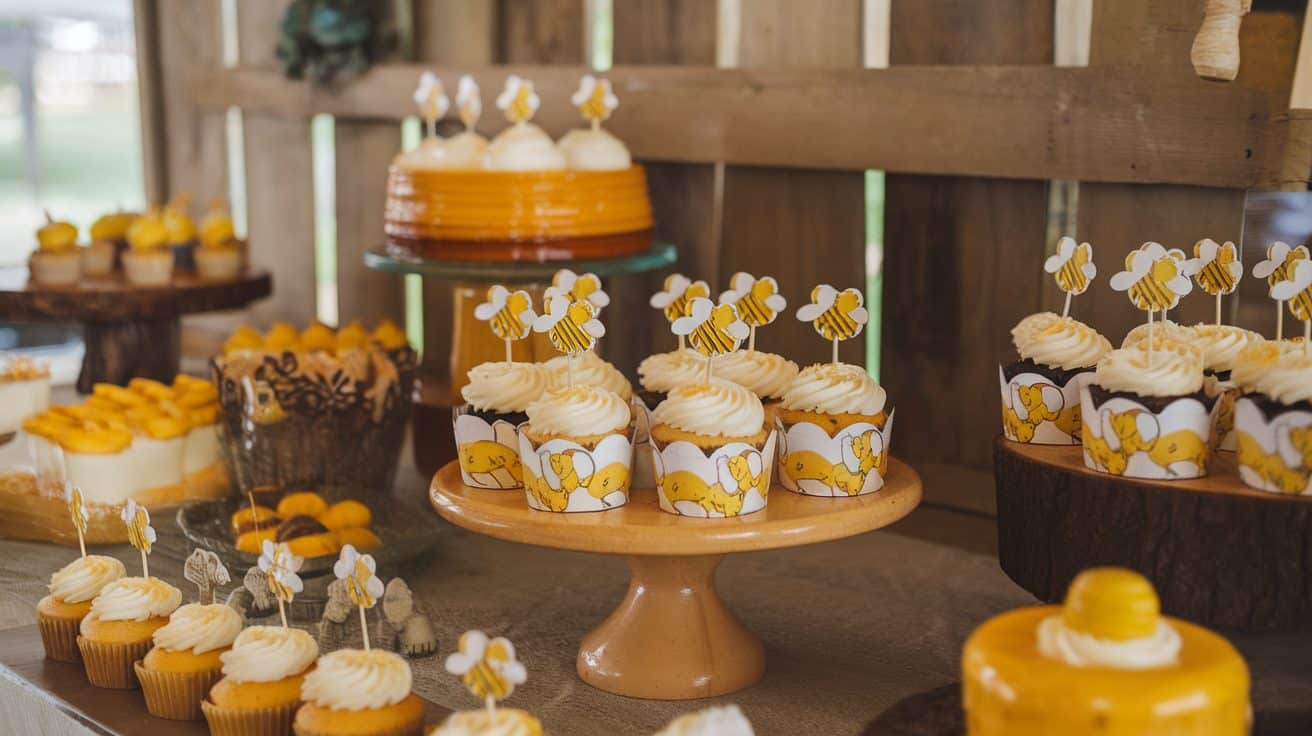
Bake cupcakes with honey drizzle on top, decorated with small bee toppers or Pooh character picks. These sweet treats are easy to make and a hit with guests.
Budget Tip:
- Bake cupcakes at home with basic ingredients.
- Use printable toppers instead of store-bought.
- Buy honey in bulk for savings.
27. Beehive Cake
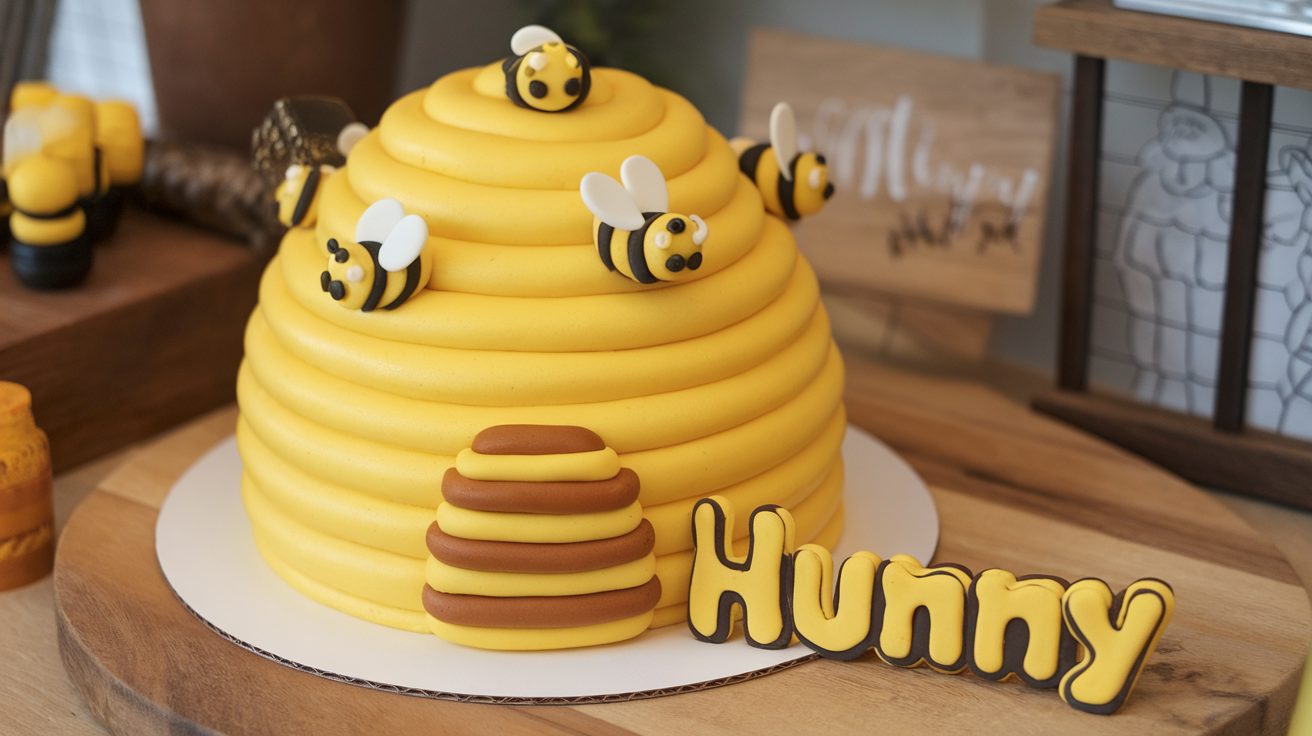
A beehive-shaped cake with honey-colored frosting and fondant bees is a stunning dessert. It serves as a centerpiece and a delicious treat.
Budget Tip:
- Use a bundt pan for the beehive shape.
- Decorate with simple icing instead of fondant.
- Bake at home to save money.
28. Piglet’s Pink Lemonade
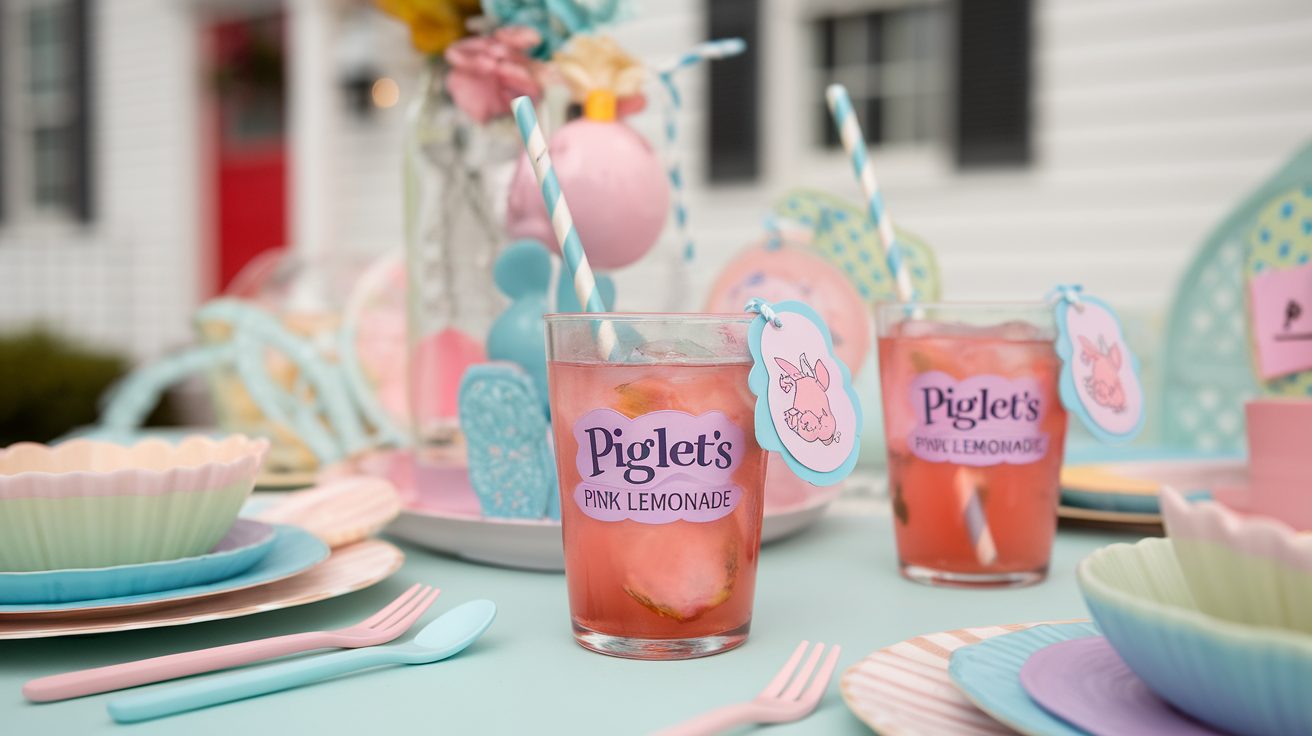
Serve pink lemonade in clear cups with Piglet-themed straws or tags. This refreshing drink adds a pop of color and a nod to Piglet’s charm.
Budget Tip:
- Make lemonade from concentrate.
- DIY straw tags with printed Piglet images.
- Use cups from discount stores.
29. Tigger’s Striped Macarons
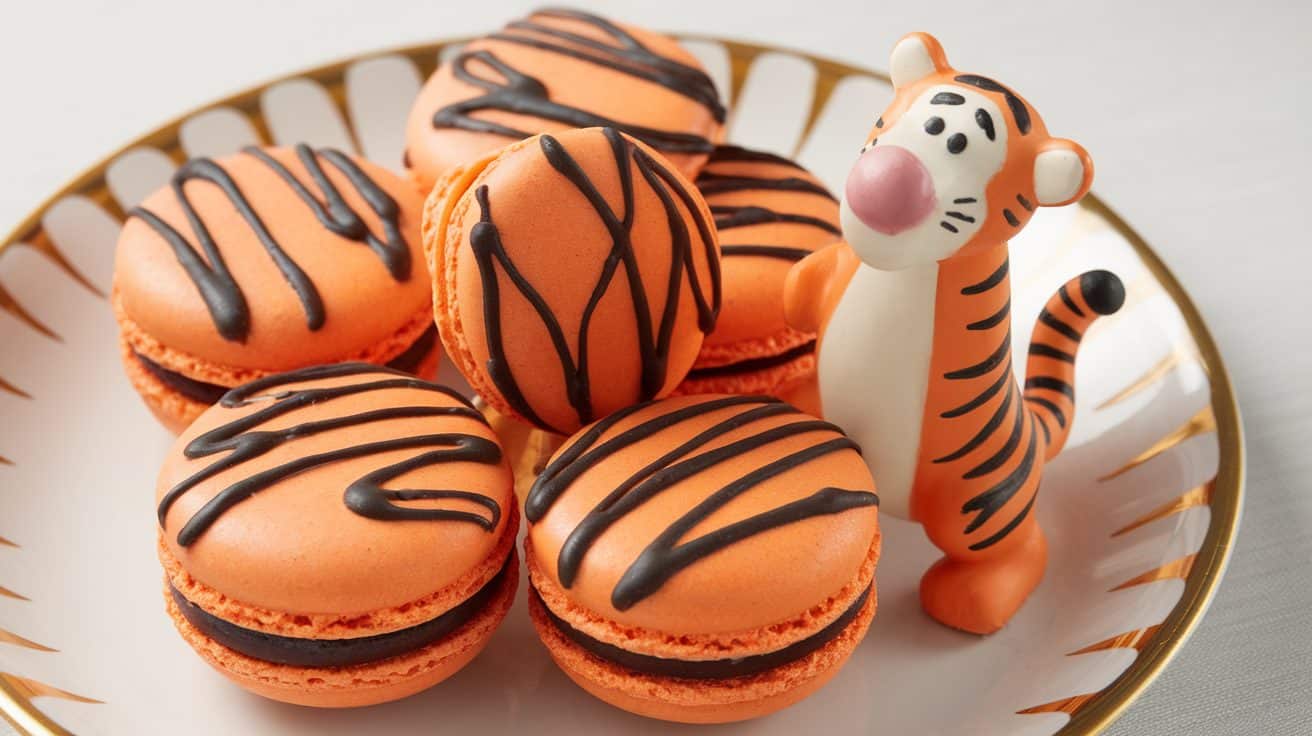
Macarons decorated with orange and black stripes to resemble Tigger’s playful pattern. They’re fun, flavorful, and fit the theme perfectly.
Budget Tip:
- Make sugar cookies with striped icing instead.
- Buy macarons in bulk and decorate at home.
- Use food coloring for stripes.
30. Pooh’s Pudding Jars
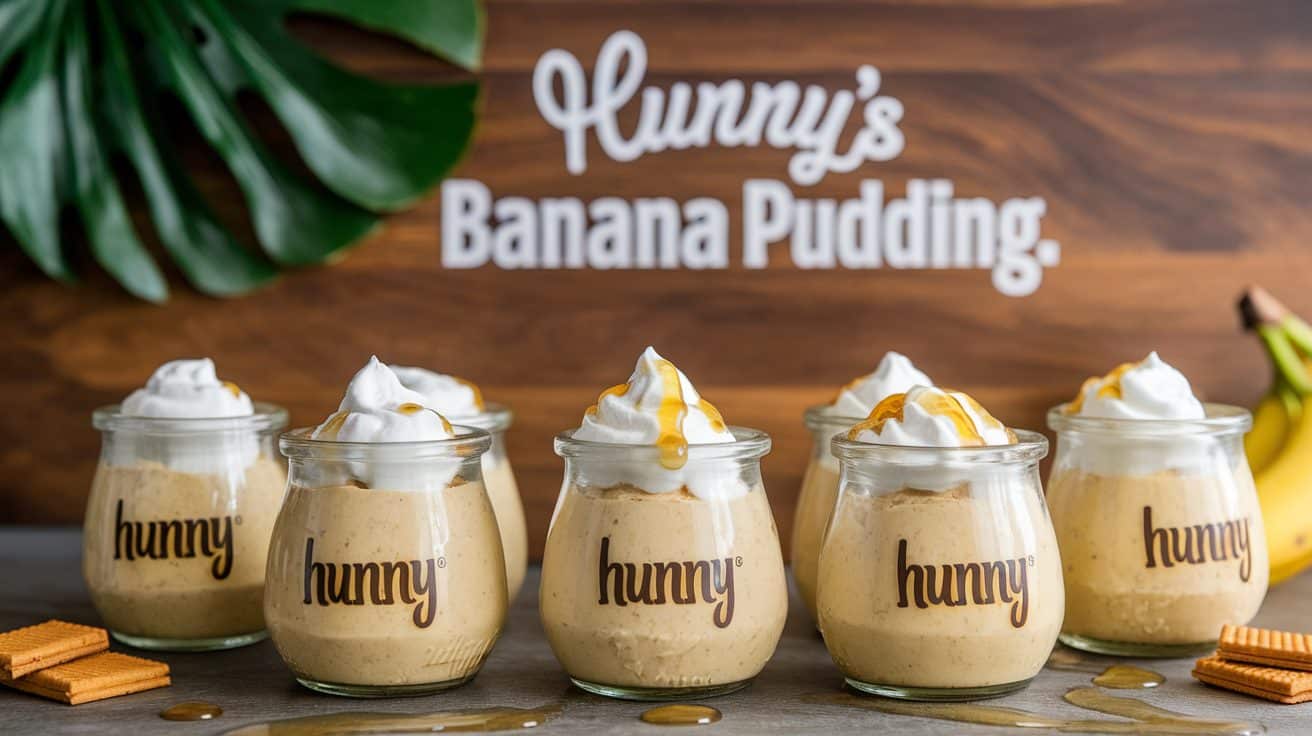
Individual jars filled with banana pudding labeled ‘Hunny.’ Add a dollop of whipped cream and a honey drizzle for extra sweetness.
Budget Tip:
- Reuse small jars from home.
- Make pudding from instant mix.
- Print labels yourself.
31. Eeyore’s Blueberry Muffins
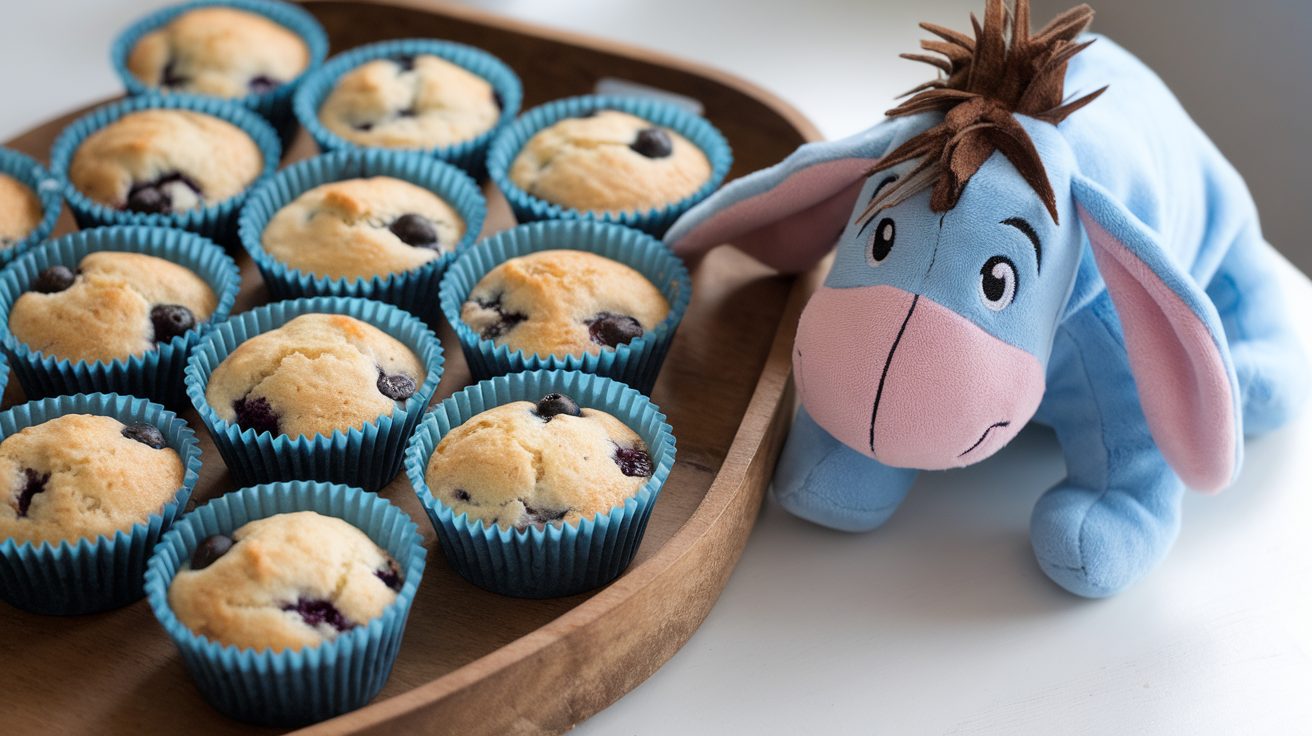
Blueberry muffins inspired by Eeyore’s blue-gray color palette. Serve in blue liners for an extra touch. Add a small Eeyore image or quote next to the serving tray.
Budget Tip:
- Bake muffins from a mix or scratch for cost savings.
- Use plain liners and color them with markers or stamps.
- Buy blueberries in bulk when on sale for better value.
32. Rabbit’s Garden Veggie Platter
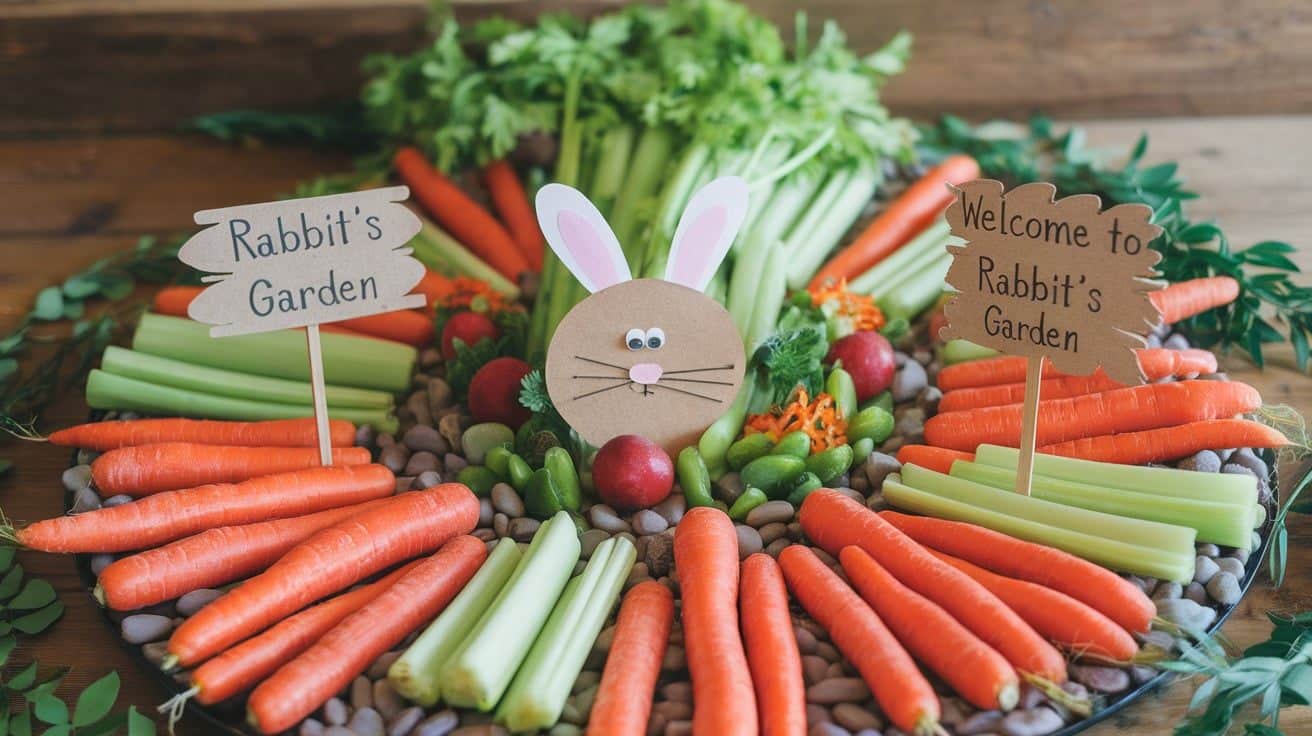
Arrange a veggie platter to resemble Rabbit’s garden with carrots, celery, and other fresh produce. Add small signs like ‘Rabbit’s Garden’ made from craft paper or sticks. This healthy snack adds color and freshness to the table.
Budget Tip:
- Use seasonal vegetables from local markets for lower costs.
- Make garden signs from recycled craft paper or cardboard.
- Buy veggies in bulk and prep them yourself.
33. Hundred Acre Wood Punch
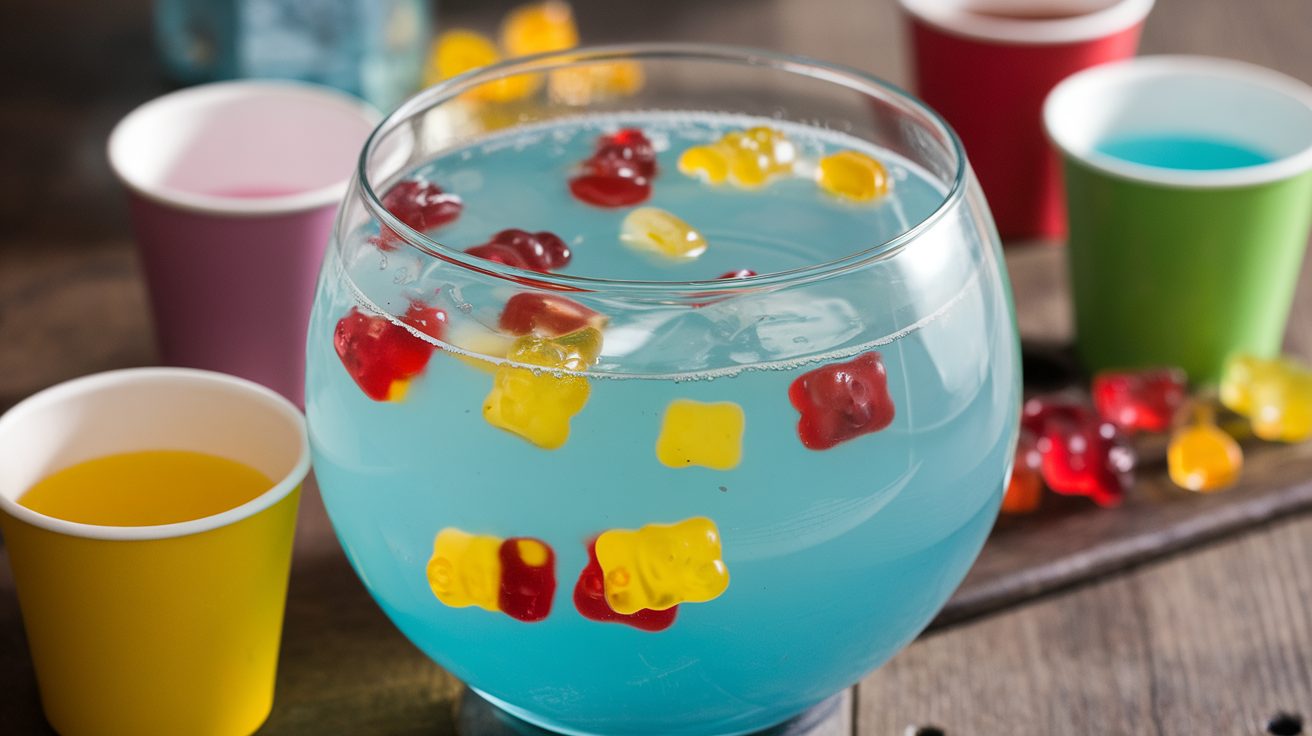
Serve a fruit punch with floating gummy bears to represent Pooh and friends. Use a large bowl labeled ‘Hundred Acre Wood Punch’ for added fun. This drink is colorful, refreshing, and perfect for both kids and adults.
Budget Tip:
- Use store-brand juice mixes for affordability.
- Add frozen fruit instead of expensive garnishes.
- Buy gummies in bulk to save money.
34. Kanga’s Roo-cakes (Mini Pancakes)
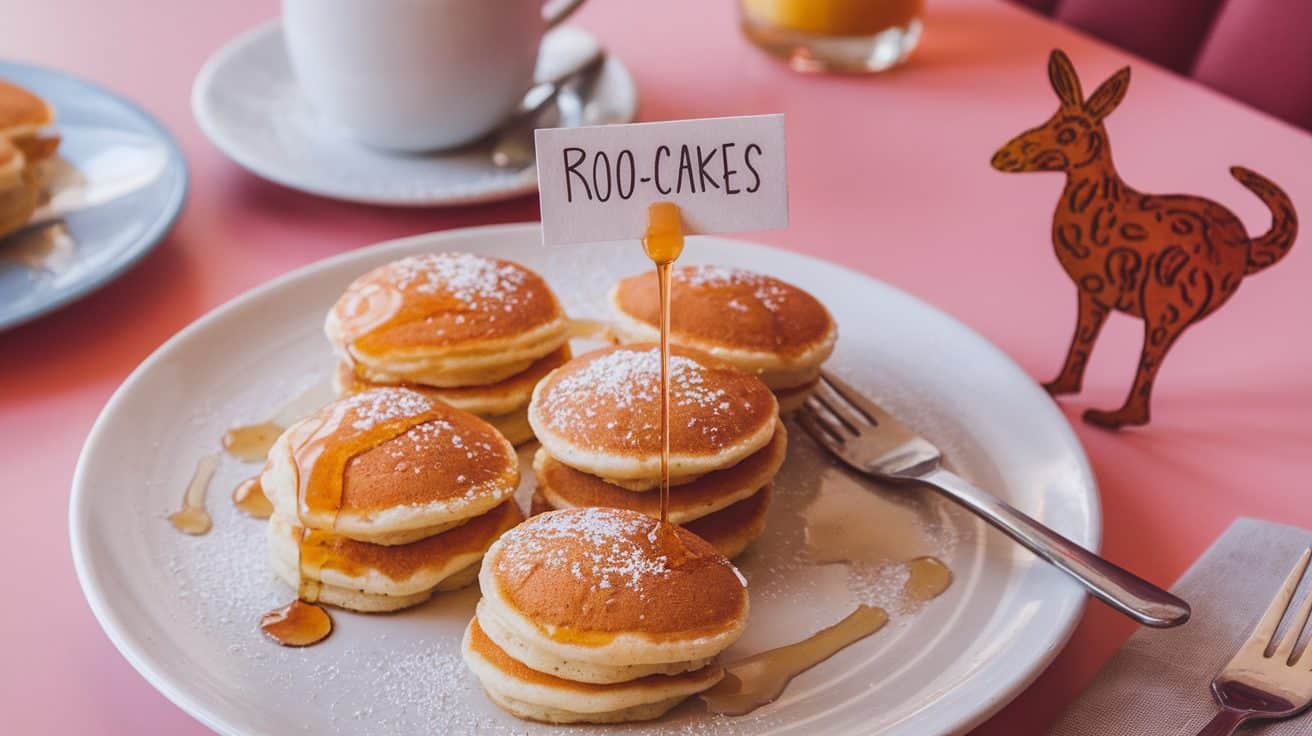
Mini pancakes drizzled with honey and syrup, served as ‘Roo-cakes.’ Stack them neatly and add a small sign with Roo’s face. These bite-sized pancakes make a sweet breakfast treat or snack.
Budget Tip:
- Make pancakes from scratch with simple ingredients.
- Use honey packets from bulk stores for serving.
- Serve on paper plates or reusable trays to cut costs.
35. Christopher Robin’s Tea Station
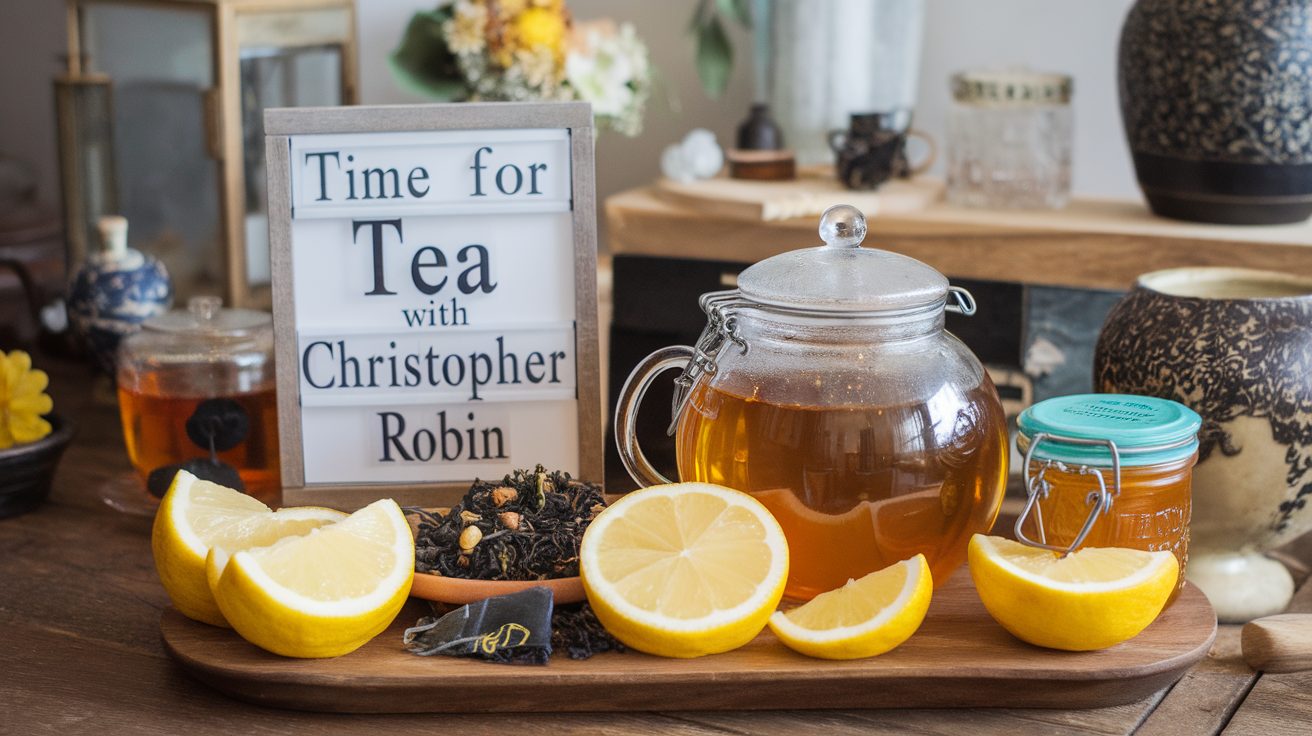
Create a tea station with various tea flavors, honey, and lemon slices. Decorate with a sign saying ‘Time for Tea with Christopher Robin.’ Add small jars of honey and cute cups for a cozy corner.
Budget Tip:
- Use tea bags you already have or buy in bulk.
- Reuse jars for honey and lemon slices from home.
- DIY labels using free templates.
Favors & Keepsakes
36. Mini Jars of Honey
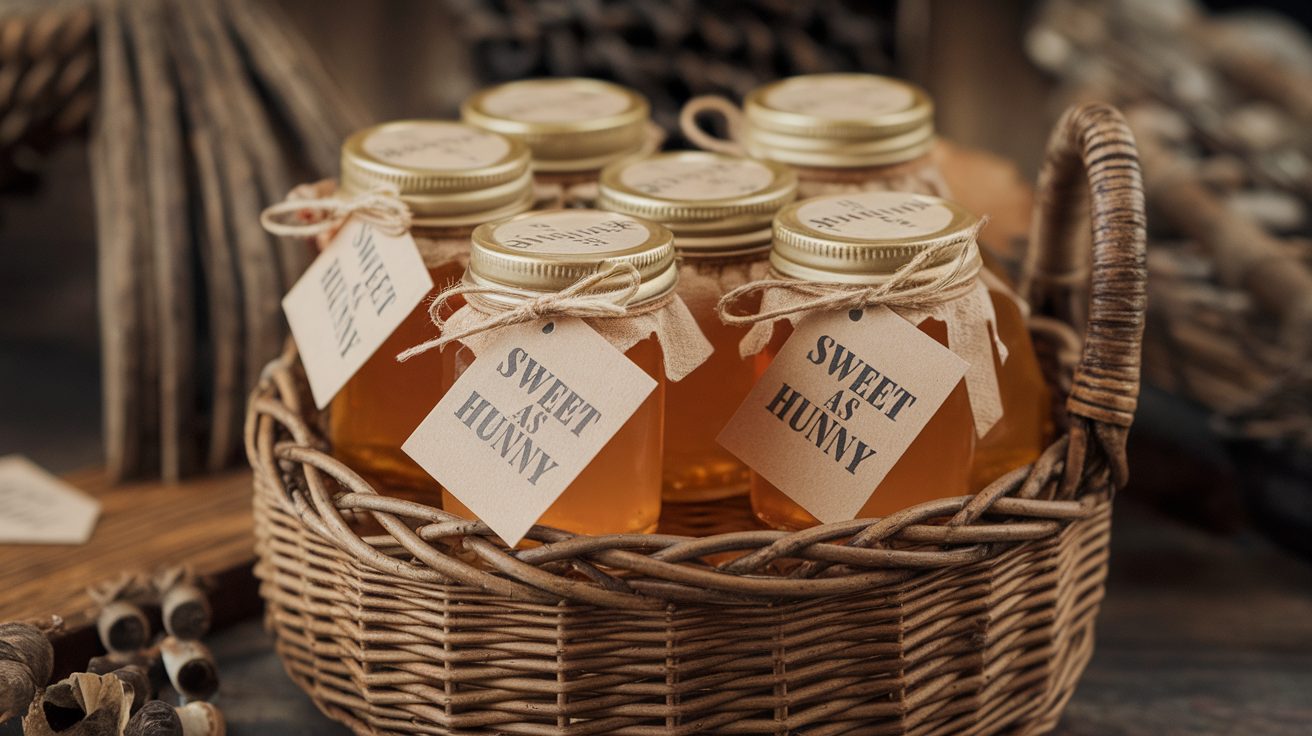
Fill mini jars with honey as party favors. Attach tags saying ‘Sweet as Hunny’ with ribbons or twine. This charming takeaway fits the theme perfectly and is practical for guests.
Budget Tip:
- Buy honey in bulk and fill recycled jars yourself.
- Use leftover ribbons or twine from past projects.
- Print tags at home with free designs.
37. Bee-Shaped Soaps
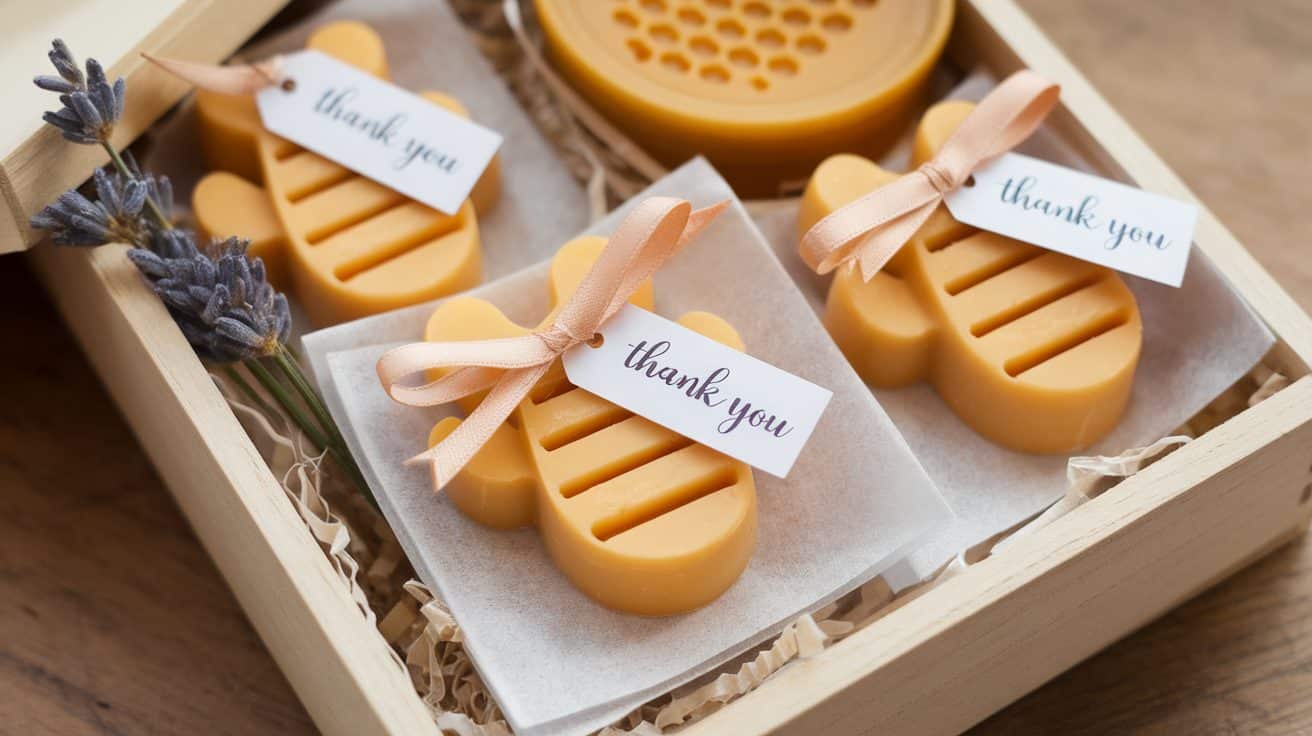
Give honey-scented bee-shaped soaps as favors. Wrap them in clear bags tied with a small tag. These fragrant soaps are adorable, useful, and easy to make.
Budget Tip:
- Make soaps at home using DIY kits.
- Use bee molds from dollar stores.
- Wrap with tissue paper or recycled materials.
38. Pooh Bear Cookie Bags
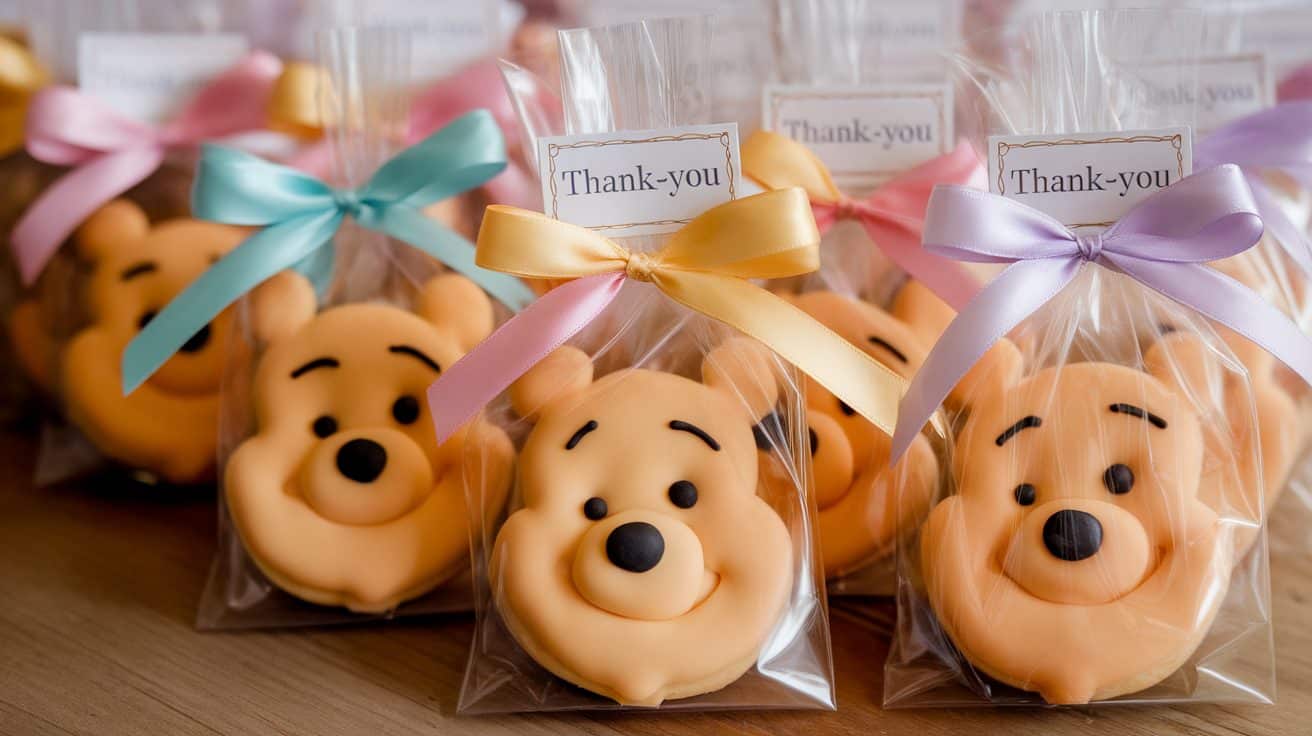
Send guests home with cookies shaped like Pooh Bear in clear bags tied with ribbons. Add a small thank-you note to each bag for a personalized touch.
Budget Tip:
- Use cookie cutters you already have.
- Bake cookies from a mix or scratch.
- Buy clear bags in bulk from discount stores.
39. Winnie the Pooh Candles
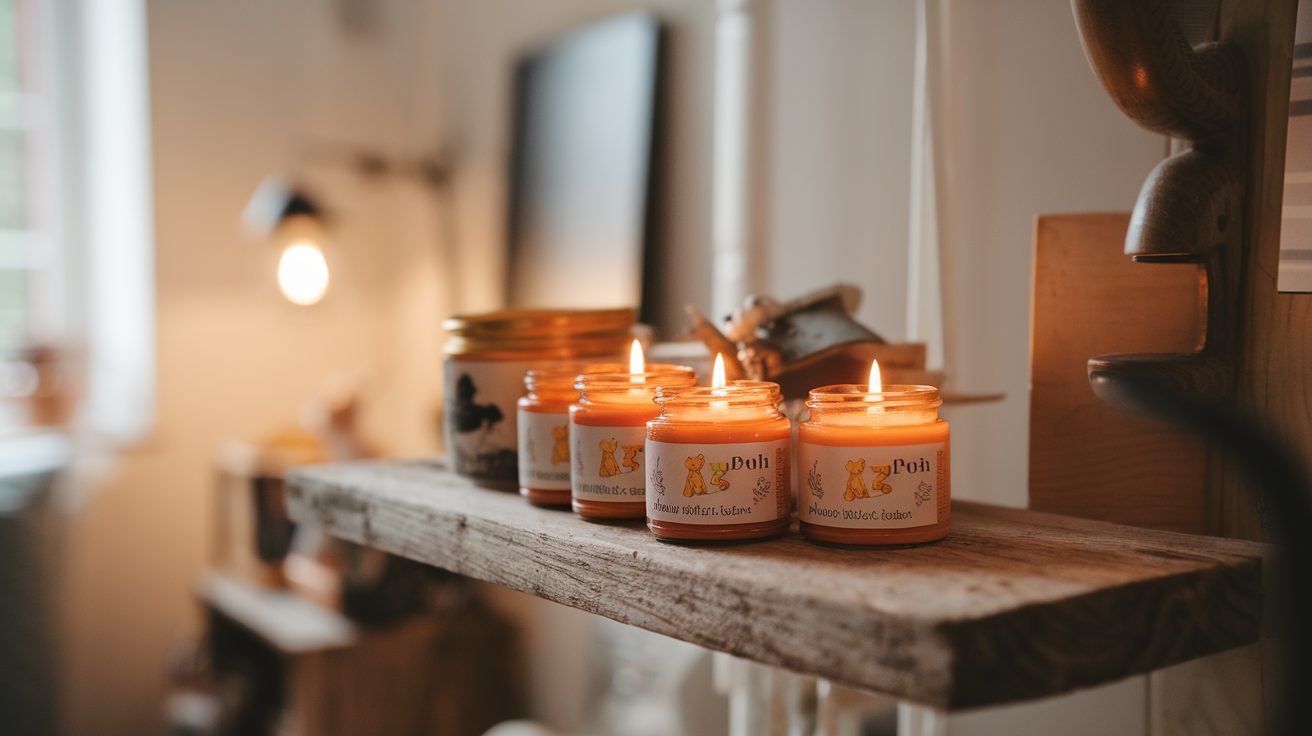
Small honey-scented candles in jars with Pooh-themed labels make charming favors. Decorate the jars with Pooh images or quotes for added charm.
Budget Tip:
- Buy plain candles in bulk and add DIY labels.
- Reuse small jars for a budget-friendly option.
- Print labels using free online templates.
40. Pooh & Friends Bookmarks
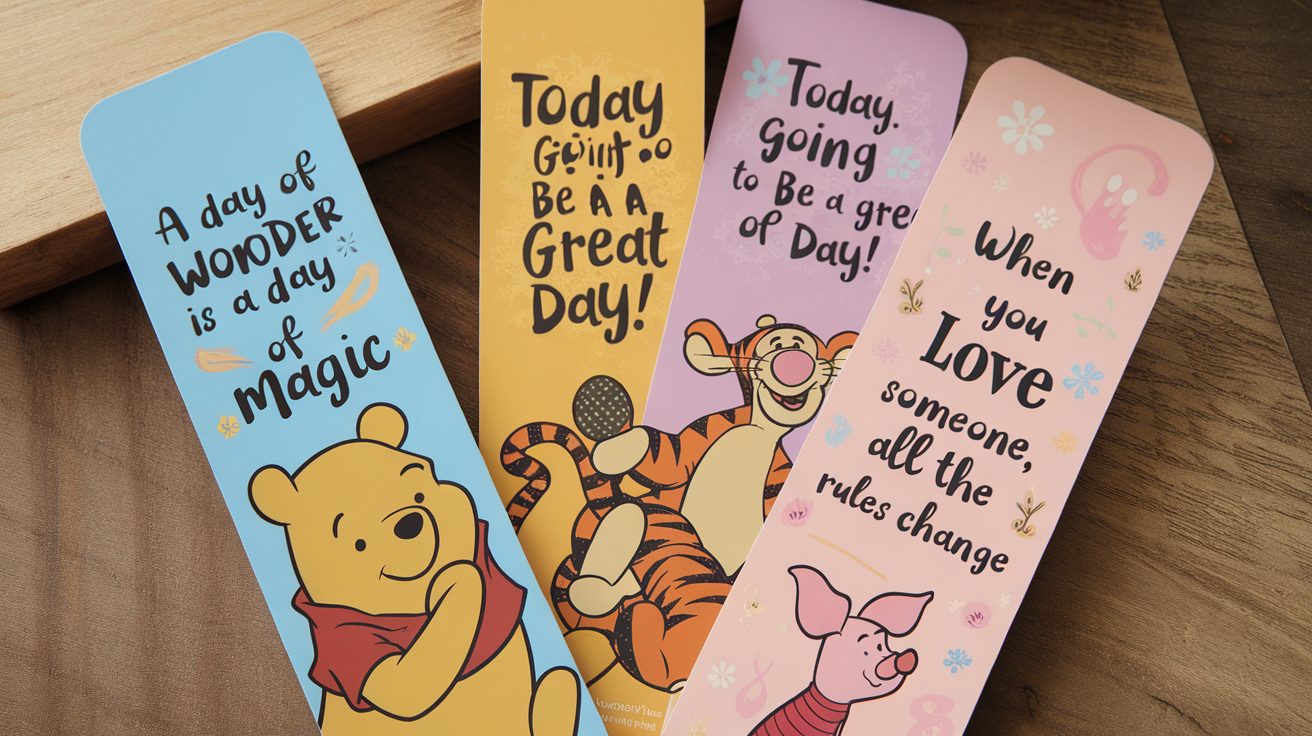
Create bookmarks featuring Pooh and friends with cute quotes. Laminate them for durability and hand them out as keepsakes.
Budget Tip:
- Print bookmarks at home on sturdy paper.
- Use cardstock from old projects or recycled paper.
- Laminate with clear tape instead of buying laminating sheets.
41. DIY Honey Lip Balm Kits
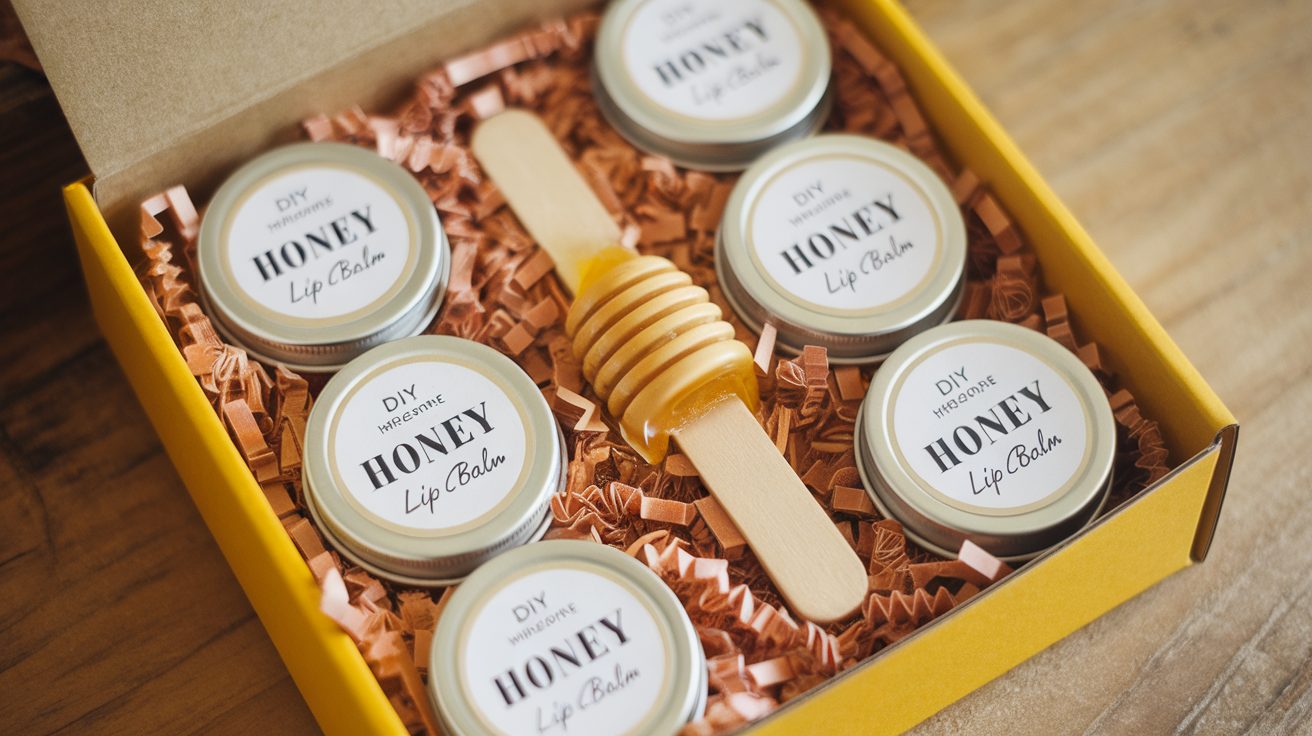
Prepare small honey lip balm kits with tins, ingredients, and labels for guests to take home. Include instructions for a personal touch.
Budget Tip:
- Buy DIY lip balm kits in bulk.
- Use bulk ingredients for cost savings.
- Make labels at home using free design tools.
42. Custom Pooh Bear Tote Bags
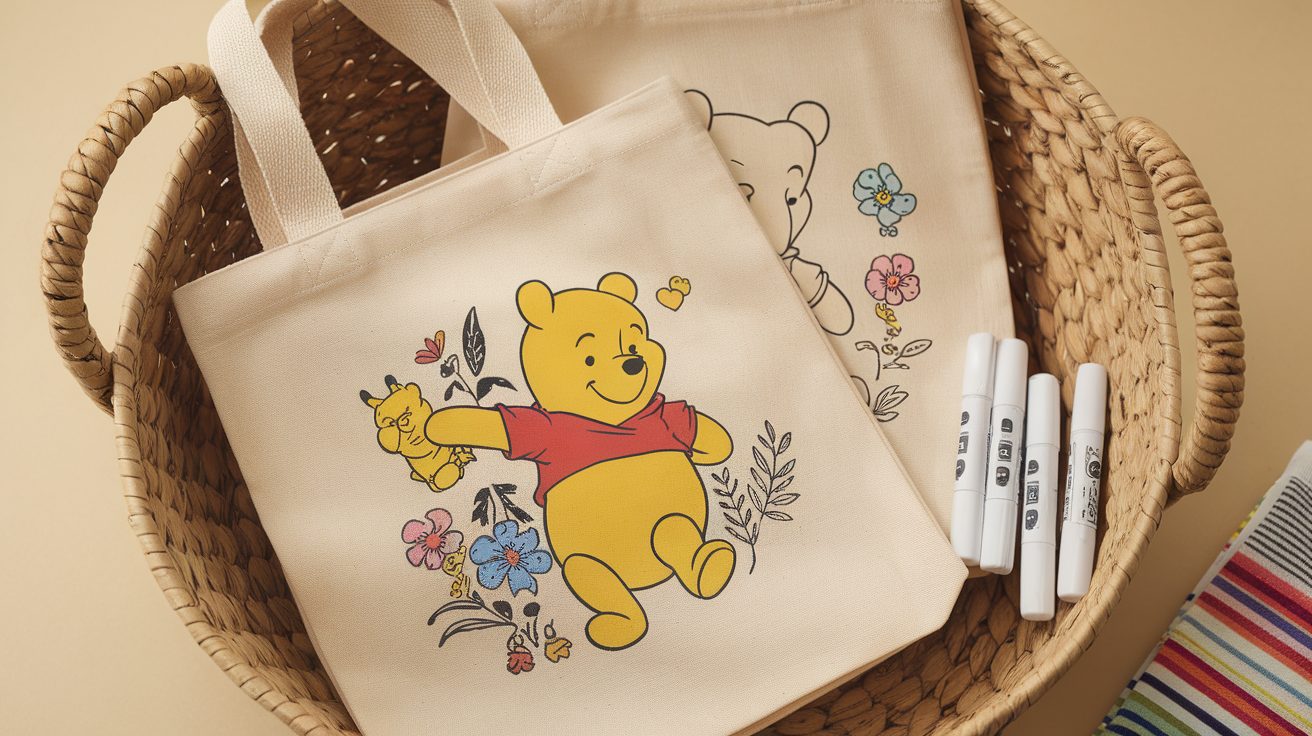
Hand out reusable tote bags with Pooh designs. They’re perfect for carrying gifts and are useful after the party too.
Budget Tip:
- Buy plain tote bags and add iron-on designs.
- Use fabric markers for hand-drawn details.
- Purchase in bulk from online stores.
43. Baby Shower Photo Booth Prints
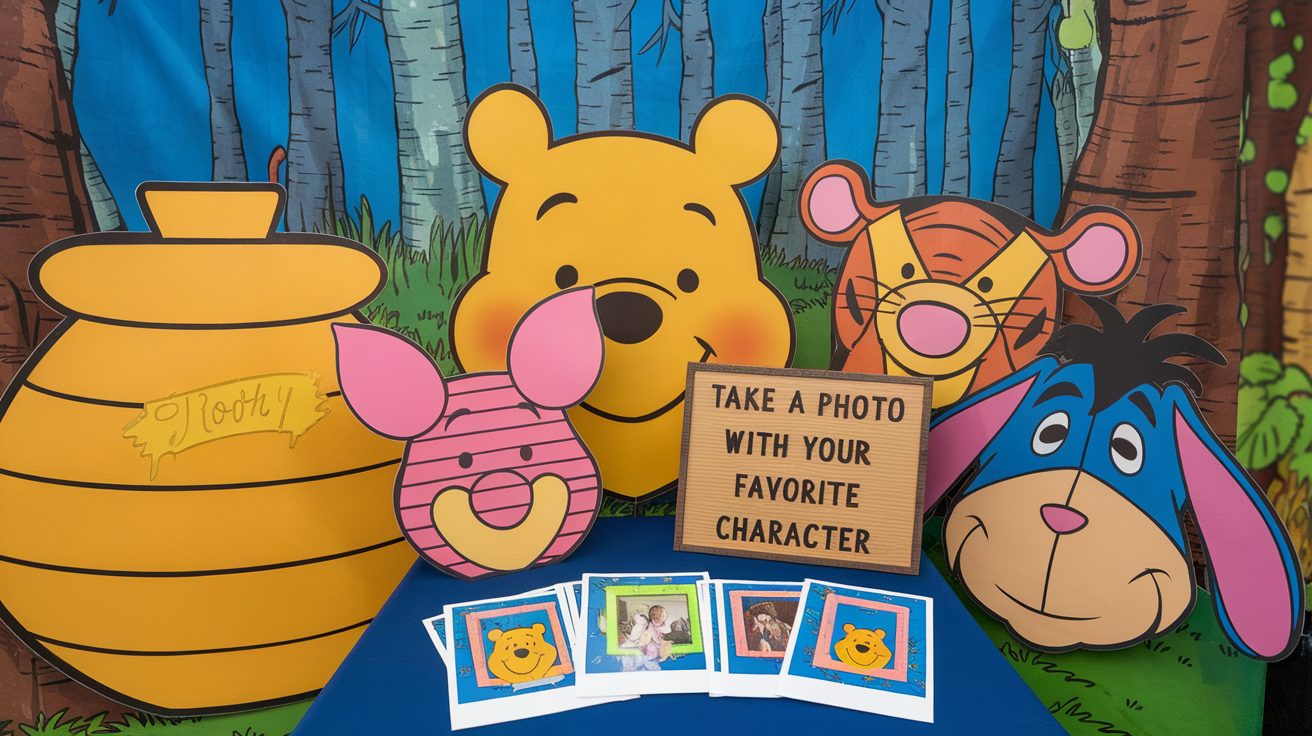
Set up a Pooh-themed photo booth with paper props and print instant photos for guests. Add Pooh frames or borders for a cute touch.
Budget Tip:
- Use a phone camera and portable printer.
- Make props from colored paper and sticks.
- Print photos in bulk to save ink.
A Sweet Ending to Our Tale
Like Pooh’s stories, a baby shower brings friends together and makes sweet memories. A Winnie the Pooh theme brings the perfect mix of childhood magic and heartfelt moments to welcome a little one.
Best part? This theme works like magic without breaking the bank. Any space can turn into the Hundred Acre Wood with some creativity and love.
Ready to start your own Pooh-themed celebration?
Save this guide to help you plan! And if you try any of these ideas, tag us in your photos – we’d love to see how you bring the magic of the Hundred Acre Wood to life.
After all, as Pooh says, “A day with friends is a day well spent!”