A Christmas cactus is one of those plants that feels like a little piece of magic in the home. It blooms right when the world outside turns cold and quiet.
Those bright winter flowers bring warmth to any room. Many people love this plant but feel unsure about how to care for it.
The good news is that it is simple once you know what it needs. A Christmas cactus is not like desert cacti.
It enjoys moisture, soft light, and gentle treatment. With the right care, it can live for decades and bloom every holiday season.
This guide explains everything in a clear, easy way so anyone can help their Christmas cactus grow, stay healthy, and produce beautiful flowers year after year.
What Is a Christmas Cactus?
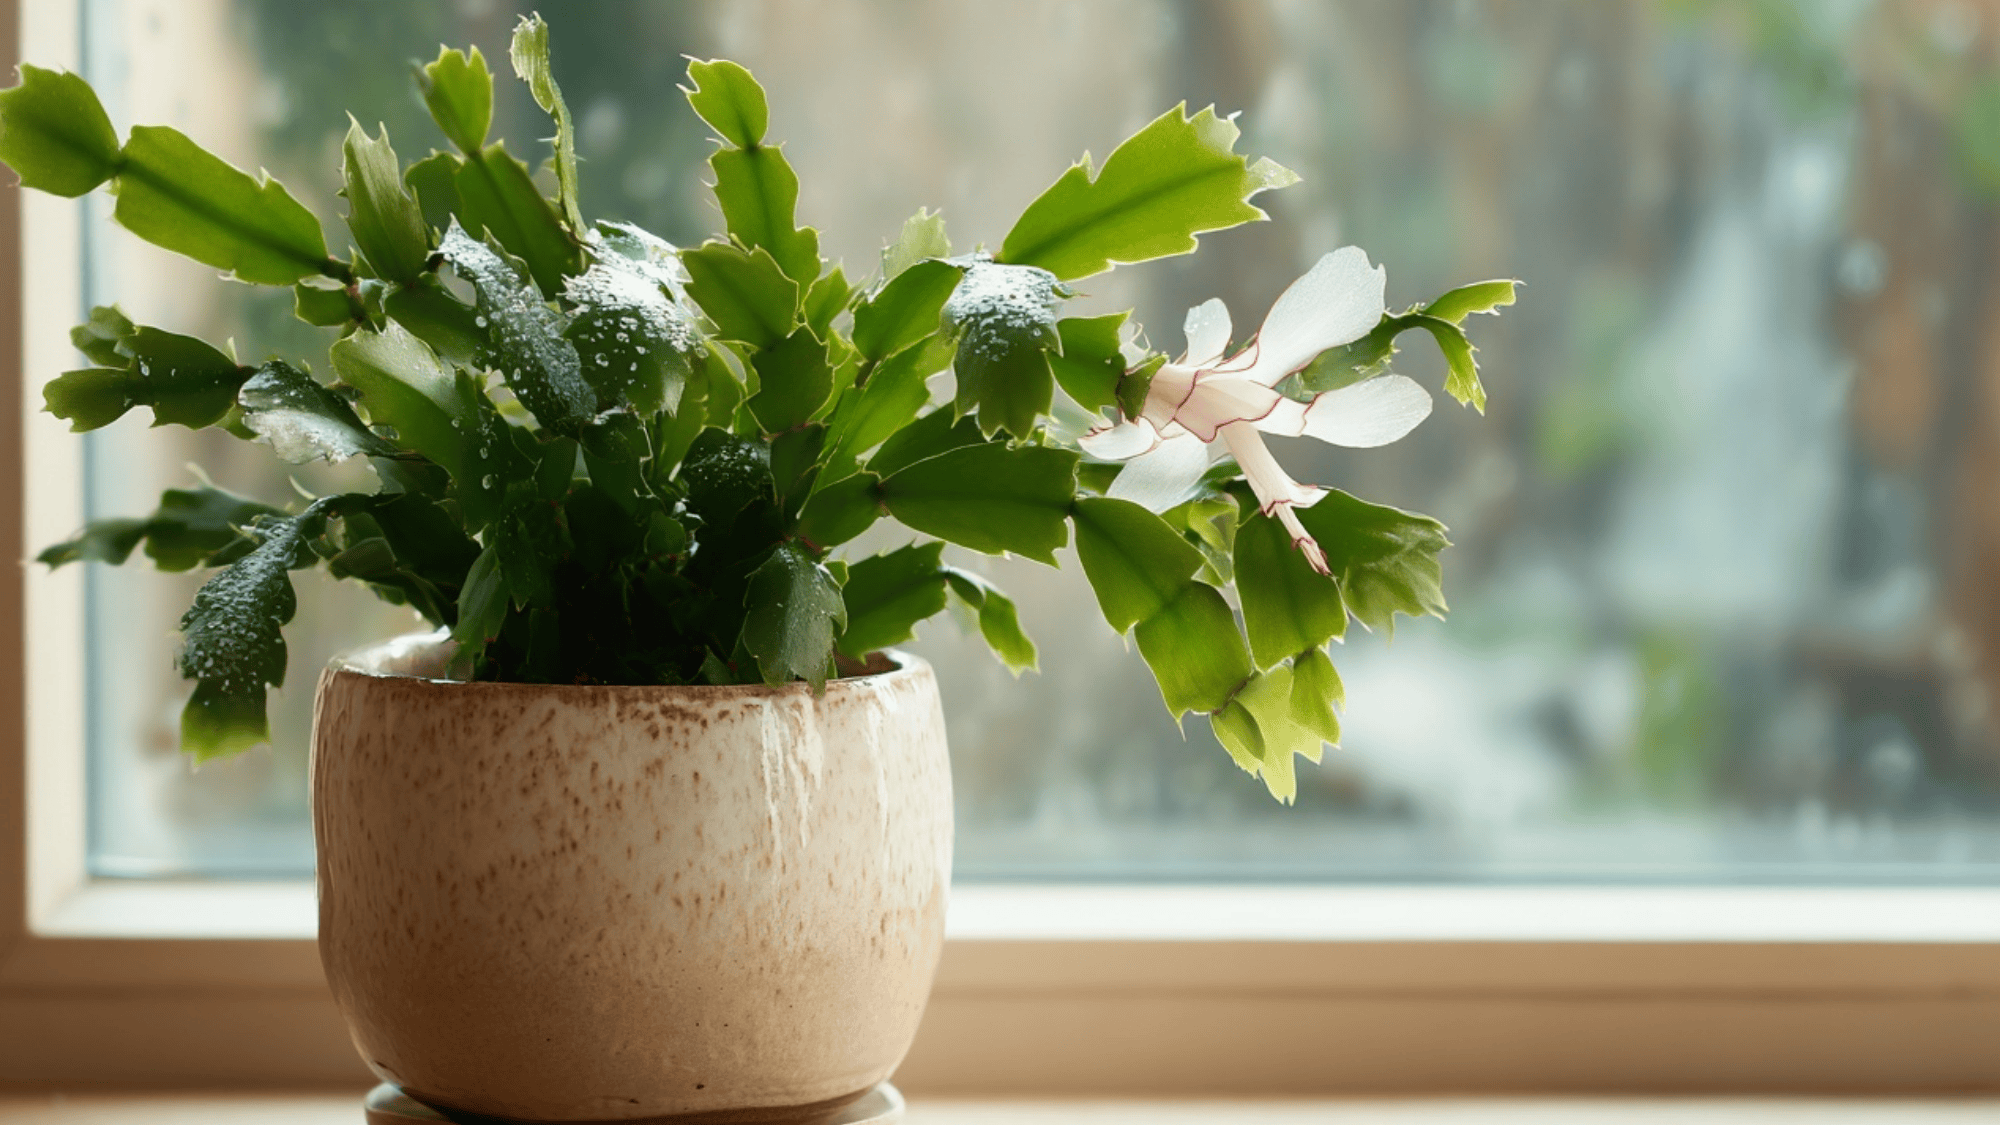
A Christmas cactus is a tropical, forest-dwelling cactus. It grows naturally in the shade of trees’ branches.
It has flat, segmented stems instead of sharp spines. These stems are smooth and bright green.
The plant produces beautiful tubular flowers in winter. These appear in shades of red, pink, white, or purple. It prefers indirect light, moderate warmth, and slightly moist soil.
Unlike desert cacti, it enjoys humidity and gentle care. With proper attention, it blooms every holiday season.
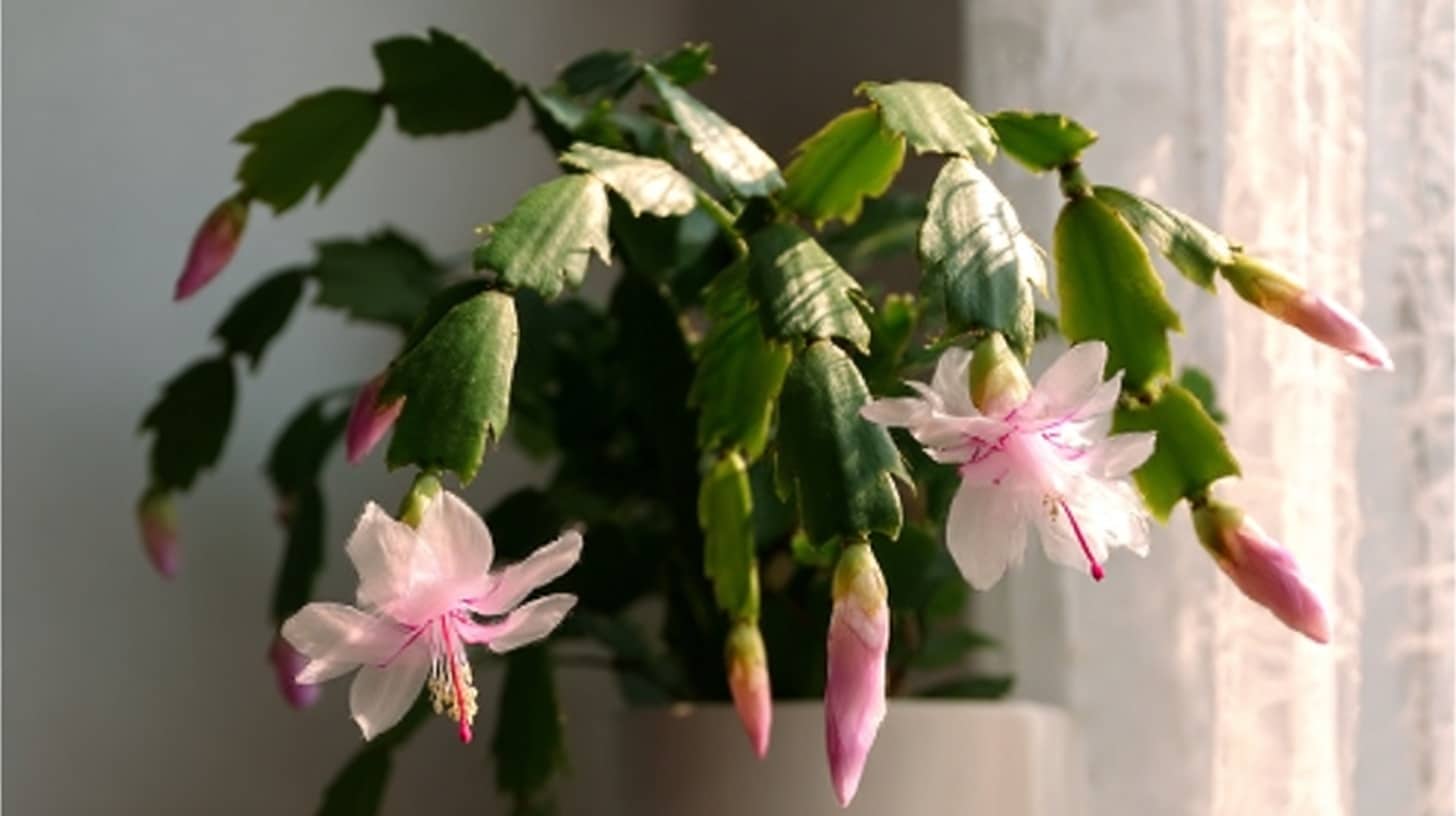
How to Identify a Christmas Cactus
Here’s how you can recognize a true Christmas cactus:
- It has smooth, rounded stem segments.
- Edges are scalloped, not pointed or jagged.
- Blossoms hang downward from the ends of stems.
- Flowers appear between late November and January.
- Colors range from red to pink, white, or purple.
Spotting these traits makes identification easy and accurate.
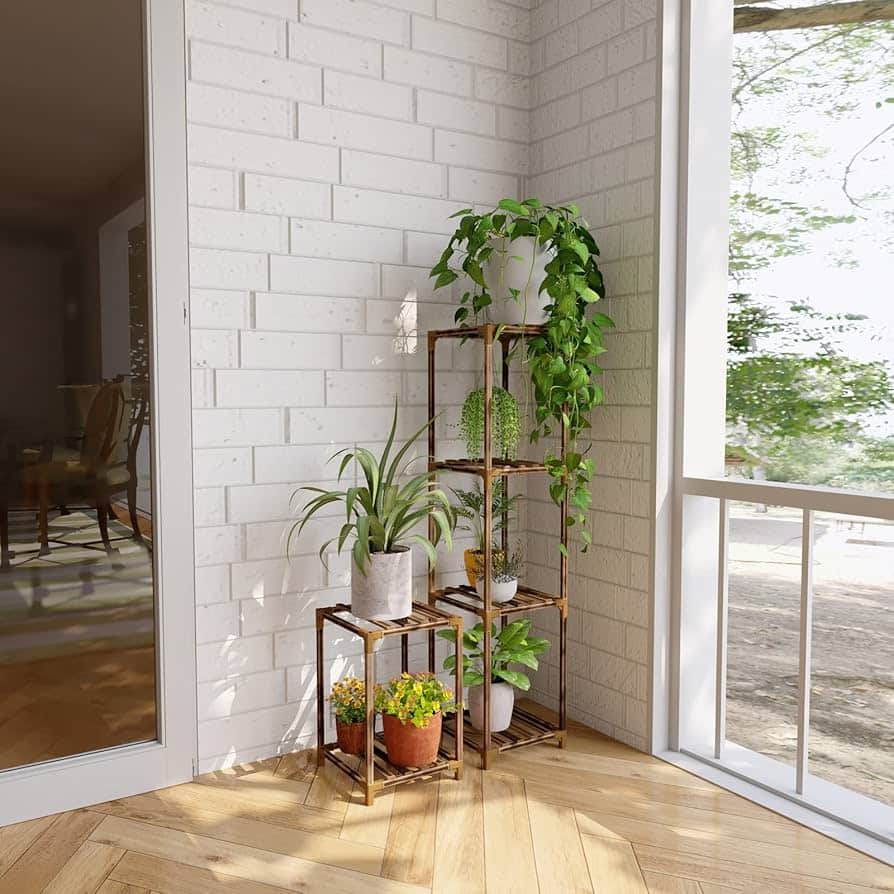
Light Requirements
A Christmas cactus prefers bright but indirect light. Direct midday sun can burn its segments. East-facing windows are ideal because they offer gentle morning light.
North-facing windows also work well. If the light is too strong, move the plant back from the window.
A sheer curtain also helps reduce harsh rays. Mimic its rainforest habitat by giving it dappled light.
This balance keeps the plant green, firm, and ready to bloom. Consistent light helps it maintain its natural rhythm.
Guide for Watering and Making the Flowers Bloom
Caring for your Christmas cactus during watering and blooming season requires gentle consistency. These steps help the plant stay strong, set buds, and produce bright flowers every year.
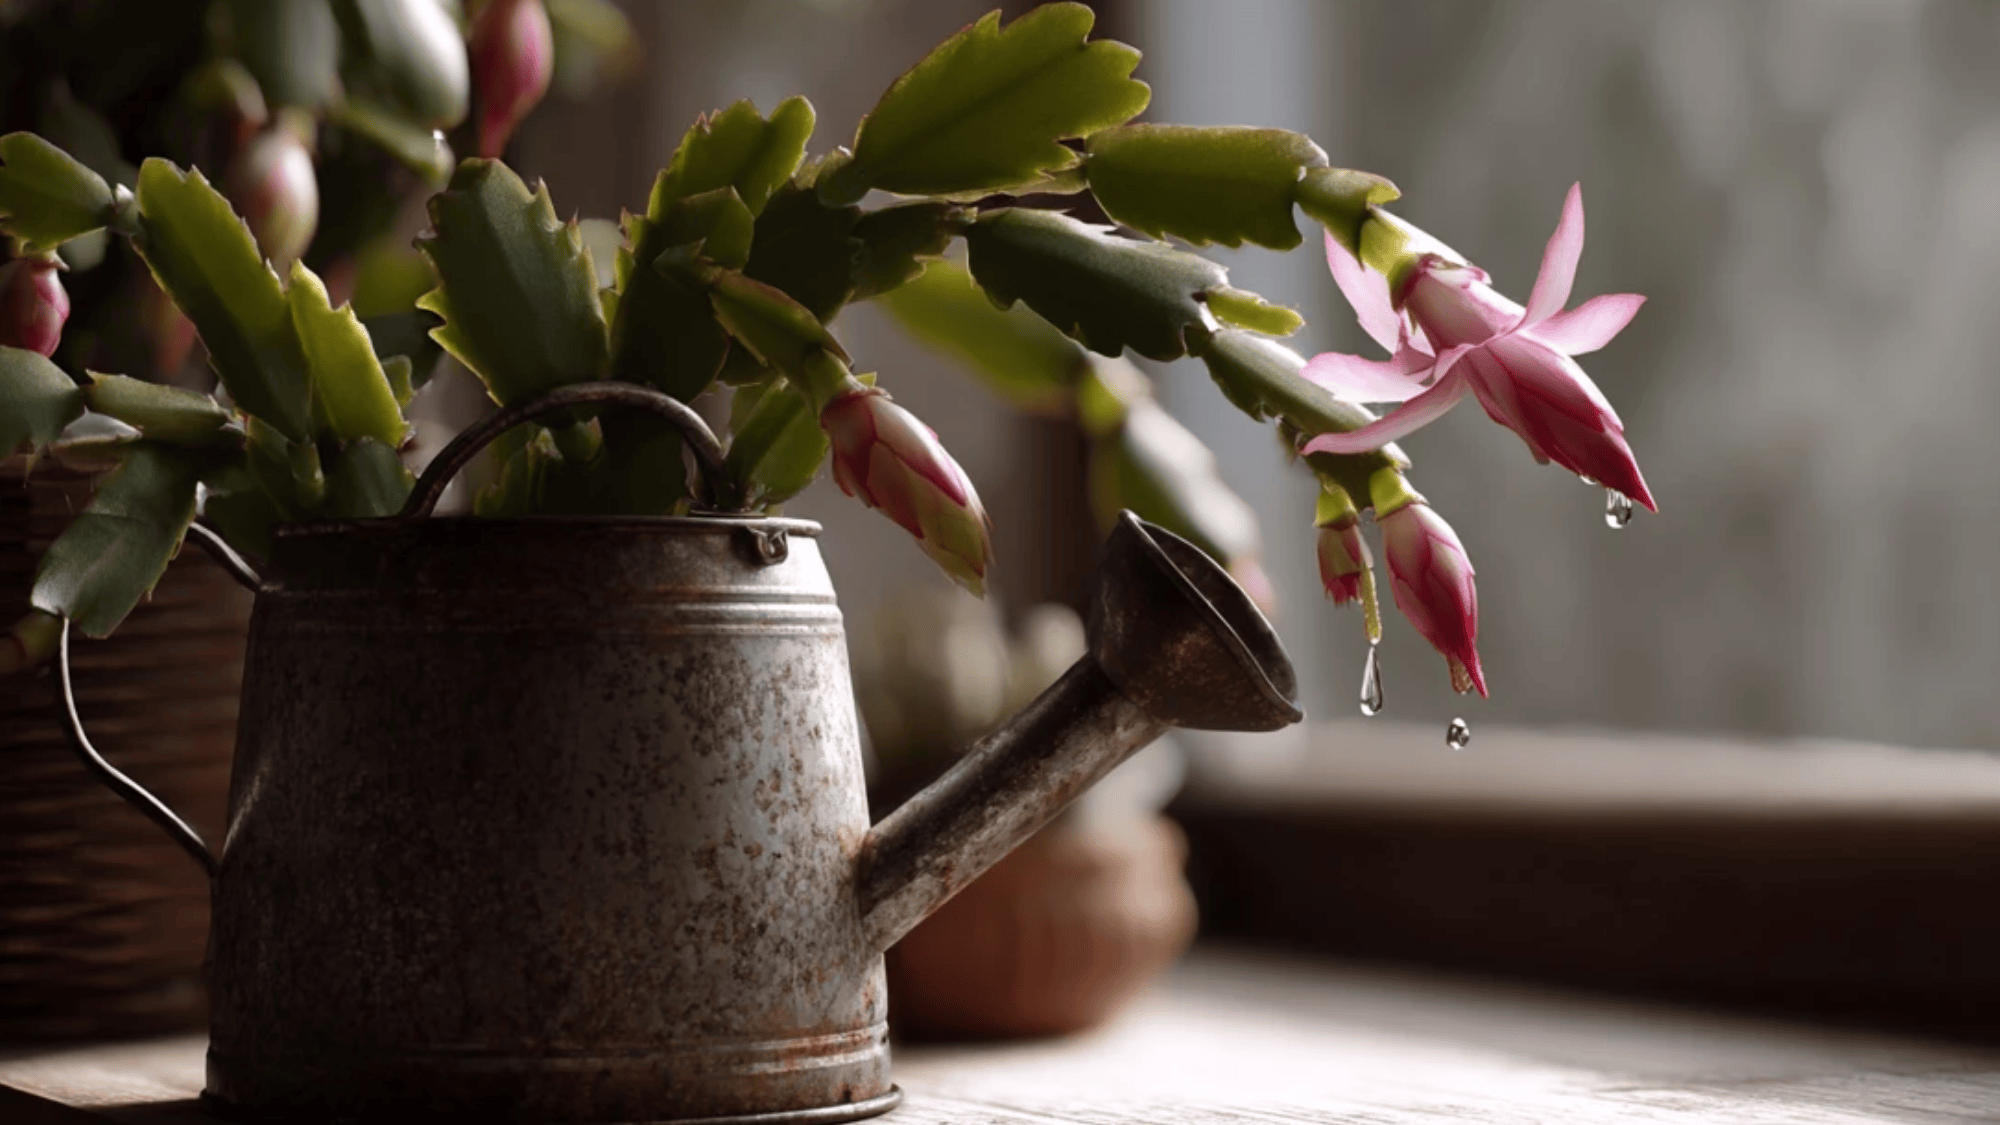
1. Water When the Top Inch Feels Dry
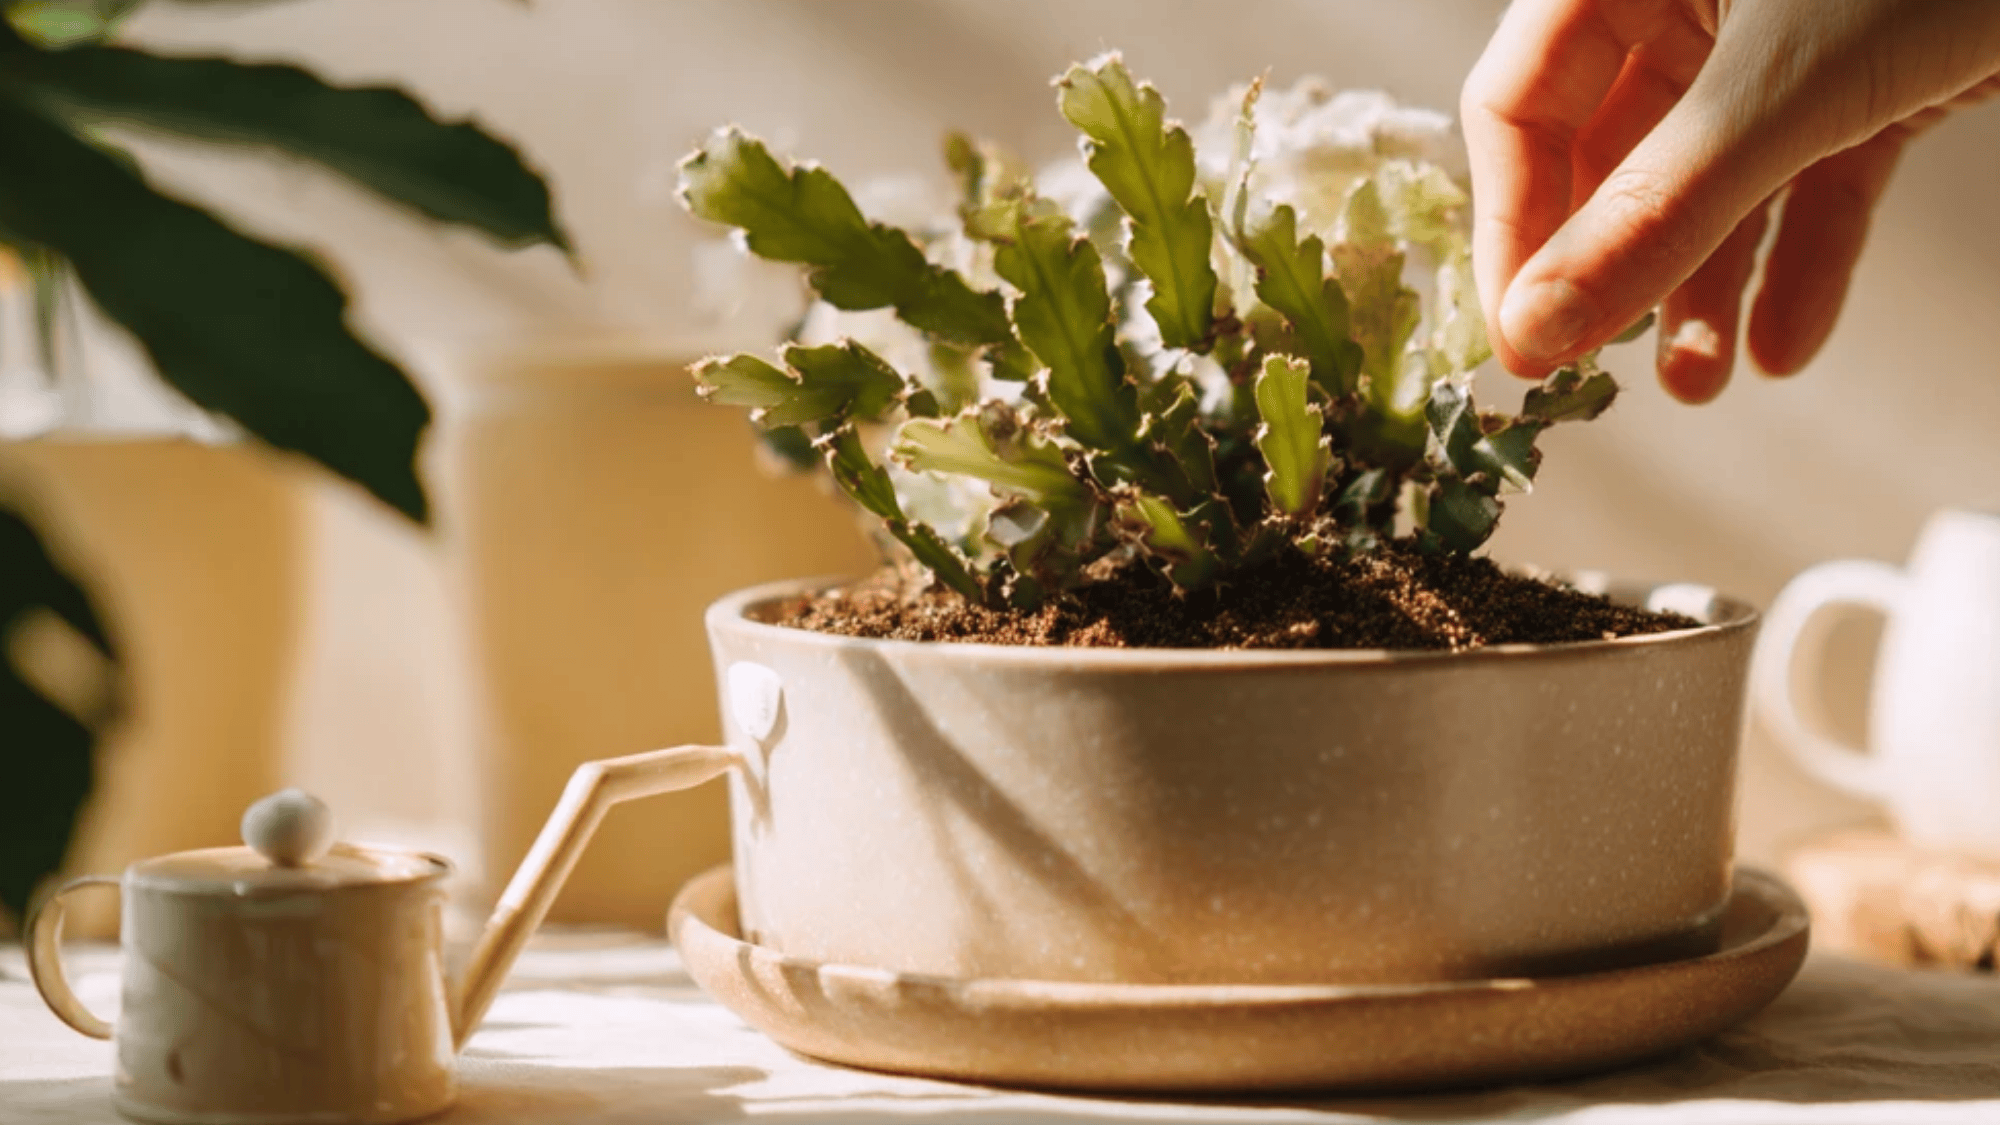
Water the plant only when the top inch of soil feels dry to the touch. This prevents root rot and keeps the plant stable. Always use room-temperature water and pour slowly.
Let all extra water drain out of the pot. Allowing the roots to breathe ensures steady growth and healthy bud production.
2. Keep the Soil Slightly Moist
Christmas cacti prefer soil that stays slightly moist but never soaked. Lightly damp soil supports even hydration without stressing the roots. Avoid wet, heavy mixes because they limit airflow.
A well-draining, airy soil blend helps maintain just enough moisture. This balance creates the ideal environment for bud development and blooming.
3. Increase Humidity Around the Plant
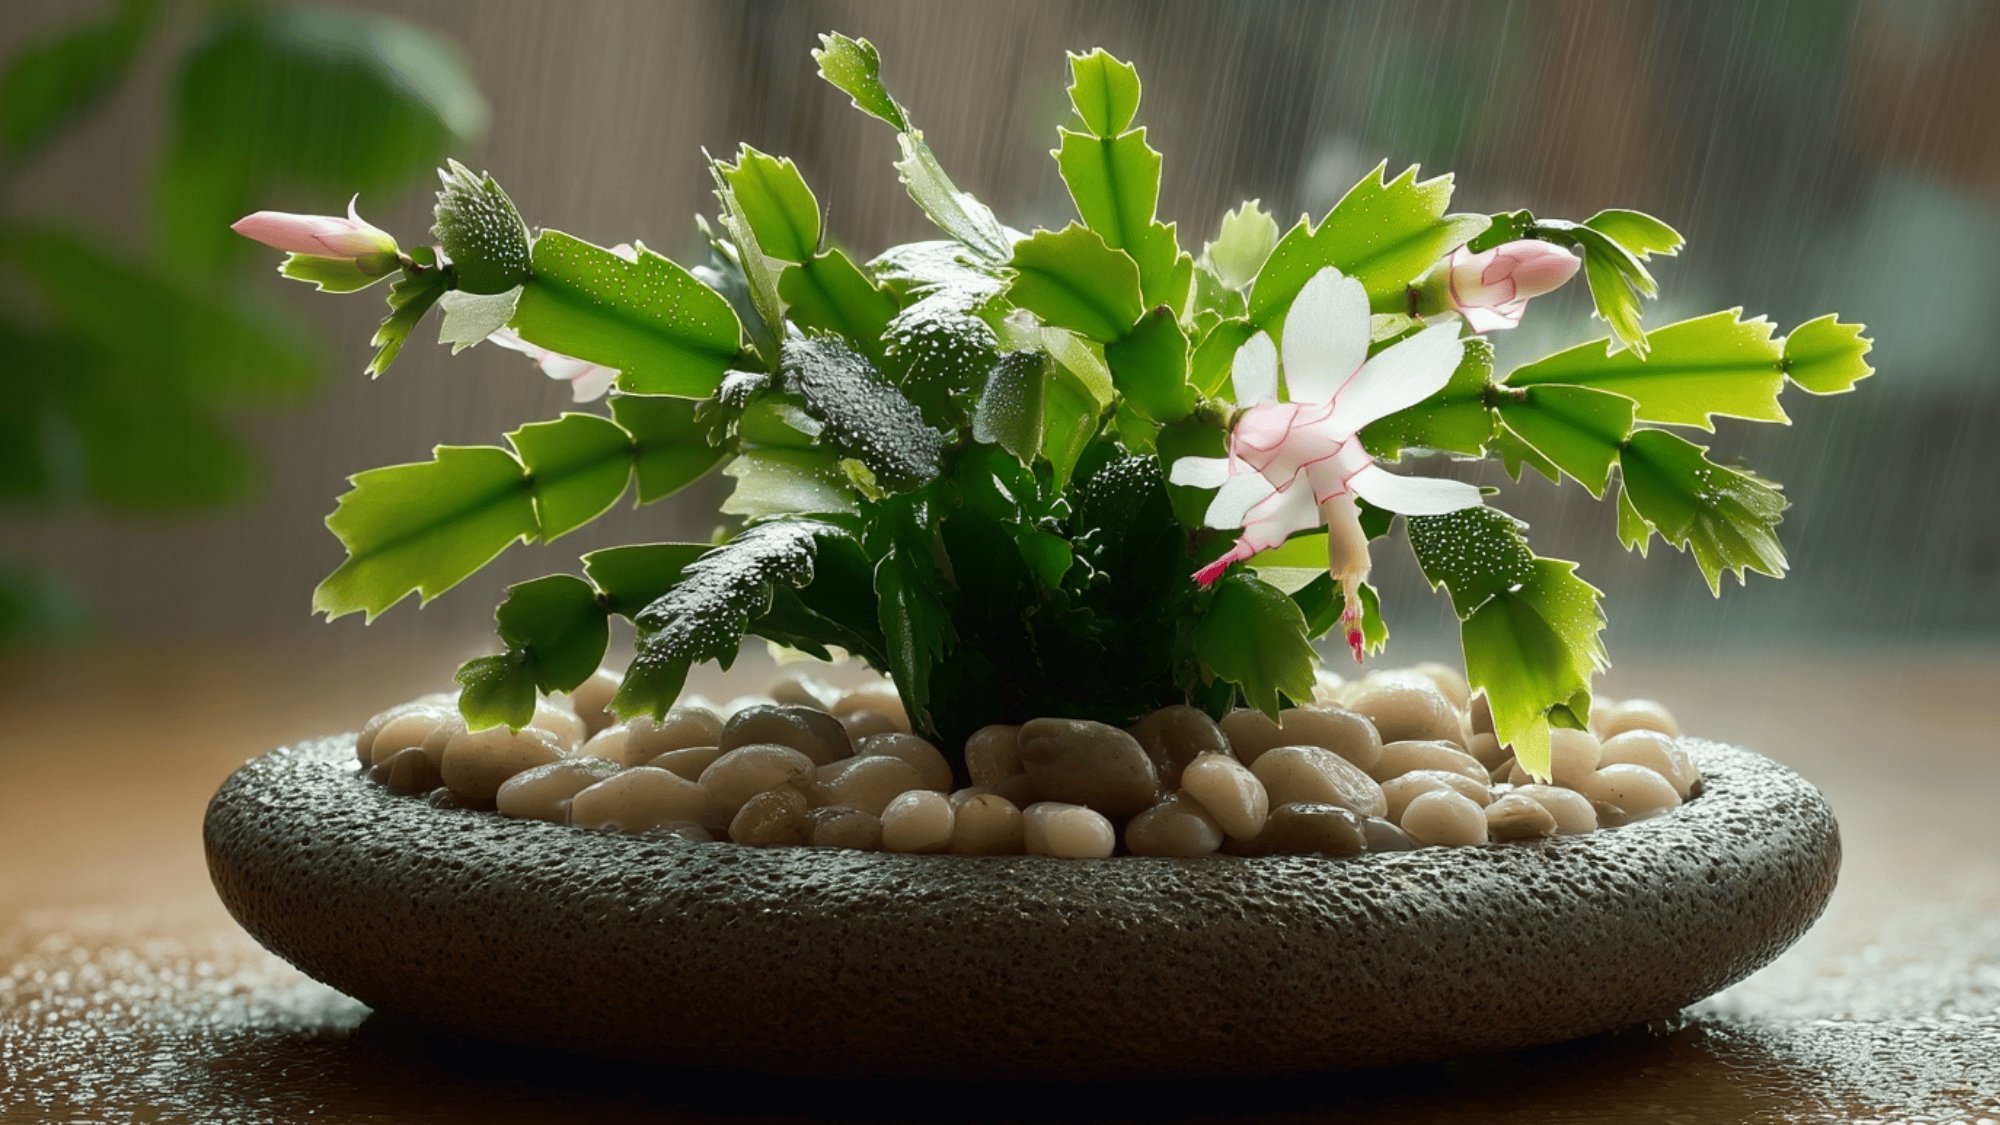
Humidity is essential for a Christmas cactus because it naturally grows in tropical forests. Use a pebble tray filled with water to raise moisture levels around the plant.
You can mist lightly during dry seasons, but avoid spraying the soil directly. Higher humidity prevents leaf wrinkling and supports stronger flowers.
4. Provide Cool Nights in Fall
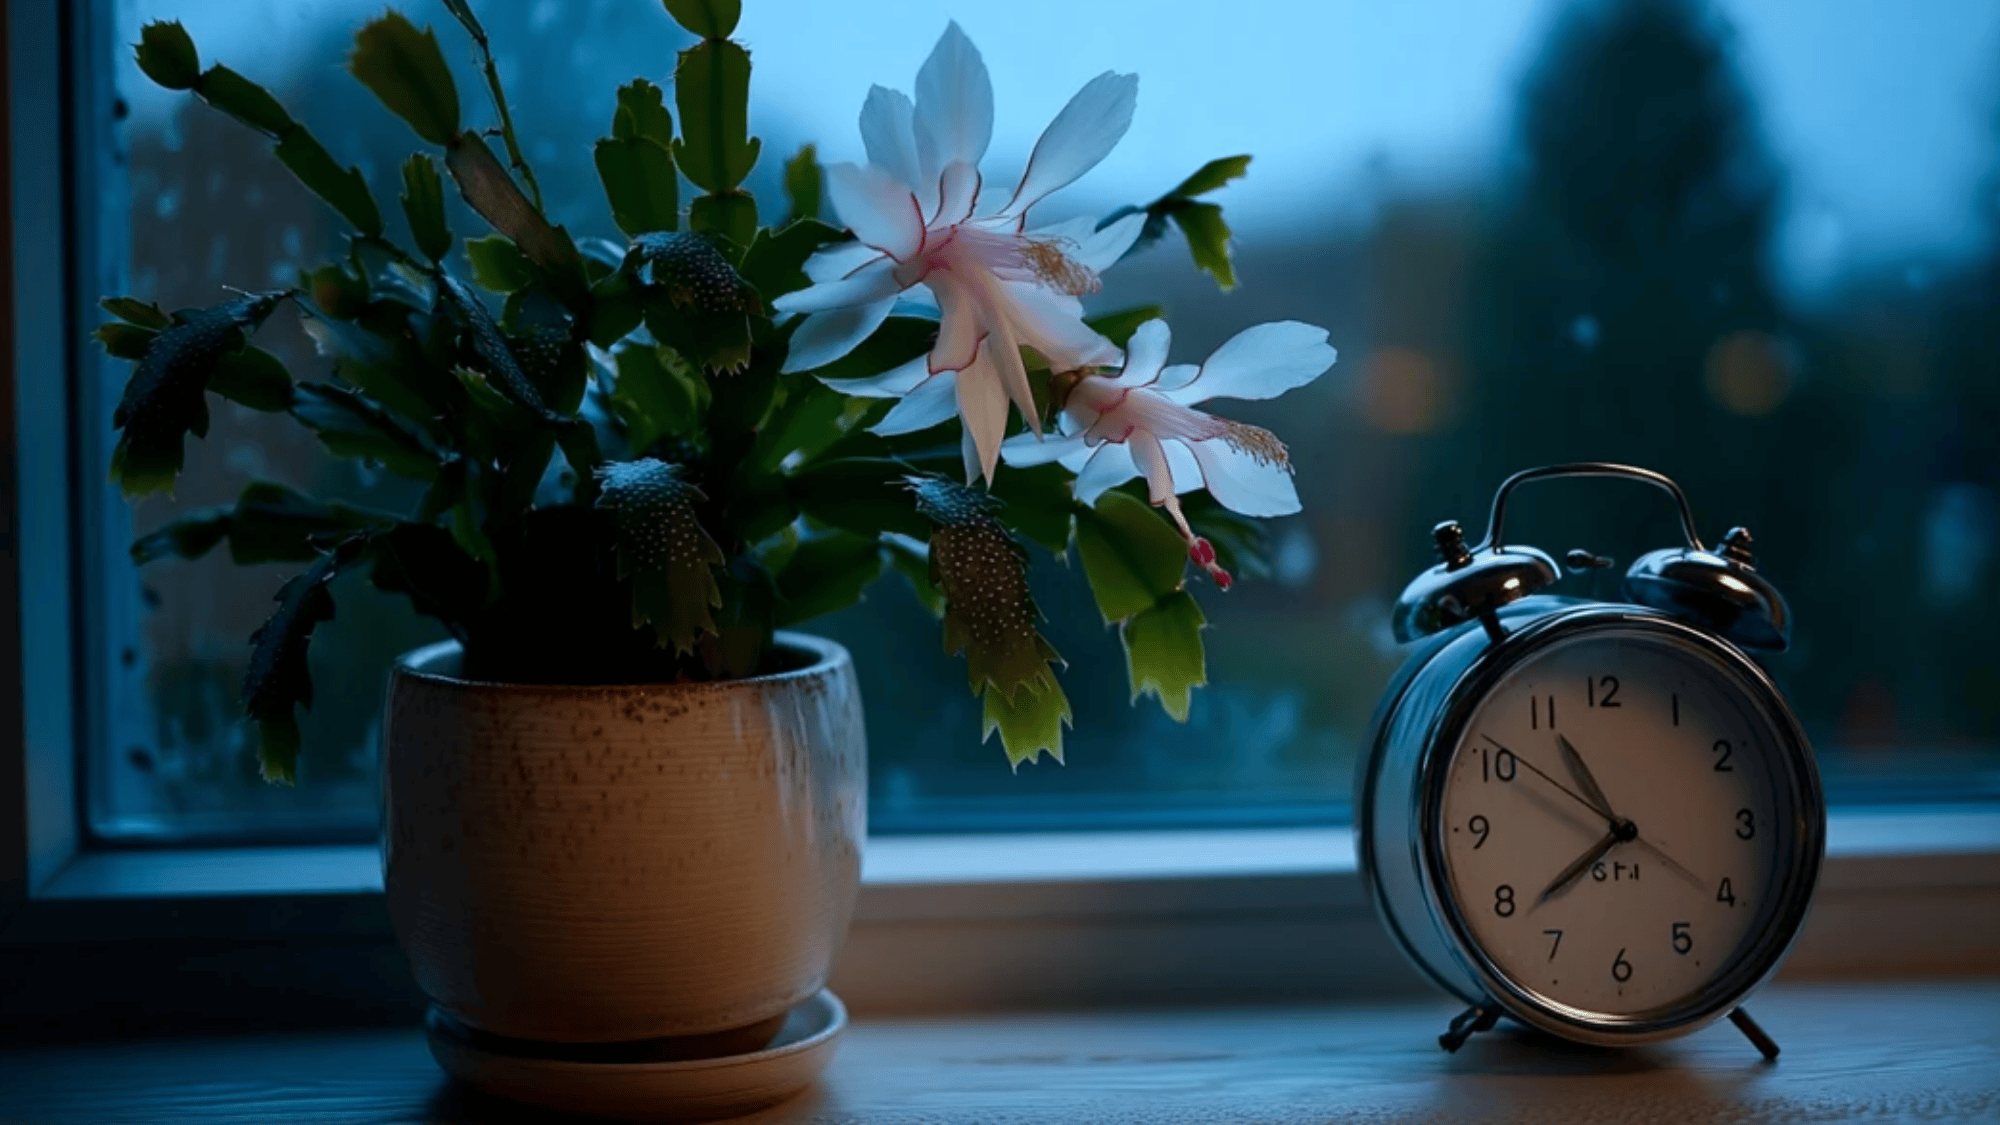
Cooler nights signal the plant to prepare for blooming. Keep the Christmas cactus at 50–55°F (10–13°C) during the night for several weeks.
This temperature shift encourages bud formation. Avoid placing the plant near heat sources or drafty windows. Consistent coolness helps the buds grow steadily and prevents stress.
5. Give Long Nights of Darkness
Long nights of darkness are essential for triggering flower buds. Provide 12–14 hours of darkness each night for 6–8 weeks in the fall.
Place the plant in a room with no artificial light at night. This darkness mimics natural seasonal changes.
6. Reduce Watering During Bud Setting
When buds begin to form, slightly reduce watering to avoid stress. Keep the soil barely moist and avoid soaking the mix. Do not move or rotate the pot during this stage.
Stable light and temperature help buds grow without falling off. Gentle, careful care encourages strong and lasting blooms.
7. Move to Bright Light After Buds Appear
Once buds are visible, shift the plant to a brighter location. This helps the flowers open fully. Keep temperatures cool and steady to prevent bud drop.
Bright, indirect light strengthens the blooming process. Stable care during this time ensures vibrant and long-lasting flowers.
Following these simple steps helps your Christmas cactus stay healthy and bloom beautifully every year.
Seasonal Care Guide
Caring for a Christmas cactus throughout the year means adjusting its routine to match each season. These small changes help the plant stay healthy, grow new segments, and bloom at the right time.
Spring–Summer
- Water when the top inch feels dry
- Fertilize monthly with a balanced formula
- Provide bright, indirect light daily
- Prune lightly after blooming to encourage branching
- Keep temperatures between 65–75°F
Fall–Winter
- Provide 6–8 weeks of cool nights for blooming
- Give 12–14 hours of darkness every night
- Reduce watering slightly during bud formation
- Keep the plant away from drafts and heat vents
- Maintain steady light once buds appear
Following these seasonal steps ensures your Christmas cactus stays strong, grows well, and produces beautiful flowers each holiday season.
Common Christmas Cactus Problems
Christmas cacti often struggle with overwatering, poor drainage, and sudden temperature changes. These issues can lead to yellowing leaves, soft stems, bud drop, and fungal infections.
Overwatering is the most common cause of distress. It keeps the soil soggy and deprives the roots of oxygen, damaging the roots.
Pests like mealybugs, spider mites, and scale also appear when the plant is weak. Humidity imbalance may cause the segments to wrinkle or blister.
Drafts, dry air, or sudden movements during bud development cause flowers to fall before opening. Recognizing these early signs helps protect the plant and maintain steady growth throughout the year.
How to Fix Christmas Cactus Problems (Quick Solutions)
Here are effective ways to fix common Christmas cactus issues:
- Allow the soil to dry slightly between waterings
- Repot in a well-draining mix if the soil stays wet too long
- Increase humidity with a pebble tray
- Keep the plant away from heating vents and cold drafts
- Use neem oil or insecticidal soap for pest infestations
- Remove any mushy or infected segments promptly
- Avoid relocating the plant during bud formation
These simple steps keep your Christmas cactus healthy and blooming.
End Notes
A Christmas cactus is a gentle plant, and it thrives when given steady, simple care. With the right mix of indirect light, light watering, and seasonal routines, it can reward a home with bright blooms each winter.
Many of its problems have easy fixes, and most issues can be prevented with just a bit of attention. When the plant gets the conditions it needs, it grows strong, forms healthy buds, and becomes a cheerful part of any space.
Watching it bloom can feel like a small celebration during the colder months.
By following these tips, anyone can enjoy a beautiful, long-lasting Christmas cactus that brings color, warmth, and joy to the holidays and beyond.
Start giving your plant the care it deserves today and enjoy brighter blooms this season.