Every new parent dreams of forming an instant, magical connection with their baby. But what happens when that bond doesn’t come so easily?
If you’re worried you’re not bonding with your little one, you’re not alone. In this quick guide, we’ll explore some common signs you’re not bonding with your baby, such as feeling disconnected, uninterested, or even resentful towards your baby.
We’ll also discuss why bonding issues sometimes occur and share tips for nurturing that special relationship. Most importantly, remember that bonding is a process – it doesn’t always happen overnight.
With patience, support, and a few helpful strategies, you can strengthen your attachment and build a loving, lasting bond with your baby.
Let’s jump in and start cultivating that connection today.
Some Usual Signs Of Weak Bonding

While every parent-child bond is unique, certain signs can indicate that bonding might not be happening as smoothly as you’d like. Here are the top three signs:
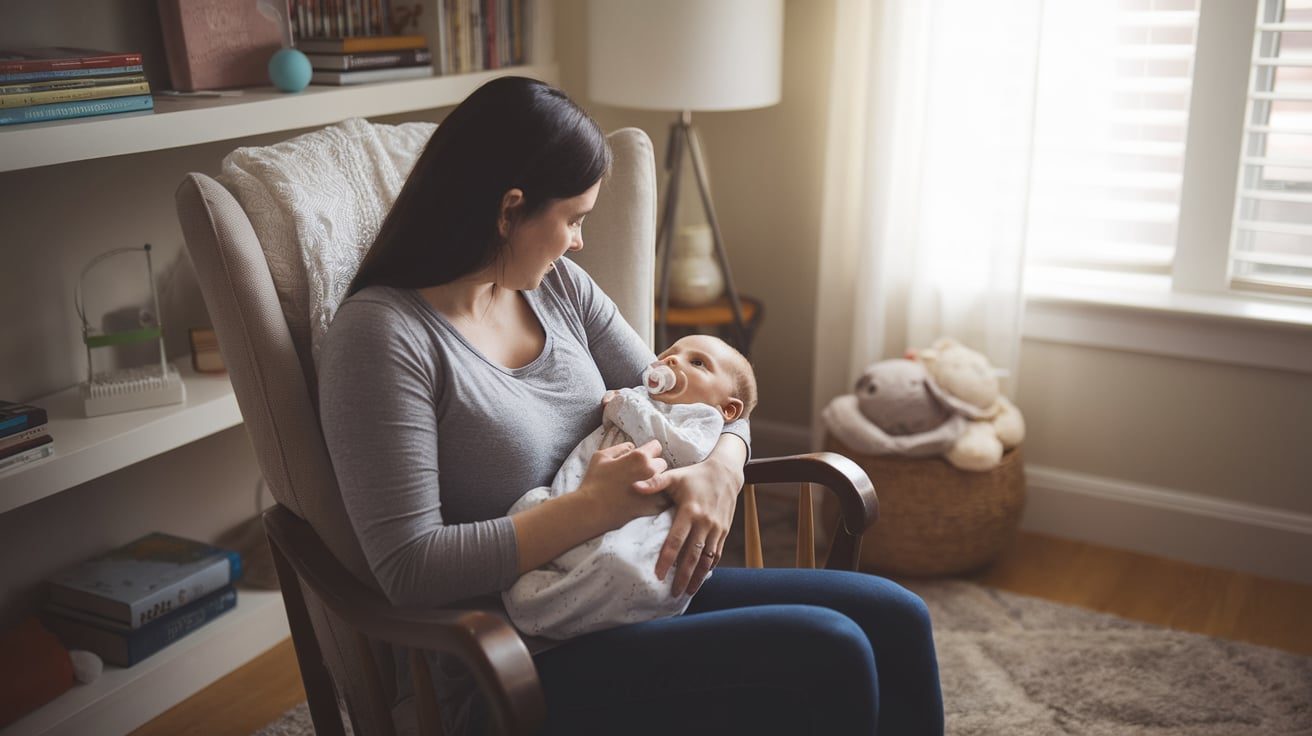
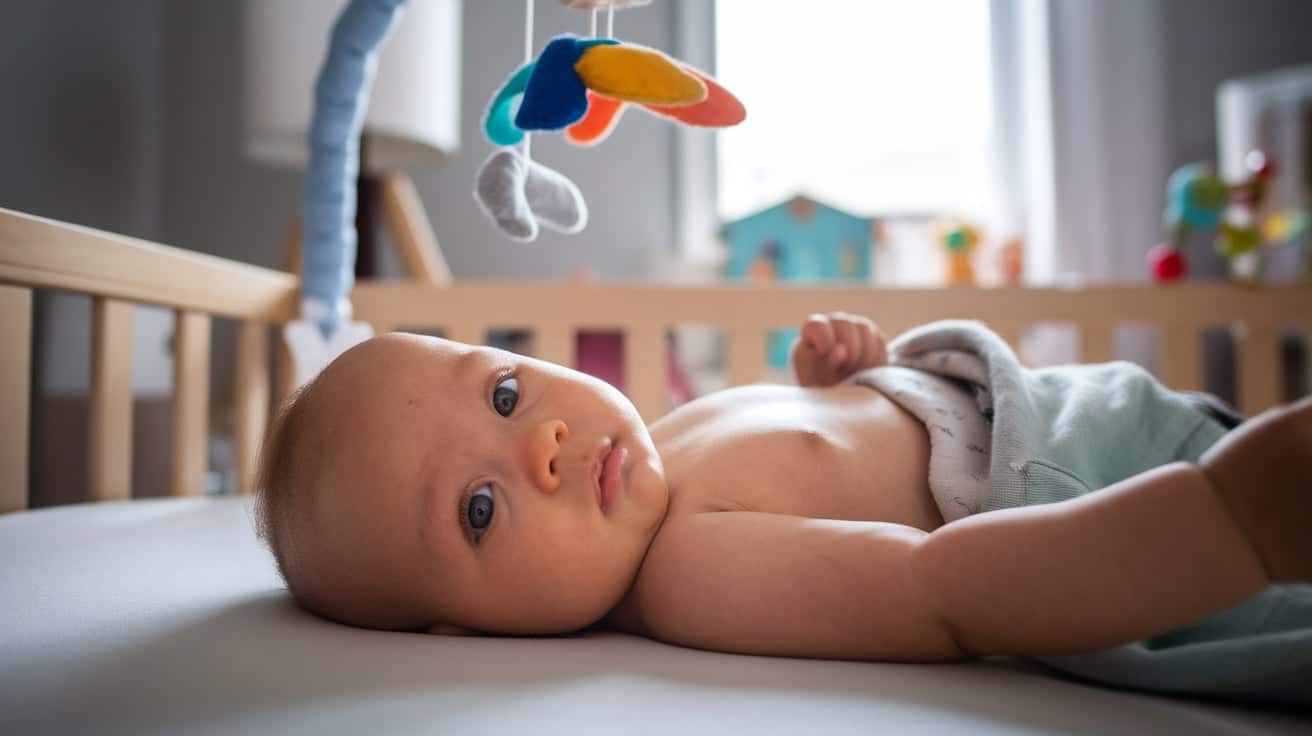
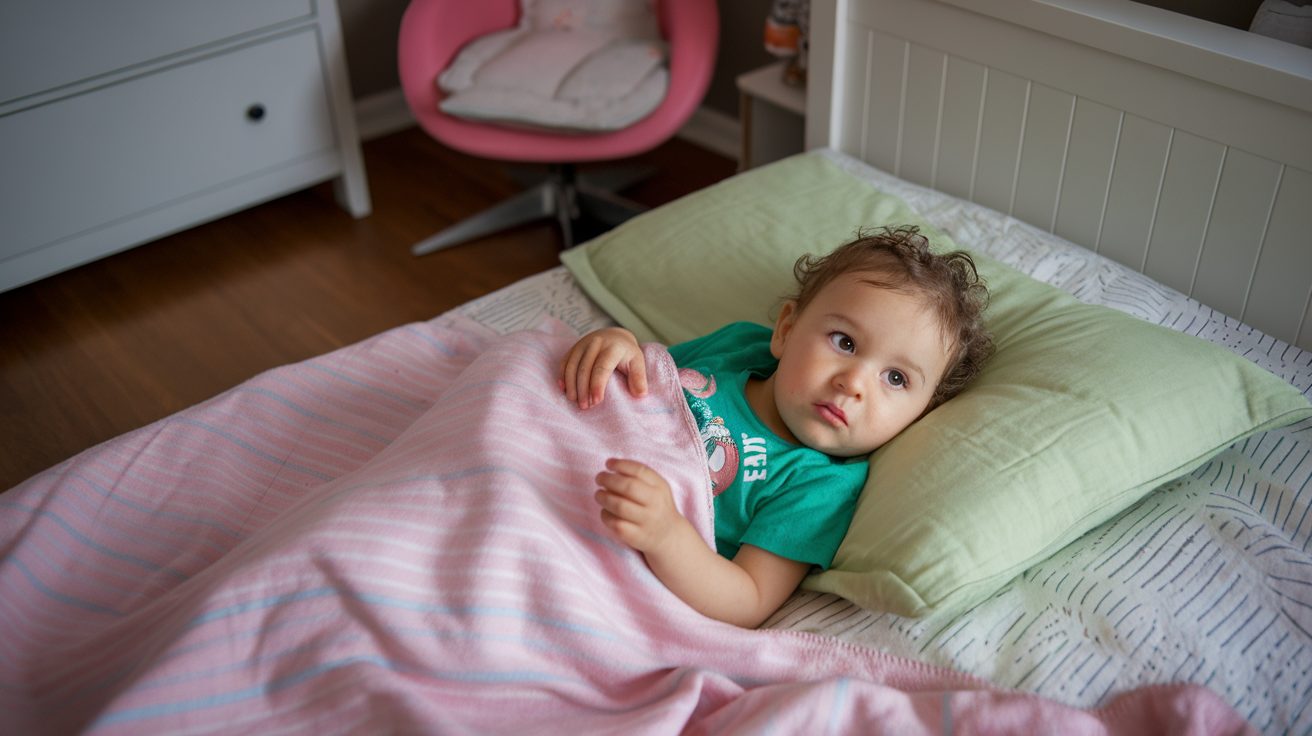
Lack of Eye Contact and Responsiveness
Eye contact is one of the most powerful ways to connect with your baby. Babies learn to trust you when they see your face and can look into your eyes.
If your baby avoids looking at you or doesn’t seem to notice when you try to engage, this may be a sign of a weak emotional connection.
Difficulty Soothing Your Baby
Babies naturally seek comfort from their parents. When you try to soothe your baby but your efforts don’t seem to work, this can indicate a disconnect.
Struggling to calm your baby’s crying or being unable to comfort them may point to bonding difficulties.
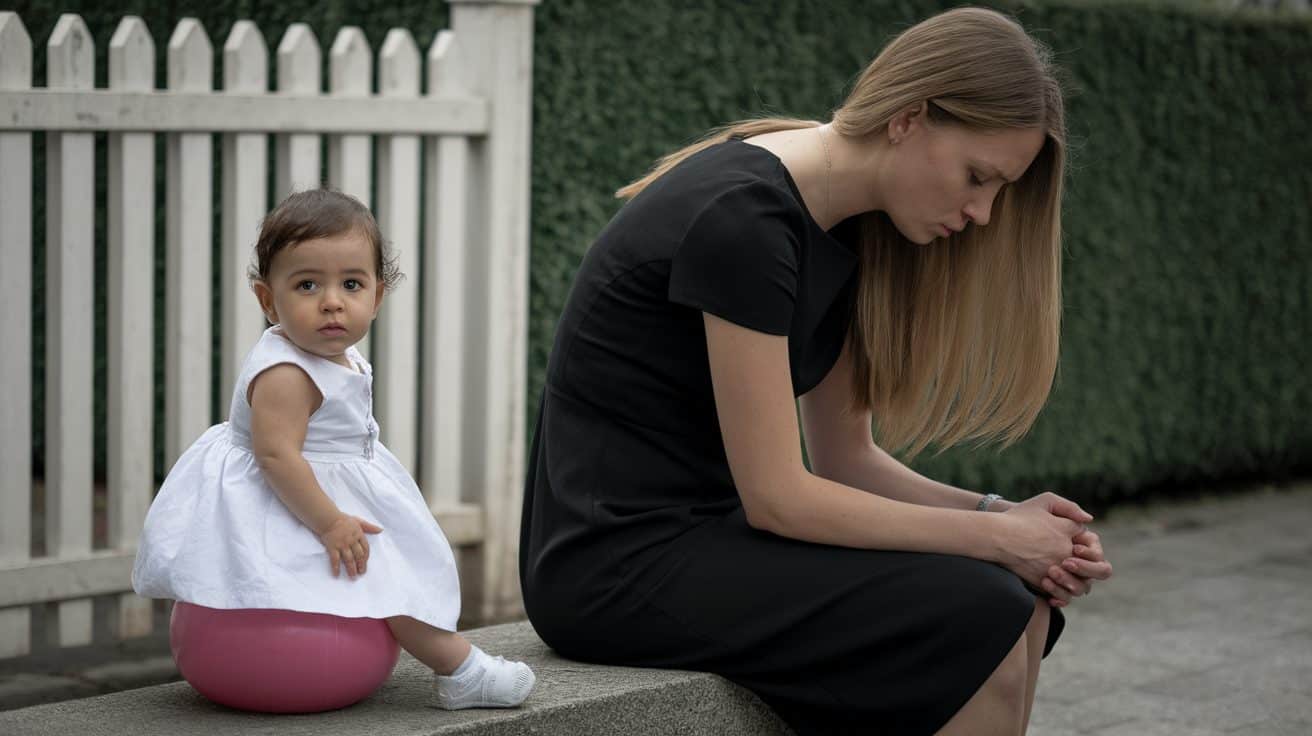
Negative Emotions Toward Your Baby
Feeling frustrated, angry, or disconnected from your baby can be tough to handle. It’s normal to feel overwhelmed at times, but consistent negative feelings like resentment could be a sign that bonding isn’t happening as it should.
It’s important to address any feelings of frustration as they may affect both you and your baby’s emotional health.
Common Causes of Bonding Struggles
Several factors can make bonding harder, and it’s crucial to understand what might be affecting your connection.
Postpartum Depression (PPD)
I get it—becoming a parent isn’t always the magical moment we imagine. Instead of feeling joy, you might feel overwhelmed, sad, or even anxious.
If you’re dealing with Postpartum Depression (PPD), these emotions can really stand in the way of bonding with your baby. You might find it difficult to feel connected or even exhausted by the idea of holding your baby. Please know that it’s okay to ask for help.
Physical and Mental Exhaustion
I think most new parents can relate to feeling like they’ve just run a marathon every day—except the marathon never ends. Sleepless nights, constant baby care, and the weight of new responsibilities can leave you physically and mentally drained.
When you’re running on empty, it’s hard to focus on bonding or even feeling emotionally present. You might feel guilty, but taking care of yourself isn’t selfish—it’s necessary. It’s tough to be emotionally connected to your baby if you’re not looking after your own health.
Traumatic Birth Experiences
Not all birth experiences are smooth, and some can be downright traumatic. If you’ve gone through a difficult or stressful delivery, it’s completely understandable if you’re struggling to bond with your baby.
It might feel like there’s a wall between you two, and that’s okay. You’re not alone in this—many parents face this challenge. It’s crucial to give yourself grace during this time.
Take the time to process the emotions that come with a traumatic birth.
Isolation and Loneliness
Parenthood can be incredibly isolating, especially if you don’t have a solid support system around you. If you find yourself feeling like you’re on this journey alone, it’s no wonder the bond with your baby might feel distant.
You’re exhausted, isolated, and missing your old life. It’s hard to give your baby the attention they deserve when you feel disconnected from the world.
Practical Solutions to Strengthen the Bond
Now that we’ve talked about the signs and reasons for struggling to bond, let’s look at some simple ways to strengthen that connection with your baby.
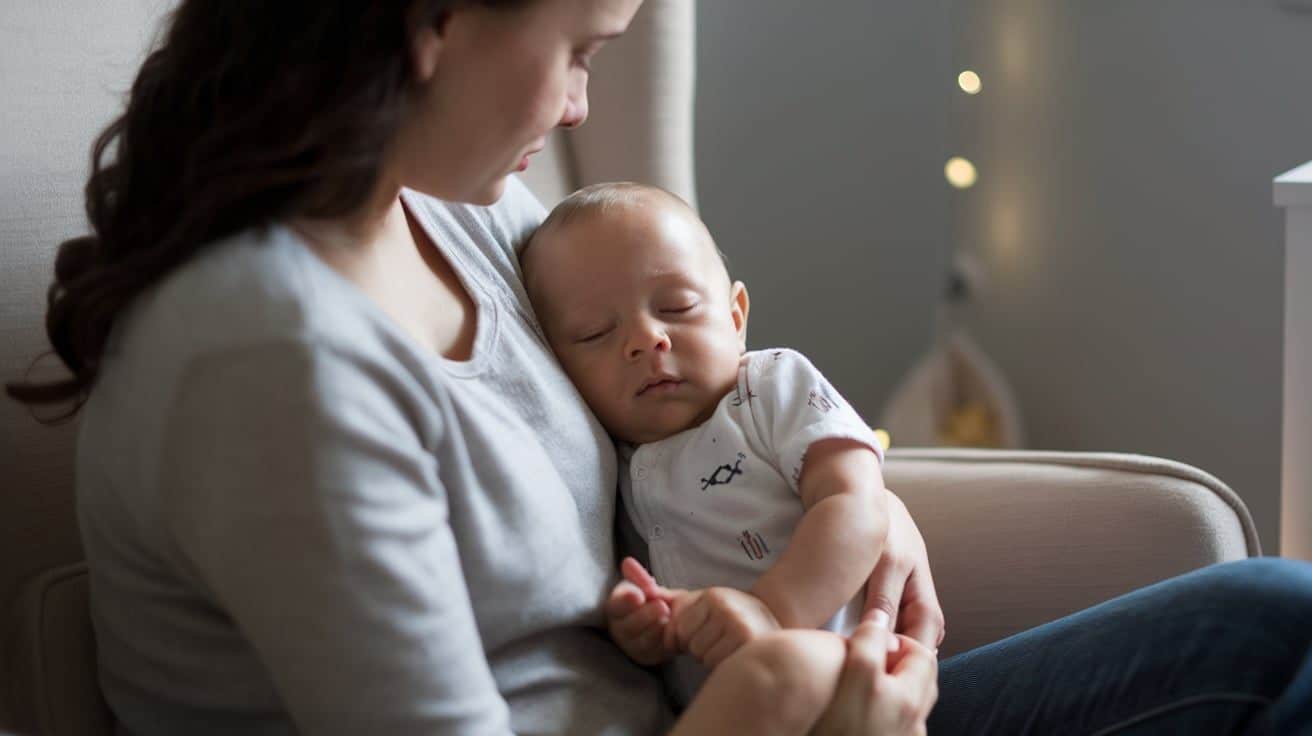
1. Skin-to-Skin Contact
Holding your baby close, skin-to-skin, is one of the best ways to create a strong bond. When you hold your baby against your bare chest, your body releases oxytocin, also known as the “love hormone.”
This helps both you and your baby feel calm and connected. Try doing this while feeding or just cuddling your baby for a few minutes each day.
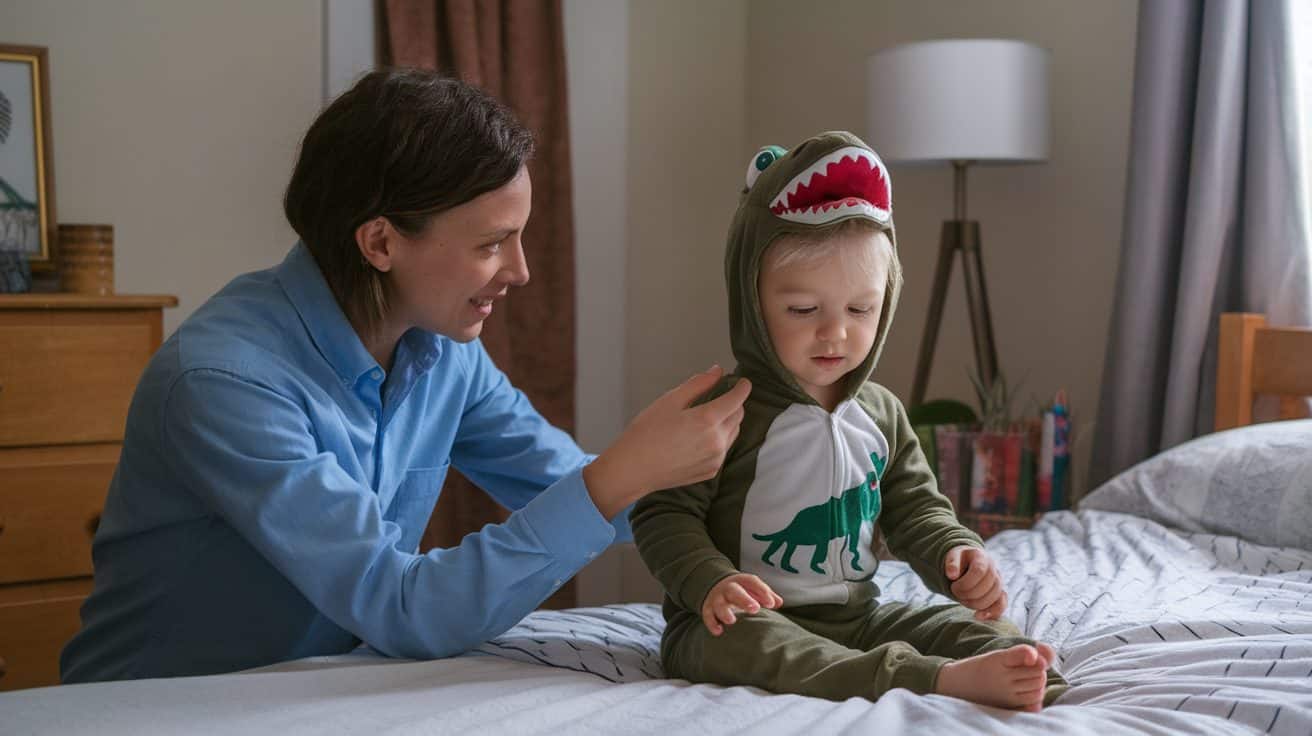
2. Responsive Parenting
Pay attention to your baby’s needs and respond quickly. If your baby is hungry, tired, or needs comfort, meeting those needs helps build trust and a secure bond.
The more you respond to your baby’s cues, the stronger your emotional connection will grow.
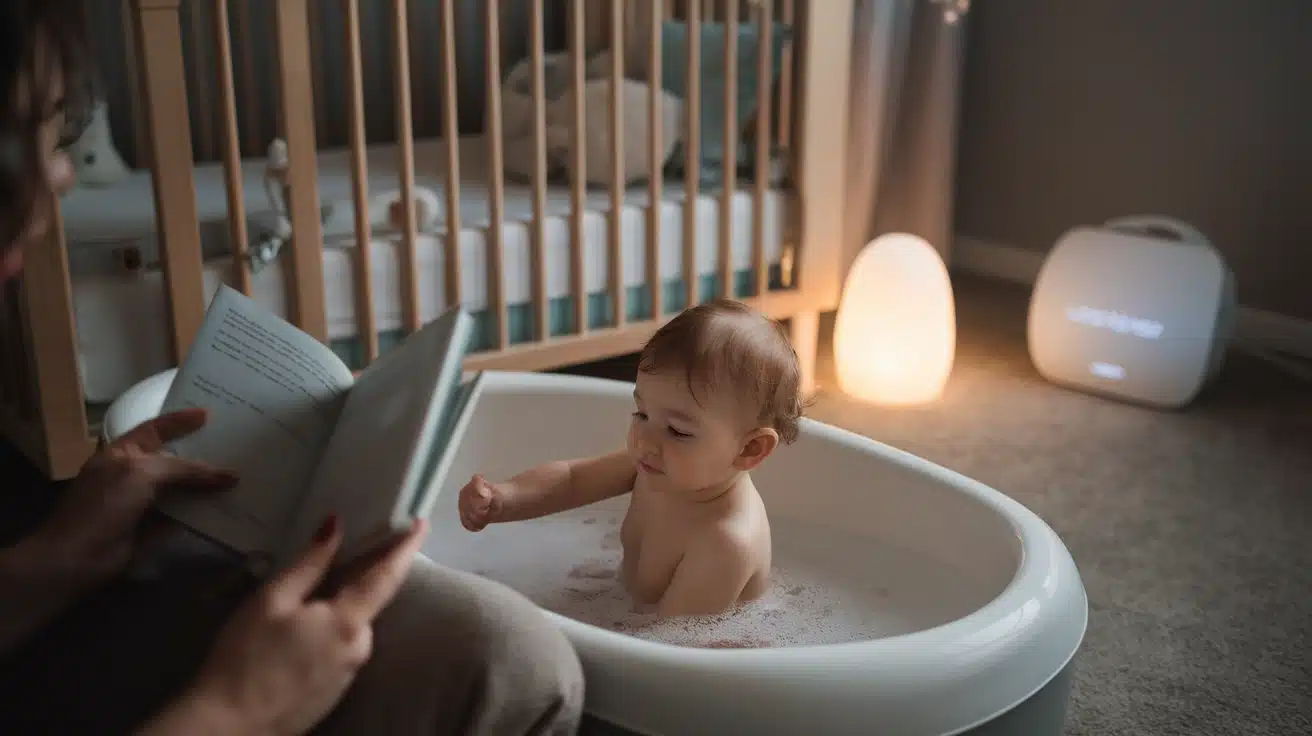
3. Engage in Talking, Singing, and Reading
Your voice is a powerful tool for bonding. Talking, singing, or even reading aloud to your baby helps them get used to the sound of your voice. Narrate your actions, like “Let’s put on your socks!” or sing a lullaby to comfort them.
These small moments make a big difference in helping your baby feel connected to you.
4. Seek Support and Professional Help
Parenting can be overwhelming, and it’s okay to ask for help. If you’re feeling stressed or dealing with things like Postpartum Depression (PPD), talking to a counselor or joining a support group can be very helpful.
Professionals can give you advice, tools, and emotional support to improve your mental health and your bond with your baby.
5. Self-Care for Parents
Taking care of yourself is key to being able to bond with your baby. Make sure you’re eating well, getting enough sleep, and taking breaks when needed.
The better you feel, the easier it will be to give your baby the care and love they need. Don’t feel guilty about needing time for yourself; it’s important for your well-being.
Conclusion
A strong bond is crucial for your baby’s emotional development. It builds trust, encourages social skills, and creates a foundation for long-term mental health and well-being.
Bonding doesn’t happen overnight. It’s a gradual process that may take months, not days. Each interaction you have with your baby builds this connection over time.
Recognizing that you may not be bonding with your baby right away is an important first step.
Remember, bonding takes time and is a process that will evolve with each passing day. Be patient, seek help when needed, and continue nurturing the connection with your baby.
The bond you form now will shape your relationship for years to come.
Frequently Asked Questions
How Do I Know If My Baby Is Bonding With Me?
Your baby may show affection by smiling at you, making eye contact, or cooing when they hear your voice. These are signs that your baby feels secure and connected to you.
Can I Bond With My Baby If I Don’t Feel an Immediate Connection?
Yes! Bonding is a process that can take time. It’s okay if you don’t feel an instant connection. Keep making an effort, and the bond will grow.
What Are Some Signs That My Baby Loves Me?
Babies show love by reaching for you, smiling, and reacting positively to your presence. These are signs that your baby is beginning to form a bond with you.
Does Co-Sleeping Help Bond With My Baby?
Co-sleeping can increase physical closeness, which may help foster bonding. However, it’s important to follow safe sleep guidelines to ensure your baby’s safety while co-sleeping.