
Designing a betting space in your home is not simple. You won’t just set up a place to bet. You will create an environment that gives you comfort. Many people don’t know what the ultimate home betting space should look like. It should be a space that matches your personal taste. It must also encourage comfort and functionality.
With the right setup, you will avoid distractions and maintain better posture. You will also have your essentials close enough for convenience. In this article, we discuss important details for designing the perfect home betting space. We will explain the main details to help you combine style and technology.
How to Locate the Perfect Spot for Your Home Betting Space
The ideal spot should support relaxation. Make sure to avoid regions like the living room or kitchen where guests or friends can distract you. A spare bedroom or a corner of your home office should work.
While choosing, look for somewhere with natural lighting so that you will remain alert during long sessions. The spot should be close to power sockets and a strong Wi-Fi signal. Remember to choose somewhere with enough room for your important betting equipment.
Choosing Furniture That Guarantee Convenience and Efficiency
Good furniture in your betting space makes you comfortable when wagering on sports betting sites. An important unit to add is the ergonomic chair. It will offer lumbar support and help you maintain good posture during long sessions. Pair it with a large desk that contains your computer and other important tools.
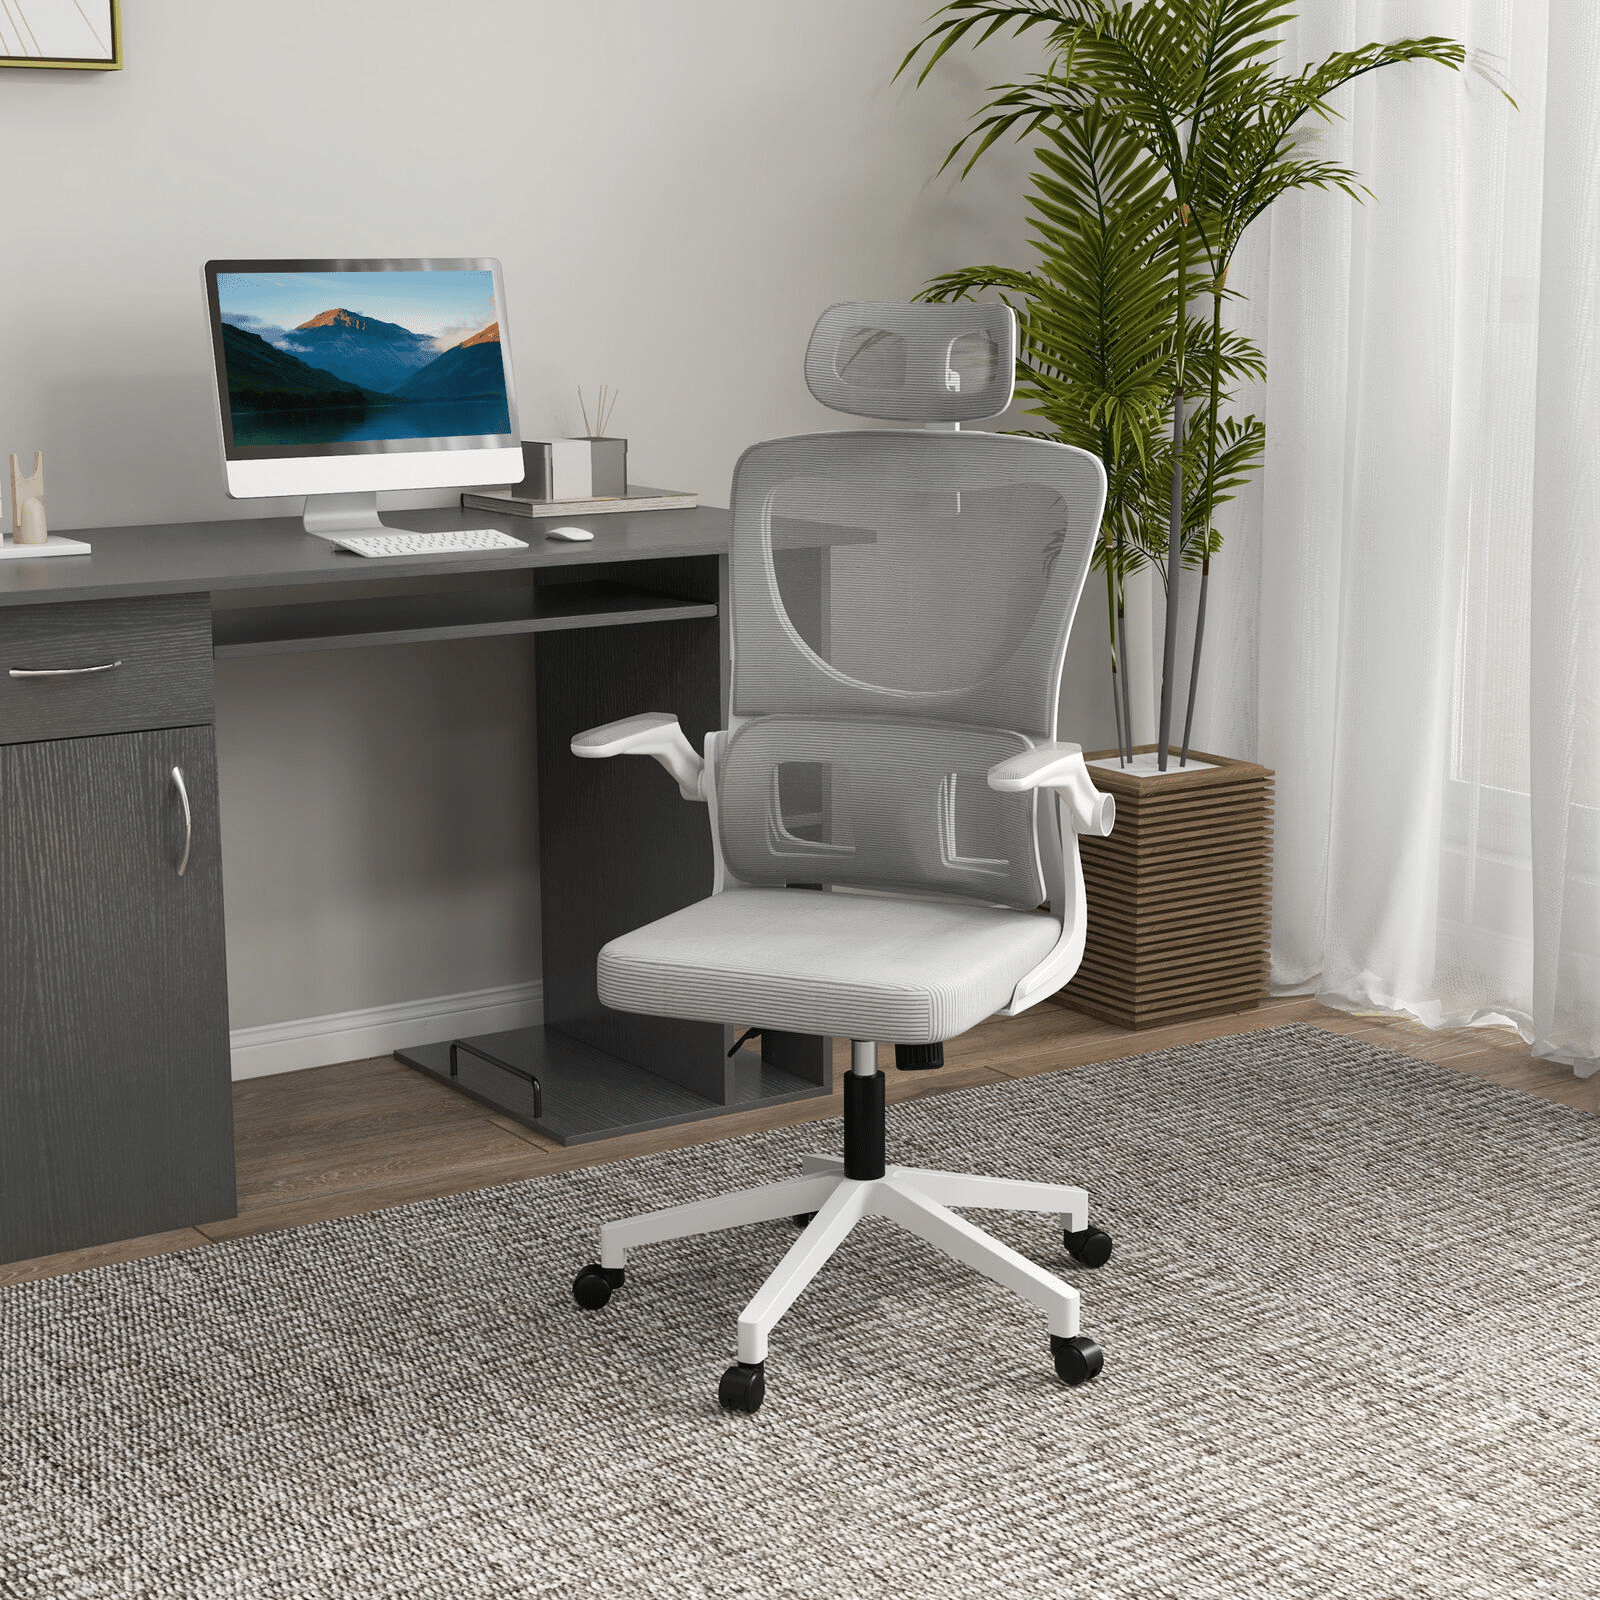
Next, try to add anything that will increase your efficiency. For instance, we recommend a footrest for improving your circulation. A desk with built-in cable management can also keep the area free from clutter.
Leveraging Technology to Create a Fluid Betting Experience
For a smooth experience, you need a computer with enough memory and processing power to run many applications. If your budget allows it, consider getting a dual-monitor setup.
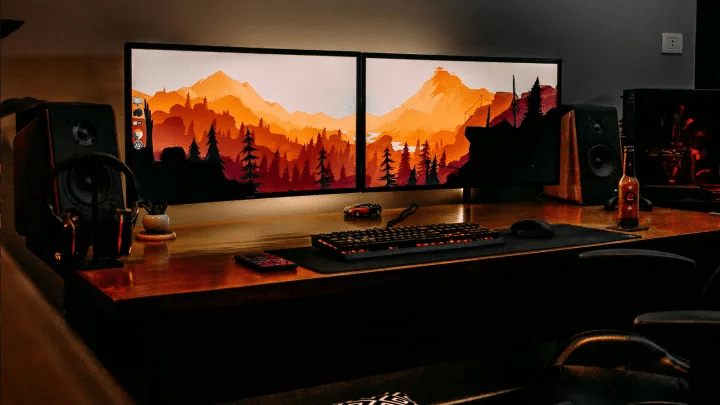
It will be useful for monitoring live games, tracking in-play bets, and checking Betzillion reviews without switching screens. Finally, invest in a high-quality internet router if you don’t have one.
Optimizing Decor and Ambiance to Make the Space Your Own
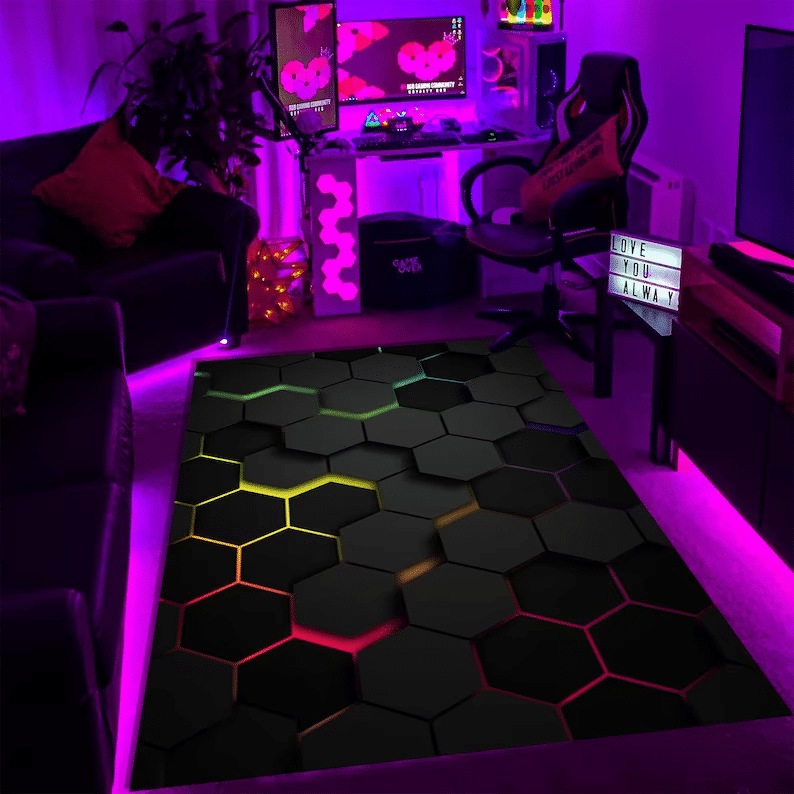
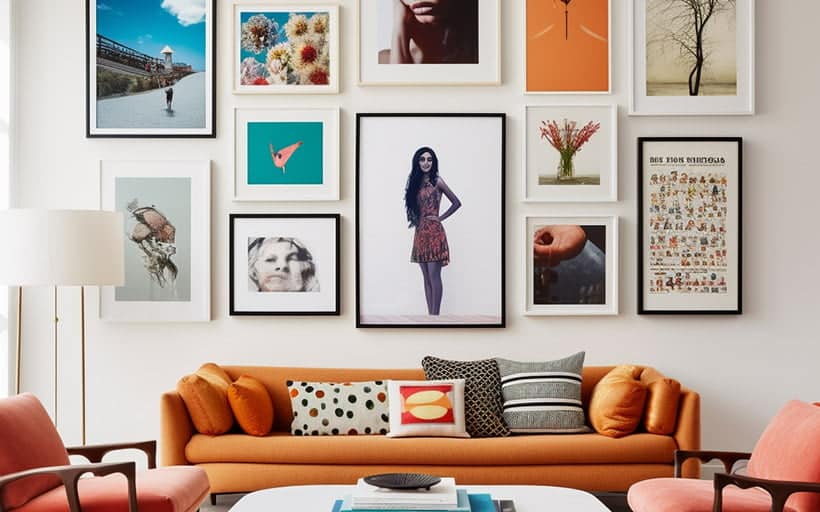
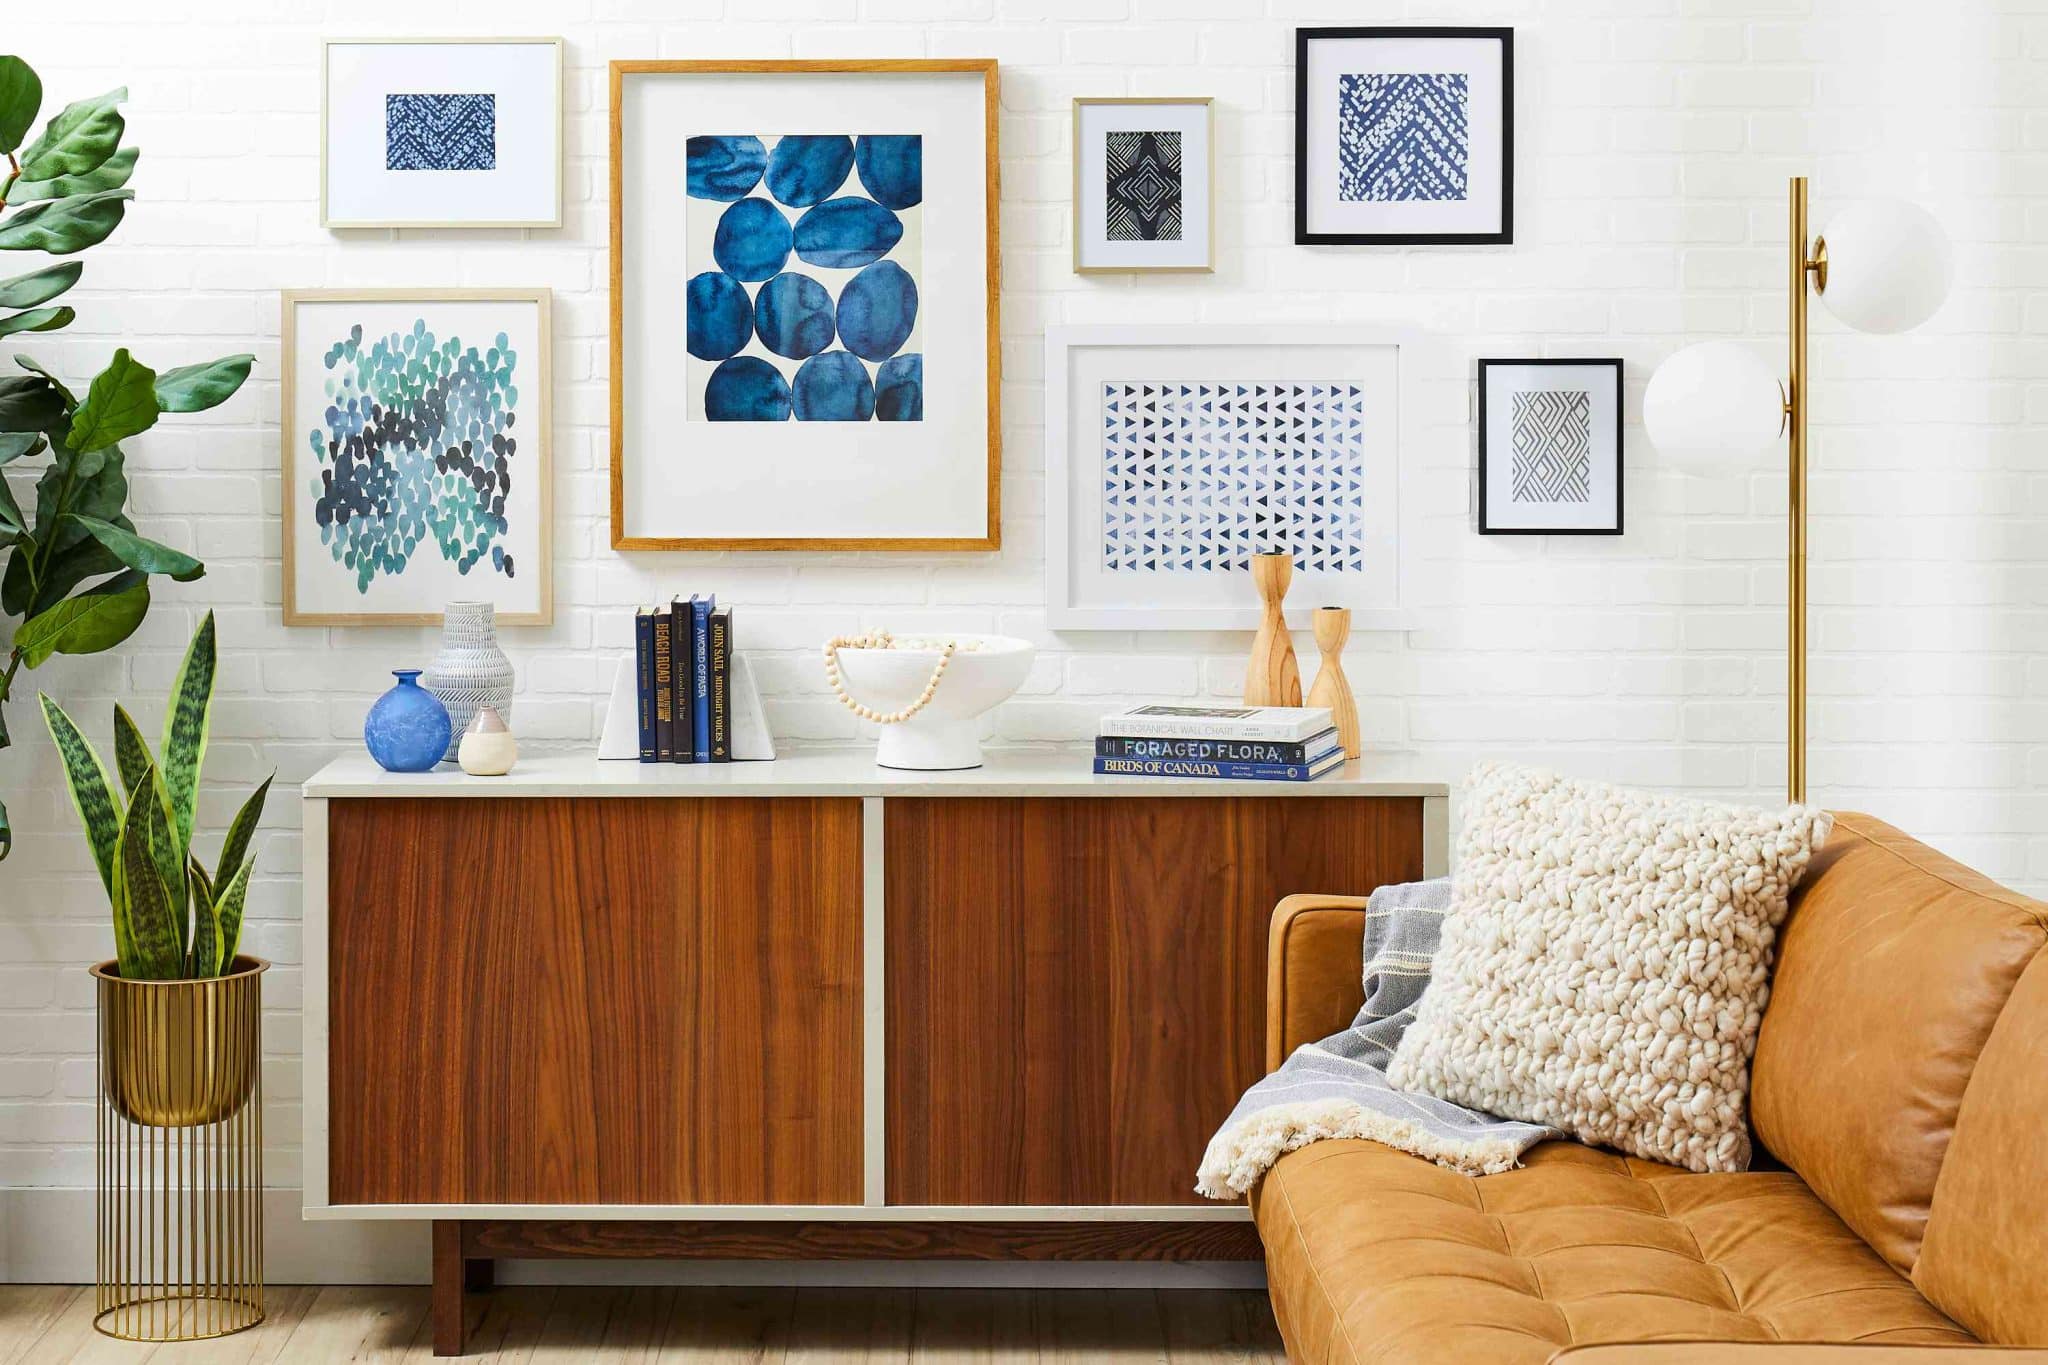
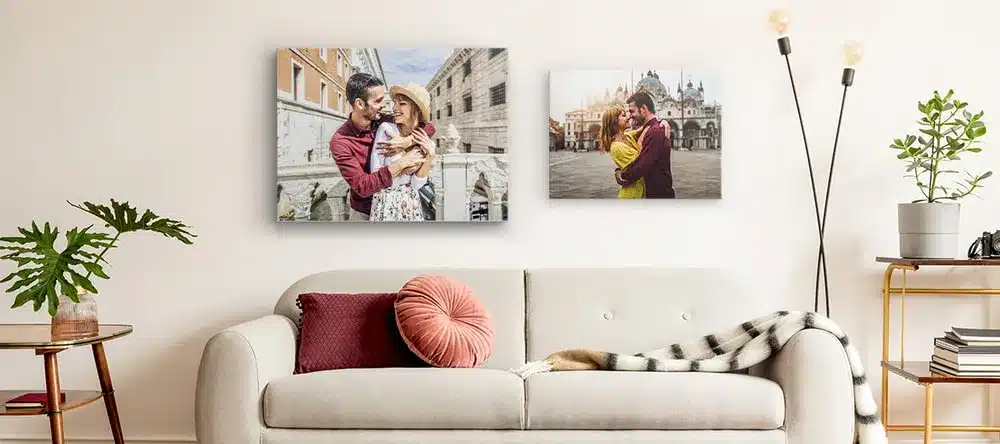
To make the space your own, choose relaxing colors and decor that improve your focus. Adding high-quality cushions and rugs can also help you play in style and reduce noise. If possible, introduce personal touches like framed photos, artwork, or posters of your favorite teams. They can give your space a more personalized feel.
Recommended Lighting and Ergonomics to Ensure Comfort During Extended Betting Sessions
Put your desk near a window to receive enough natural light. We also recommend an adjustable desk lamp for lighting when it’s dark. Harsh overhead lights can cause glare on your eyes, so ensure to avoid those.
Consider investing in a sit-stand desk that allows you to change your posture regularly. If it is out of your budget, make sure you stand up at regular intervals to improve blood circulation in your legs. Lastly, don’t forget to bring your monitor to eye level to prevent neck strain.
Sum up
You can’t put a chair and desk in any corner and call it the ultimate home betting space. It needs to be the right location and furniture. Proper lighting and technology are also essential. They help you remain comfortable and productive while betting.
It may take some work. But if you manage to design a space that ticks the right boxes, all your work would be worth it.
Remember, you will spend some time placing bets in the home betting space. You owe it to yourself to get the set up right.

 Minimalist Black and White Frame
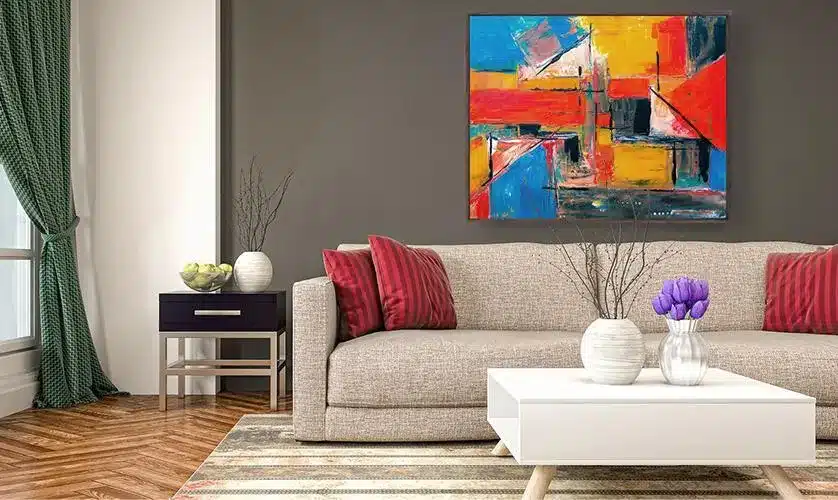


 When expecting guests, thorough home cleaning is crucial. A tidy home gives a welcoming atmosphere and a positive impression. It’s not just about tidying up; it’s about ensuring every corner of your home is spotless. This includes dusting, vacuuming, and sanitising surfaces to create a comfortable visitor environment. Hiring professional


