Many homeowners have the misconception that the kitchen should be a room where only bright and airy hues are used, but according to the last interior design trends, it’s time for them to ditch the light colour scheme for a dark one.
The current interior design promotes dark and moody spaces, regardless of whether we’re talking about functional rooms like the kitchen or places made for rest like the bedroom.
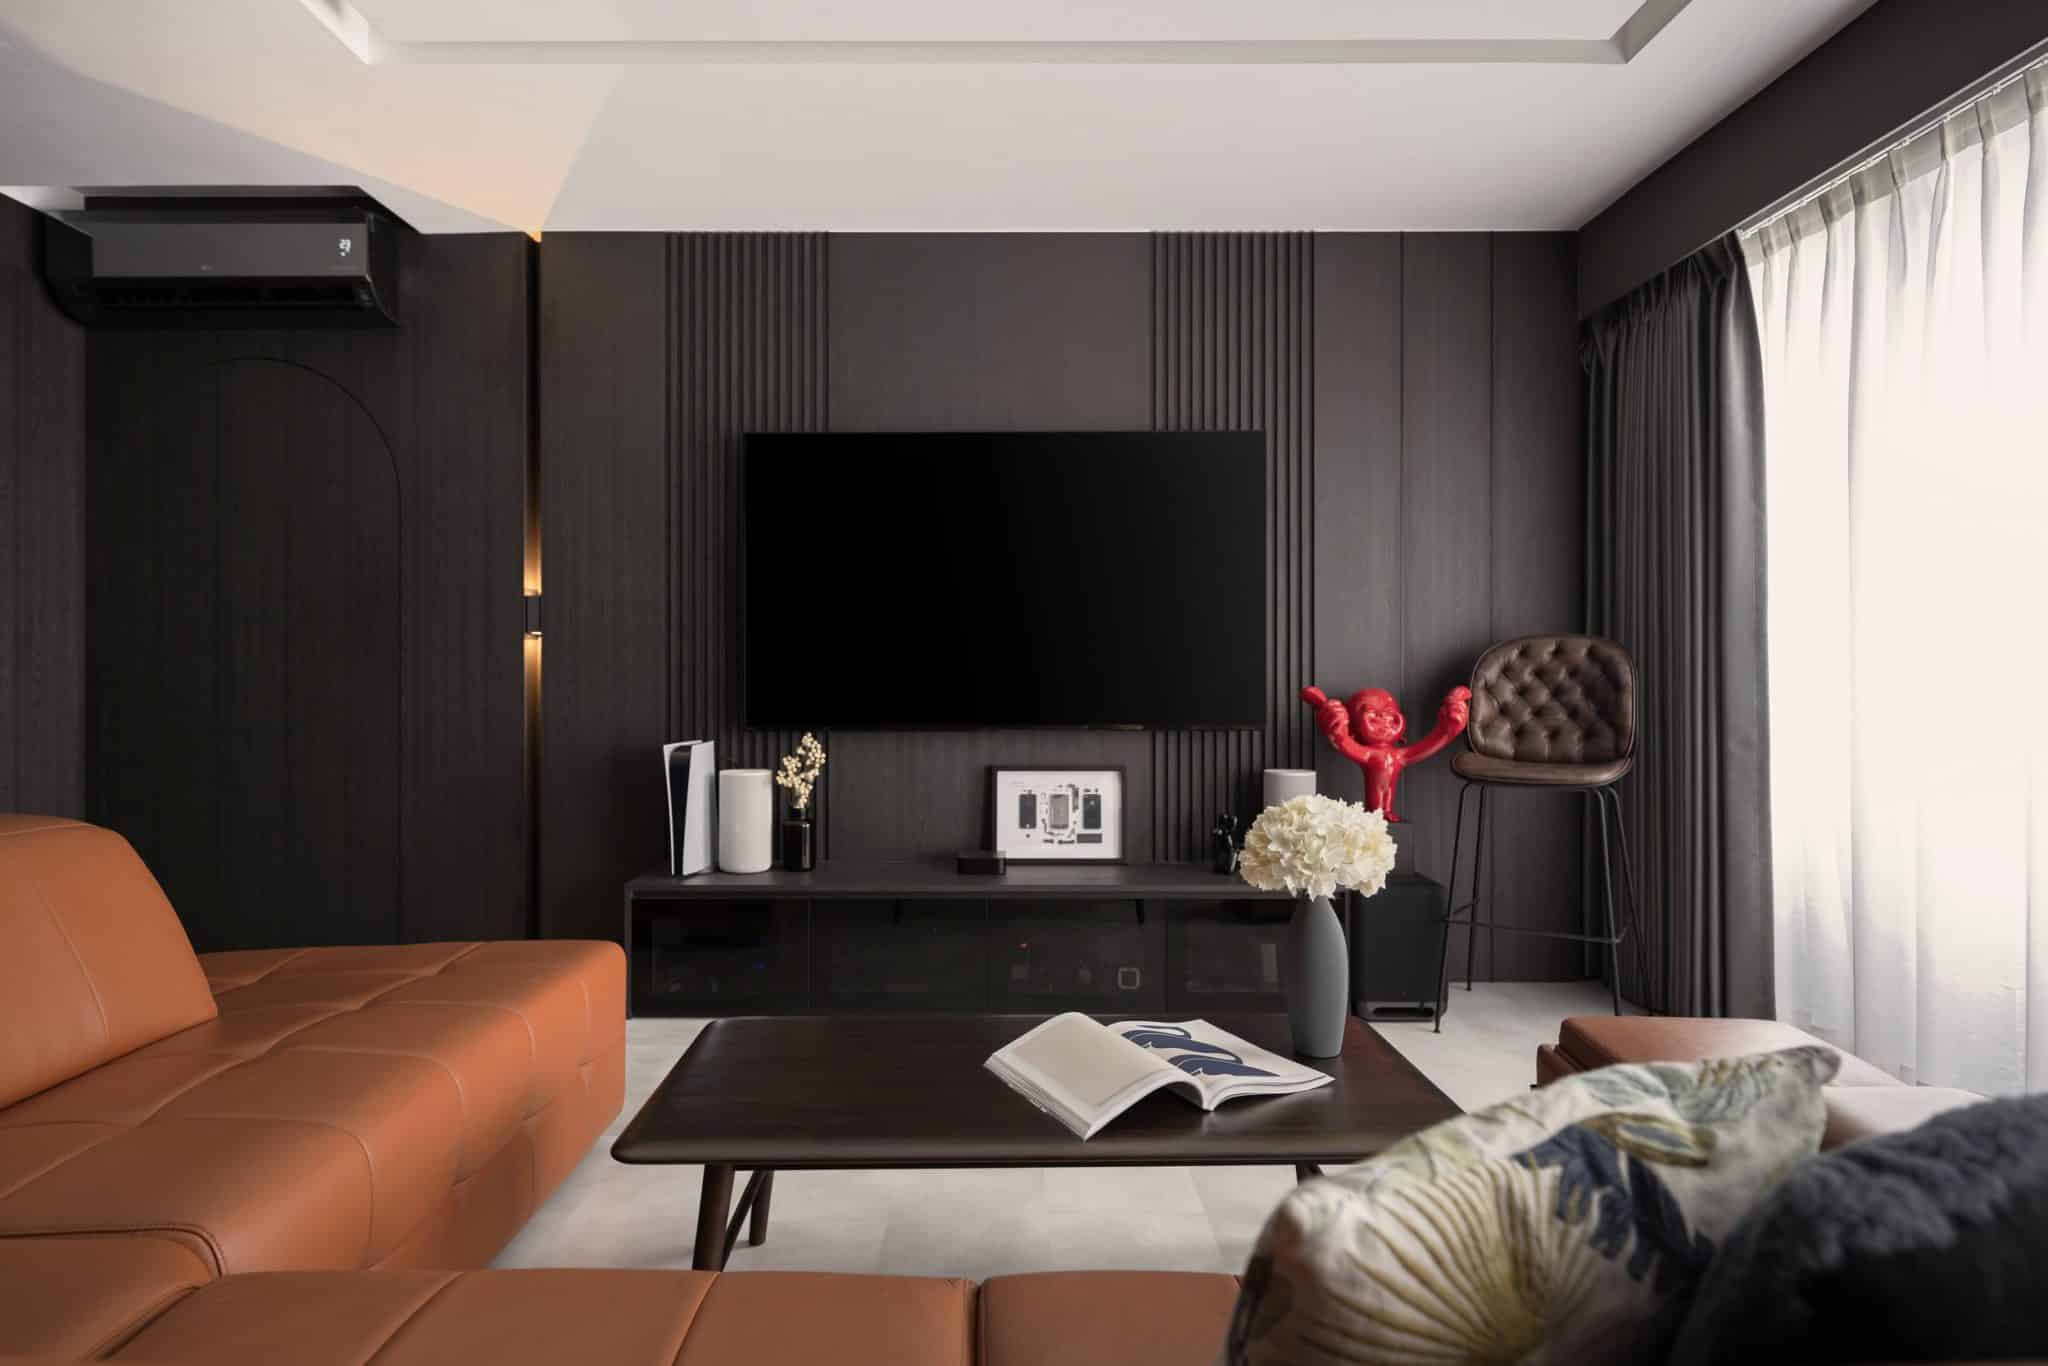
Unsurprisingly, dark furniture has made its way into the kitchen and black and other darker hues are becoming the must-use colours. Dark shades are ideal for enhancing drama in a space and can be used for everything; you can paint the walls, use them for furniture, or adorn the space with bold-coloured accents.
Dark kitchens have slowly established their position in luxury real estate, so the trend is definitely here to stay. If you don’t know if you’re ready to welcome it into your house, here are the reasons homeowners love it.
Dark Walls Look Sleek and Elegant
If you are just starting your kitchen makeover project, you should turn your attention a little to colours you might have overlooked before discovering that the moody trend is hot. Consider painting your walls in a black shade of coal, onyx, or ebony or in a deep grey like gunmetal or elegant navy.
Until now dark hues were considered accent colours but now, they have taken centre stage and look extremely well when paired with the right cabinets. Interior designers use natural light, reflective surfaces, and even mirrors to make dark hues look more upbeat and brighter.
The trick to making dark-painted walls look more luxurious is to add texture. You could use wood panels to create an intricate model on the walls and obtain an interesting dimensional effect.
Black Kitchens Make Your House Look Different

By now, you already know that black kitchens are a hot trend, but you must be careful when you welcome dark hues inside your house because you can easily overdo it and make the space feel overwhelming. Black cabinets feel exclusive, and that’s probably one of the main reasons why many homeowners have started to explore installing them.
For a long time, people used to turn to lighter schemes for interior design, so they paid extra attention to the size and number of light bulbs, the use of mirrors, and where windows are placed. In this context, many homeowners feared using dark hues to decorate functional rooms like the kitchen.
If they did turn to them, they usually did it for rooms like the bedroom promoting a more intense intimacy.
However, experimenting with the darker colour scheme is the easiest way to make the kitchen feel more homely, which might sound surprising until you actually see a room designed according to the trend.
You Can Choose from Diverse Patterns and Designs
Similarly, when designing a light-coloured kitchen, choosing a darker scheme provides you with a wide range of patterns and solutions. The kitchen is no longer only the room where you cook food; it has evolved into a space where you spend time with your loved ones.
For some homeowners, it is the house’s most important room, so they pay great attention to how it looks and ensure it reflects their personality. Dark cabinets are the ideal choice for contemporary kitchens and look extraordinary in open layouts.
Installing dark cabinets can also separate the different areas in an open layout space by contrasting them with the rest of the furniture. Alternatively, you can choose cabinets that mix light and dark hues and enable you to highlight particular areas.
Dark Kitchens Conceal Scratches and Stains
You might spend a lot of time in the kitchen cooking for the entire family – or you might simply love to experiment with cooking dishes from different cuisines – hence, your furniture is prone to wear and tear.
The last thing you want is to spend extensive time cleaning the kitchen, so you decide to research before installing cabinets, cupboards, and a kitchen island. Dark hues come to rescue a busy kitchen because they have the inherent quality of hiding the scratches and stains cooking would produce.
It has a luxurious look and allows you to maintain it easily because black cabinets are usually more forgiving to wear and tear. This may be the most practical benefit if you’re a busy individual who uses the kitchen for different purposes.
Black Hues Give a Sense of Luxury
When you install dark-hued cabinets in the kitchen, you immediately feel the opulence radiating from the room. Depending on the colour you pick for the furniture, you can obtain different effects.
Dark grey is usually associated with elegance, sophistication, and royalty, while brown is usually described as rich and opulent. Black cabinets with splashes of red or beige can make a space look majestic.
A combination of two dark colours is even more interesting in terms of effect because it usually has a magnetic effect.
Leave your creativity to speak, and if you cannot decide upon a choice, you can take inspiration from Pinterest.
Dark Spaces Promote Contrast and Style
Dark colours have unique personalities, and if you don’t know how to work with them, hire a designer who will know how to use them in such a way as to create a space that draws attention.
A great thing about dark-coloured cabinets is that you can easily contrast them with lighter hues like pink, taupe, white, or nudes, making the kitchen look captivating. You can rely on the darker scheme to help compartmentalise areas according to the styling pattern you prefer.
What’s more to say?
Here you have them – the several reasons why dark kitchens are a hot trend at the moment. If you want to revamp your kitchen, this style is totally worth trying. However, ensure it matches the rest of the house because such a bold choice can disrupt the overall design.