Balancing the timeless character of an older home with contemporary comforts can be a rewarding yet intricate design challenge. These homes often feature unique architectural details, durable materials, and craftsmanship rarely found in modern builds.
Yet, outdated layouts, finishes, and systems can hinder everyday functionality. The goal is to enhance livability without stripping away the soul of the house. This requires thoughtful updates, subtle enhancements, and a deep respect for the home’s heritage.
Done right, modernizing an older home not only increases comfort and efficiency but also elevates its beauty and resale value.
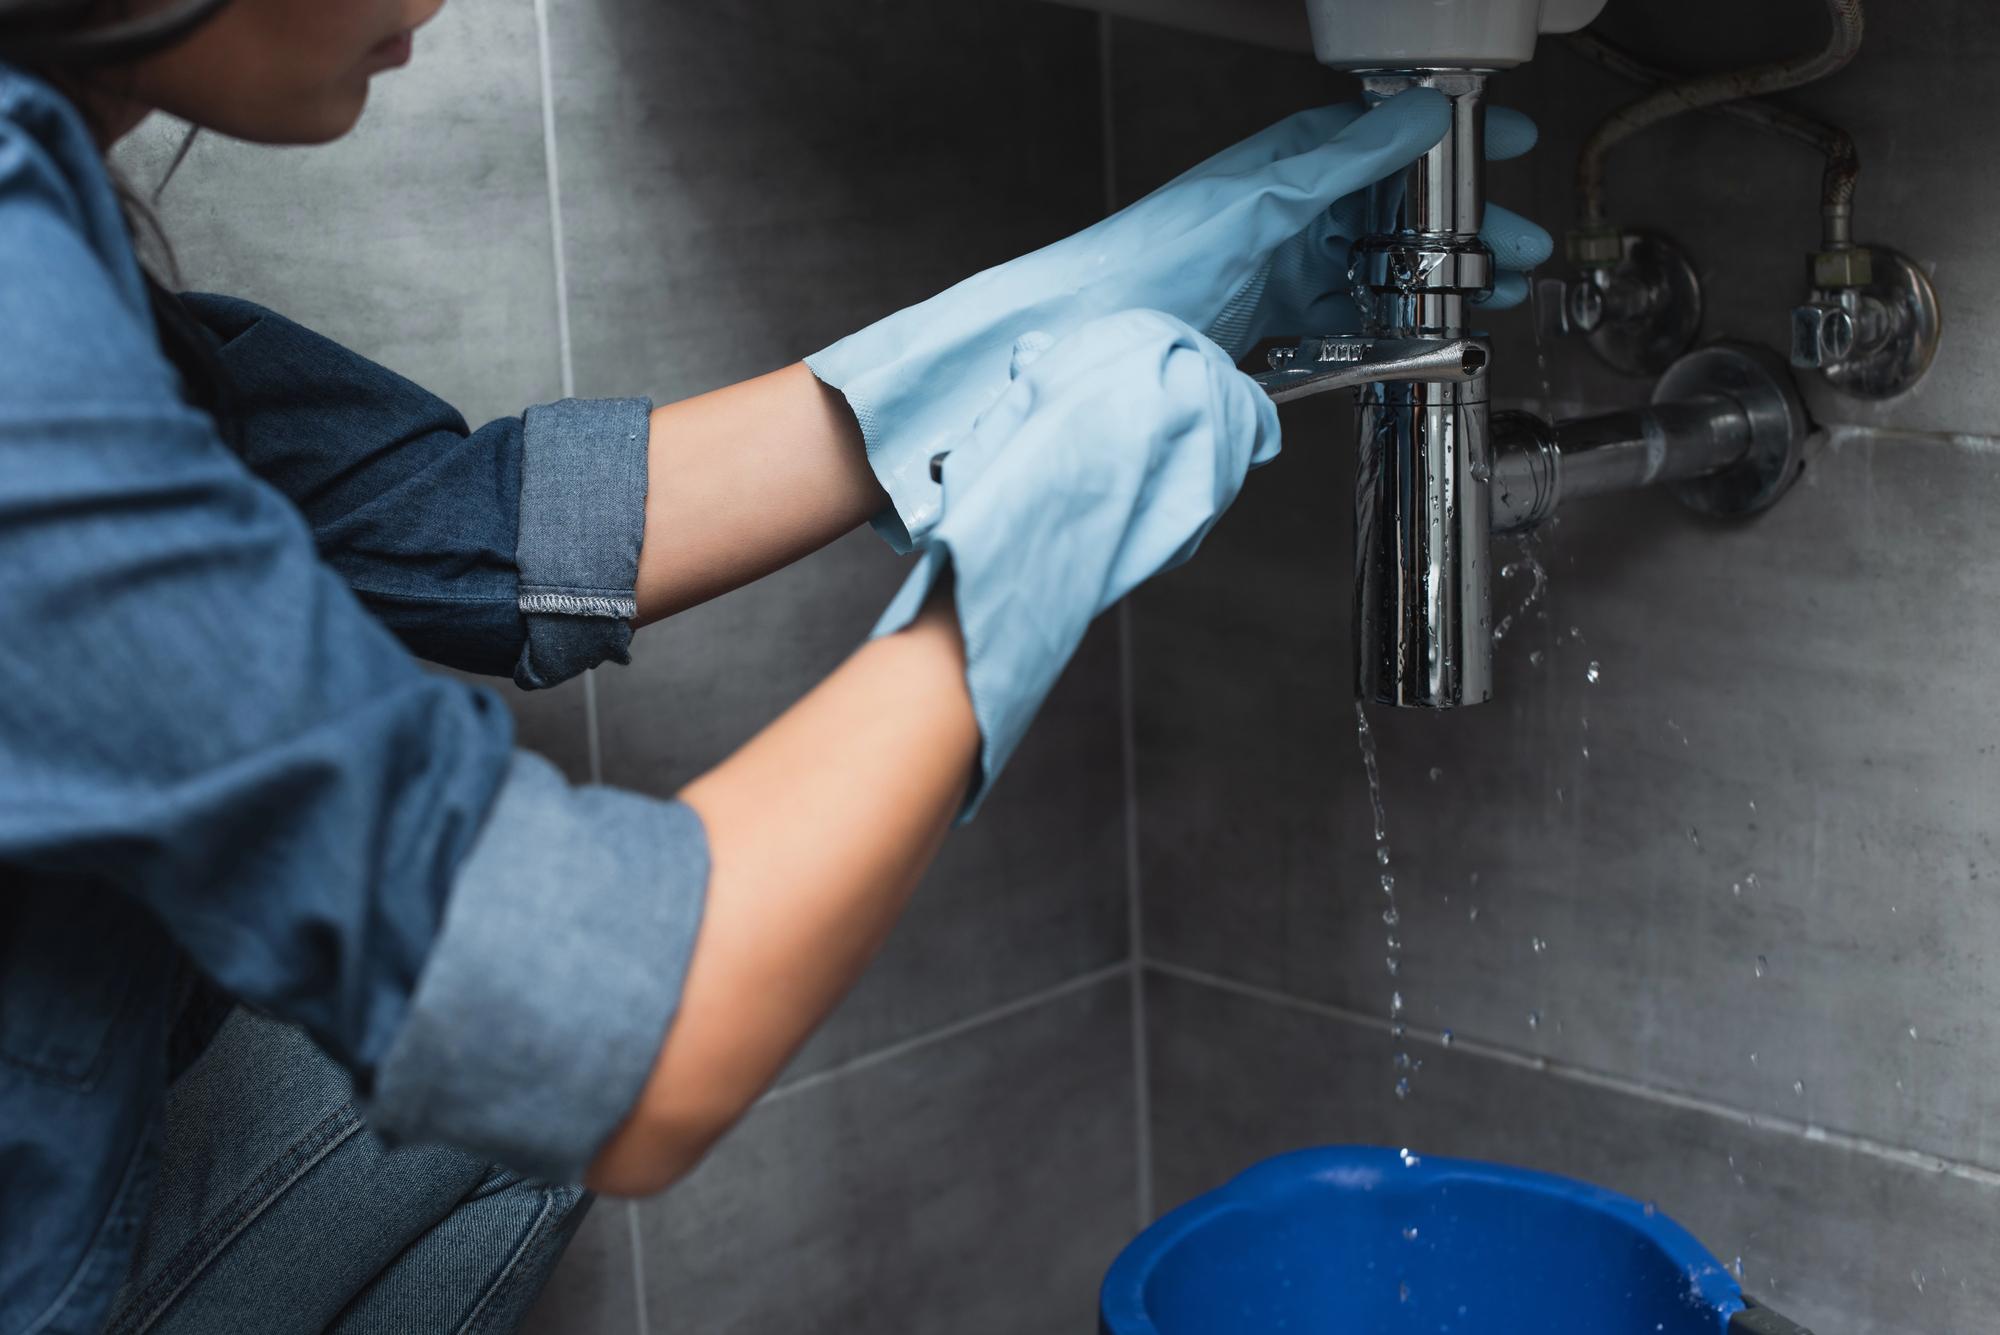
Enhancing Functionality Without Disrupting Elegance: Bathroom Innovations
The bathroom, while often smaller in older homes, holds significant potential for modernization. These spaces typically contain vintage fixtures, pastel tiles, and aging plumbing. While charming, they might lack the convenience, storage, or aesthetic that modern homeowners desire.
A smart renovation preserves unique elements like clawfoot tubs or mosaic tile floors while updating essentials like lighting, water fixtures, and ventilation systems.
To achieve a seamless blend of old and new, homeowners often consult a local bathroom remodeling company to create bespoke solutions that fit within the constraints of older architecture.
These professionals understand how to incorporate hidden storage, energy-efficient fixtures, and improved drainage without altering the structural integrity or design essence. Recessed lighting can replace dated fixtures, while neutral or earthy tile patterns can unify modern minimalism with vintage warmth.
Respecting Original Woodwork and Flooring
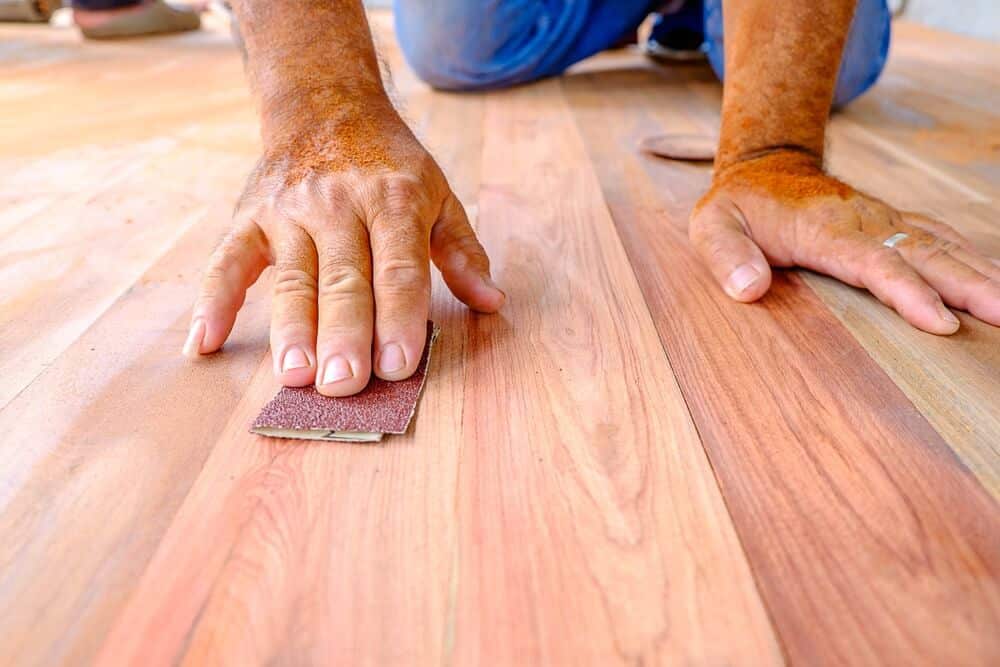
Original wood elements such as crown molding, baseboards, window trims, and hardwood floors are often irreplaceable. Their craftsmanship and materials tend to be superior to contemporary options. Rather than replacing them, restoring and integrating these features into the modern vision maintains authenticity.
Sanding, refinishing, and repairing wooden floors—especially with natural or matte stains—highlight the grain and warmth that define historical interiors. In cases where damage is irreparable, reclaimed wood of the same era can be used to patch or replace without compromising aesthetics. Molding and trims can be cleaned, repainted, or stripped to reveal their original luster.
Complementing these restored elements with neutral wall colors, simple furniture, and minimal decor allows the wood to become the star.
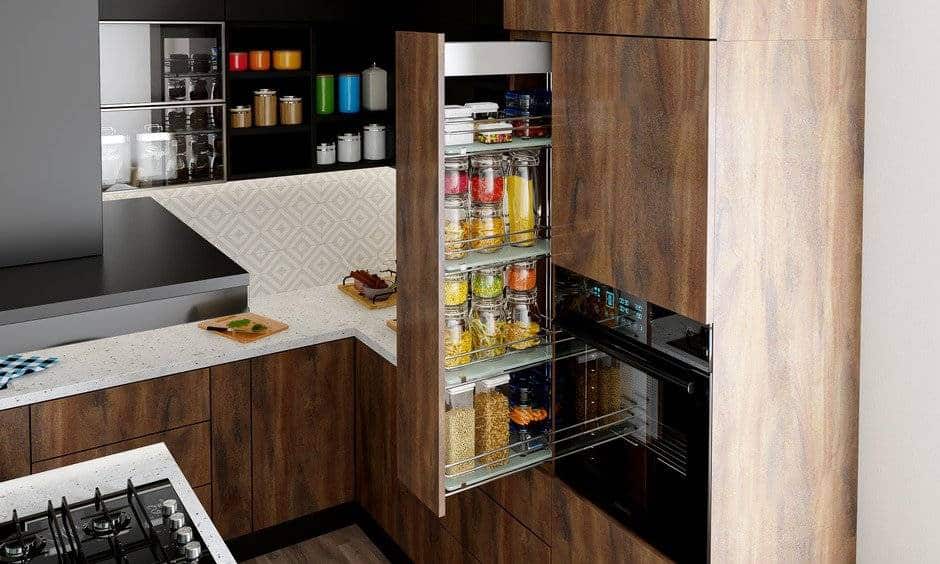
Updating the Kitchen with Thoughtful Restraint
The kitchen is often the most significant transformation in older homes. While it may have served previous generations well, today’s homeowners expect an open layout, efficient workflow, and ample storage. However, ripping everything out for a generic, ultra-modern kitchen can destroy the room’s soul.
Instead, start by retaining or replicating older details like butler’s pantries, built-in shelves, or original cabinetry where possible. Cabinets can be refaced or painted with contemporary colors, while updated hardware offers a subtle refresh. Replacing laminate countertops with natural stone or butcher block strikes a balance between durability and period authenticity.
Newer appliances can be integrated thoughtfully. Panel-ready refrigerators and dishwashers blend into cabinetry, avoiding a jarring contrast. Pendant lights over islands or dining areas bring in warmth and function, especially when chosen to reflect a vintage or industrial aesthetic.
Preserving Architectural Details in Living Spaces
Arches, ceiling medallions, transom windows, and wainscoting are just a few examples of the intricate details found in older living and dining rooms. These features lend character and depth—qualities often missing in new construction. Any modernization plan should aim to preserve or replicate these where possible.
Modern touches can still be layered onto these details without overwhelming them. For instance, replacing traditional drapes with streamlined roller shades maintains window emphasis while improving functionality. Smart lighting systems can be installed using vintage-style fixtures, offering the best of both eras.
Open-concept layouts, though popular, are not always necessary to achieve a modern feel. Instead, consider wider doorways, glass-paneled doors, or internal windows to create flow without removing walls.
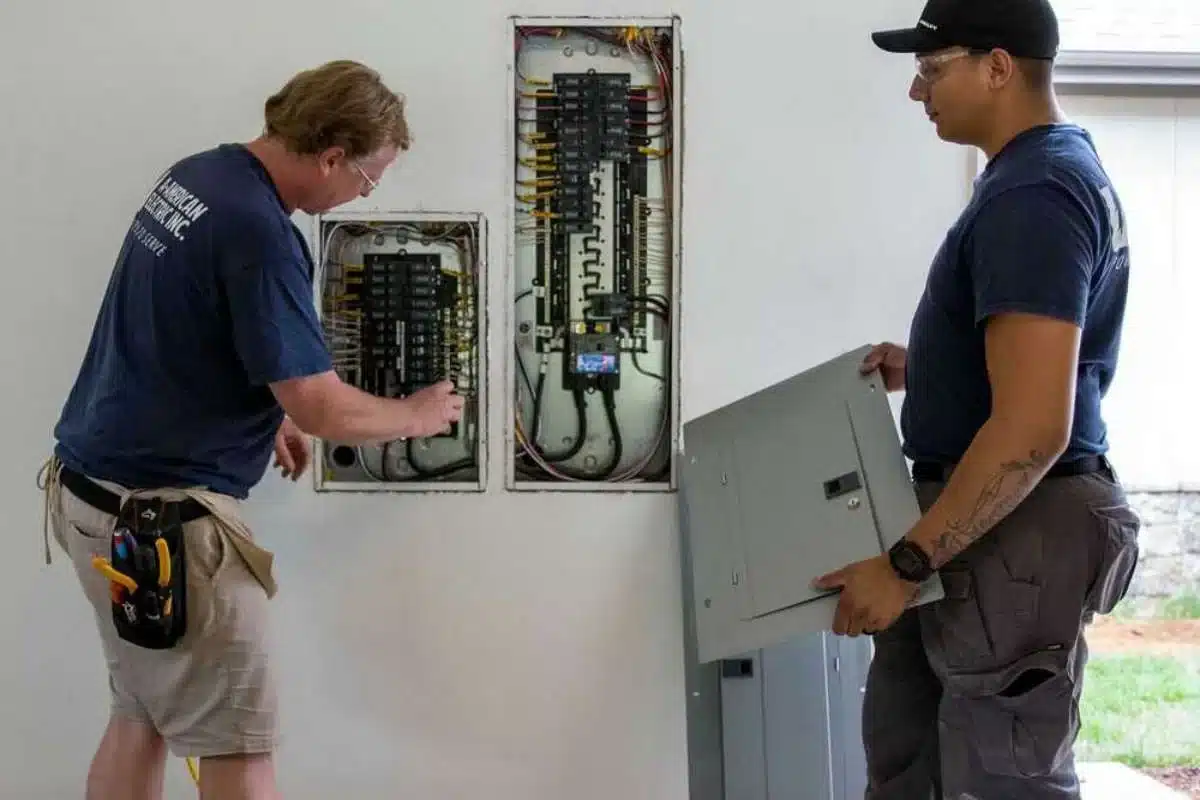
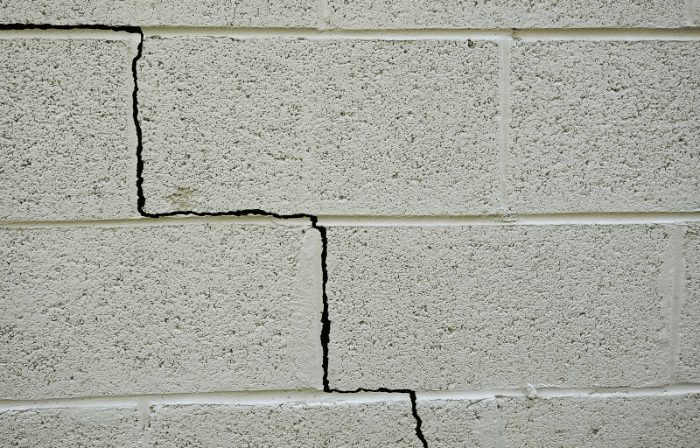
Energy Efficiency Without Exterior Alterations
Older homes often suffer from poor insulation, single-pane windows, and inefficient HVAC systems. Yet homeowners are often reluctant to replace original windows or alter facades that contribute to the home’s historic charm.
The solution lies in selective, hidden upgrades. Spray foam or blown-in insulation can be added behind walls or in attics without disturbing finishes. Window preservation specialists can retrofit existing frames with weatherstripping and secondary glazing systems. For heating and cooling, ductless mini-split systems offer zoned control with minimal structural intrusion.
Smart thermostats, LED lighting, and water-saving devices offer environmental and cost-saving benefits while remaining discreet. These subtle integrations dramatically improve comfort and energy performance without altering the visual identity of the home.
Integrating Modern Technology Subtly
Technology is essential in a contemporary home, but it often clashes with the classic look of an older interior. The key is to hide or camouflage tech components so they don’t distract from the design.
Wall-mounted TVs can be framed or disguised as mirrors or artwork when not in use. Speaker systems can be integrated into ceilings or behind walls. Smart home hubs can be tucked into drawers or designed to resemble antique pieces.
Lighting: Layering the Old with the New
One of the simplest yet most effective ways to modernize an older home is through updated lighting. Original fixtures like chandeliers or sconces can be rewired and paired with dimmers to retain ambiance while improving functionality.
Introducing layers of lighting—ambient, task, and accent—transforms spaces from dim and outdated to vibrant and versatile. Under-cabinet lighting in kitchens, wall washers in hallways, or uplighting for architectural details enrich the atmosphere.
Furniture and Decor that Bridge the Gap
Choosing the right furnishings can make or break the balance between old and new. Mixing clean-lined furniture with vintage or antique pieces creates an eclectic but cohesive look. Mid-century chairs paired with a Victorian table or a modern sofa with a tufted ottoman introduce contrast that highlights both styles.
Area rugs, throw pillows, and curated wall art help soften transitions. Incorporating materials like leather, linen, wool, and wood ensures a timeless, grounded feel. Colors should be intentional—neutral palettes with rich accent tones allow heritage features to pop while embracing a modern sensibility.
Modernizing an older home doesn’t require sacrificing character for convenience. With thoughtful planning, subtle enhancements, and a respect for history, it’s entirely possible to bring contemporary comfort into timeless spaces. By focusing on function, restoring beauty, and carefully layering modern elements, homeowners can craft environments that feel both fresh and familiar.