Renovating small spaces can be a daunting task, but with strategic planning and innovative ideas, you can transform even the most cramped rooms into spacious havens. Whether you’re dealing with a tiny bedroom, a compact living area, or a small kitchen, understanding how to make the most of your renovations can dramatically enhance the functionality and aesthetics of your home.
The Power of Colour in Renovations
Colour plays a pivotal role in the perception of space. Light colours, for instance, can make a room look bigger and brighter. Opt for soft tones of whites, blues, and greens to create a spacious atmosphere. These hues reflect more light, making a space feel open and airy, a crucial element in small room renovations. If you’re unsure how to apply these principles in your own home, consulting a Vancouver renovation company near me can help you select the right palette and design strategy tailored to your space.
Moreover, consider the ceiling colour as an extension of the walls. Painting the ceiling in a lighter shade than the walls can draw the eyes upward, creating the illusion of height. This technique can be particularly effective in rooms with low ceilings, helping to make them appear taller and more expansive.
Accent walls can also add depth and interest to a space. By choosing a darker or contrasting shade for one wall, you can create a focal point that draws attention away from the room’s size. This method adds character without overwhelming the room, maintaining a balance between style and space efficiency.
Utilizing Mirrors for Depth and Space
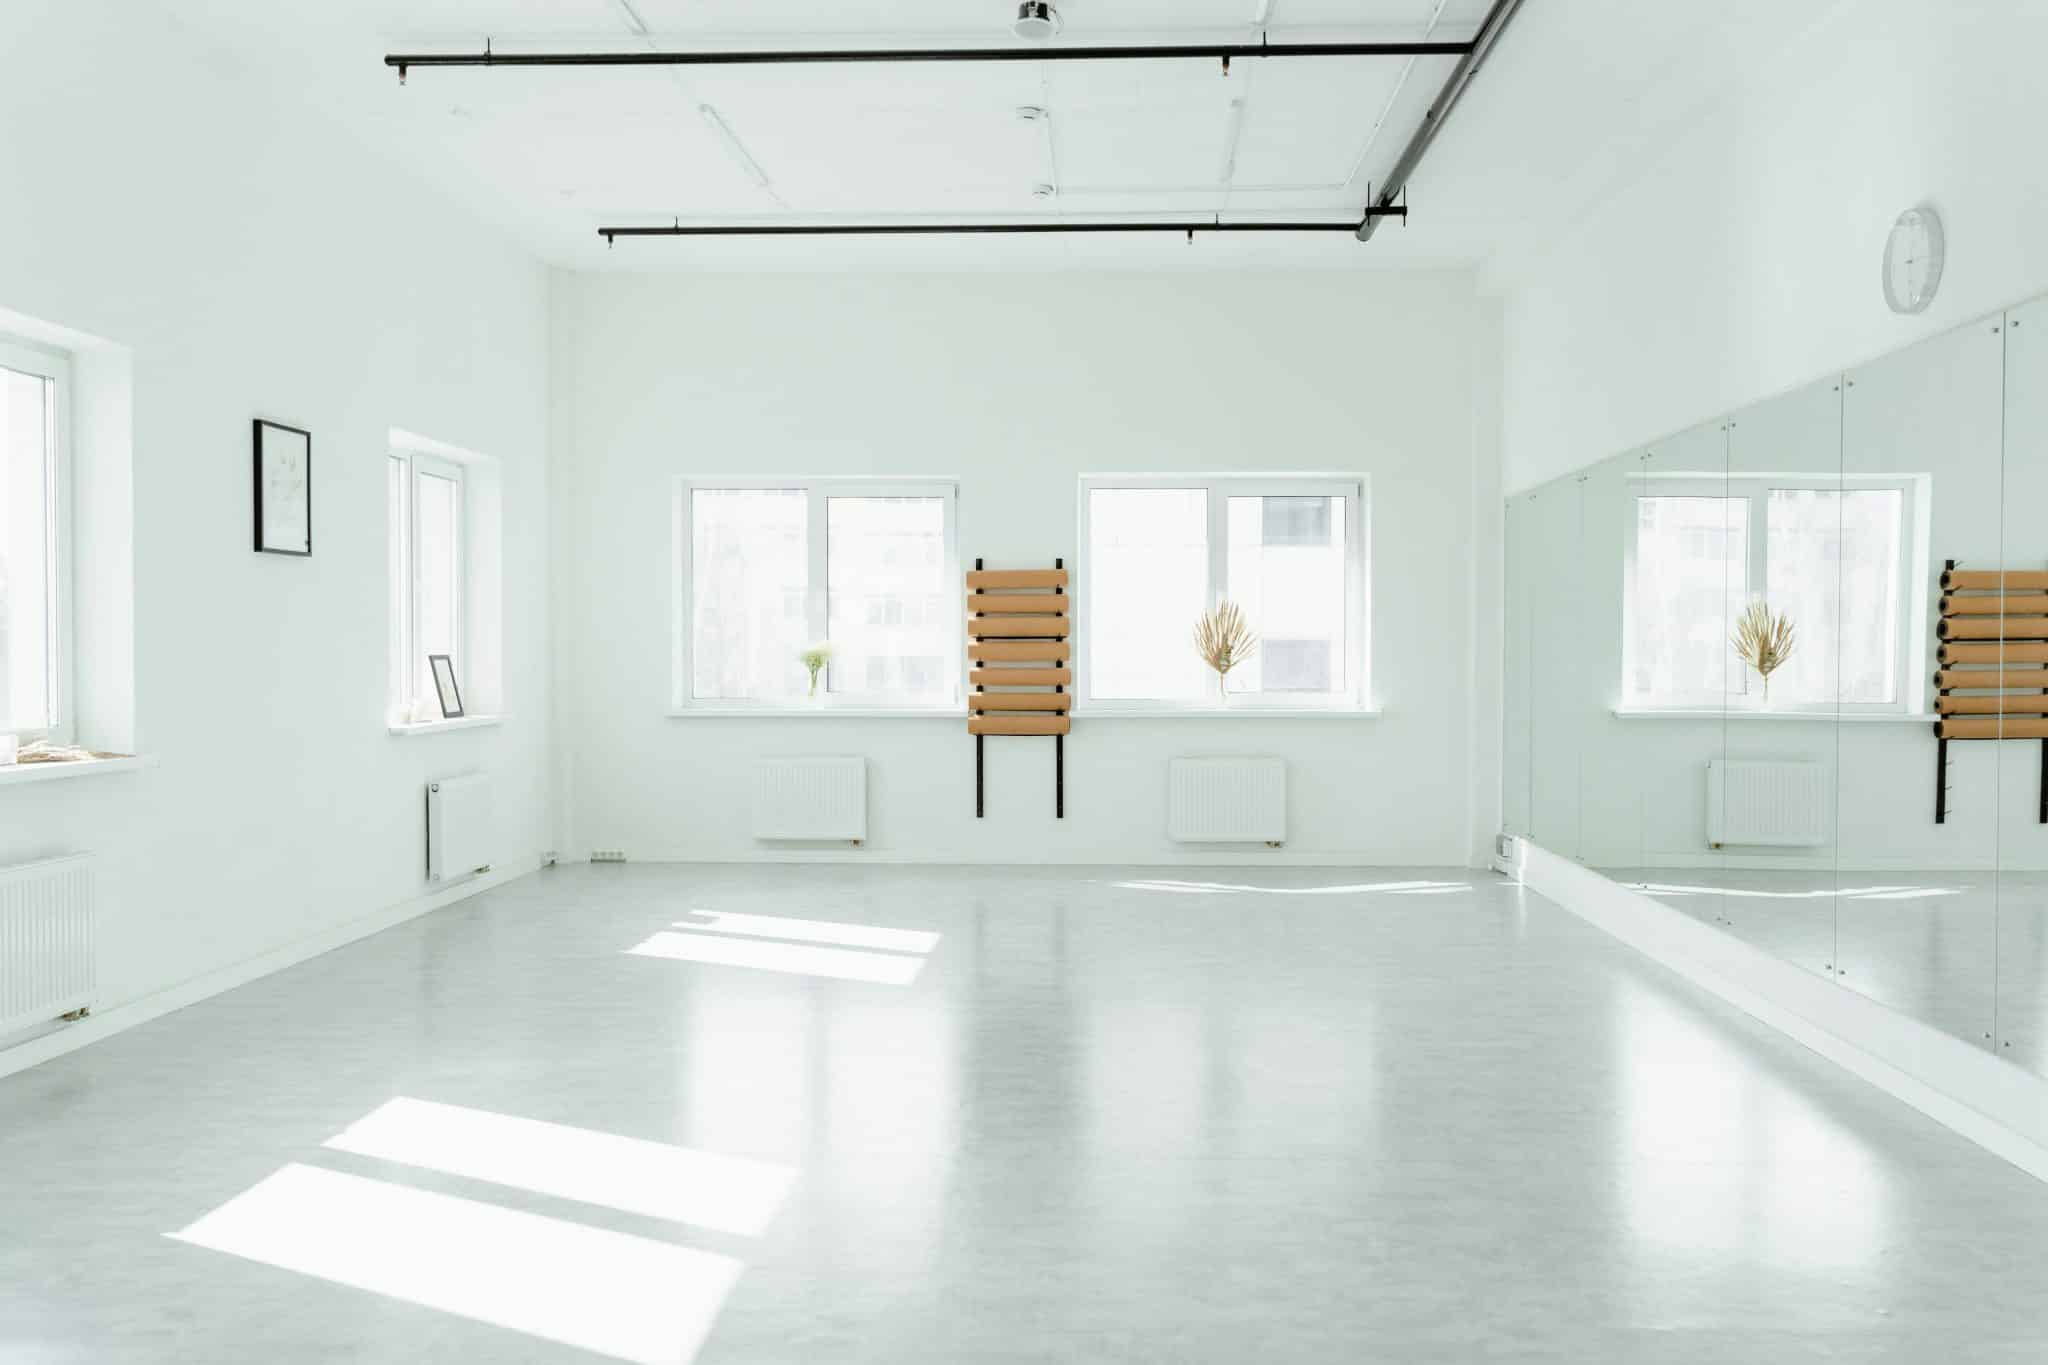
Mirrors are a designer’s best friend when it comes to making small spaces seem larger. They reflect light and views, tricking the eye into perceiving a bigger area. Strategically placing mirrors opposite windows can enhance natural light, instantly brightening the room and giving it a more open feel.
Consider incorporating large, framed mirrors or mirrored panels into your renovation design. These can be hung on walls or even used as part of furniture, such as mirrored cabinet doors. The reflective surfaces not only add a touch of elegance but also effectively double the visual space in a room.
Mirrors can also serve as statement pieces. A well-positioned mirror can act as a focal point, drawing the eye and adding depth to otherwise flat walls. By experimenting with different shapes and frames, you can find a mirror that complements your style while amplifying the room’s size.
Smart Furniture Choices for Small Rooms
Choosing the right furniture is crucial in small room renovations. Multi-functional pieces are ideal for maximizing space. Consider a sofa bed, a foldable dining table, or a coffee table with built-in storage. These versatile pieces ensure that every inch of your room is utilized effectively.
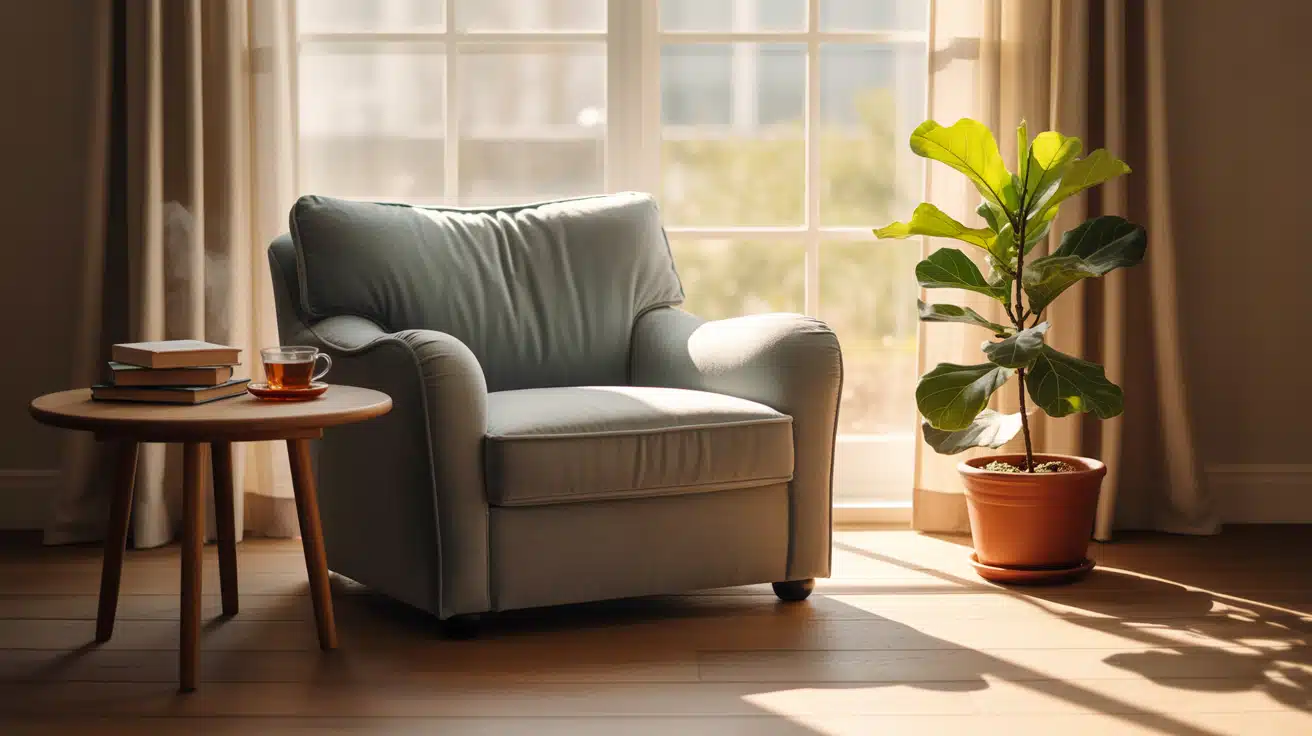
Opt for furniture that is proportionate to the room size. Oversized couches or bulky chairs can overwhelm a small room, making it appear cluttered and cramped. Instead, choose sleek, streamlined furniture that leaves ample floor space visible, enhancing the sense of openness.
Furniture placement also plays a significant role. Arranging pieces to maintain a clear pathway ensures a flow that contributes to the feeling of spaciousness. Additionally, floating furniture, such as wall-mounted shelves or hanging chairs, can free up floor space, making the room feel larger.
Open Floor Plans: Breaking Down Walls
Open floor plans have become increasingly popular in modern home design, and for good reason. Removing unnecessary walls can significantly enhance the feeling of space in small rooms. By creating a seamless flow between living, dining, and kitchen areas, you allow light and air to circulate freely, which can make the entire space feel larger.
Before embarking on such renovations, it’s essential to consult with a structural engineer or architect to ensure that the walls you plan to remove are not load-bearing. Once you have the green light, consider using partial walls, room dividers, or sliding doors to maintain some level of separation without compromising on openness.
When integrating an open floor plan, maintain consistency in flooring and decor to unify the space. This continuity reduces visual clutter and enhances the flow, making the entire area seem more cohesive and expansive.
Creative Storage Solutions to Maximize Space
In small rooms, storage is often a significant challenge. Creative storage solutions can help you keep clutter at bay, making the room feel more spacious. Built-in storage, such as shelves and cabinets, can be customized to fit awkward spaces, maximizing every available inch.
Consider vertical storage options. Tall shelves or cabinets draw the eye upward and make use of often-overlooked vertical space. Utilize the area above doorways or incorporate floor-to-ceiling bookcases to increase storage without encroaching on floor space.
Multi-functional storage pieces, like ottomans with hidden compartments or beds with drawers underneath, are excellent choices for small rooms. These items provide ample storage while serving a dual purpose, helping to maintain a tidy and organized space.
Lighting Techniques to Enhance Room Size
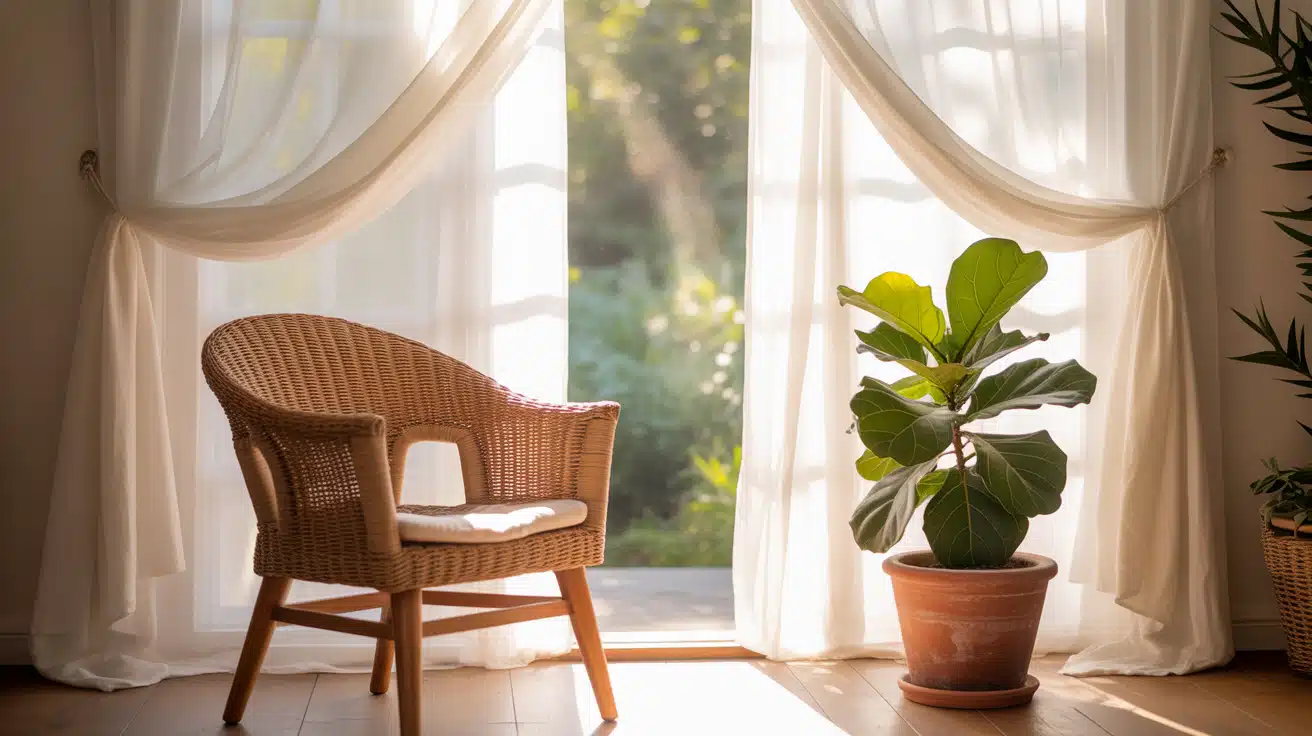
Lighting is a powerful tool in the art of creating the illusion of space. Natural light is your best ally, so maximize it by keeping windows unobstructed and using sheer curtains. Where natural light is limited, consider layering different types of artificial lighting to create warmth and depth.
Recessed lighting is an exceptional option for small rooms as it doesn’t take up any visual space. Combine this with strategically placed floor lamps or wall sconces to create a well-lit environment that feels open and inviting. Dimmers can also be a valuable addition, allowing you to adjust the lighting to suit different times of day and moods.
Mirrors, once again, can enhance the effect of lighting. By reflecting light sources, they can double the brightness of a room, further enhancing the perception of space. Consider placing lamps near mirrors to amplify their effect and create a warm, inviting atmosphere.
Choosing the Right Flooring for Small Areas
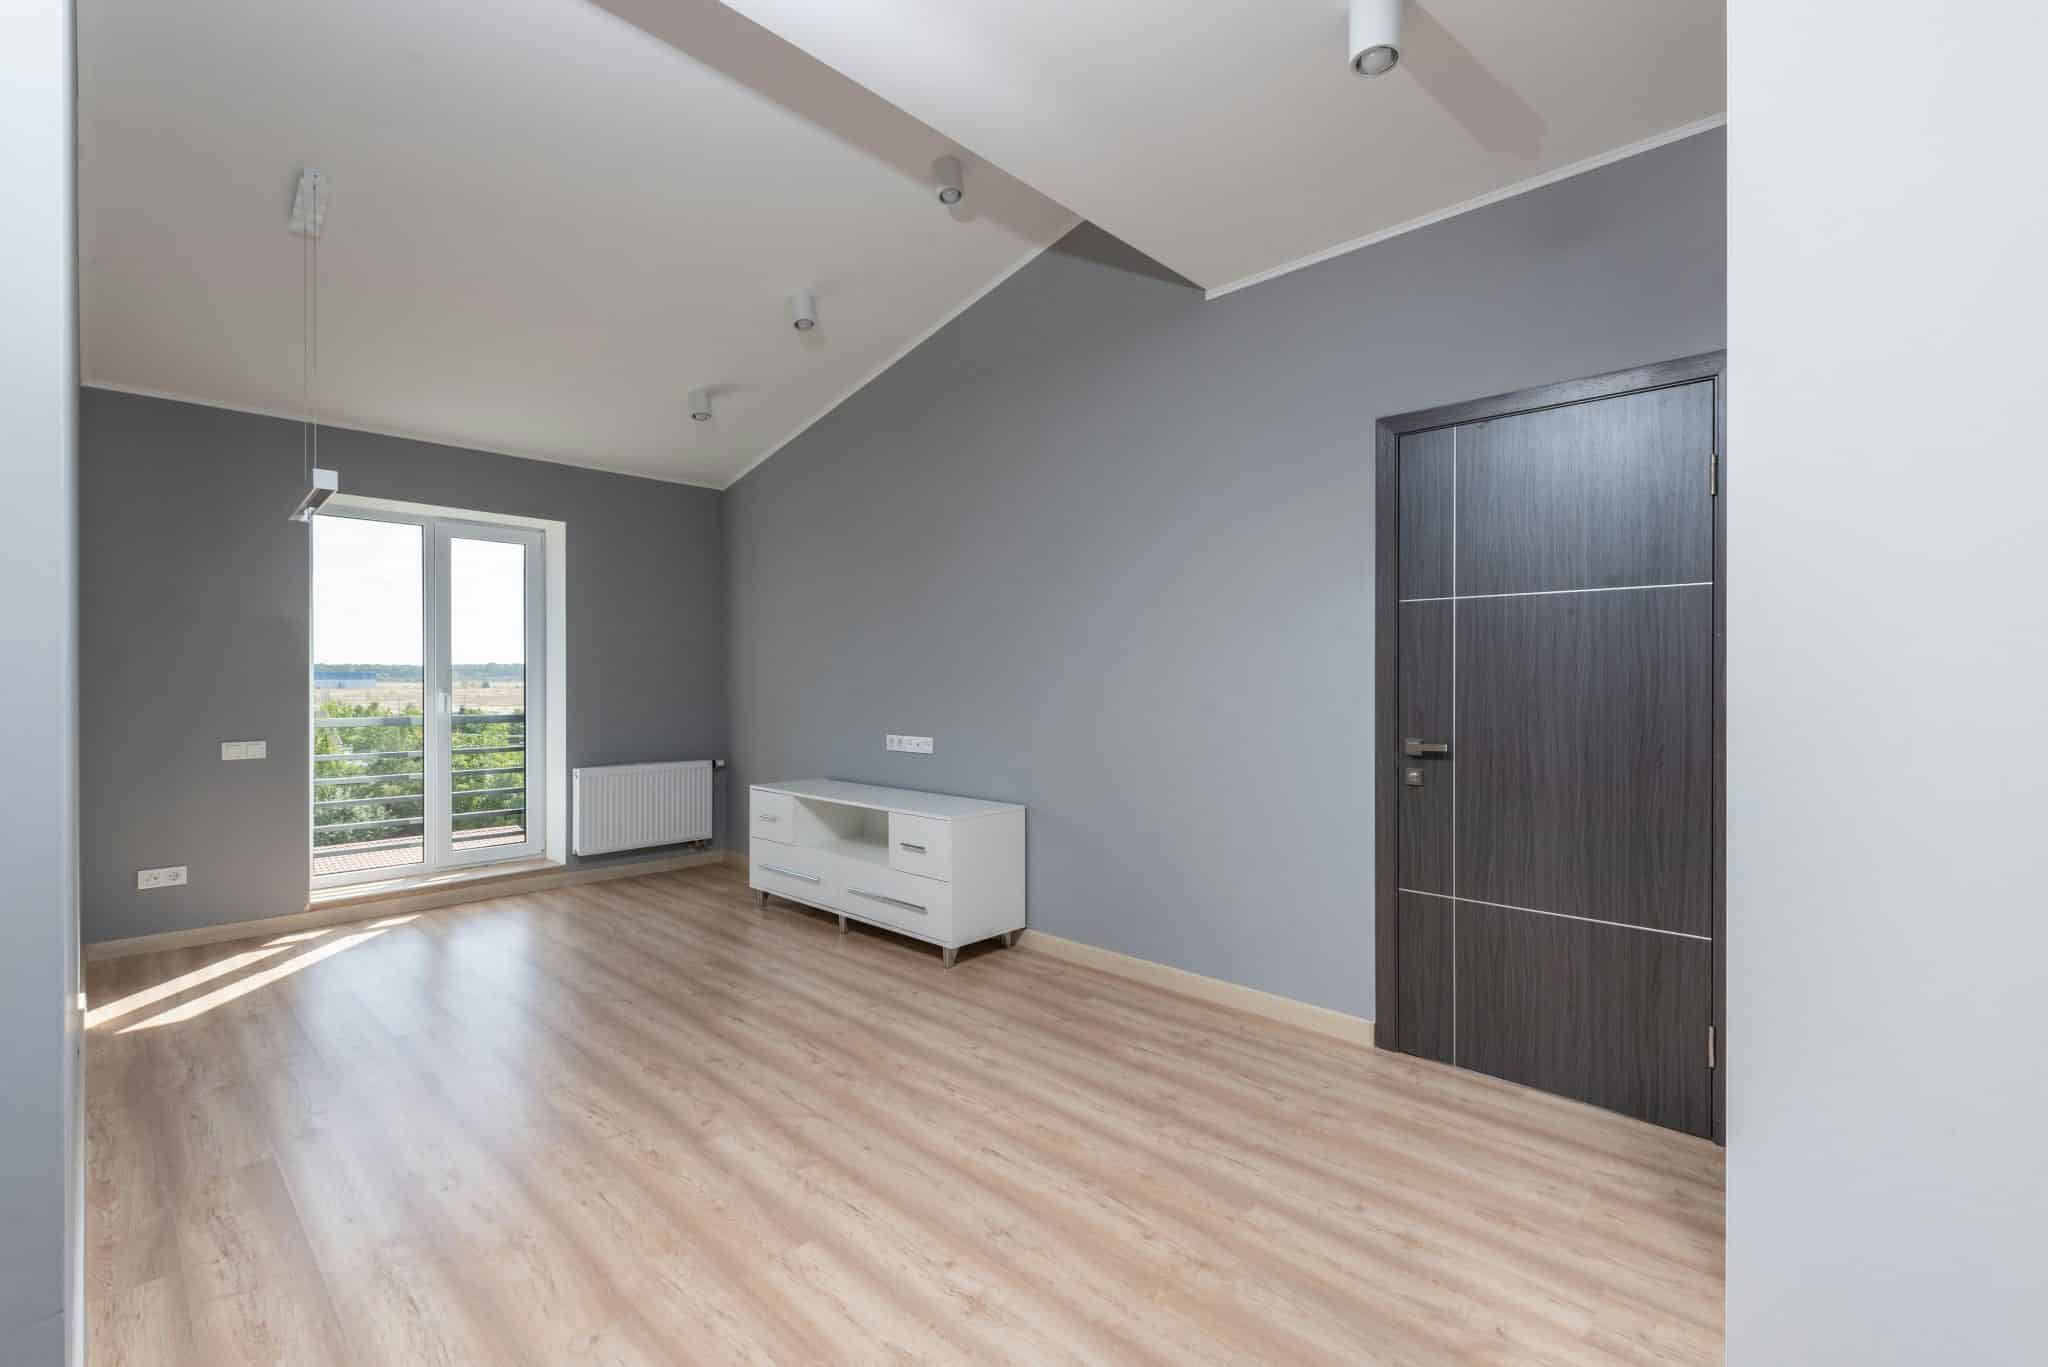
The type of flooring you choose can significantly impact how spacious a room feels. Light-coloured flooring is preferable in small spaces as it reflects more light and creates an airy feel. Options like light oak or bleached wood can open up a space and make it appear larger than it is.
Continuity in flooring throughout adjacent rooms can also enhance the perception of space. By using the same type of flooring in connected areas, you create a seamless transition, which promotes flow and makes the entire area feel more expansive.
If you’re working with a tight budget, consider vinyl or laminate flooring. These materials offer a wide range of finishes that mimic more expensive options like hardwood, giving you the look you want without breaking the bank. They are also easy to install and maintain, making them a practical choice for small room renovations.
Incorporating Vertical Space in Your Design
Utilizing vertical space is a key strategy in maximizing room size. High shelves, tall bookcases, and hanging plants can draw the eye upward, creating the illusion of height and spaciousness. This approach not only maximizes storage but also adds a dynamic element to the room’s design.
Consider using vertical storage units that reach the ceiling. These can store items that are not used frequently, keeping floor space clear for other activities. Additionally, vertical space can be used for decorative purposes, such as hanging artwork or installing wall-mounted lights. A study on the psychological effects of interior design has shown that certain visual cues—like extended vertical elements—enhance perceived spaciousness and openness in a room.
When incorporating vertical elements, balance is essential. Ensure that these elements do not overwhelm the room by maintaining a consistent style and colour palette. This cohesion helps in maintaining a sense of order and spaciousness.
Budget-Friendly Renovation Ideas for Small Rooms
Renovating small spaces doesn’t have to be costly. There are plenty of budget-friendly ideas that can make a significant impact. Start with a fresh coat of paint; it’s a simple and cost-effective way to change the look and feel of a room. Opt for light colours to enhance brightness and create an open atmosphere.
DIY projects can also help save money while adding a personal touch to your renovations. Consider refurbishing old furniture or creating custom storage solutions. There are countless tutorials available online that can guide you through these projects without the need for professional assistance.
Finally, prioritize your renovation efforts. Focus on high-impact areas that will make the most significant difference, such as lighting and storage. By allocating your budget wisely, you can achieve a spacious and stylish look without overspending.
Summary
Renovating small rooms to feel bigger is an achievable goal with the right approach and mindset. Remember, the key to successful renovations lies in strategic planning and creativity. Each decision should contribute to the overall goal of maximizing space while maintaining a cohesive and stylish aesthetic. With patience and effort, your small rooms can be transformed into functional and beautiful areas that meet all your needs.