Educational video content has become an integral part of our lives, whether it’s for professional purposes or personal enjoyment. Sometimes, we may find ourselves needing to zoom in on certain parts of a video to emphasize details or enhance the overall viewing experience.
For instance, in a history lesson, a teacher can zoom in on a map to emphasize the important locations or zoom in on a specific image to discuss its historical significance. In subjects like science or practical skills, videos often showcase experiments, demonstrations, or step-by-step procedures. Zooming in during such moments allows you to bring attention to specific actions, equipment, or chemical reactions. This way, students are less likely to miss any critical steps or details.
To help you achieve the perfect zoom, we have compiled a list of the best 3 programs: WeVideo, Clipify, and Adobe Premiere Pro. Let’s dive into the world of video editing and explore how these programs can elevate your projects to new heights.
WeVideo
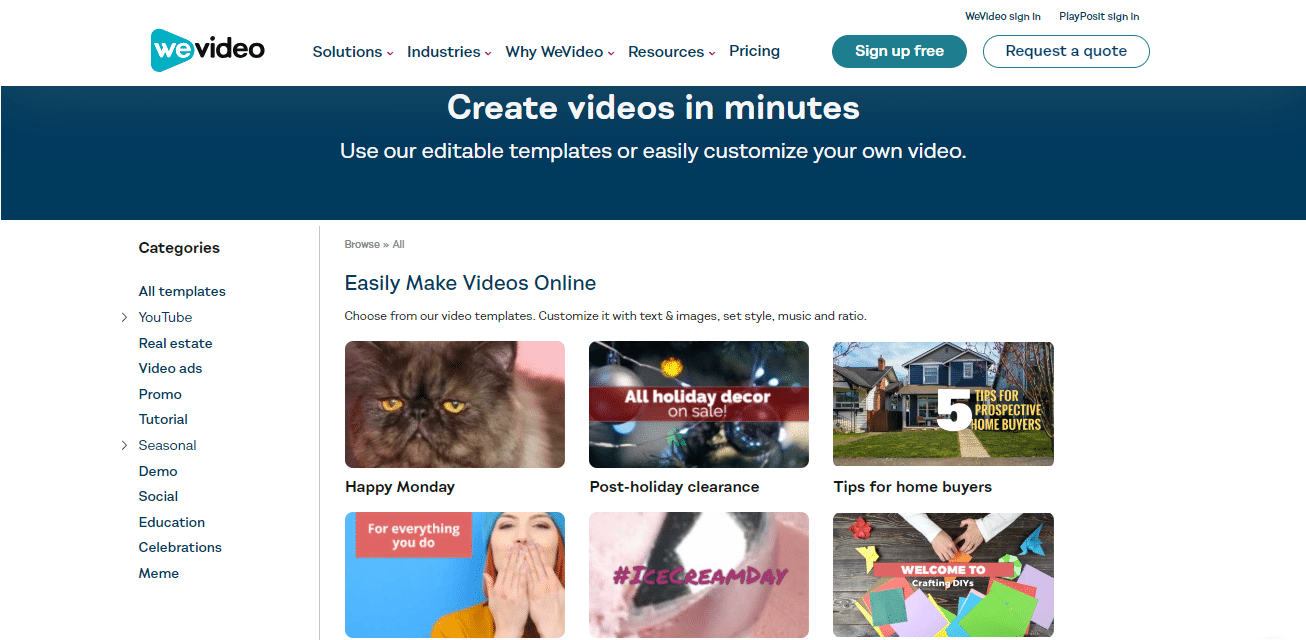
WeVideo is a powerful and intuitive cloud-based video editing platform. It has become a go-to tool for professionals, educators, and individuals looking to create high-quality videos. The platform also offers a vast library of royalty-free music, stock footage, and graphics to add a creative touch to your projects. This is how to zoom in on a video using WeVideo:
Step 1. Import a video
Begin by uploading the video to the WeVideo platform. You can either import the video directly from your device or use the program’s integration to import videos from cloud storage services.
Step 2. Add the clip to the timeline
Drag and drop the video onto the timeline, where you can perform various editing tasks.
Step 3. Zoom in on your video
Under the Transform tab, use the scale section to zoom in or out of your clip. Adjust the zoom level by dragging the slider or entering the desired values. Then hit Save Changes.
Step 4. Preview and export
Preview the clip to make sure the zoom effect is as desired. Once satisfied, export the video in your preferred format and resolution.
Clipify
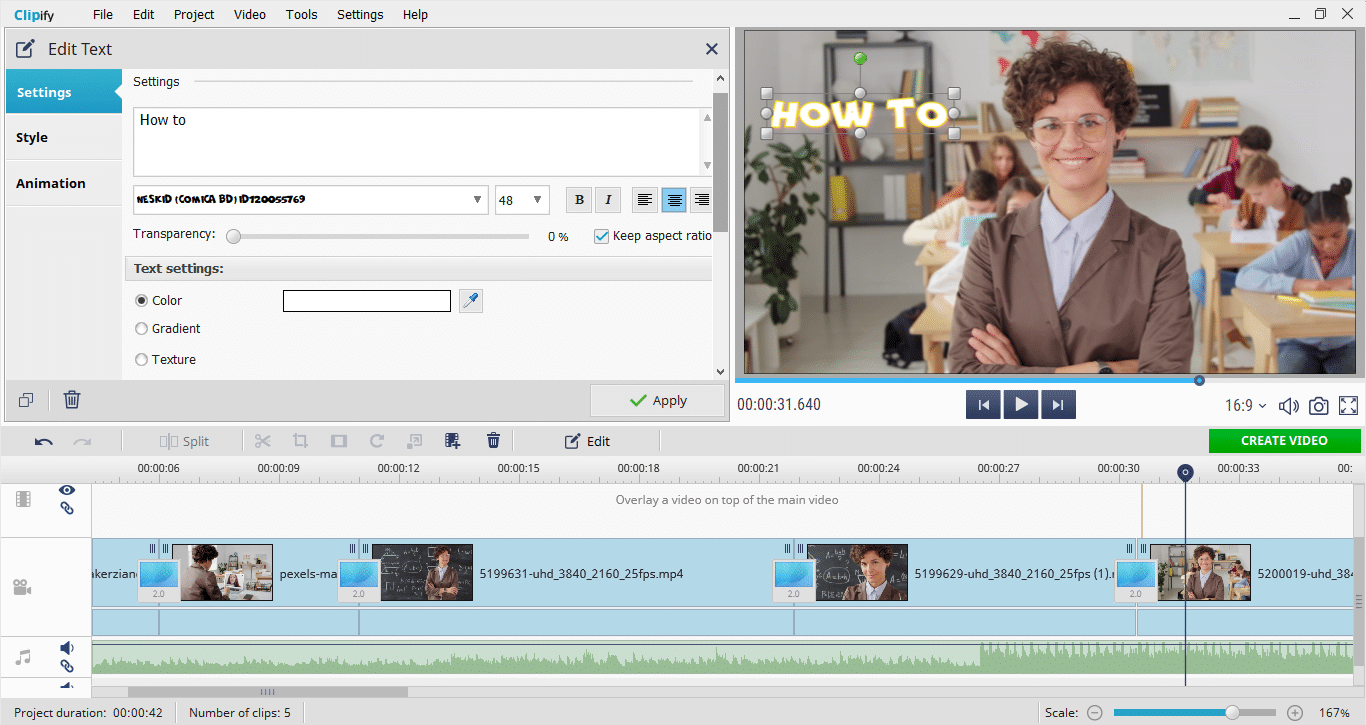
Looking for video editing software that is powerful and easy to use? Then take a look at Clipify. This is an automatic video editor with zoom effects that you can apply to your footage with just one click. There are also such useful features as background replacement, screencasting, speed adjustment, voiceover, one-click stabilization, and so on. Clipify was created with beginners in mind, so you can edit your videos with no problem right after installation. Here are the simple steps you need to follow to zoom in on a video with this program:
Step 1. Load Your Files
To import your files, click Add Videos and Photos. You can also drag and drop the files to the timeline.
Step 2. Add a Zoom-In Effect
Click Edit and open the Pan & Zoom tab. Here, you’ll find ready-to-use effects such as Zoom in, Zoom out, Move right, etc. – select one and click Apply. You can also choose Custom Settings to customize the effect to your liking.
Step 3. Save Your Video
Hit the Create Video button to choose the needed file format, file size, and resolution. Clipify allows you to save videos for popular smartphones, websites, and so on.
Adobe Premiere Pro
If you have time and energy to master a pro-grade video editor, you can try Adobe Premiere Pro. It is widely used in the film, television, and other industries for editing, color correction, visual effects, and audio post-production. Also, Premiere Pro integrates with other Adobe Creative Cloud applications, such as Adobe Photoshop and After Effects. However, zooming in on a video with Premiere Pro can increase the file size, especially if you are working with high-resolution footage. This can impact storage space and may require additional rendering time. If you don’t mind that, then launch the software and create the effect by following these instructions:
Step 1. Drag the video to the timeline
Once your video is imported, drag and drop it onto the timeline. This will allow you to view and edit your footage more easily.
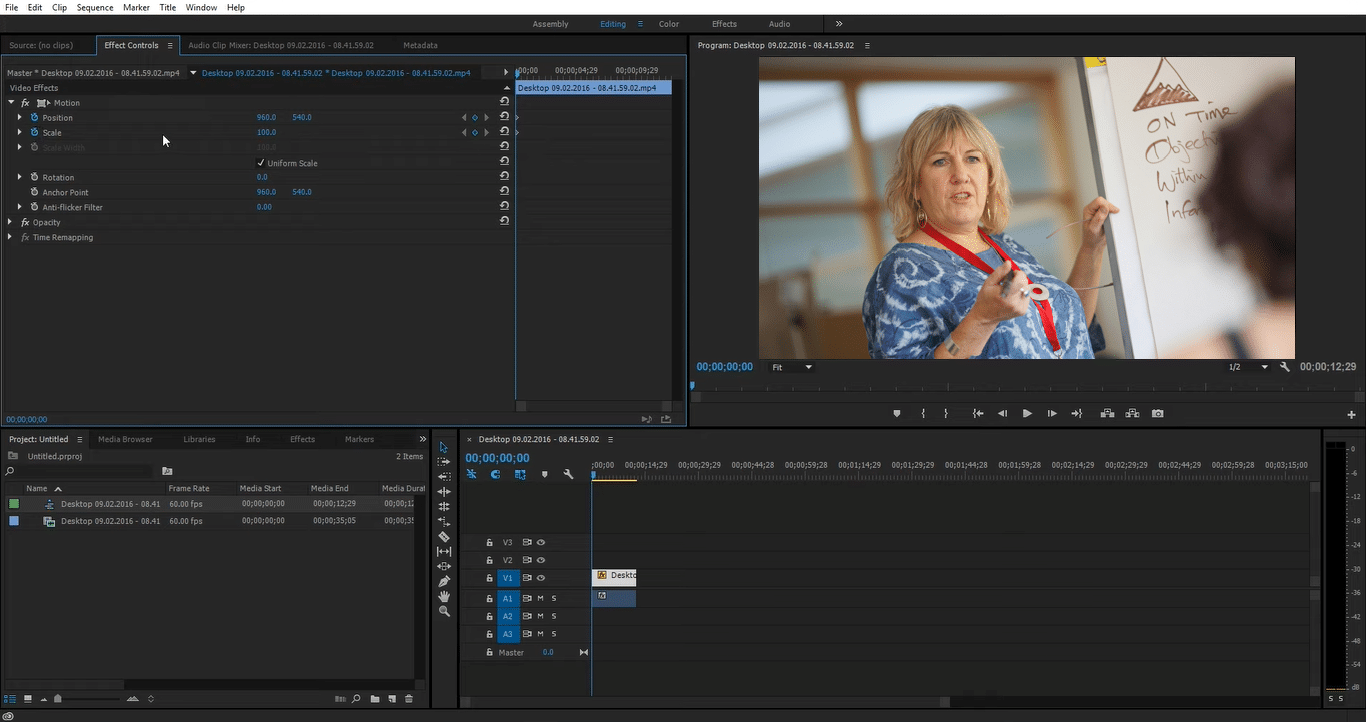
Step 2. Open the Effects Controls panel
To zoom in on a specific part of your video, you will need to access the Effects Controls panel. To do this, select the video clip in the timeline and navigate to the Window menu. From there, choose Effects Controls to open the panel.
Step 3. Adjust the Scale property
In the Effects Controls panel, locate the Motion section. Here, you will find the Scale property. To zoom in on your video, increase the value of the Scale property. You can adjust it manually or use the slider to achieve the desired level of zoom. Play the video to preview the zoom effect.
Step 4. Keyframe the zoom effect
If you want to create dynamic zooming effects, you can use keyframes to control the timing and intensity of the zoom. To do this, click on the stopwatch icon next to the Scale property in the Effects Controls panel. This will enable keyframing. Move the playhead to the desired frame, adjust the Scale property, and Premiere Pro will automatically create a keyframe. Repeat this process for each keyframe you wish to add.
Bottom Line
Now you know 3 effective ways to emphasize a part of your footage. If you want to learn more, read a step-by-step tutorial on how to zoom in on a video. To sum things up, the choice of program depends on your specific needs and expertise. Whichever video editor you use, adding a zoom-in effect to your educational videos will undoubtedly enhance the learning experience for your audience. So, decide on the video editing software, launch it, and get started today!