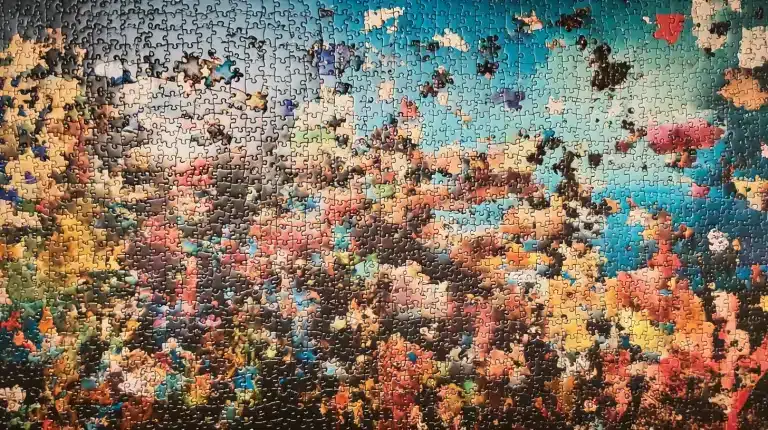
After hours (or days) of piecing together a puzzle, there’s an undeniable sense of accomplishment when you slot the final piece into place. It’s a moment worth celebrating—but then the big question arises: What do you do with it now?
Instead of dismantling all your hard work and putting the puzzle back in the box, why not explore creative and meaningful ways to give your finished masterpiece a second life? Here are five ideas to inspire you.
1. Frame It as Artwork
Turning your finished puzzle into a framed piece of art is a wonderful way to showcase your accomplishment.
It’s an easy and rewarding way to preserve the time and effort you’ve invested while also adding a unique decorative piece to your home.
How to Frame Your Puzzle
To frame your puzzle, start by securing the pieces together. You can use puzzle glue, which is readily available online or at craft stores, to adhere the pieces in place.
Apply an even coat across the surface, making sure it seeps into the cracks between the pieces for a solid hold.
Once dry, carefully transfer the puzzle onto a sturdy backing, like a foam board, and then place it in a quality puzzle frame.
Where to Display It
Choose a frame style that complements your puzzle’s design and the decor of the room where it will hang. Finished puzzles of scenic landscapes, famous works of art, or intricate patterns make for stunning wall art. Hang it in your living room, bedroom, or even a cozy reading nook to spark conversations and showcase your achievement.
2. Turn It Into a Coffee Table Top
If you’re looking for a functional yet eye-catching way to repurpose your puzzle, consider turning it into a coffee table top. This option allows you to enjoy your puzzle regularly while adding a personal touch to your living space.
Steps to Create a Puzzle Table
Start by securing your puzzle with glue, as you would for framing it. Once it’s dry, measure the dimensions of the puzzle and choose a table or base that fits. You can either place the puzzle under a sheet of tempered glass for protection or use a resin coating to seal it directly onto the table’s surface.
Make It a Conversation Starter
A puzzle coffee table is not just functional; it’s also a great conversation starter. Choose puzzles with vibrant colors or interesting themes that resonate with your personality or interests. Whether it’s a map, a vintage design, or an abstract pattern, your table will tell a story and reflect your creative side.
3. Create Custom Coasters or Trivets
For a smaller, more practical way to repurpose your puzzle, why not turn it into coasters or trivets? These everyday items are both functional and fun, and they make for great gifts as well.
How to Make Puzzle Coasters
To create coasters, select sections of your finished puzzle that are roughly 4×4 inches or larger. Glue the pieces together and cut them into uniform squares using a craft knife or scissors. Next, attach a layer of cork or felt to the underside to prevent scratching surfaces, and seal the top with a waterproof finish, such as resin or Mod Podge.
Use Trivets for Hot Dishes
For larger sections of your puzzle, follow the same process to create trivets for hot dishes. These are perfect for protecting your kitchen counters or dining table while adding a decorative touch to your meal presentations.
4. Turn It Into a Gift for Someone Special
A completed puzzle can make a thoughtful and unique gift for a loved one. With a little creativity, you can transform it into something meaningful that they’ll treasure.
Ideas for Puzzle-Based Gifts
- Personalized Greeting Cards: Choose a smaller section of the puzzle or a single, standout piece and glue it onto a blank card. Write a heartfelt note inside, and you’ve got a one-of-a-kind greeting card.
- Custom Wall Art: Create a mini-framed puzzle and gift it to someone who shares your interest in the design or theme.
- Ornaments: Cut small sections of your finished puzzle and attach ribbons or hooks to turn them into holiday ornaments. These make lovely keepsakes for friends and family.
Add a Personal Touch
If you know someone who loves puzzles as much as you do, include a little note about the process and why you chose this particular puzzle. Sharing the story behind the gift adds a layer of meaning and thoughtfulness that will make it even more special.
5. Use It as a Scrapbook Background or Decor
Your puzzle doesn’t have to remain in its original form to be appreciated. You can use the pieces or sections of your finished puzzle in a variety of creative projects, like scrapbooks or other crafts.
Scrapbook Backgrounds
Puzzles with intricate designs or vivid colors make for excellent scrapbook backgrounds. Simply glue the puzzle onto a large sheet of scrapbook paper or cardstock and use it as the base for your photos, stickers, and notes. The puzzle’s design adds texture and visual interest to your memories.
Crafting with Puzzle Pieces
If you’re feeling extra crafty, break the puzzle into individual pieces and repurpose them. Here are a few ideas:
- Jewelry: Glue small puzzle pieces together to create unique pendants, earrings, or bracelets.
- Home Decor: Arrange pieces into a heart shape, wreath, or abstract pattern and frame them for a whimsical wall display.
- Party Decorations: Use puzzle pieces as confetti, place cards, or table accents for a puzzle-themed event.
Get the Family Involved
Scrapbooking and crafting are also great activities to do with family or friends. Involve others in the process to create meaningful keepsakes that everyone can enjoy.
The Last Piece
Finishing a puzzle is an achievement worth celebrating, so why let your hard work disappear back into the box?
Whether you choose to frame it, turn it into functional decor, or repurpose it for gifts and crafts, there are countless ways to give your puzzle a second life.
Each option not only helps you preserve your accomplishments but also allows you to share your creativity and personality in unique and meaningful ways.
So the next time you complete a puzzle, think outside the box and try one of these ideas—you might just be surprised at how rewarding it can be!

