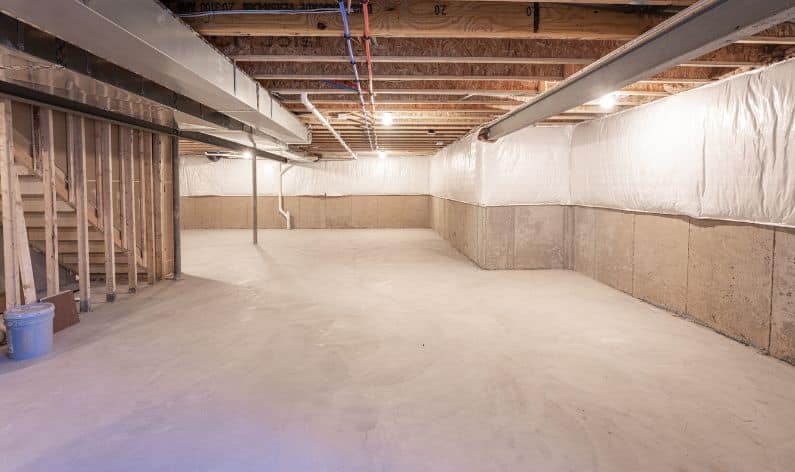
Basement inspections and renovations are a must to ensure a home’s structural integrity. However, they can cost a lot. Do you want to get your basement renovated but don’t have enough budget to hire a professional? Don’t worry! You can waterproof your basement yourself if you have average DIY skills. This blog post can help you discover pocket-friendly basement improvement ideas.
Repair the Cracks and Gaps
Foundation cracks can appear in basement walls due to several problems, such as improper construction, soil expansion, poor drainage, plumbing leaks, and hydrostatic pressure. The cracks look unsightly and indicate serious underlying structural problems. You can repair small cracks yourself by following some simple steps.
Supplies:
- Polyurethane or epoxy injection kit
- Safety gear
- Clean masonry sand
- Wire brush
- Clean water and rags
- A measurement tape or ruler
- Hydraulic cement
Procedure:
Identify the cracks on basement walls and measure their size using a measuring tape or ruler. Then, use a chipping hammer to create a rough surface. Sweep off the clippings using a wire brush. Following this, mark points spaced at least 6-12 inches apart along the crack on the wall. Drill holes at these points at an acute angle, interesting the crack halfway through the wall. Install injection ports in drilled holes.
Now, follow the instructions on the manufacturer’s guide to prepare the sealant injection. Start injecting from the lowest port and keep injecting until the foam comes out of the adjacent port. Use the same process to fill in holes. After sealing all holes, remove the injection ports and use hydraulic cement to fill the holes.
Paint the Basement Walls
Another effective basement waterproofing strategy is to apply water-resistant paint to the basement walls. Follow this basic painting guide to keep your basement moisture-free.
Supplies:
- Bristled brush
- Soapy water
- Masonry paint
- Primer
- Personal Protective Equipment
- Masonry roller and tray
- Sponge
Procedure:
Start by removing mold and debris from the basement walls using soapy water and a sponge. Scrap any rough concrete to create a smooth surface. After preparing the walls, apply two coats of oil-based primer on the walls.
Ensure a few hours of drying in between the two coats. Pour the paint of your choice into the masonry tray. Then, use a roller to apply the first coat of paint. Apply the second coat only after the first coat completely dries. And you’re done painting the basement wall!
Install Retractable Screen Doors
Retractable screen doors are beneficial in many ways, for instance:
- They illuminate your basement with natural light.
- They are a source of cool breeze in your basement.
- They keep your foundation dry.
Installing screen doors can be cumbersome, especially if you are new to DIY stuff. Being calm and cautious is the key to a successful installation.
Supplies:
- Screwdriver
- Measuring tape
- Power drill
- Hand-held power saw
- Needle nose pliers
Procedure:
First of all, measure the door opening in several places inside the door frame. Record the smallest reading and then subtract 1/16” from the net reading if you are using transition. You already have taken the reading before ordering the door, but doule checking measurements before installation can save you from potential issues. Remove any obstacles and debris from the door opening.
Install the mounting brackets by positioning the top bracket at the top of the doorway. Use a level to check if it is straight. Mark screw holes with a pencil and drill holes, installing the top mount bracket. Now slide your retractable screen door assembly into the top mounting bracket, making sure it aligns appropriately.
Now install the bottom tract on the floor where your door will slide. Align it with the door, mark and drill holes, and secure the track in place. Now attach the roller mechanism, ensuring it lines up with the bottom track.
Now, check whether your screen door opens and closes smoothly. If it does, adjust the tension according to the user guide.
Install a Dehumidifier
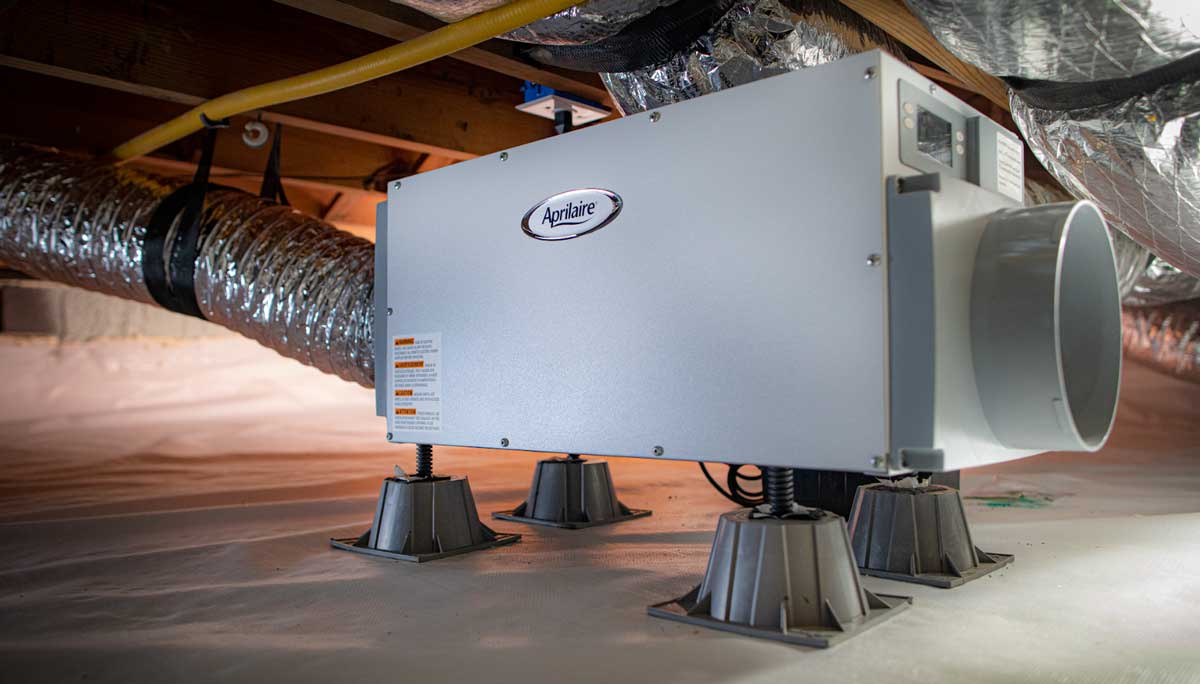
Dehumidifiers also help in basement waterproofing by taking up excess moisture from the ambient air. Installing a dehumidifier is quite easy. You just need to purchase one and set it up in your basement.
Choose the right size of dehumidifier for your basement by considering the following factors:
- Basement size
- Humidity levels in our area
- Product specifications
Now choose a central location for the dehumidifier in your basement to ensure its optimal working and set up the drainage. Some dehumidifiers come with an internal tank for collecting excess water. You can take out the tank and empty it once it is full. Otherwise, you will need to place your dehumidifier near the sink or drain, where it gets rid of collected water droplets. Select your desired humidity level, preferably between 35-50 percent. Plug the dehumidifier and you are good to go! Regularly clean the dehumidifier to enhance its functionality and longevity.
Improve the Airflow with an Exhaust Vent
Exhaust vents are a great way to keep your basement moisture-free.
Supplies:
- Exhaust fan and a vent
- Screwdriver
- Pencil
- PPE
- Caulking gun
- Latex caulk
- Fiberglass
Procedure:
Simply purchase an exhaust fan and a vent system from your local hardware store and follow the user manual for installing it.
Select an optimal location for installing the fan and the vent, e.g., near the furnace. Mark a square at the desired location using a pencil. Now, drill a reference hole in the center, which will help you determine the location of the vent.
Drill holes along the squares and secure the exhaust fan in place with screws. Then, go outside your basement, find the reference hole, and install the vent. Seal it with the latex caulk. Insulate the sides of the vent with fiberglass to prevent outside air, bugs, and vermin from entering. Finally, run wires from the fan to the switch box but don’t forget to turn off the power in your circuit box before that. And make sure to wear PPE through installation.
Conclusion
Follow this DIY guide for renovating and waterproofing your basement. These are the projects that an average do-it-yourselfer can easily handle. But for larger waterproofing tasks like French drains and sump pump installation, it is better to seek professional assistance.