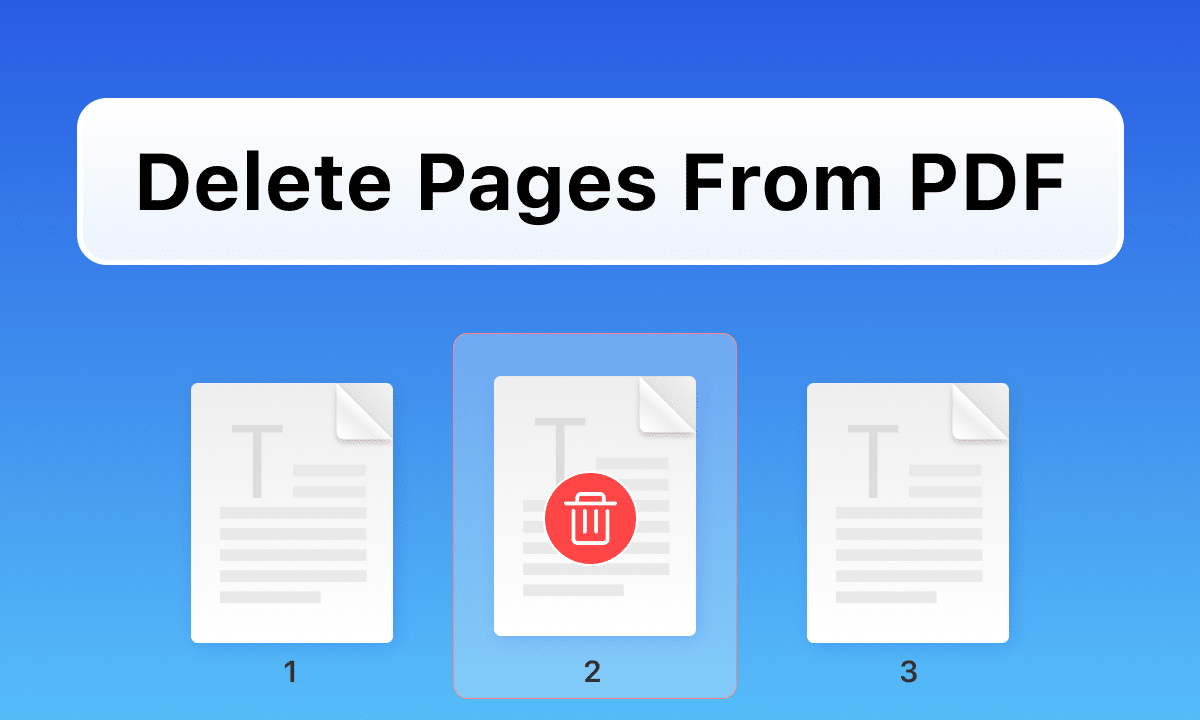
PDFs are fantastic for sharing documents that maintain their formatting across different devices. However, you might need to remove unnecessary pages to imrove organization, reducefile size, or for other reasons.
Why Delete PDF Pages?
Here are a few reasons you might want to remove pages from PDF on your Mac or iPad:
- Focus on Specific Content. Working with a lengthy PDF with just one relevant section? Cutting extra pages with a PDF page remover helps you focus on the core information for better efficiency.
- Maintain Confidentiality. Need to remove restricted information or sensitive data from a PDF before sharing it? Cut page from PDF to ensure only the intended content is shared.
- Improve Organization. Got a PDF with irrelevant or outdated pages? Removing them makes your document more organized and easier to navigate, helping you find the information you need quickly.
- Reduce File Size. Large PDFs with unnecessary pages can take up valuable storage space. When you remove PDF pages you don’t need, you create a leaner file, ideal for sharing or archiving.
No matter your reason, removing pages from a PDF on your Mac or iPad is simple. Let’s explore the accessible methods.
Removing Unwanted Pages: Mac & iPad

Deleting Pages on Mac using Preview App
Easy Navigation: Preview offers a convenient “Thumbnails” view, making it a breeze to select the specific pages you want to remove.
- Open your PDF: Double-click the PDF file to launch it in Preview.
- Show Thumbnails: Navigate to the “View” menu and select “Thumbnails” (or use the keyboard shortcut “Command + Option + 2”). This will display a thumbnail image for each page in the left sidebar.
- Select Pages: Click on the thumbnail(s) of the pages you want to delete. Hold down “Command” to select multiple pages.
- Delete with a Click: Use the “Delete” button on your keyboard or choose “Edit” -> “Delete.”
- Save the Changes: Click “File” -> “Save” to save the modified PDF with the removed pages.
Using the Files App on iPad
Simple Touch Actions: The Files app doesn’t offer full editing features. Yet, you still can delete pages in PDF using a dedicated function:
- Locate Your PDF: Open the “Files” app and navigate to the location of your PDF file.
- Choose Pages: Find the page you want to delete. Tap and hold on to the page thumbnail.
- Delete Confirmed: A menu will appear. Select “Delete” to remove PDF pages you’ve chosen.
That’s it! Your unwanted pages are gone on both Mac and iPad. Now your PDFs are cleaner and more manageable.
Online Convenience: Delete PDF Pages Anywhere
Need to remove pages from PDF on the go? Online PDF editing tools can handle the job directly from your web browser. They offer ultimate platform flexibility and work on various devices, including:
- Mac
- iPad
- iPhone
- Android
- Windows PC
Here’s a general workflow for using an online PDF page deleter:
- Upload your PDF: Locate the online tool of your choice and follow the instructions for uploading a PDF file.
- Select Pages for Removal: Most online converters offer a user-friendly interface for selecting the specific pages you want to delete.
- Apply Changes: Once you’ve chosen the pages, start the conversion process. The online tool will delete pages from PDF and create a new file without the unwanted content.
- Download Your Trimmed PDF: When the process is complete, download the modified PDF file to your device.
Simple and versatile! Online converters provide an easy-to-use solution to cut pages from PDFs on any device. They’re perfect for quick edits when you don’t have editing software installed on your device.
Pro Tips for PDF Page Deletion

Selecting Multiple Pages:
- Command Click: On Mac (Preview app), hold down the “Command” key while clicking on page thumbnails to select multiple pages for deletion.
- Shift-Click: For consecutive pages, click on the first page you want to delete, then hold “Shift” while clicking on the last page. This selects all pages in between.
- Control Click (Windows): Similar to Mac, hold “Ctrl” while clicking on thumbnails. In many PDF editing programs on Windows, it helps you select multiple pages.
Undoing Deletions:
- “Edit” Menu: Many PDF editing tools, including Preview on Mac, offer an “Edit” menu with an “Undo” option. This can be a lifesaver if you accidentally remove pages from PDF.
- Keyboard Shortcut: Use the universal keyboard shortcut “Command + Z” on Mac and “Ctrl + Z” on Windows. It can often undo the most recent action, including deletions made by mistake. (Note: This may not be available in all online converters.)
Saving Edited PDFs Correctly:
- Save As: After you delete pages from PDF, choose “Save As” instead of “Save” to create a new file with the changes. For this, hold down the “Option” key on your keyboard, then go to File -> Save As. That way, you avoid overwriting the original PDF by accident.
- Choose a New Filename: Consider giving your edited PDF a slightly different name. This helps you to easily distinguish it from the original document.
- Double-check the Output: Before finalizing, open the saved PDF. Ensure the pages are removed correctly, and the formatting isn’t disrupted.
- Cut Pages Online: Saving your edited PDF in online converters usually happens automatically after processing. Yet, it’s better to double-check the instructions of the PDF page deleter you choose.
Bottom Line
Mac users can leverage Preview’s visual layout for easy page selection. On iPad, the Files app offers a touch-friendly way to remove unwanted sections. And for ultimate flexibility across all devices, including Android, Windows, and iPhone, online converters are your go-to solution. So go forth and keep your PDFs tidy!

